Adventures In Book Nook Regression
As an Amazon associate, I may earn a small commission if you navigate to Amazon from my site and buy something. This will not result in an extra cost to you.
I know I said I was quitting the book nooks cold turkey. What can I say? I fell off the wagon.
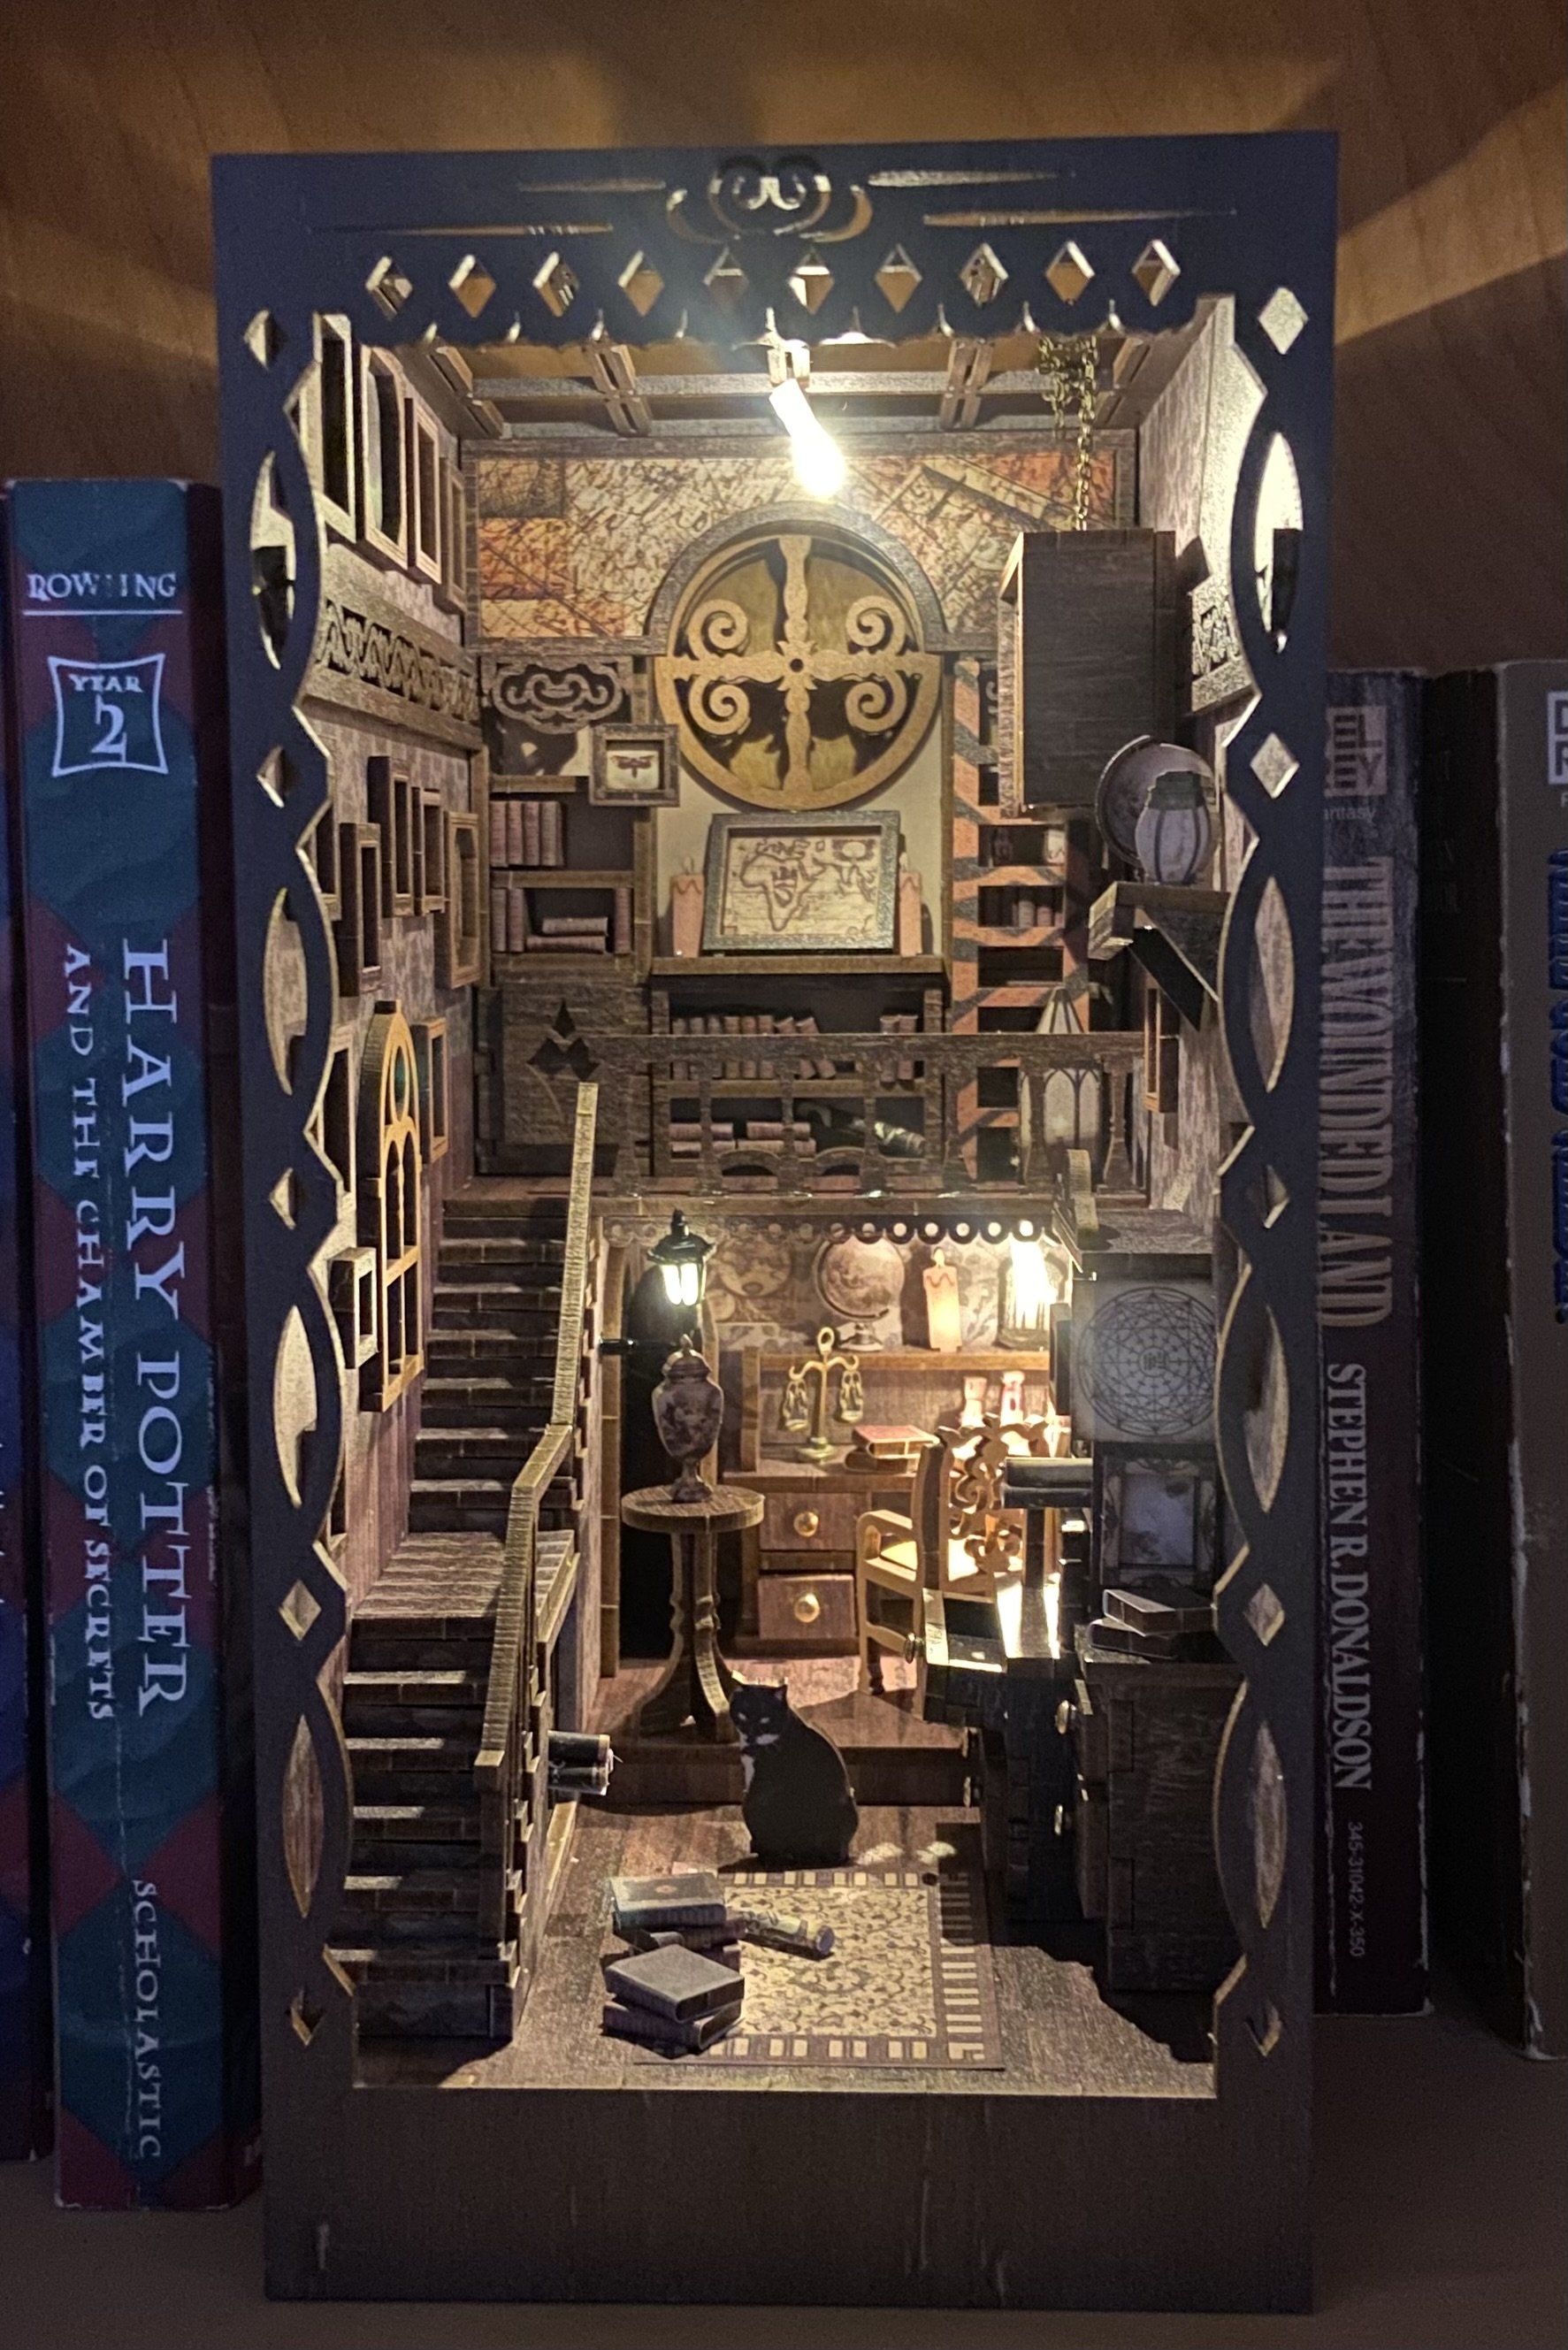
My most recent fall from grace is the result of spotting this lovely kit on Amazon. It’s called Scholar’s Dream, and as as you might imagine, is jam-packed with books. I am happy with the end result, but the written instructions left a little to be desired. I’ll explain as we go along…
First up, the instructions told me to punch out all the little wooden squares that would be the interior of the smaller books, and then cut out all the paper covers, and paste them on. The instructions did state that I would need 65 of the little books and the rest were spare parts. I think I ended up with 70 little books. Something like that. Then on to the bigger books. Same routine, only this time I would need 20 of the larger books and the rest were spare parts. I ended up with 25. All these little books were piled onto my “miniature staging area” as I went on to the next steps.
There was a lot of cutting out of little paper pictures and pasting them into frames. Once that was done, I got into the instructions for making the book that would actually open up. This involves cutting out a long strip of book pages, folding them accordion style, and then glueing a paper book cover around them. The problem with this was that the book covers I was supposed to glue around these open books had all been used up in the “larger books” activity. There was nothing in those earlier instructions that told me to save a few book covers for a later task. And so I hadn’t. And so I had no open books.
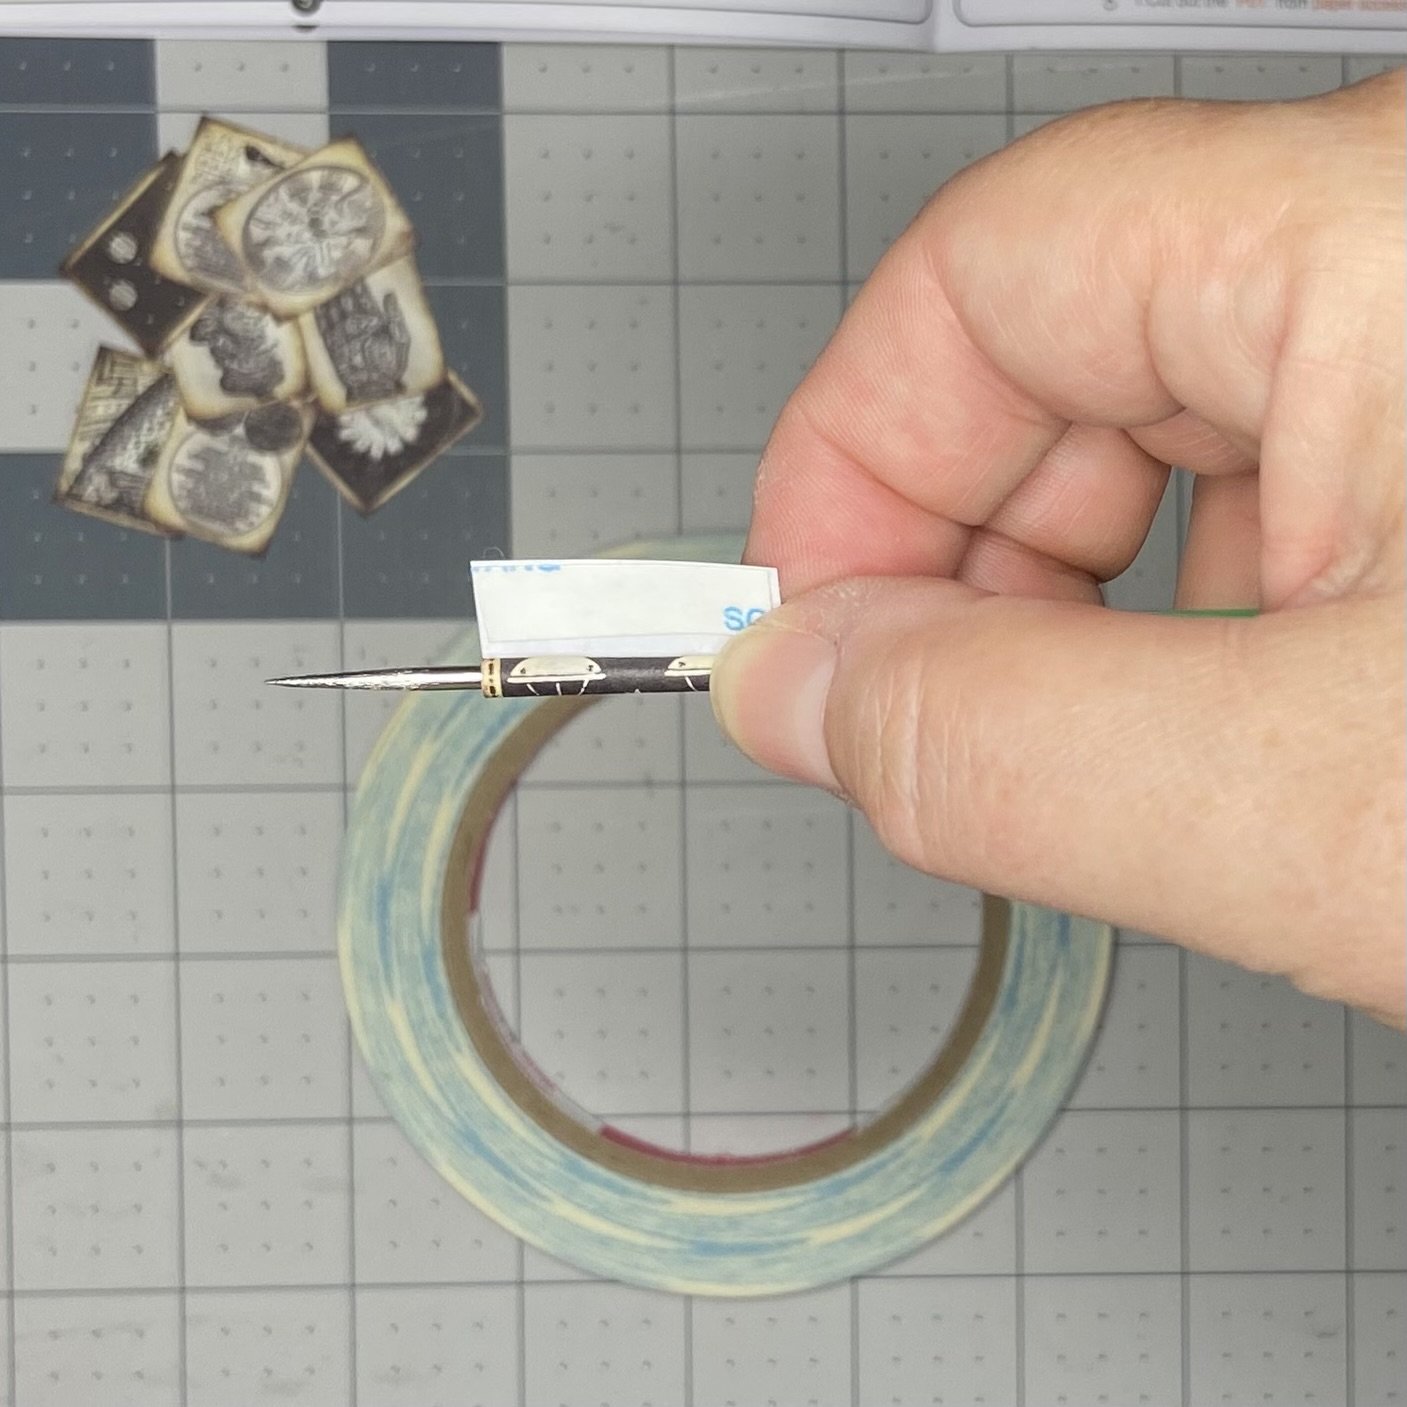
The same problem occurred when I got around to rolling the scrolls. I’ve found the easiest way to roll the scrolls is to wrap the little squares of paper around something small (in this case, my little sewing awl) and then use double sided tape on the outer edge to stick it together. There were 10 paper scrolls and I rolled them all. The instructions said I’d only need 9. The instructions did not say to leave one scroll unrolled for a future task. So when I got to the place in the instructions where I needed an unrolled scroll to lay on a desk, I didn’t have one. Very annoying.
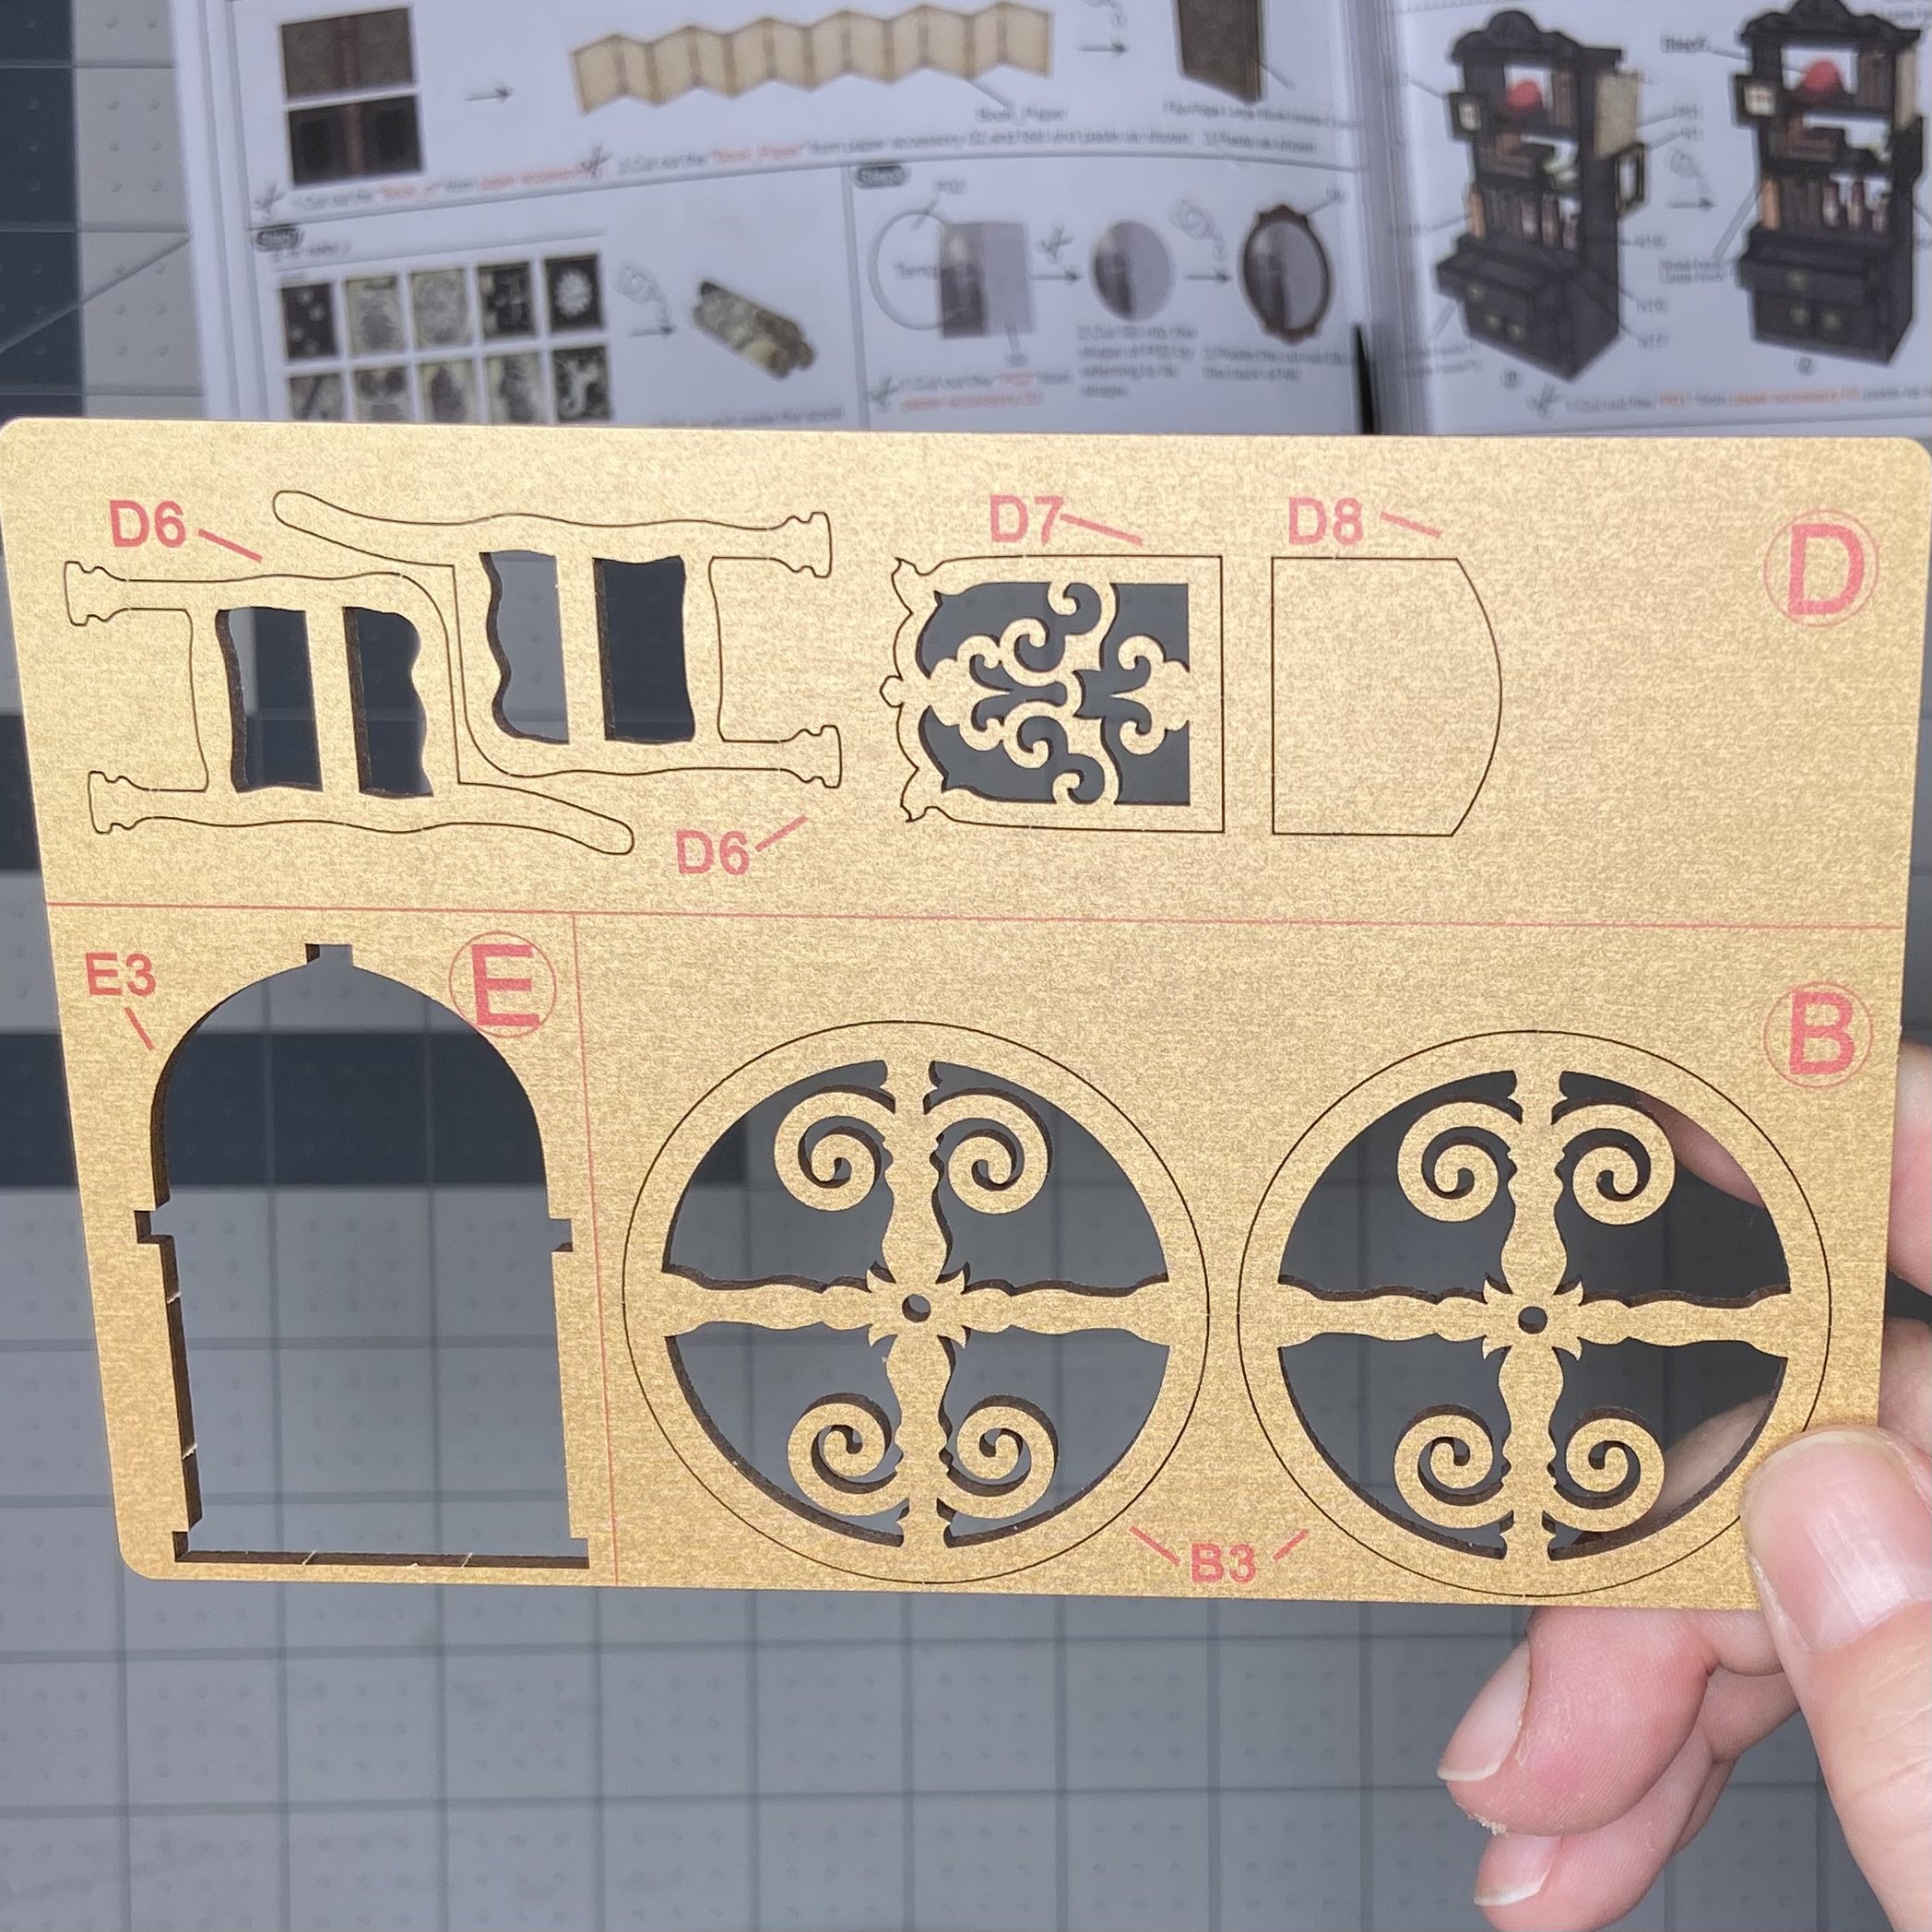
Another thing that seemed odd about this kit…in the past, anytime I’ve had a sheet of wood with shapes cut out of it, the entire sheet has been one letter and every shape on it has an associated number. For example, the sheet might be labeled E and the particular shape I want might be labeled E4. This made it easy to locate the sheet I needed and then the shape I needed. In this kit, there were several sheets that had multiple letters on them. To say that this slowed me down in finding the pieces I needed would be an understatement. Why the heck would anyone set it up this way? Illogical.
Nevertheless, I worked my way through the instructions, building the furniture as directed. By the time I was ready to start putting the structure together, I had quite a nice layout of itty bitty furniture bits in my staging area. Looking at a staging area full of miniatures always makes me so happy…
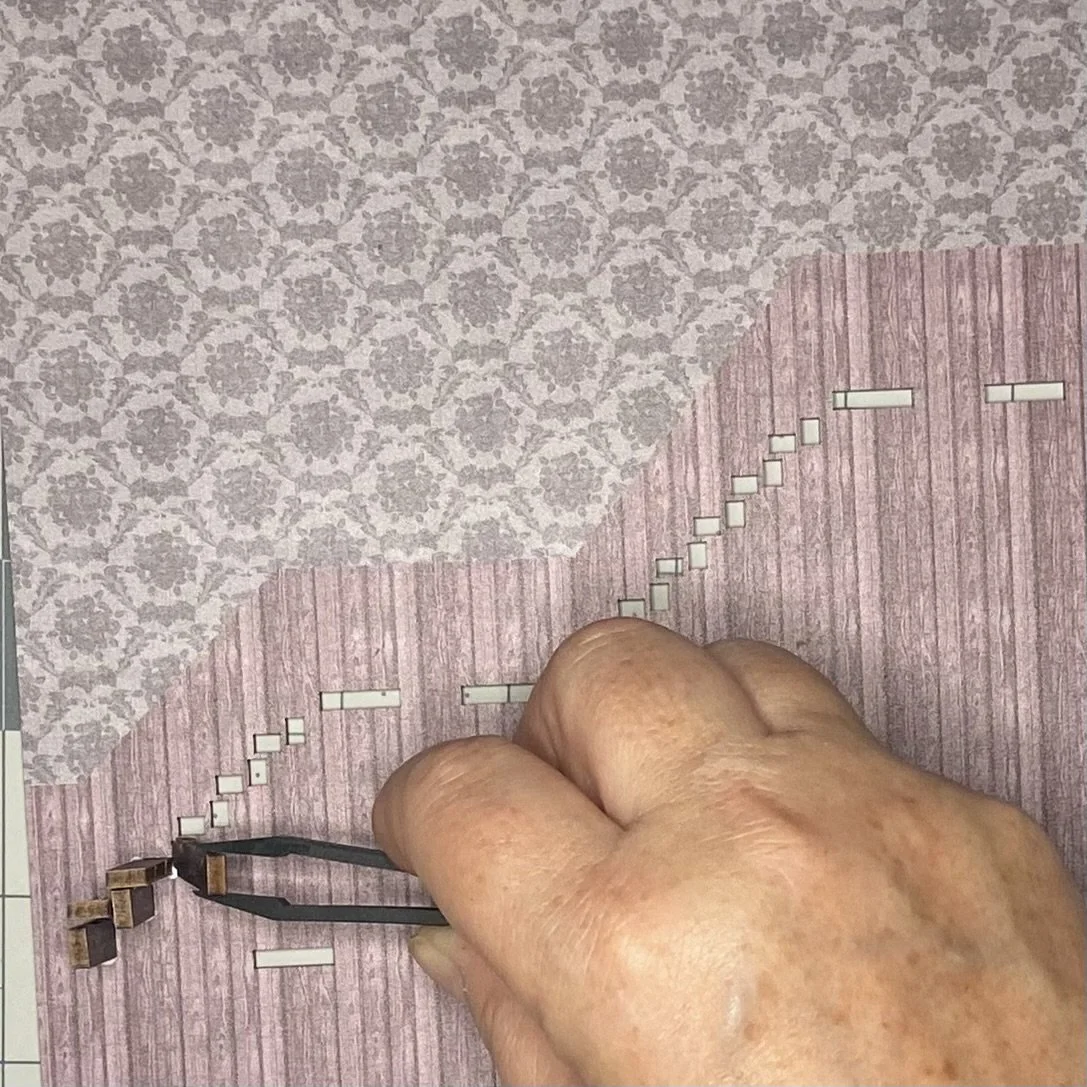
This kit also required more glueing than other kits. This was fine, as everything still fit together well enough, but it meant I’d work on some bits and bobs and then have to stop and wait for the glue to dry. Once I started on the structure itself, one of the first things I did was build a staircase up the wall. I know it’s silly, but it was so satisfying to stick one little step into the wall notch and then move onto the next one. It didn’t take long to assemble the staircase…in fact, it took longer for the glue to dry.
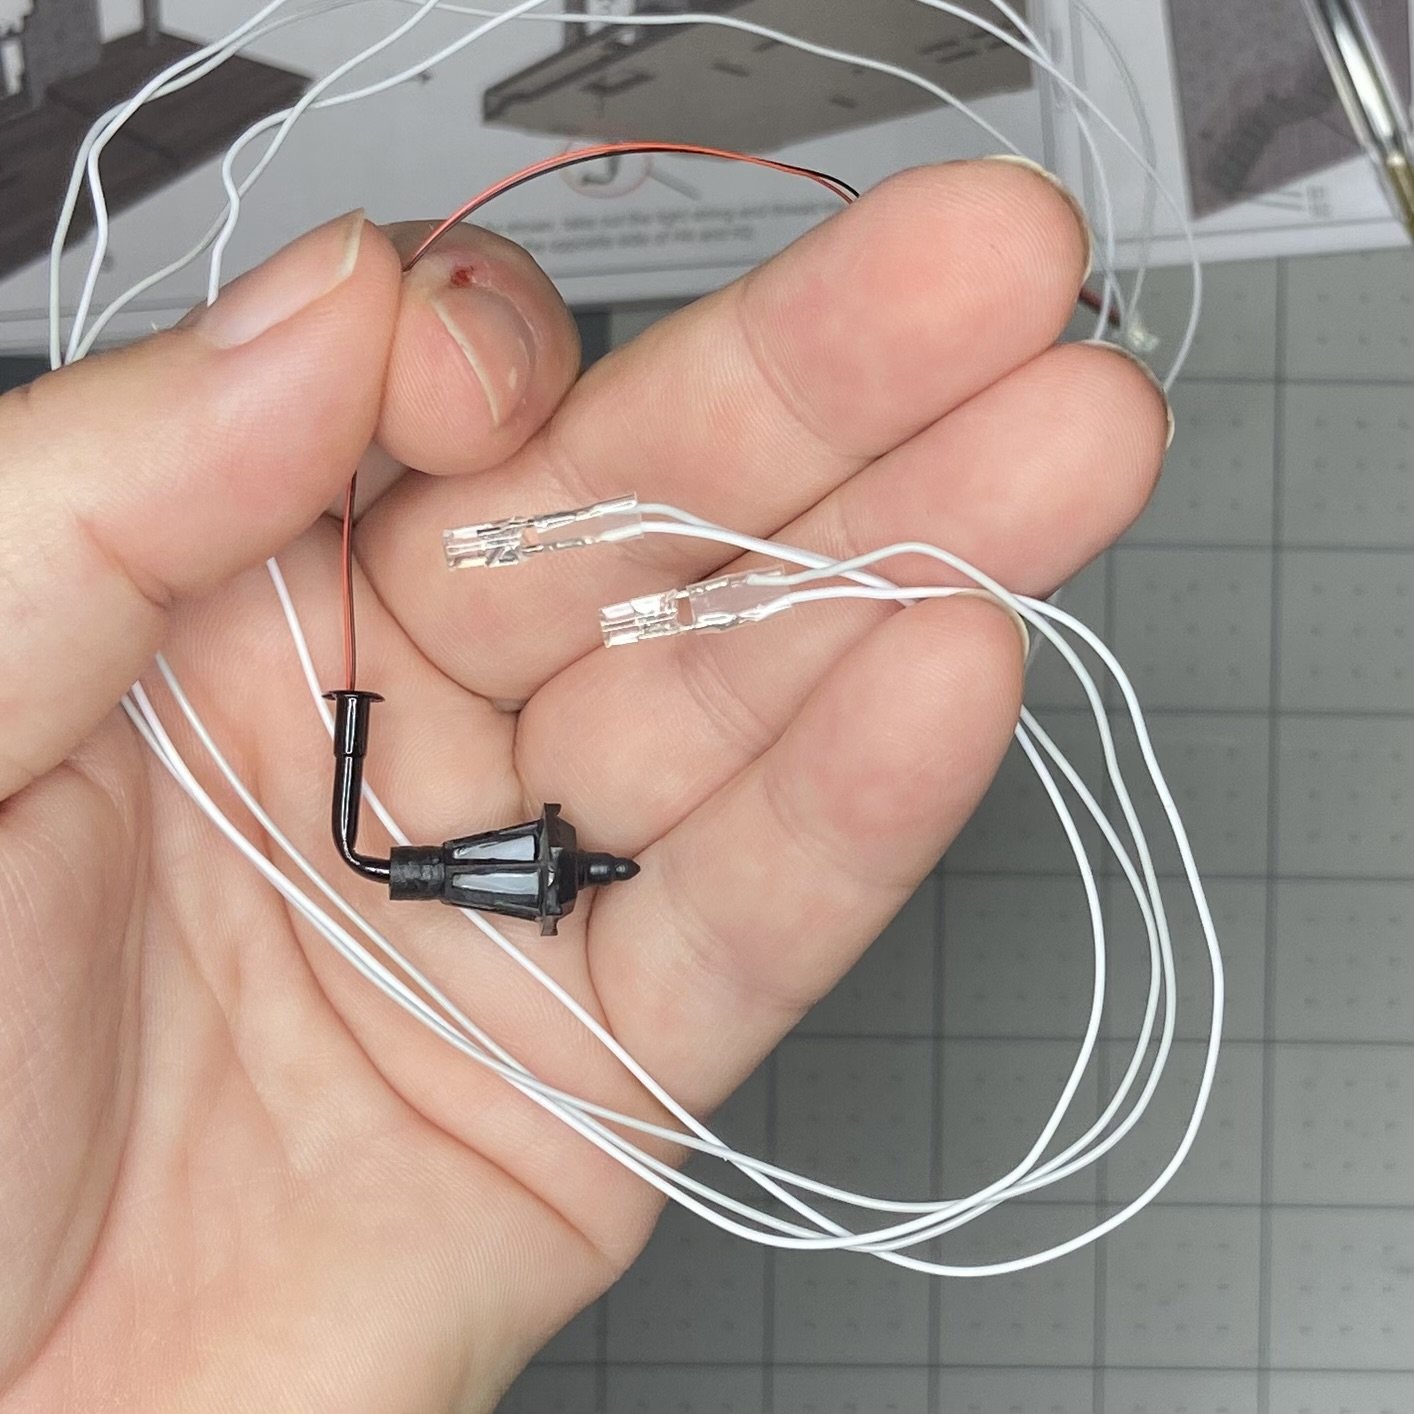
Once I started putting the structure together, I also had to deal with the lighting array that needed to be put in. This particular set came with two regular little LED lights and one lamp that would go on a wall. I thought that lamp was particularly cute and clever.
Another difference between this kit and others is that the walls gave no clues about where pictures and furniture and such were to be attached. In previous kits, there were faint little outlines that showed where things went. In this kit, there was nothing like that at all…the walls were bare of any hints or instructions. I eventually just laid everything that went on a particular wall out on my work surface to make sure I had everything, then set the book nook on its side so that the wall I was working on was horizontal, and then laid out all the pieces on the wall, checking it against the instructions. Once I was pretty sure I had it right, I glued the pieces down one at a time.
The lighting array went in quite easily, and I locked it down with my usual combination of the crappy inadequate little clear tape strips and my glue. It is quite secure.
I had gotten everything put together and mostly finished (I thought) when I happened to notice that one of my wood sheets still had some parts on it that I hadn’t used. I couldn’t figure out where some of the pieces went, but there was a ladder that clearly went up against a bookshelf. Nowhere in the instructions is the ladder addressed, but I did happened to see a picture of the finished product that showed where the ladder was supposed to go, so I glued it up and stuck it in there.
One final thing that I’m not quite happy with…one of the miniature small bookcases I put together had a chain inserted through the top. The chain was for appearances only, as the bookcase was actually glued to the wall. But I believe it was supposed to look as if it was suspended from the ceiling pieces. I have to say, I don’t like how this looks. The chains are crooked as they are wrapped around the ceiling struts and it just looks odd, not as if it was suspended. I will have to think about this, but I might end up just removing the chain entirely.
And it’s done! All my little obstacles aside, I still had great fun putting this together and I love how it looks, especially on my book shelf. This kit doesn’t have a motion sensor…the lights are either on or off. Which is fine. The kits with the motion sensors go through batteries relatively quickly.

