Adventures In Dressmaking
As an Amazon associate, I may earn a small commission if you navigate to Amazon from my site and buy something. This will not result in an extra cost to you.
I don’t wear dresses (or any kind of fancy clothing, really) with any regularity at all. My lifestyle doesn’t require it. However, even in a casual lifestyle like mine, there are occasional events which call for a dress. For example, my oldest nephew’s recent high school graduation ceremony. I had no dress that fit. I made do with a stretchy long tunic and pretended it was a dress, but it was makeshift at best. I decided I’d quite like to try making a few articles of clothing that properly fit me and looked reasonably nice. To that end, I decided to first try Sewing Inspiration’s Tie Dress.
You can get the pattern here and you can see the sew-along video by Sewing Inspiration here. It’s basically a series of squares and rectangles (with a few curves thrown in just to keep me on my toes) cleverly assembled into an oversize dress that can be made to fit with the attached ties. It’s quite suitable for a beginning sewer (sewist?). It was designed to be styled in multiple ways; below are just two of the ways in which it can be worn.


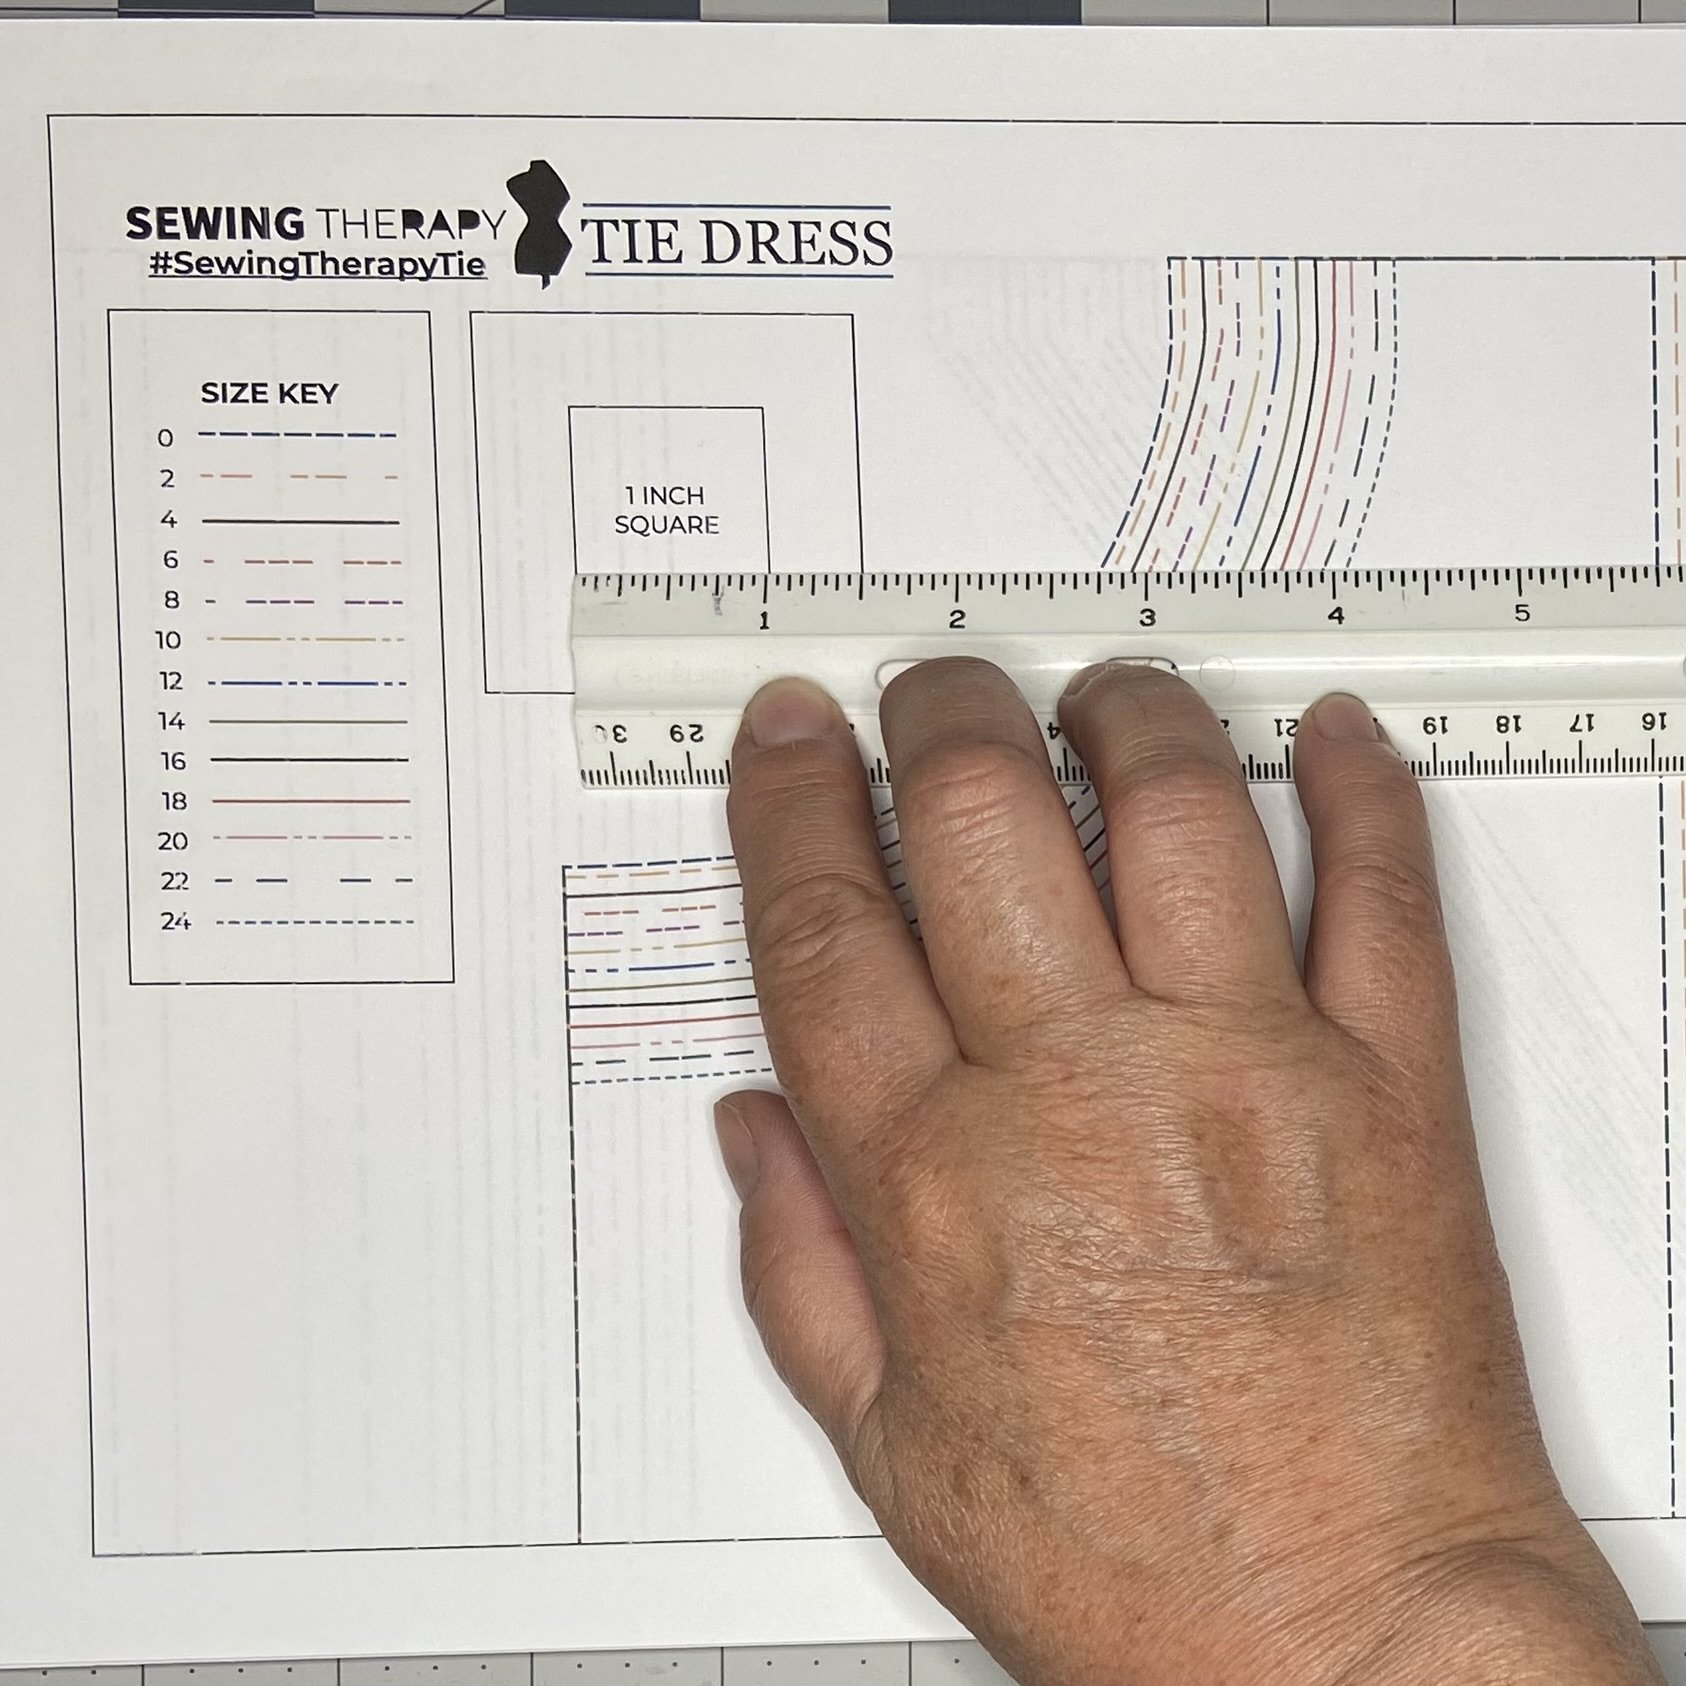
I bought the PDF of the pattern and decided to print it at home, which involved printing out about 36 pages and then taping them together. This took me quite some time, and after I was done, it still didn’t line up perfectly. If I decide to print a pattern this way again, I think that rather than tape together the entire sheet and then cutting out or tracing individual pattern pieces (this is the common and approved method, by the way), I will instead locate the individual sheets that comprise each pattern piece, and tape those together.


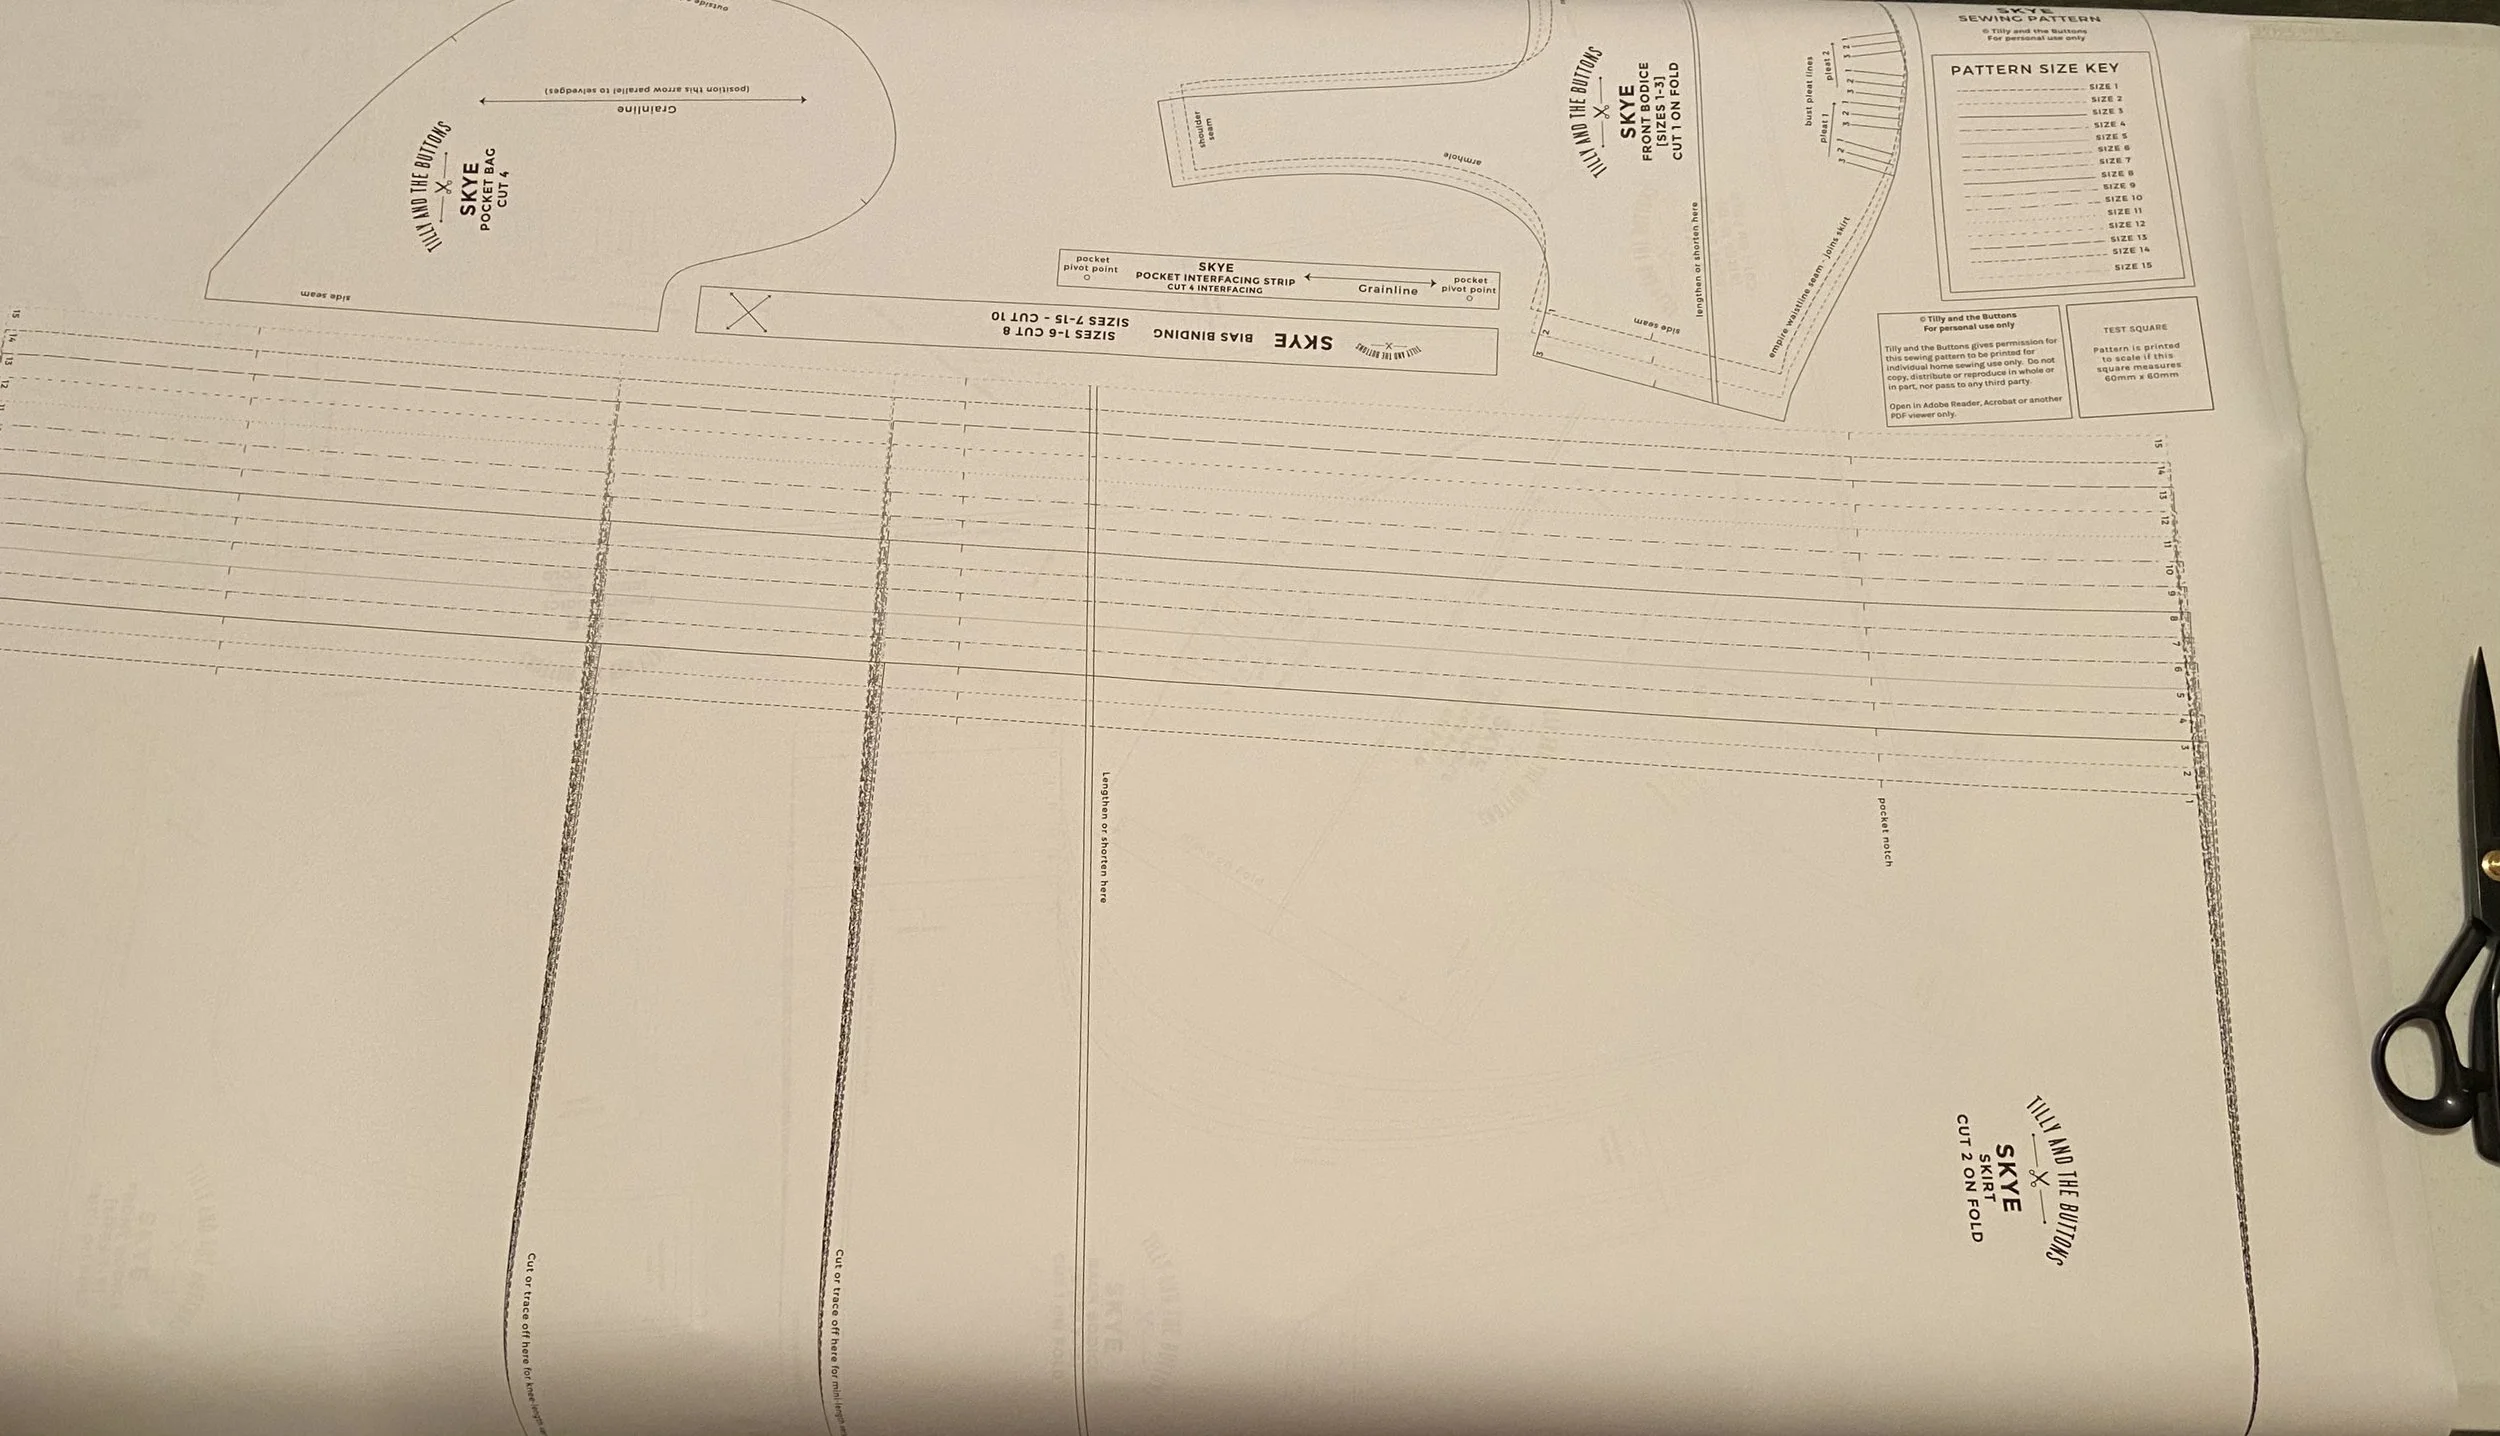
But I’ve since discovered a better way. When you buy a PDF pattern, most designers include a file that’s meant to be printed out on a large piece of paper. This can be done at printing places like Kinkos or you can have it done online. I had four other PDF patterns that I’ll be working on in the future, so I sent those through to a company called PDF Plotting. Their prices are quite reasonable, although they do have a minimum charge and shipping costs around $10. So it’s probably not all that economical if you only have one pattern to print. But since I had four, it cost me around $30 to get it to my house. And they shipped it the same day I ordered it. I was quite pleased.
Back to my taped together pattern…once I’d gotten the various pieces roughly cut out, I used tracing paper to trace the size I needed of each of the pieces I needed, and cut those pattern pieces out of the tracing paper. This left me with a pattern in my size that I could use again if I wanted, but also left intact the original paper pattern with all the sizes on it. This was handy, since my mother will also be making this dress but in a different size. We transferred her pattern onto the tracing paper as well.


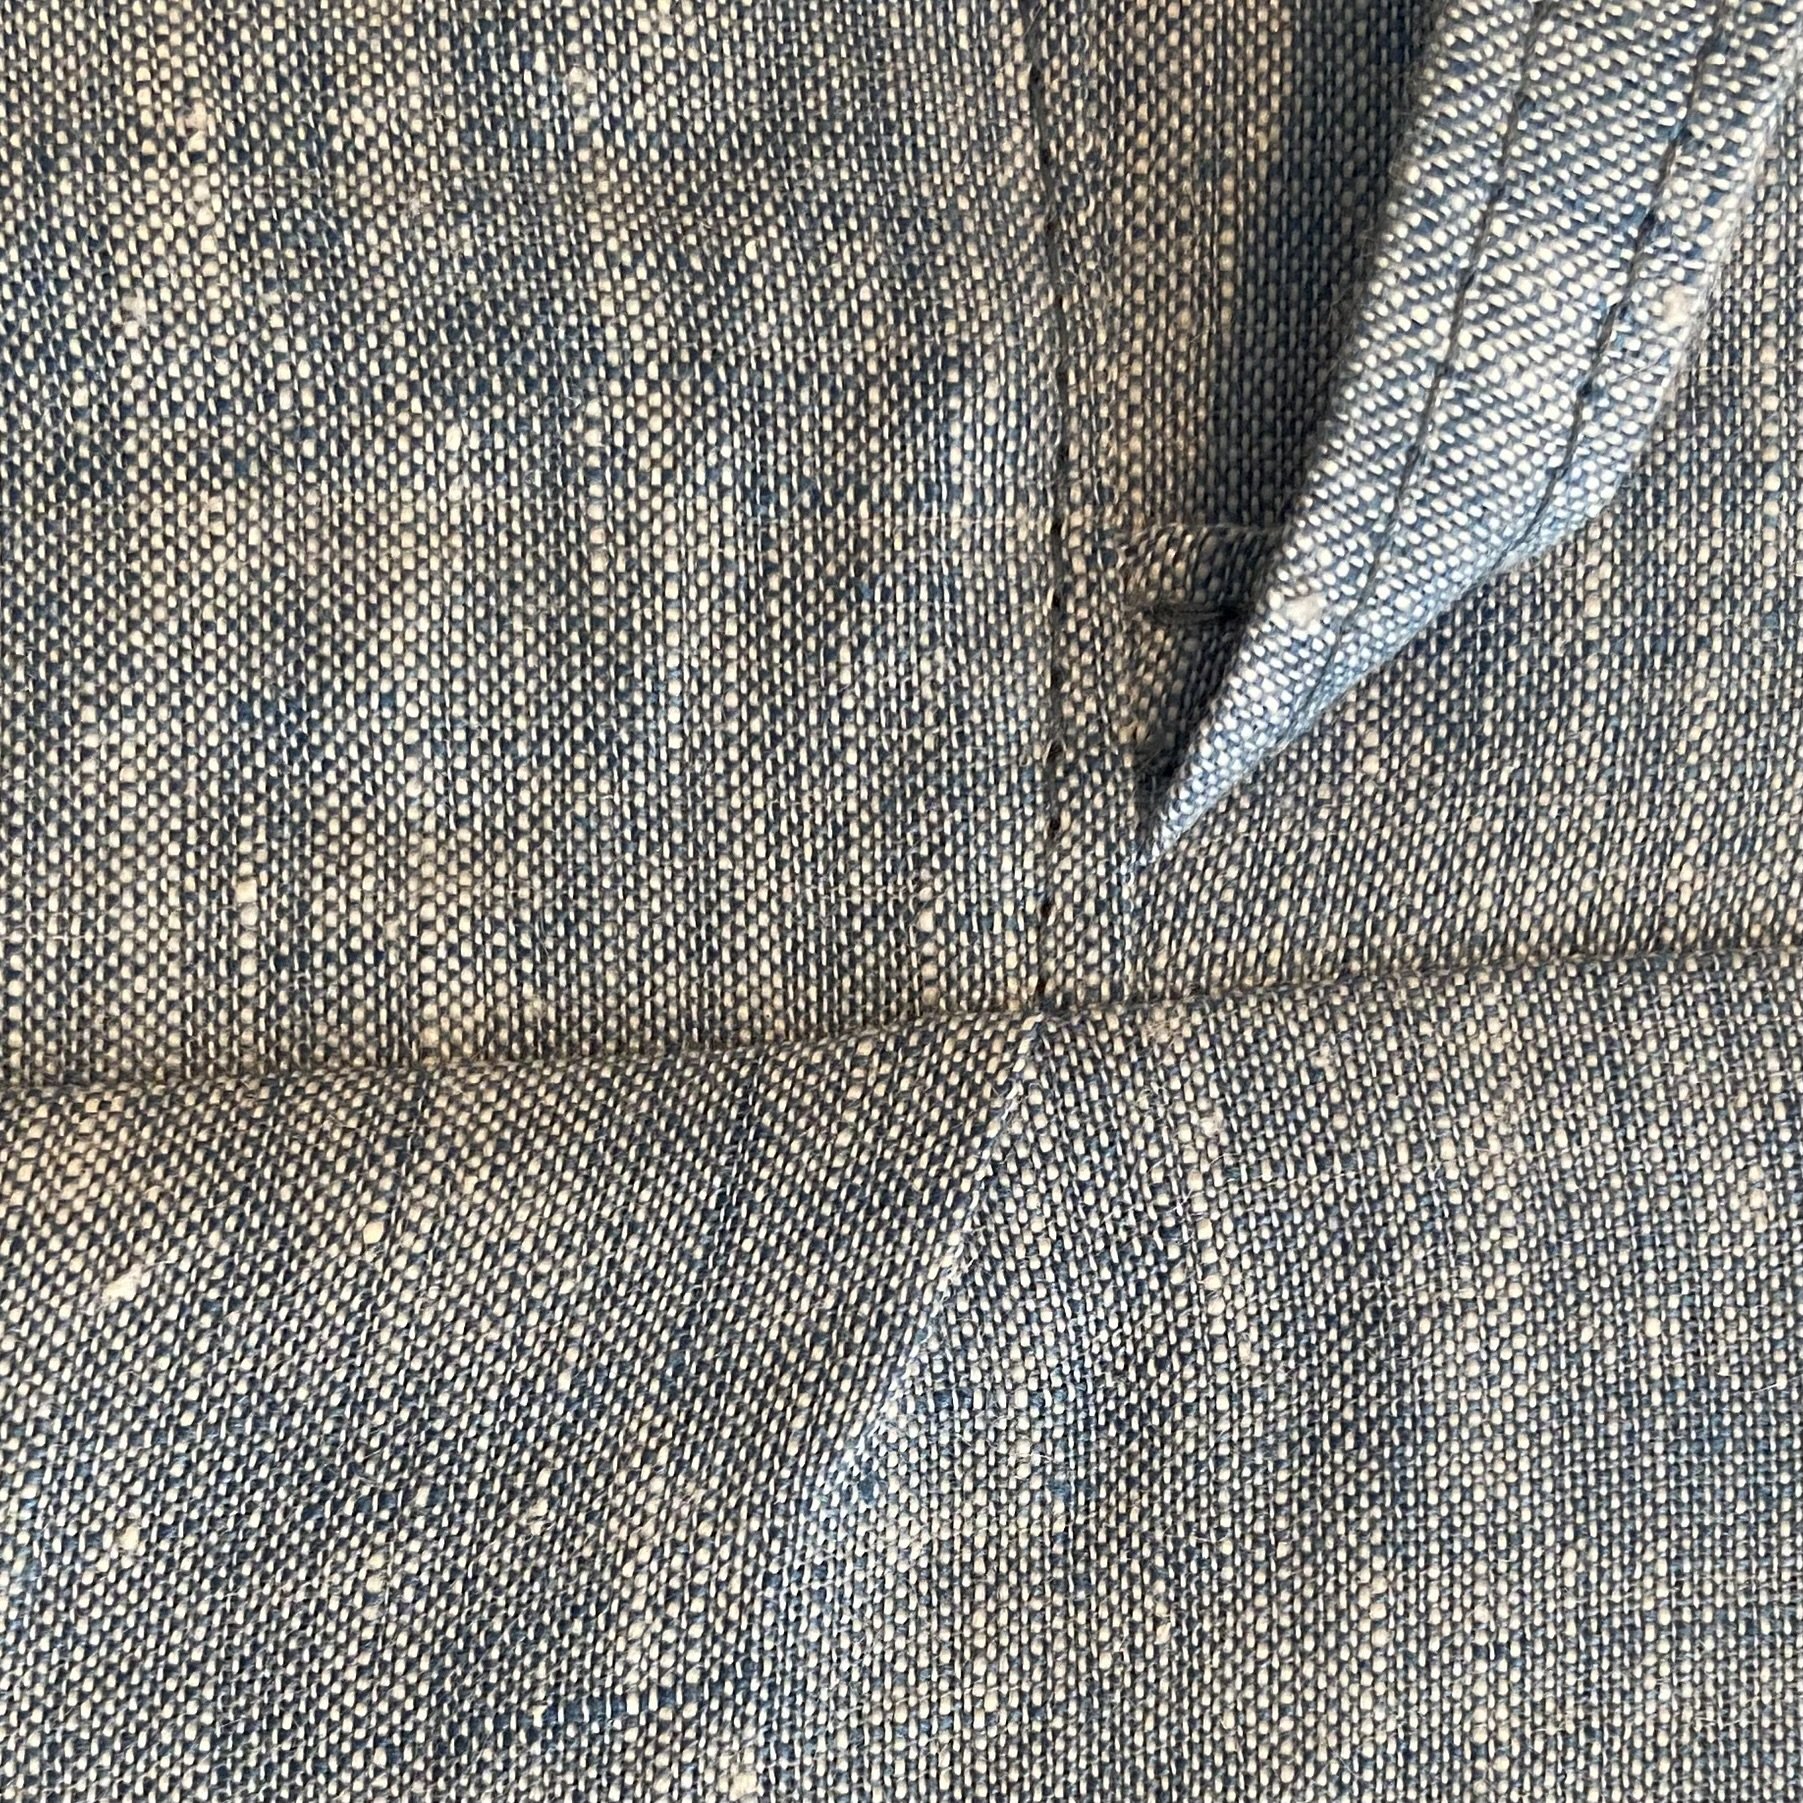
For my fabric, I opted for a very light heathered chambray linen in light denim blue, which I bought from Mood Fabrics. I washed the fabric in hot water and then ran it through a hot dryer to get any shrinkage issues handled. Then I ironed it, laid it out, and started cutting out my pattern pieces. My original plan was to use my fantastic overcast foot to overcast the raw edges of all the pieces before I started doing any sewing. But this fabric was so lightweight that it gathered up the edge of the fabric like a ruffle. I tried changing the tension and the pressure of the presser foot but it made no difference. Then I tried holding the leading and trailing edges of the fabric as I sewed, which did give me a cleaner edge but the stretch held, giving me a ruffle in the other direction. Very annoying. I’m quite disappointed in my overcast foot for failing me in this manner.
I set everything aside for a few days and had a bit of a think. What I ultimately ended up doing was a combination of French seams (which completely enclose the raw edge of a seam), pinking shears (which cut in a zig zag patten that discourages raveling), and the overcast foot for a seam with at least two layers of fabric in it, which mostly seemed to work.
As an example, the bodice was two complete layers sewn together with wrong sides facing, so that the bodice was completely finished both inside and out. I trimmed the shoulder seams with pinking shears, as they would be completely encased. For the neckline seam where the two bodices were sewn together, I trimmed the seam with pinking shears before doing my understitching, which is an invisible second seam that helps keep the lining of the bodice turned to the inside. And of course, that seam would be completely encased as well. It seemed secure enough, but only time (and repeated washings) will tell.


For the ties, rather than press everything by hand, which is tedious at all times but especially tedious given the light weight of the fabric and the fact that I had to do essentially 100” of tie, I opted to use my 1” bias tape maker. MUCH faster, and it’s always so darn satisfying to use.

I opted to do slightly more topstitching than the directions specifically requested, but once I’d done it in a couple places, I thought the whole piece would look more balanced and finished if I did it most everywhere I could. This included the place where the sleeves met the side panels of the bodice. In the past, when not under the eagle eye of my sewing instructors (my mother and grandmother), I have been known to be sloppy with my finishing work. This invariably leads to the garment looking homemade and not in the good way. So when I was unhappy with one of my sections of top stitching (it was not the same distance from the seam as the top stitching on the other side and also it was not a completely straight seam), I virtuously picked the seam out and did it again. And I’m glad I did. See, Mom…I can be taught!
The fact that I’d done French seams on the bodice meant that I’d taken up a smidge more than my 3/8” seam allowance on all the seams. This added up to a slightly smaller bodice than skirt top, so when it came time to attach the skirt to the bodice, I had more skirt than bodice. It was too much to “ease” into the seam, so I had to put it somewhere. I opted to make tiny little pleats under each of the four ties. I figured those would be next to invisible and so they are. Then I took the overcast foot out of purgatory and overcast this one seam, which worked fine.
And then finally, the hem. I turned under and pressed a 1/2”. Then I turned under another 1.5” and pressed again. Then I used my blind hem stitch on the sewing machine to sew the hem. You can see in the pictures below what that looks like on the inside of the skirt. And you can also see that it’s darn near invisible on the outside. Perfect.


And it’s done! Honestly, although I worked on it for a week, the actual construction didn’t take long at all. My lengthy process was mostly due the fact that I had to spend some time thinking about how to manage French seams, which I’d never done before. I’m not interested in putting pictures of myself on the internet, so I’ve modeled the dress on my mannequin (Lady Anne, if we’re being formal). On me, the “waist” of the dress is pretty high, making it more empire in style than a standard waistline. But that’s what I wanted. The dress is very light and extremely comfortable. Even though I don’t normally wear dresses, I put this one on when I finished it and ended up wearing it around the house for several hours because it was just so darn comfy.