Adventures In Hester’s Topper
As an Amazon associate, I may earn a small commission if you navigate to Amazon from my site and buy something. This will not result in an extra cost to you.
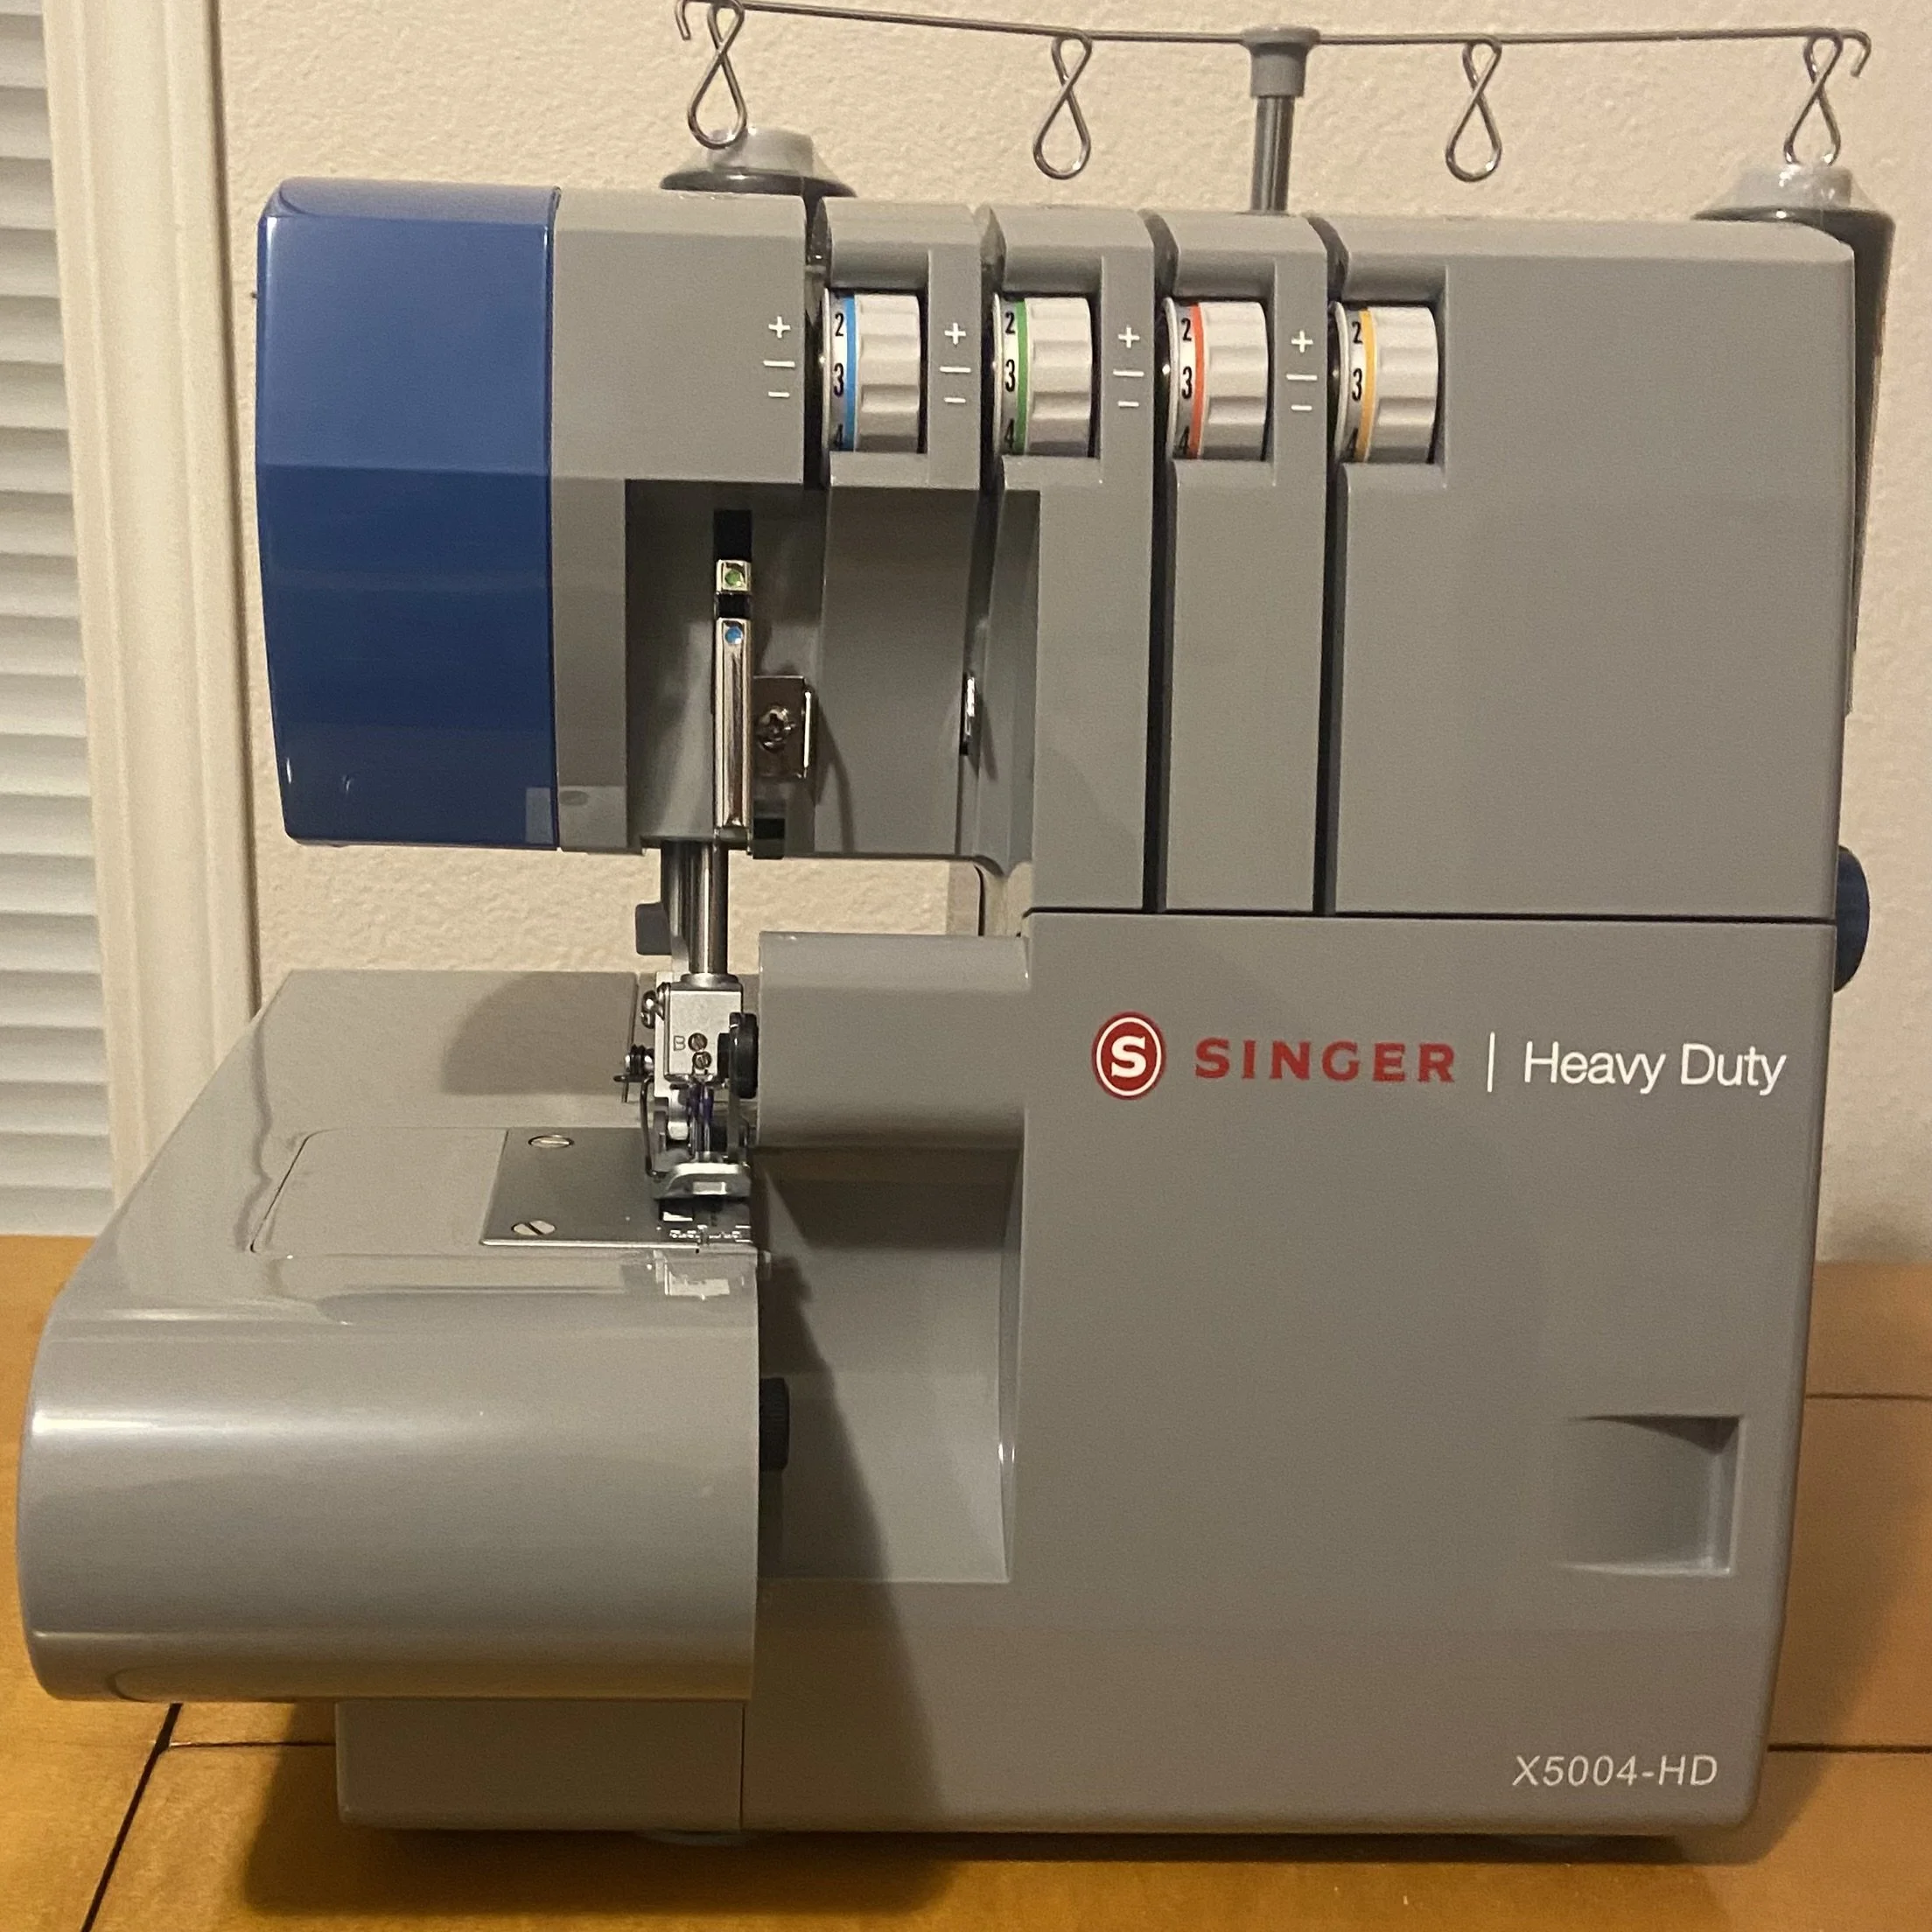
I’d like to introduce a new member of the household. World, meet Hester. Hester, world. Hester and I have not yet formed what I’d like to describe as an “operational relationship.” Translation: I haven’t used her yet, being still caught up in YouTube and internet research. But soon…
But just because Hester is not yet fully operational was no reason to leave her without a cover, a hat, a topper, if you will. Having learned some lessons from my time working on Henrietta’s Hat, I did less winging it, and more math when designing the topper.
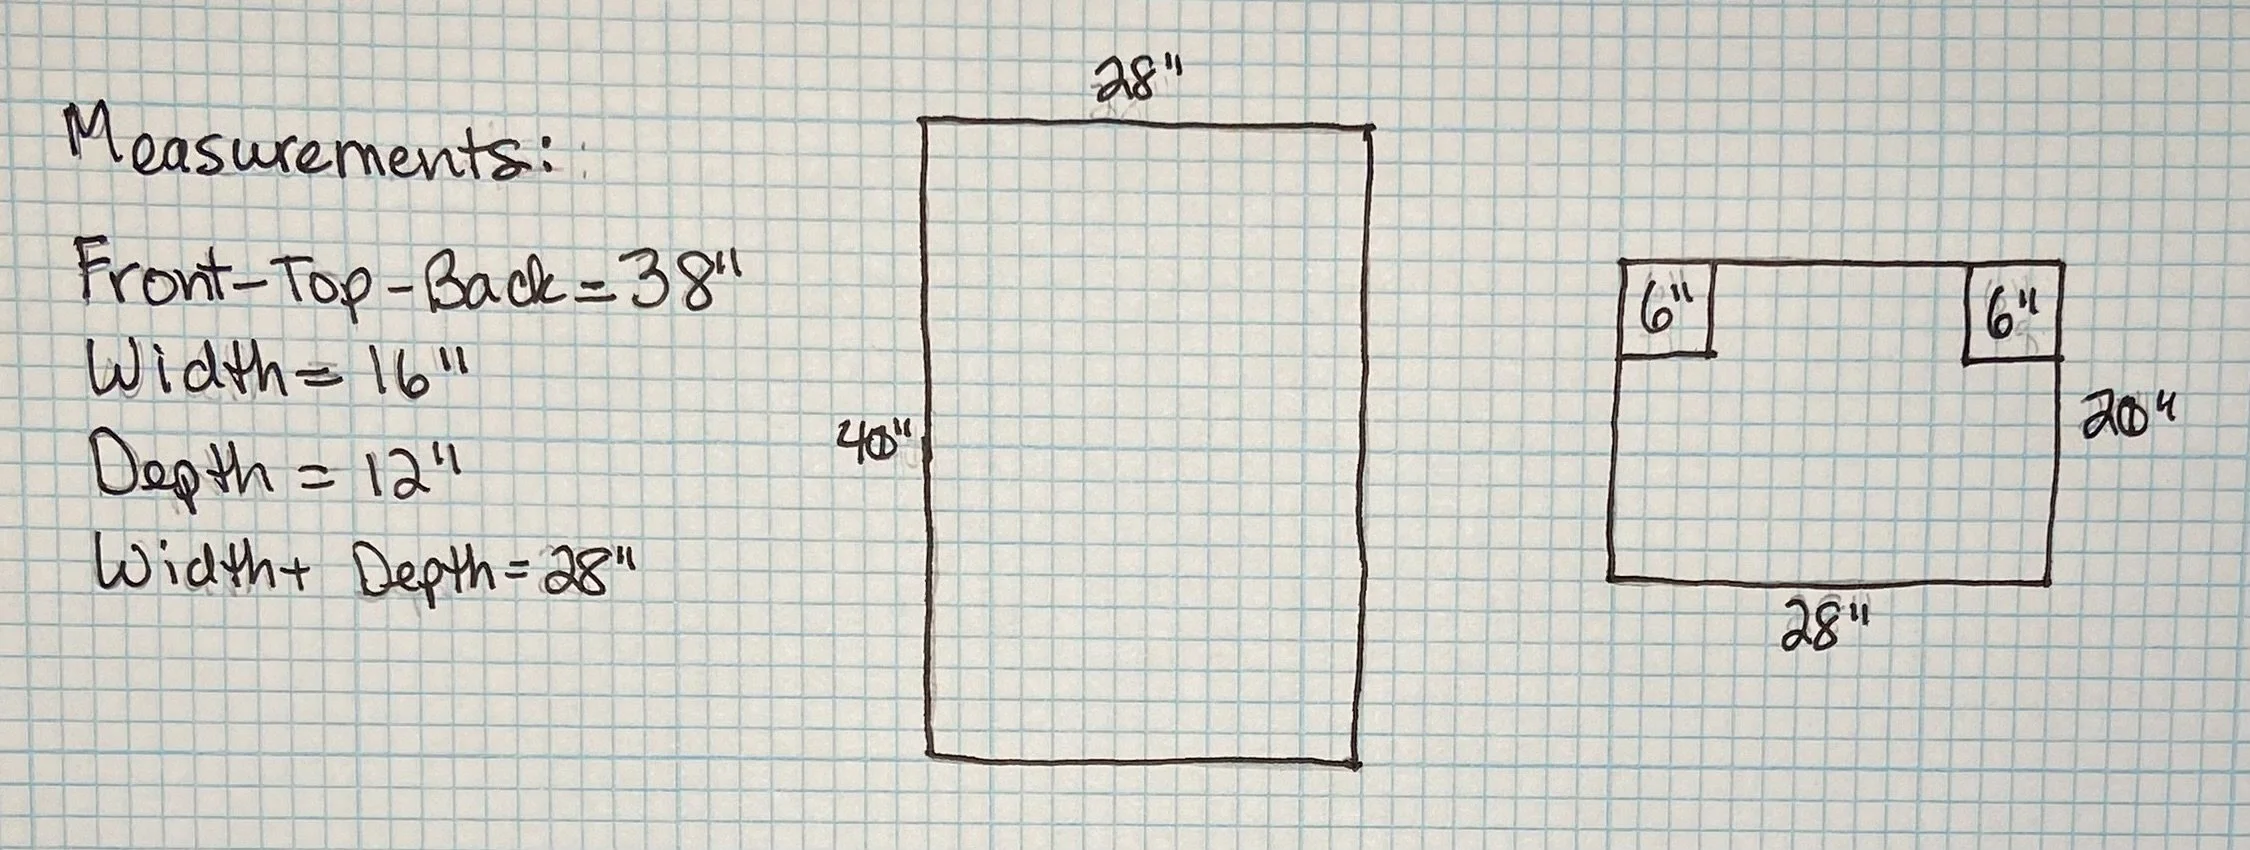
First, I measured. I took three measurements…the first started at the bottom front of the machine, went over the top, and all the way down to the bottom in the back. That measurement was 38”, which I decided to round up to 40” for some wiggle room. Then the width of the machine (left edge to right edge) measured at 16”. And finally the depth (from the front edge of the machine to the back edge, as measured along a side) came to 12”. Then I made one additional calculation, which was adding together the width and depth measurements for a total of 28”.
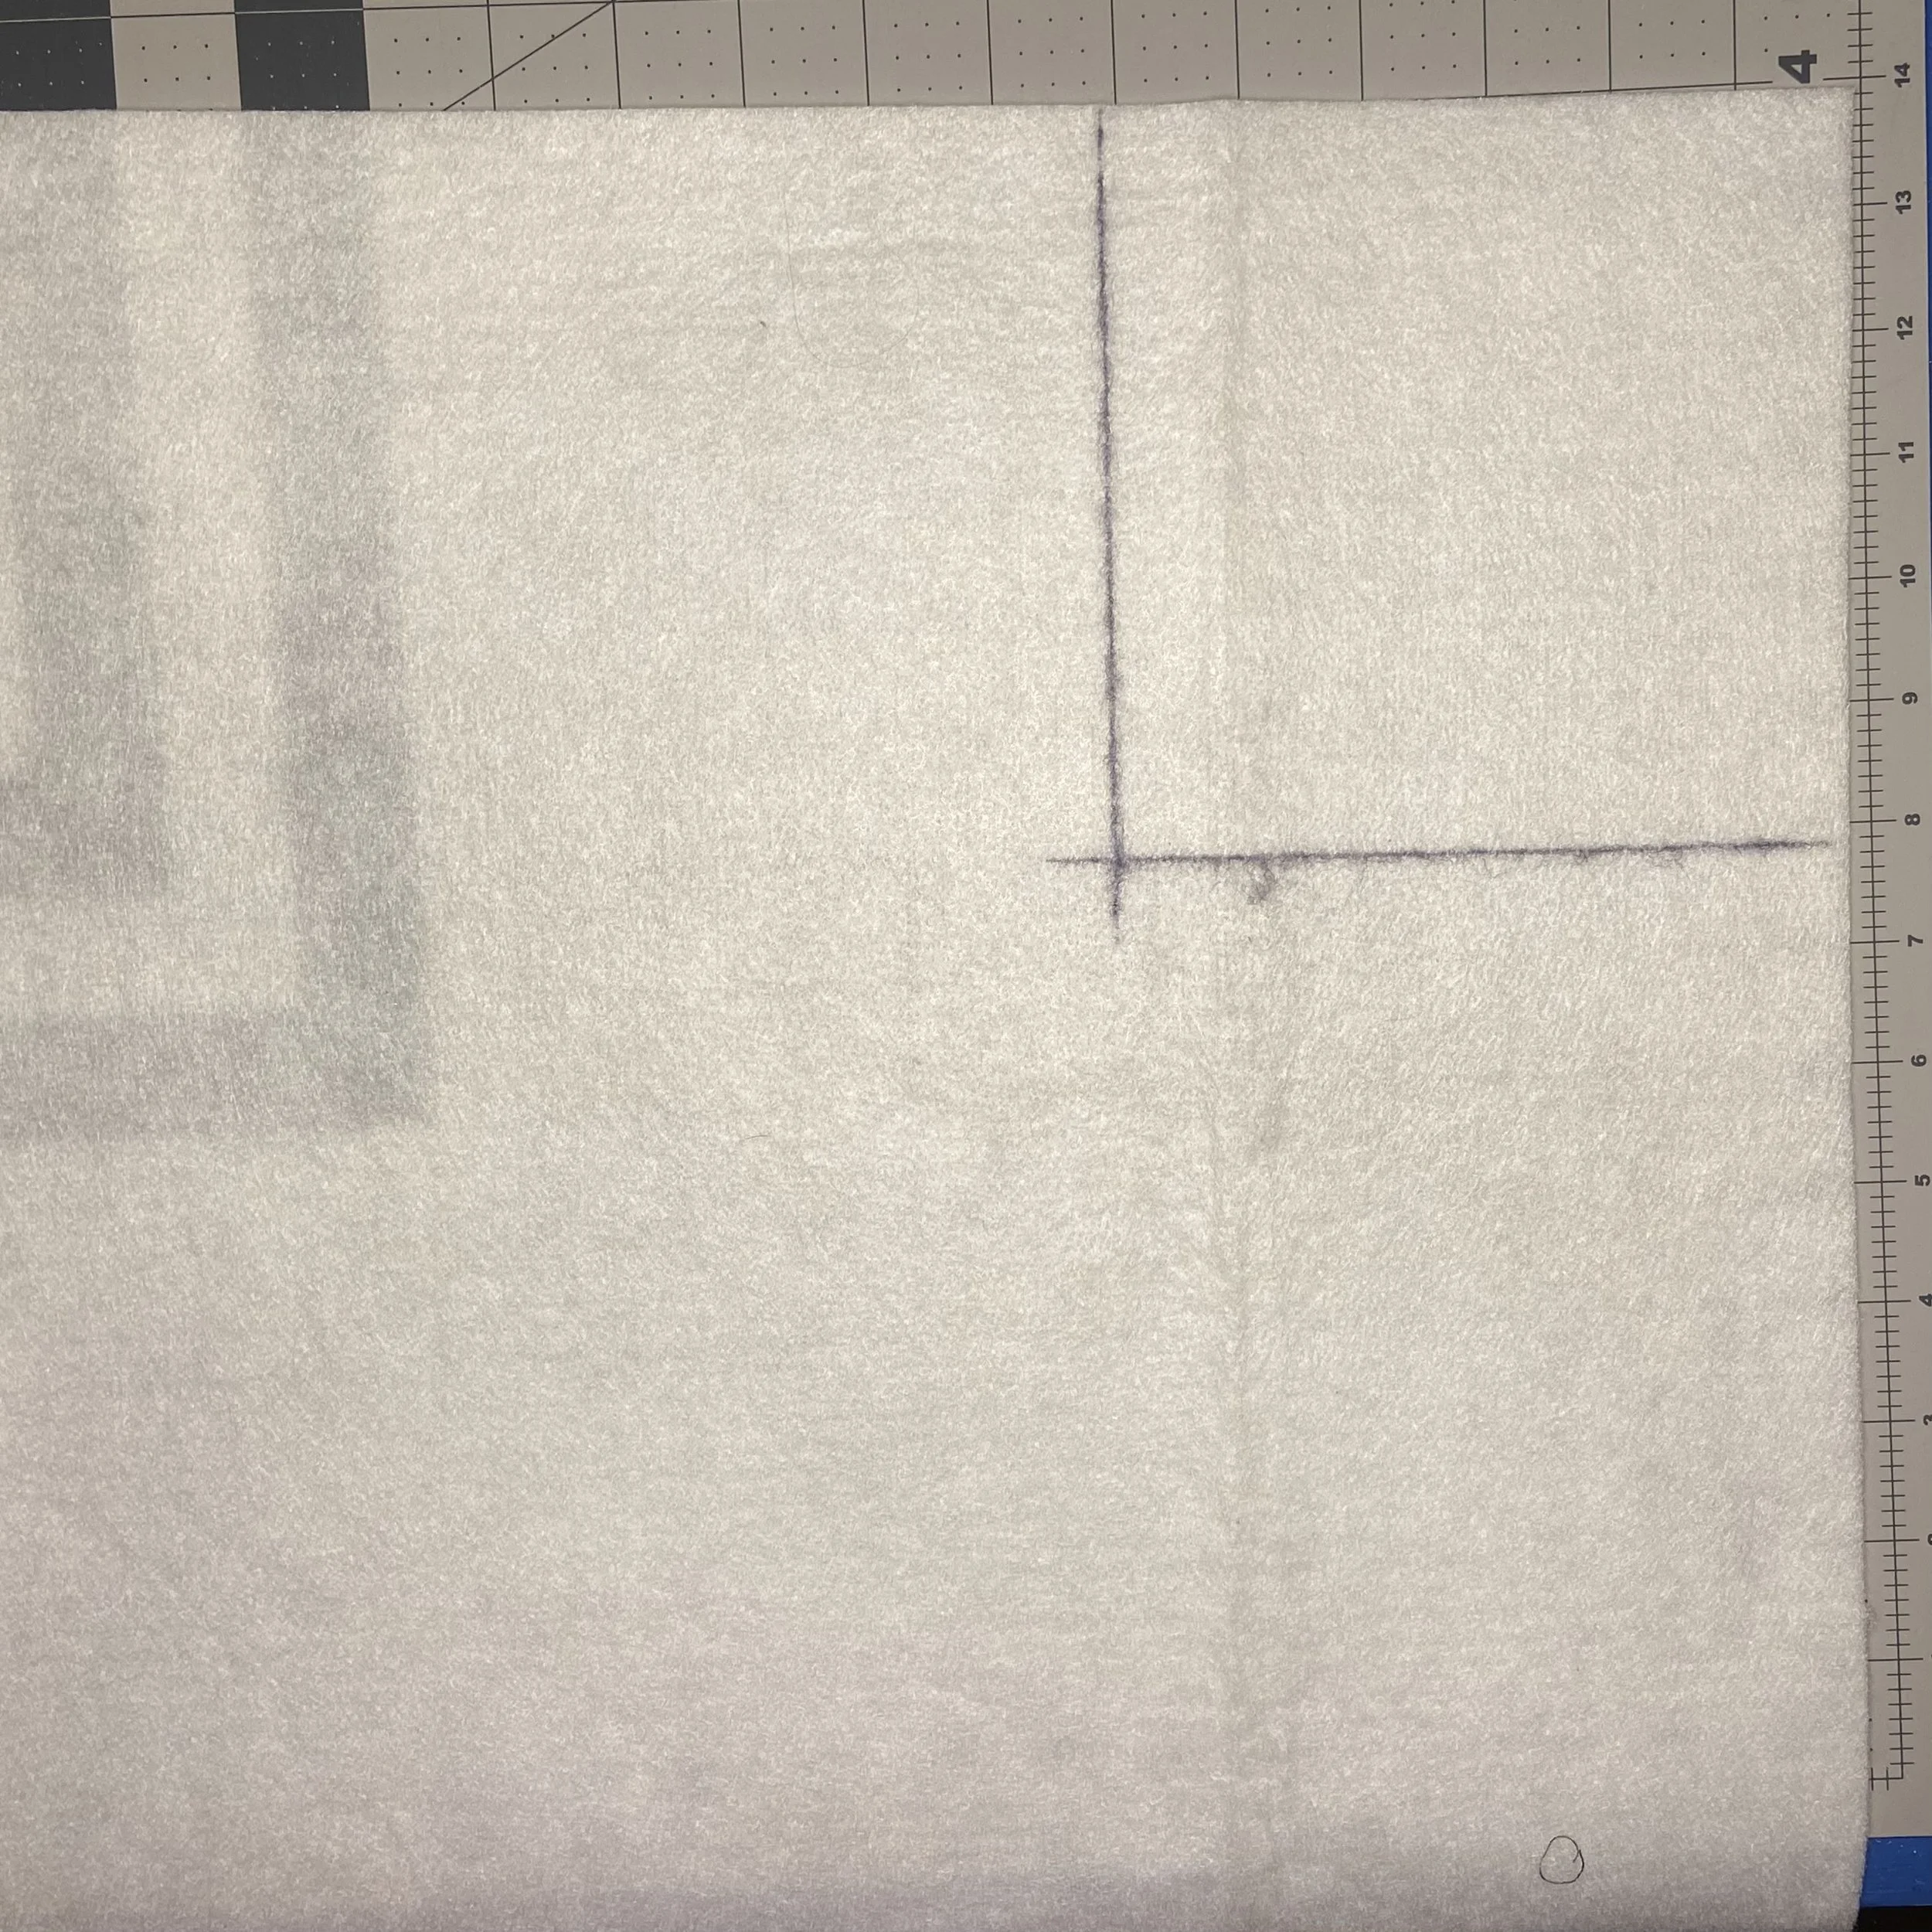
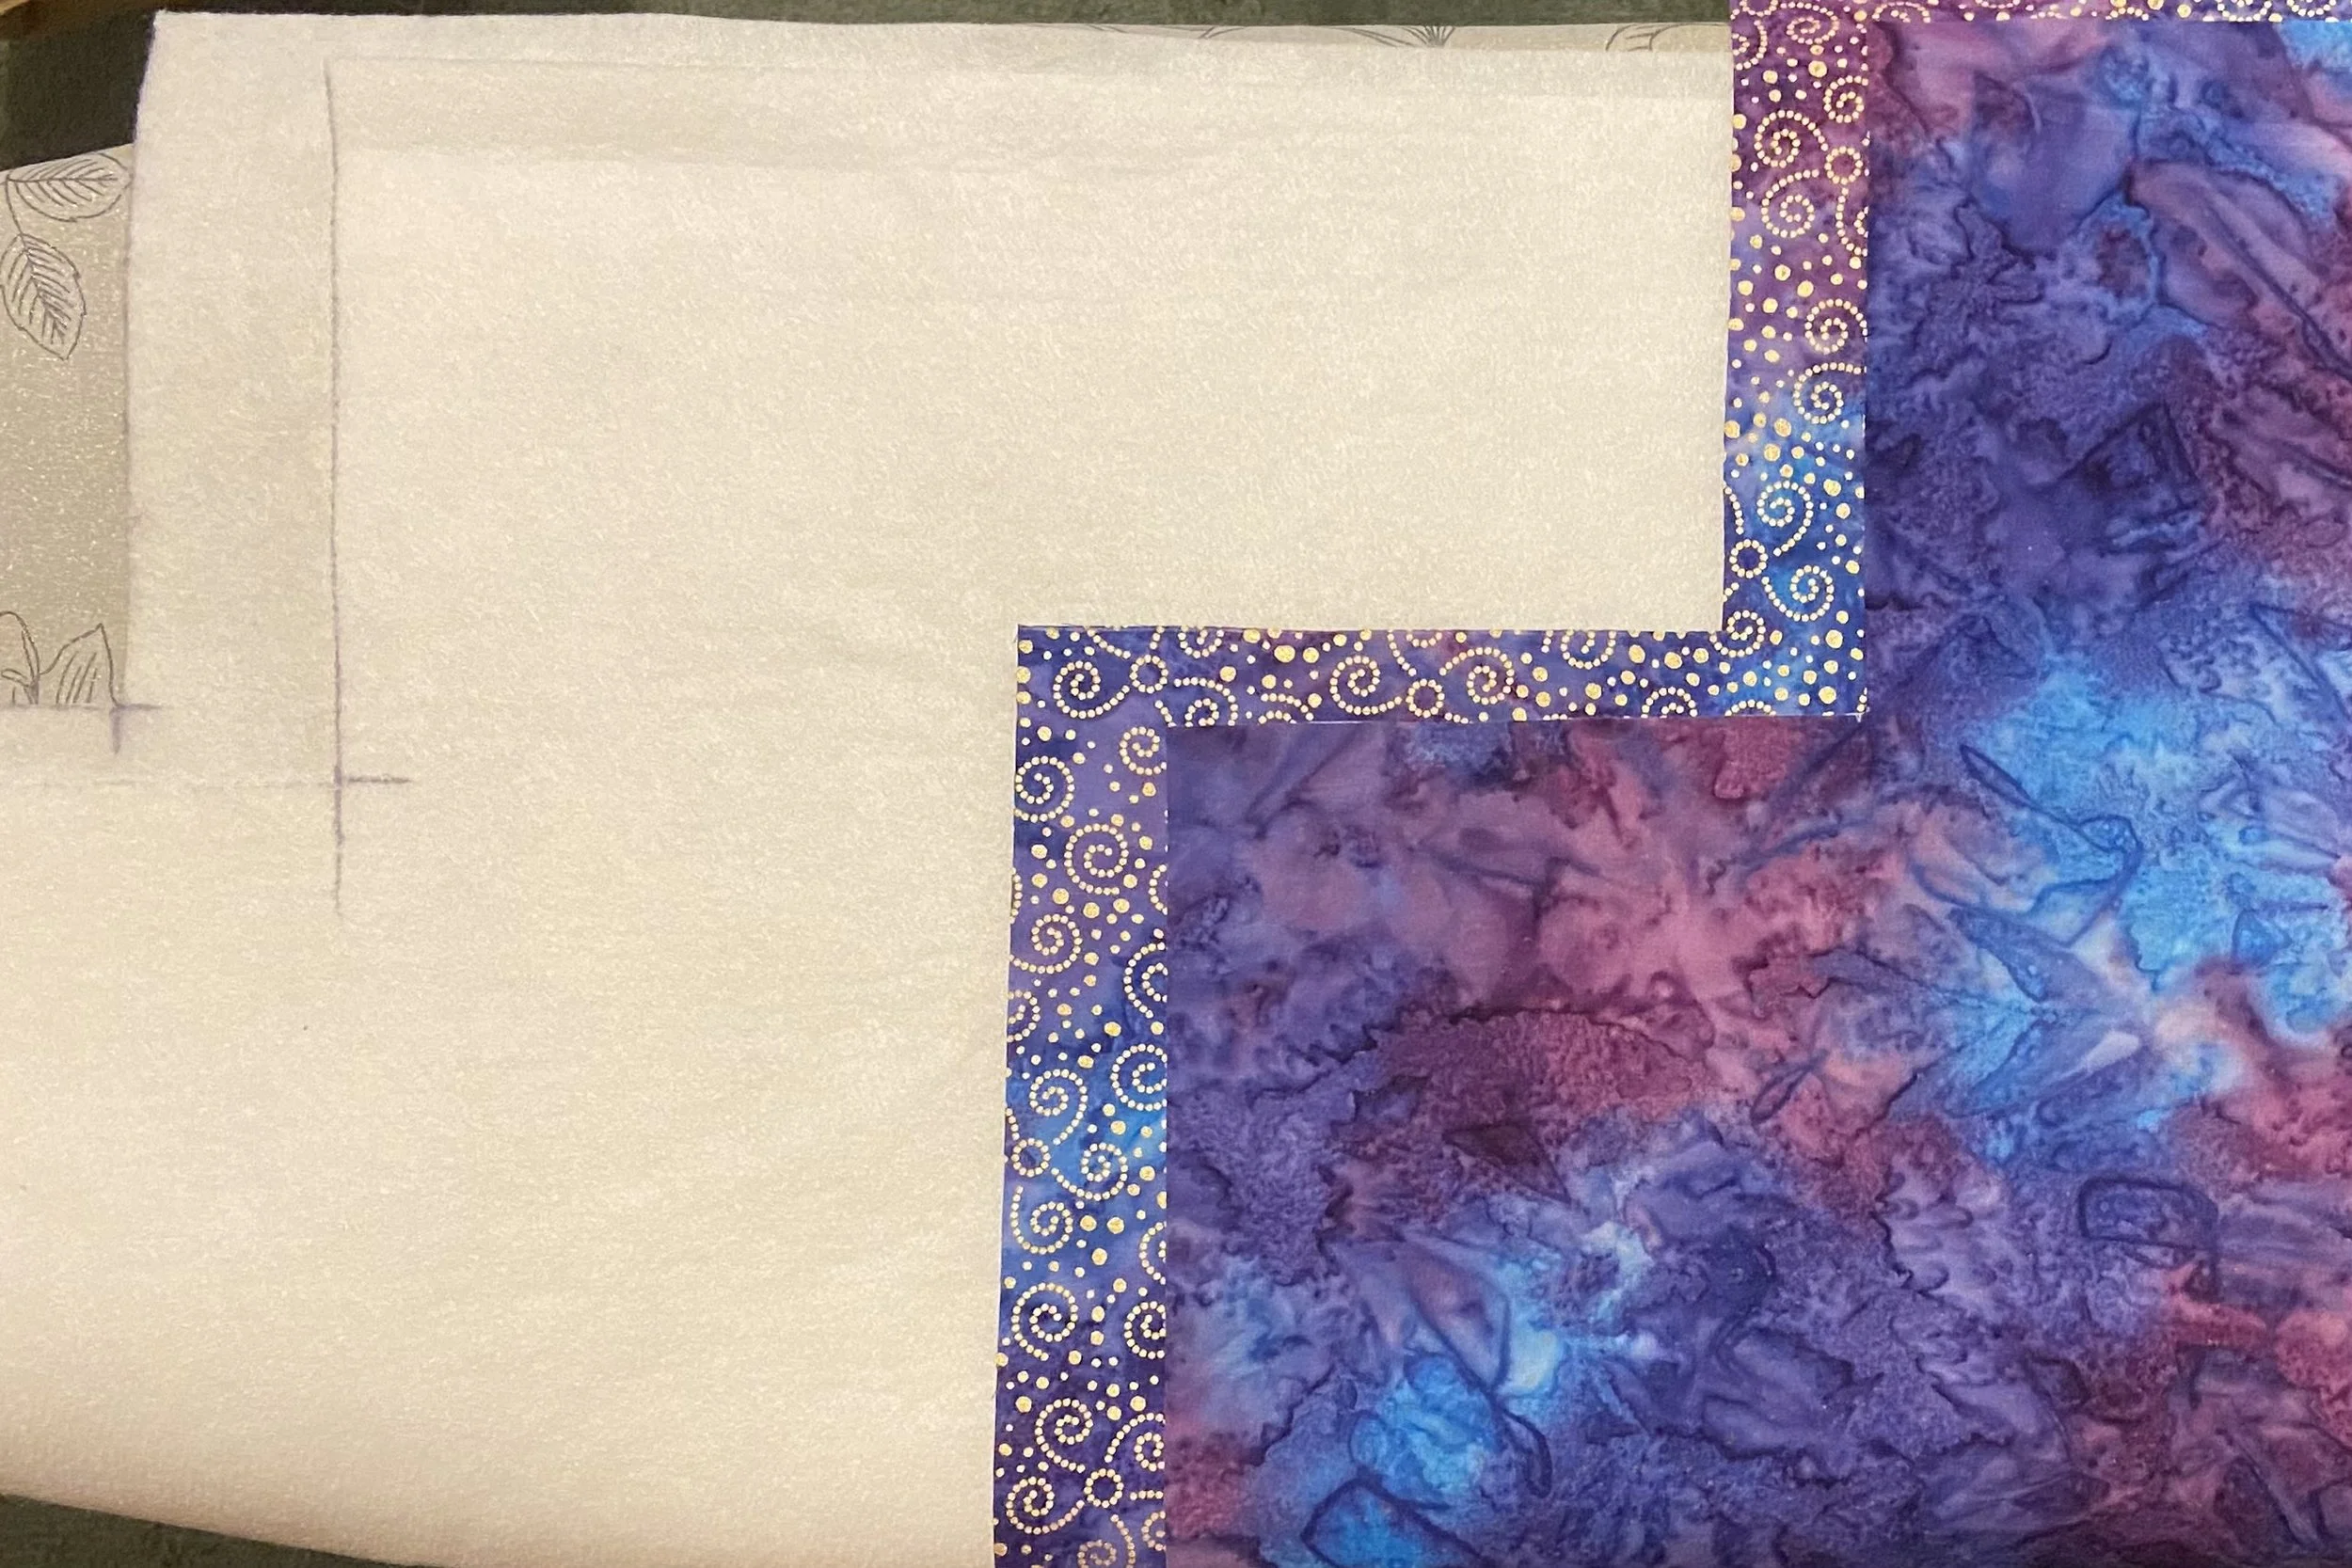
Then I drew myself a little diagram to make sure I could box the corners on this one (unlike the last attempt). After I drew out my 28” by 40” rectangle, I decided to make this in two pieces, so I drew another rectangle that was 28” by 20”. There were two reasons for this…for one thing, it’s easier to come up with scrap pieces that work if you don’t need huge pieces. And also, the whole thing would be much easier to handle during the quilting if it was not full-sized to start with. So out of my Pellon fusible fleece, I cut two pieces that were 28” by 20”, with 6” squares (half of the depth measurement) cut out of the upper corners, as indicated in my diagram. And then I found some lining fabric, and cut it exactly the same way.
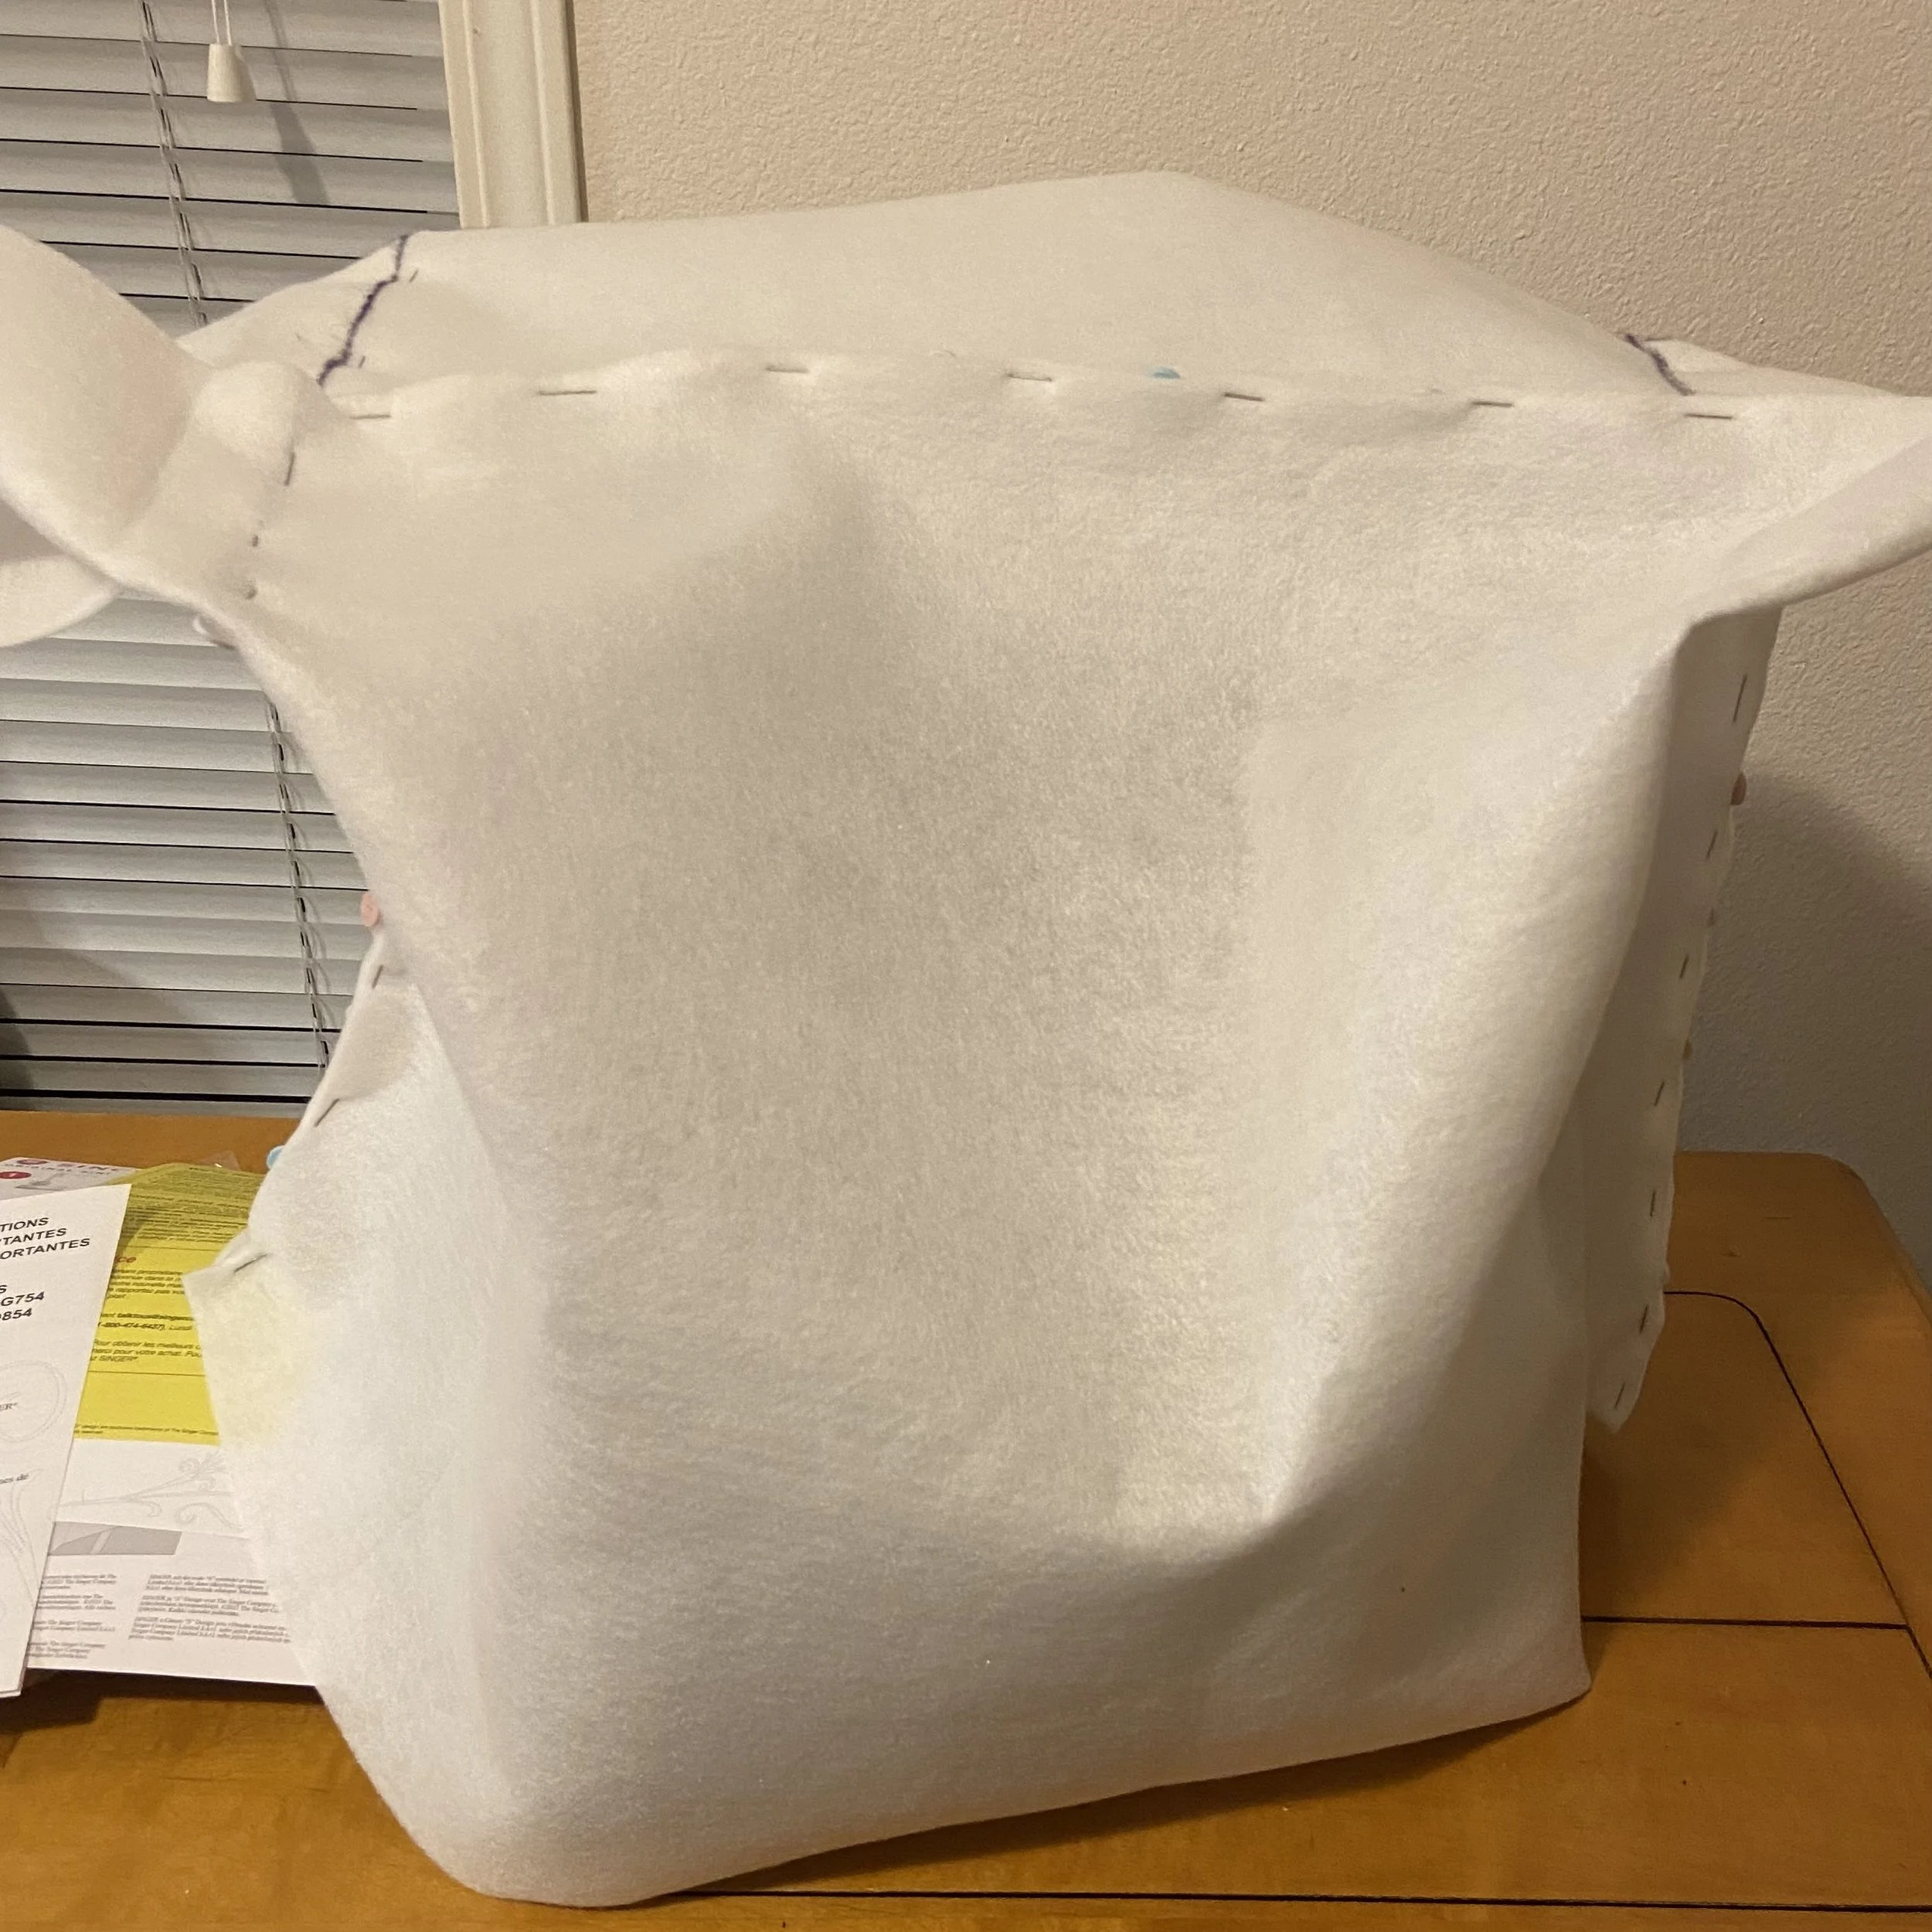
After I’d cut out all four pieces, I took a few minutes to pin together the Pellon pieces along what would be the seam lines to see if it would fit over the top of Hester. No point in continuing on if I wasn’t sure it would fit…as you can see, while it looks a little odd, it did fit quite nicely.
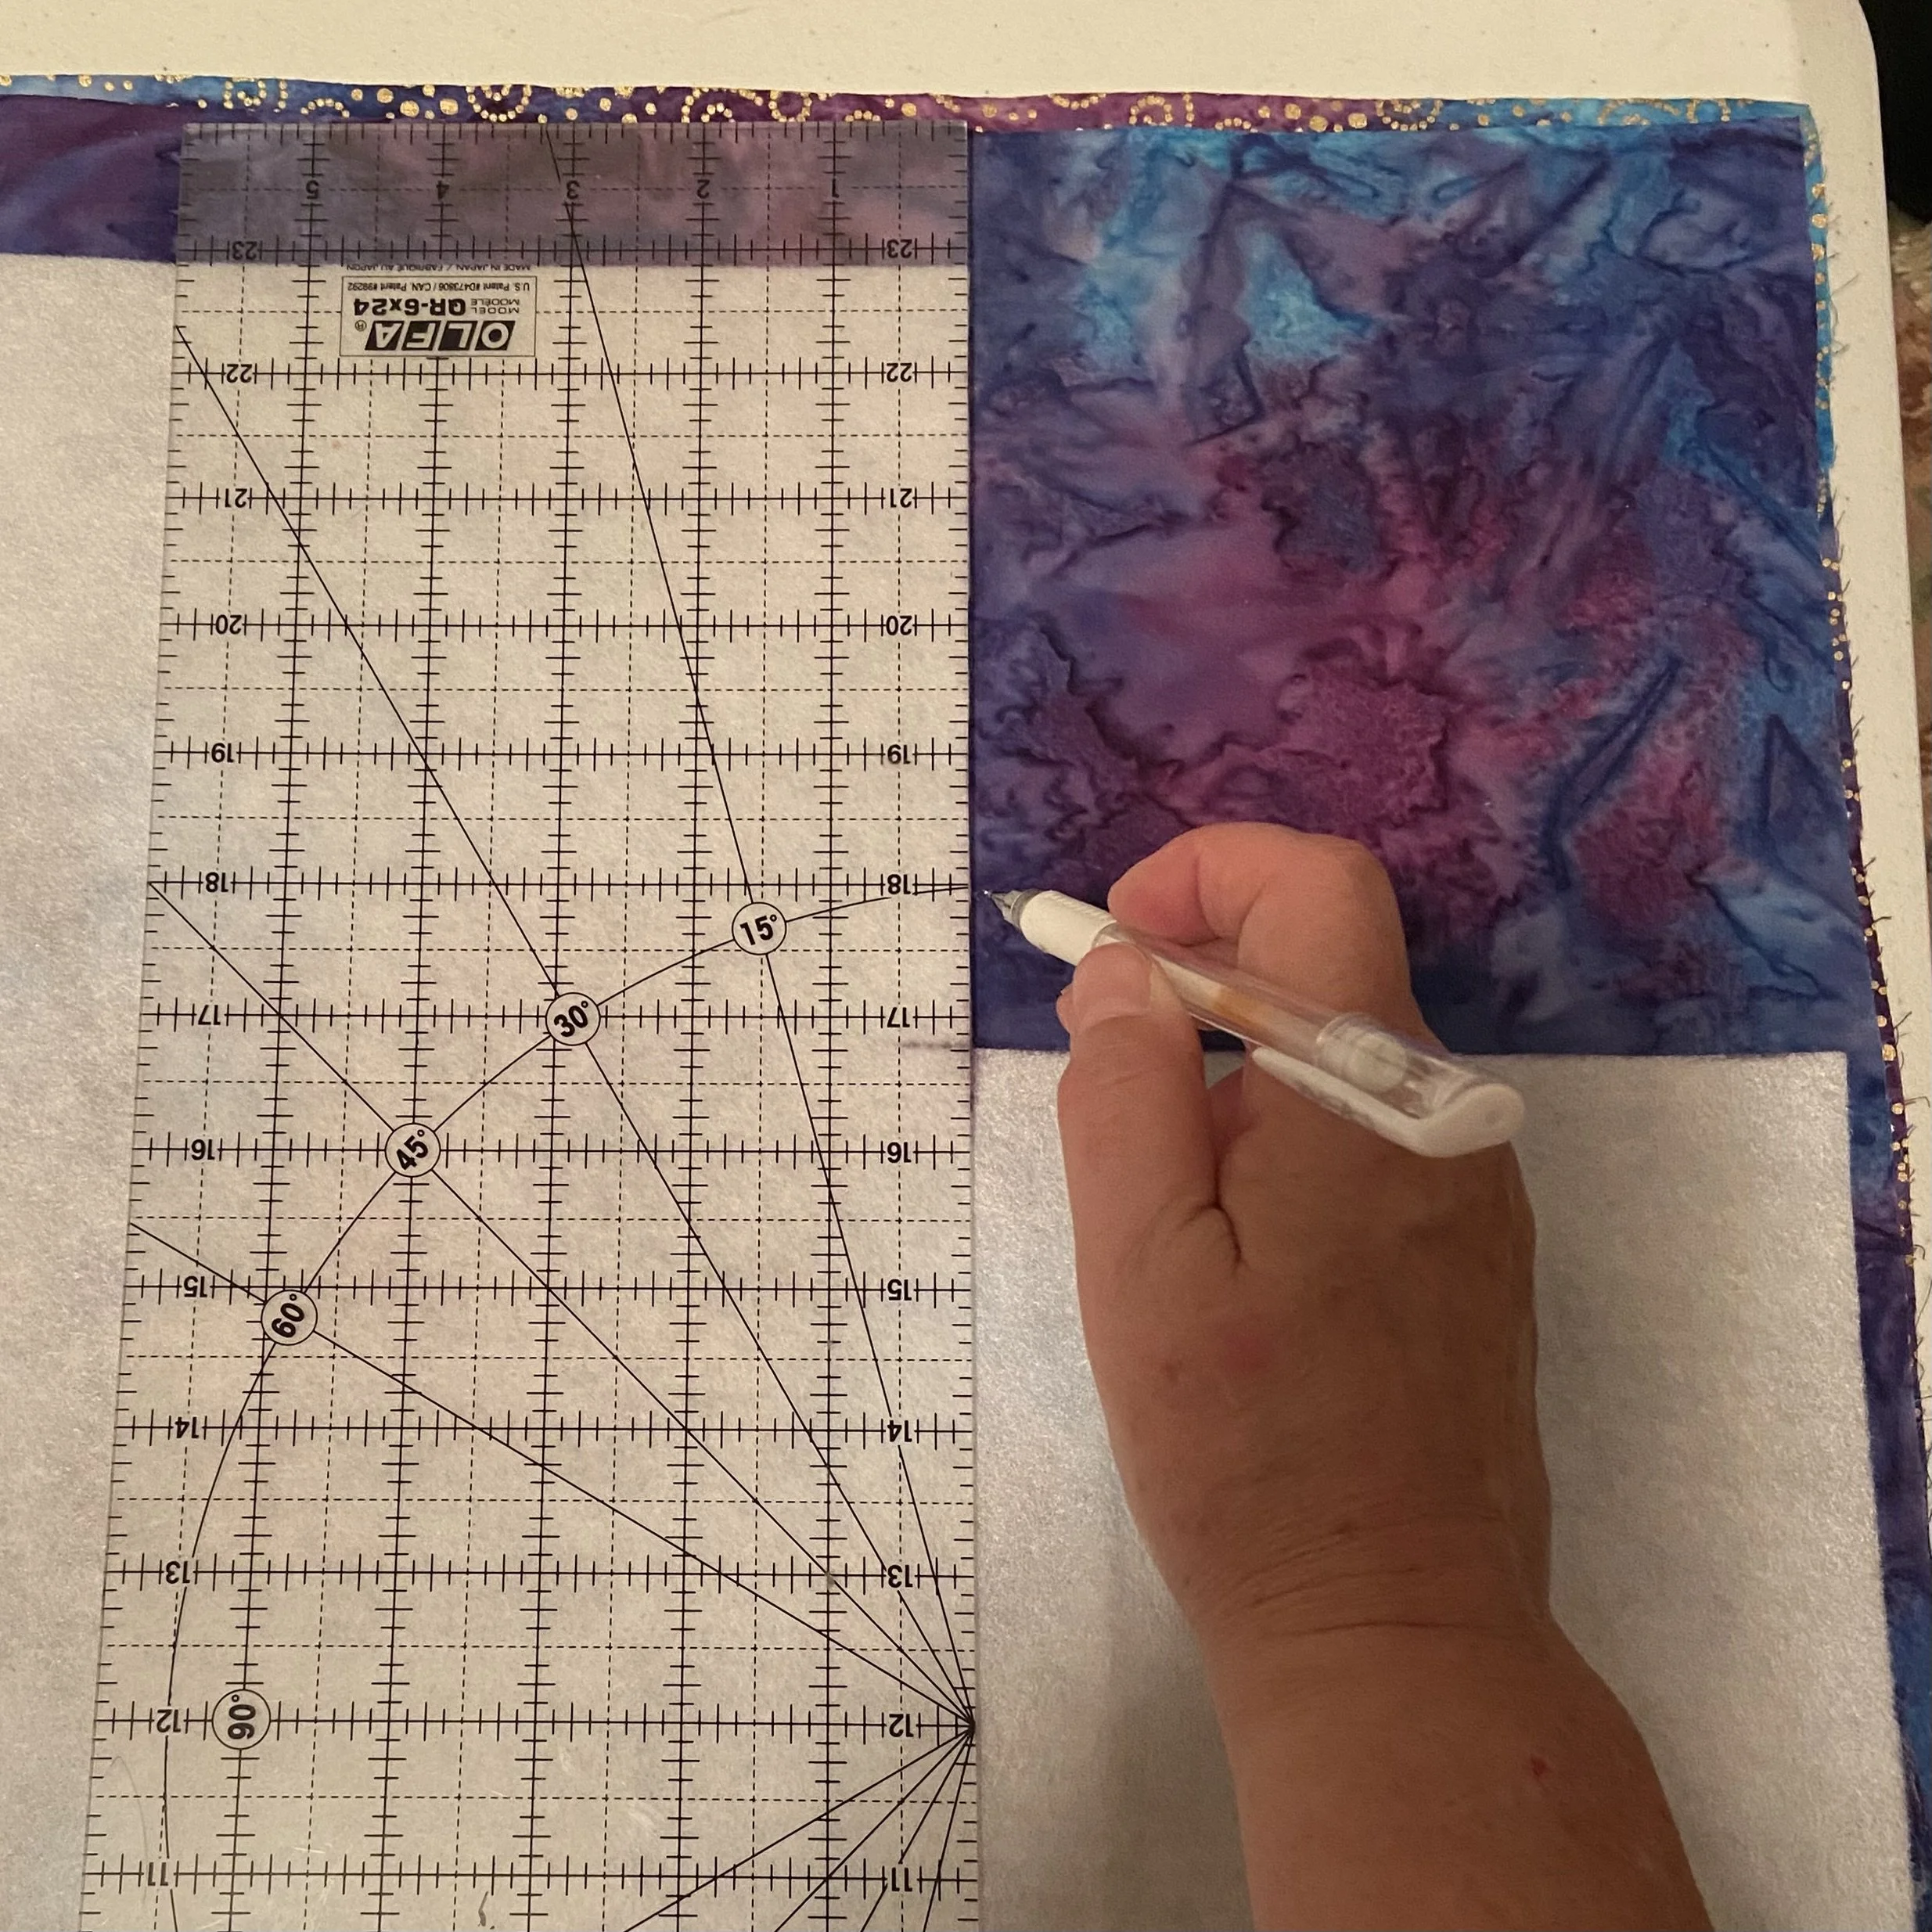
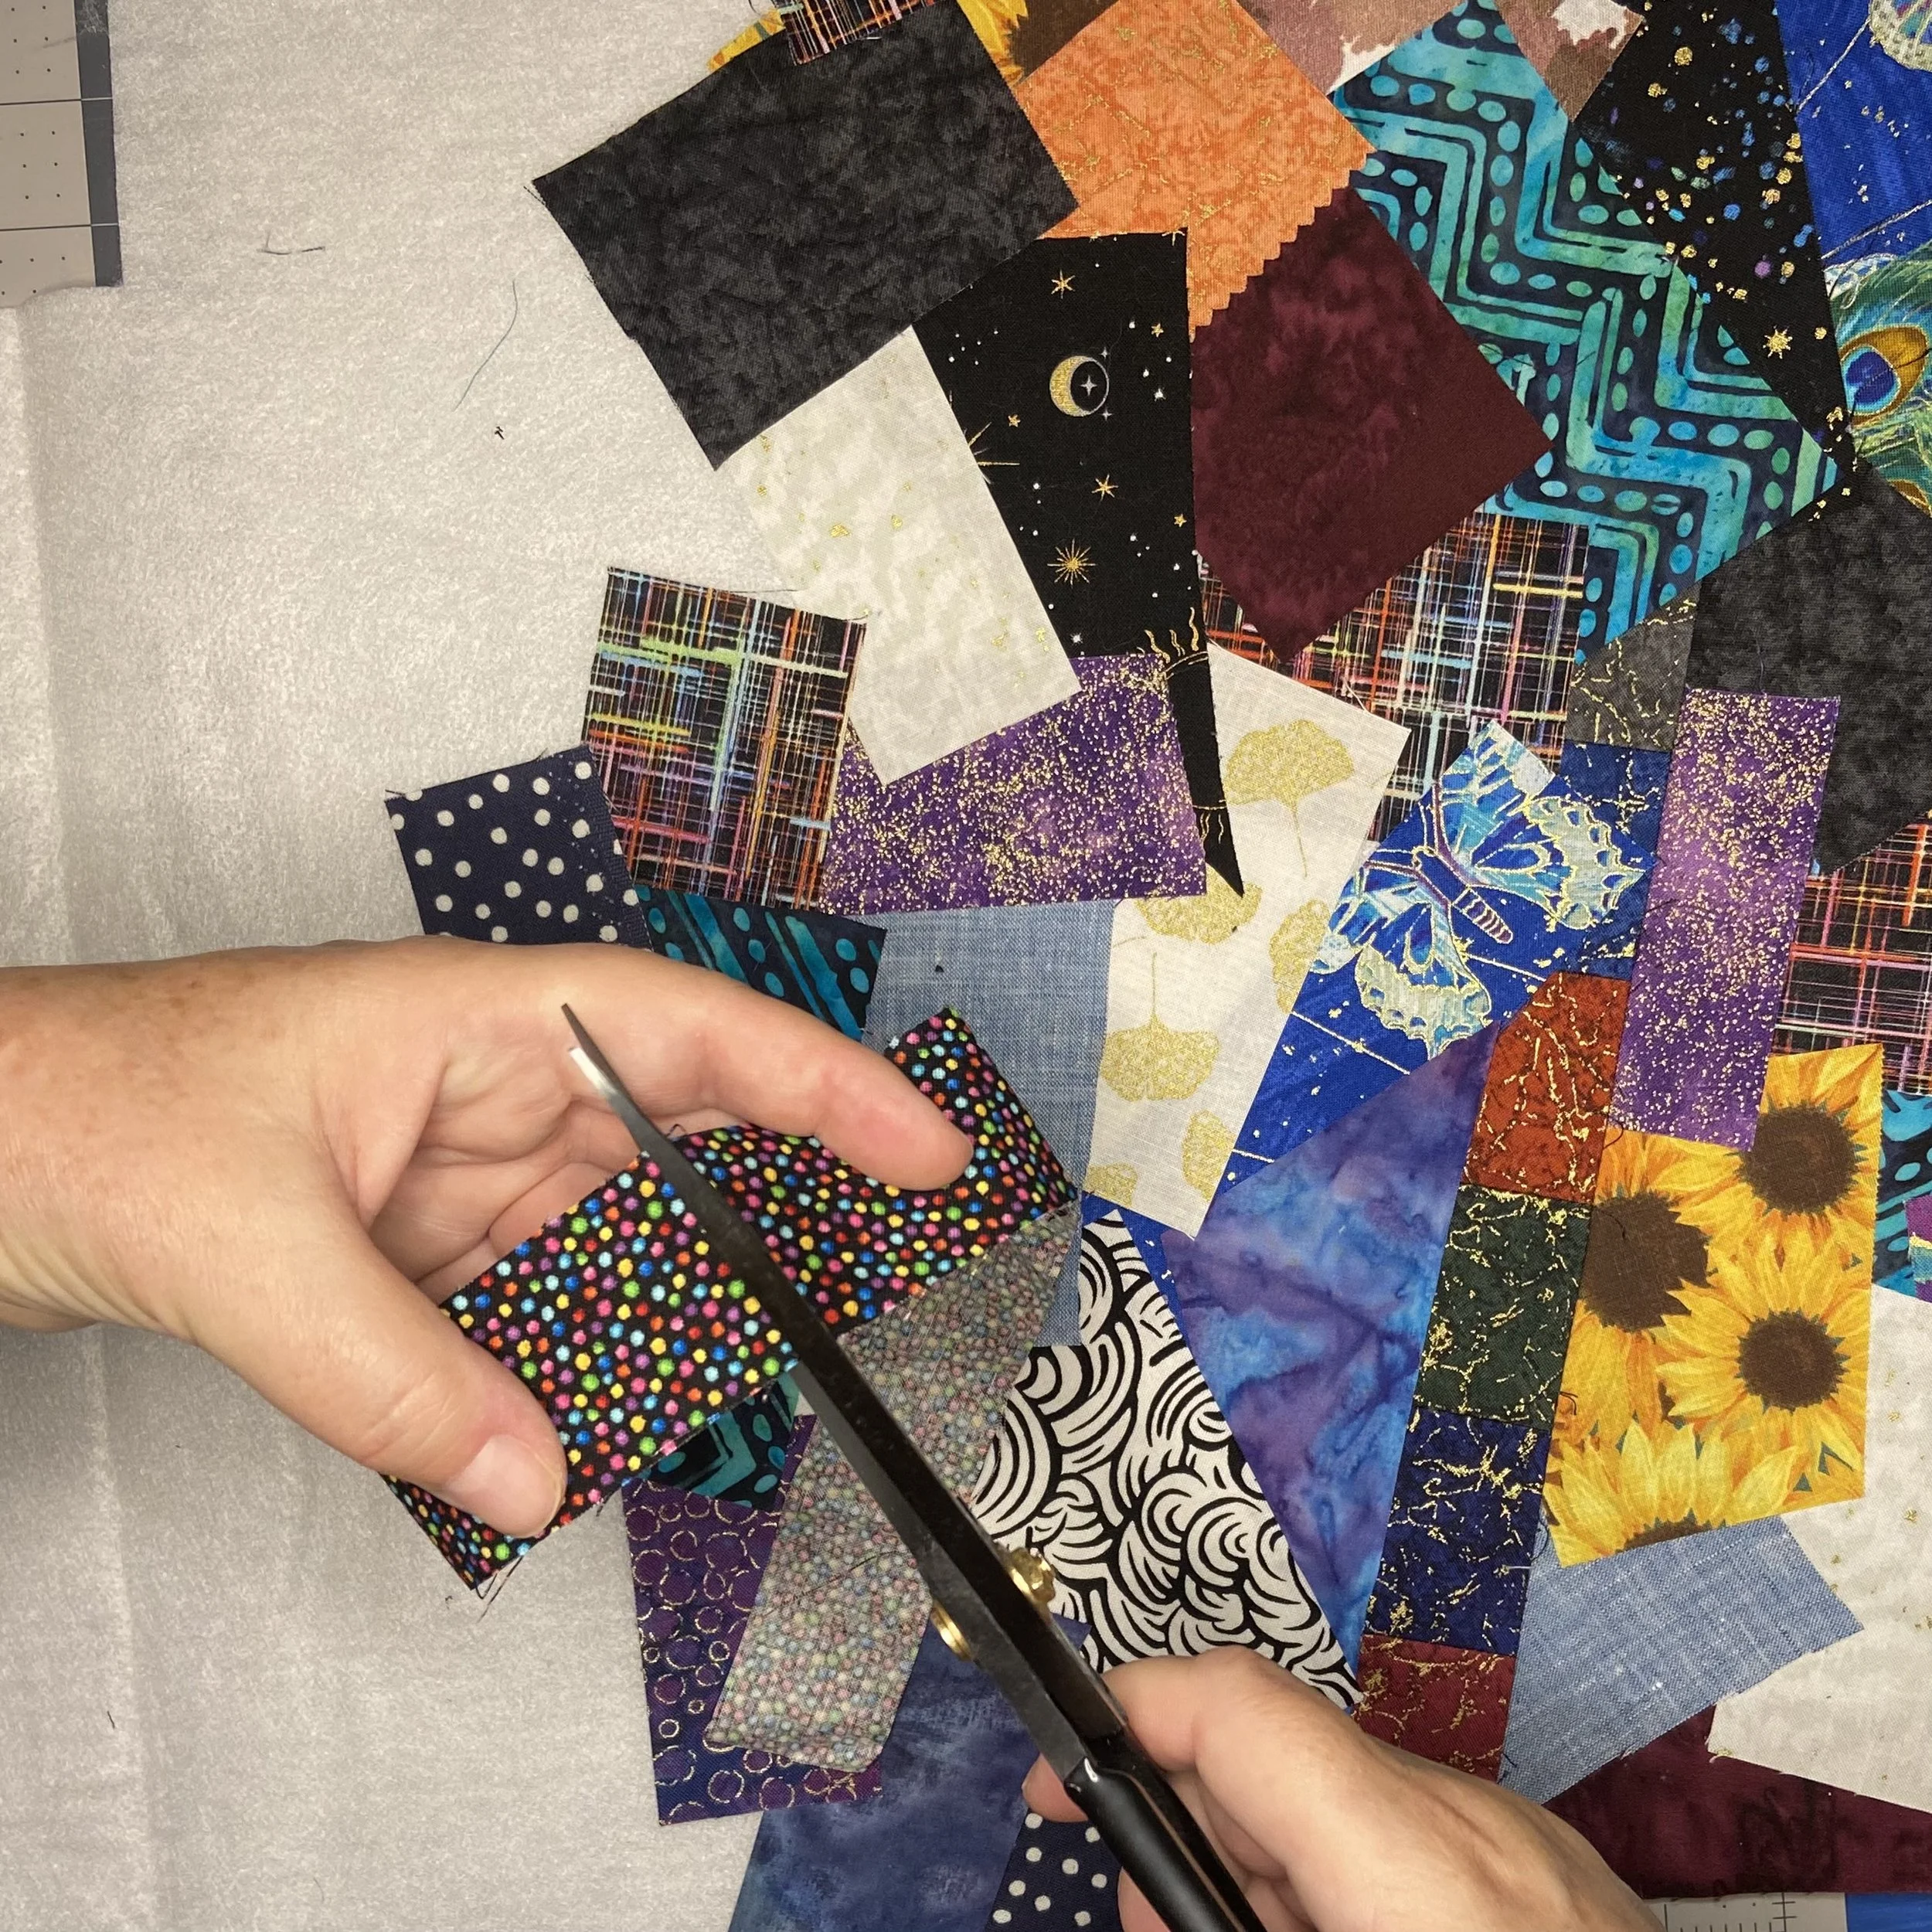
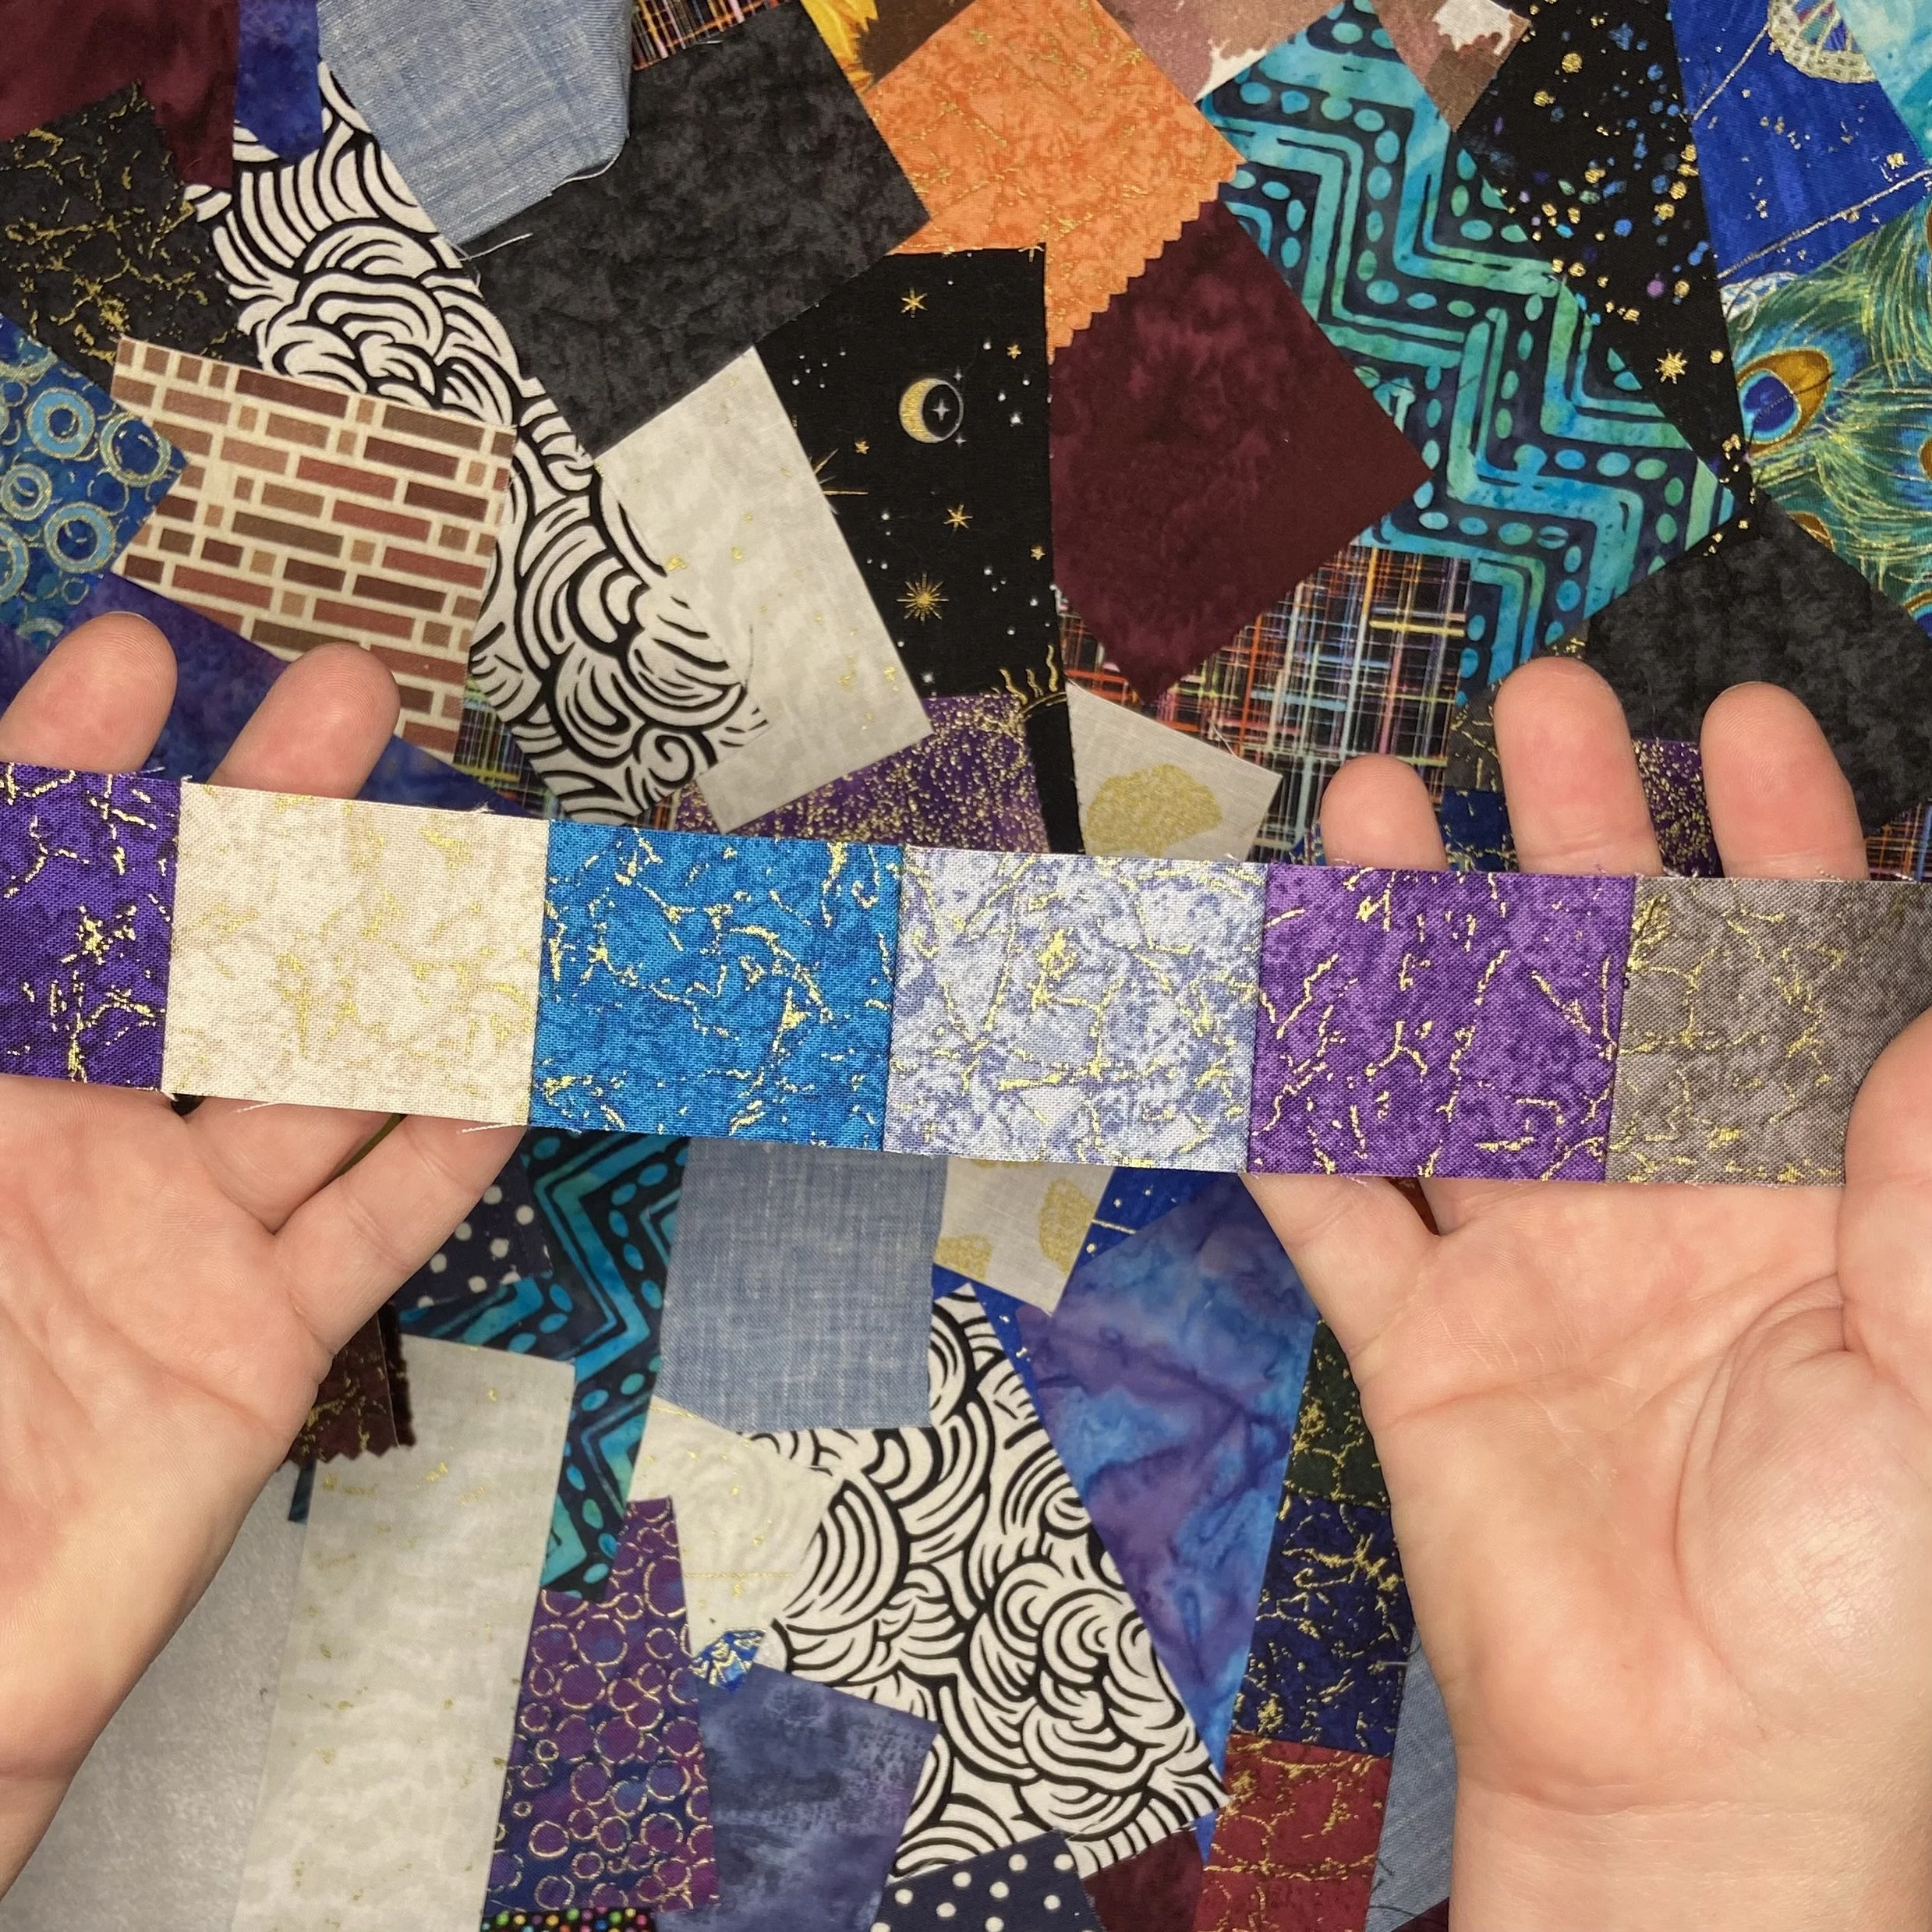
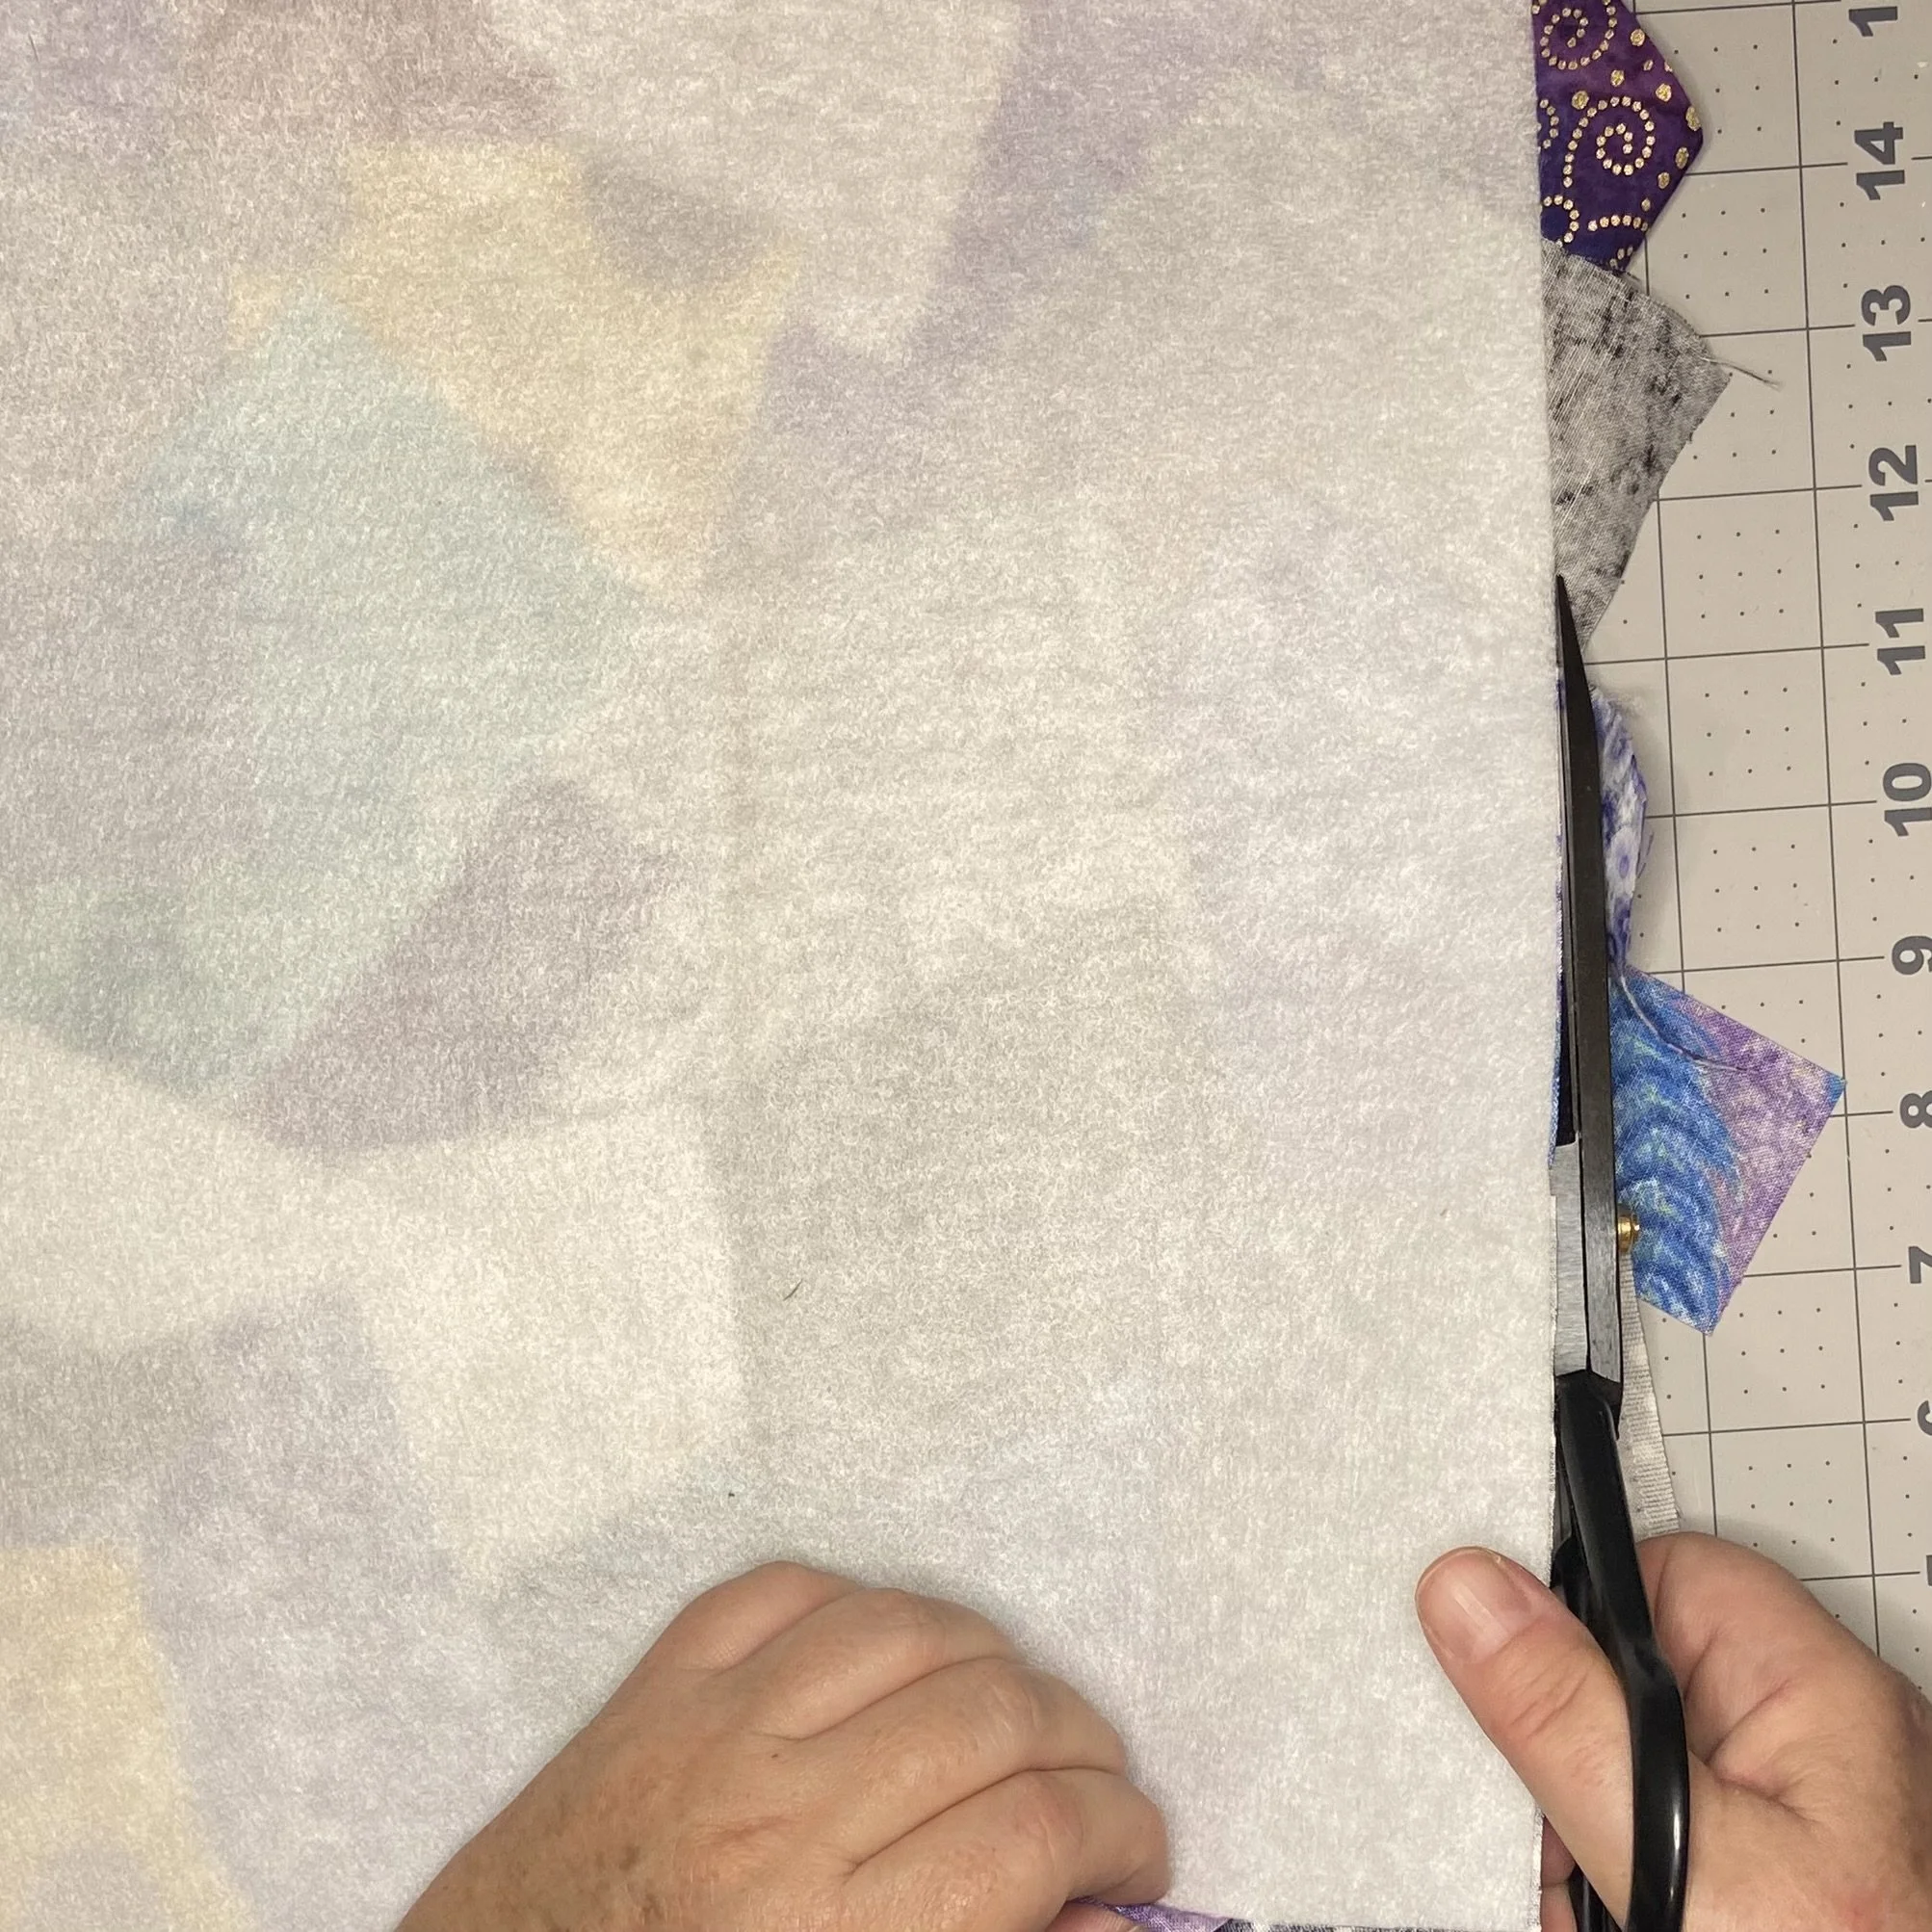
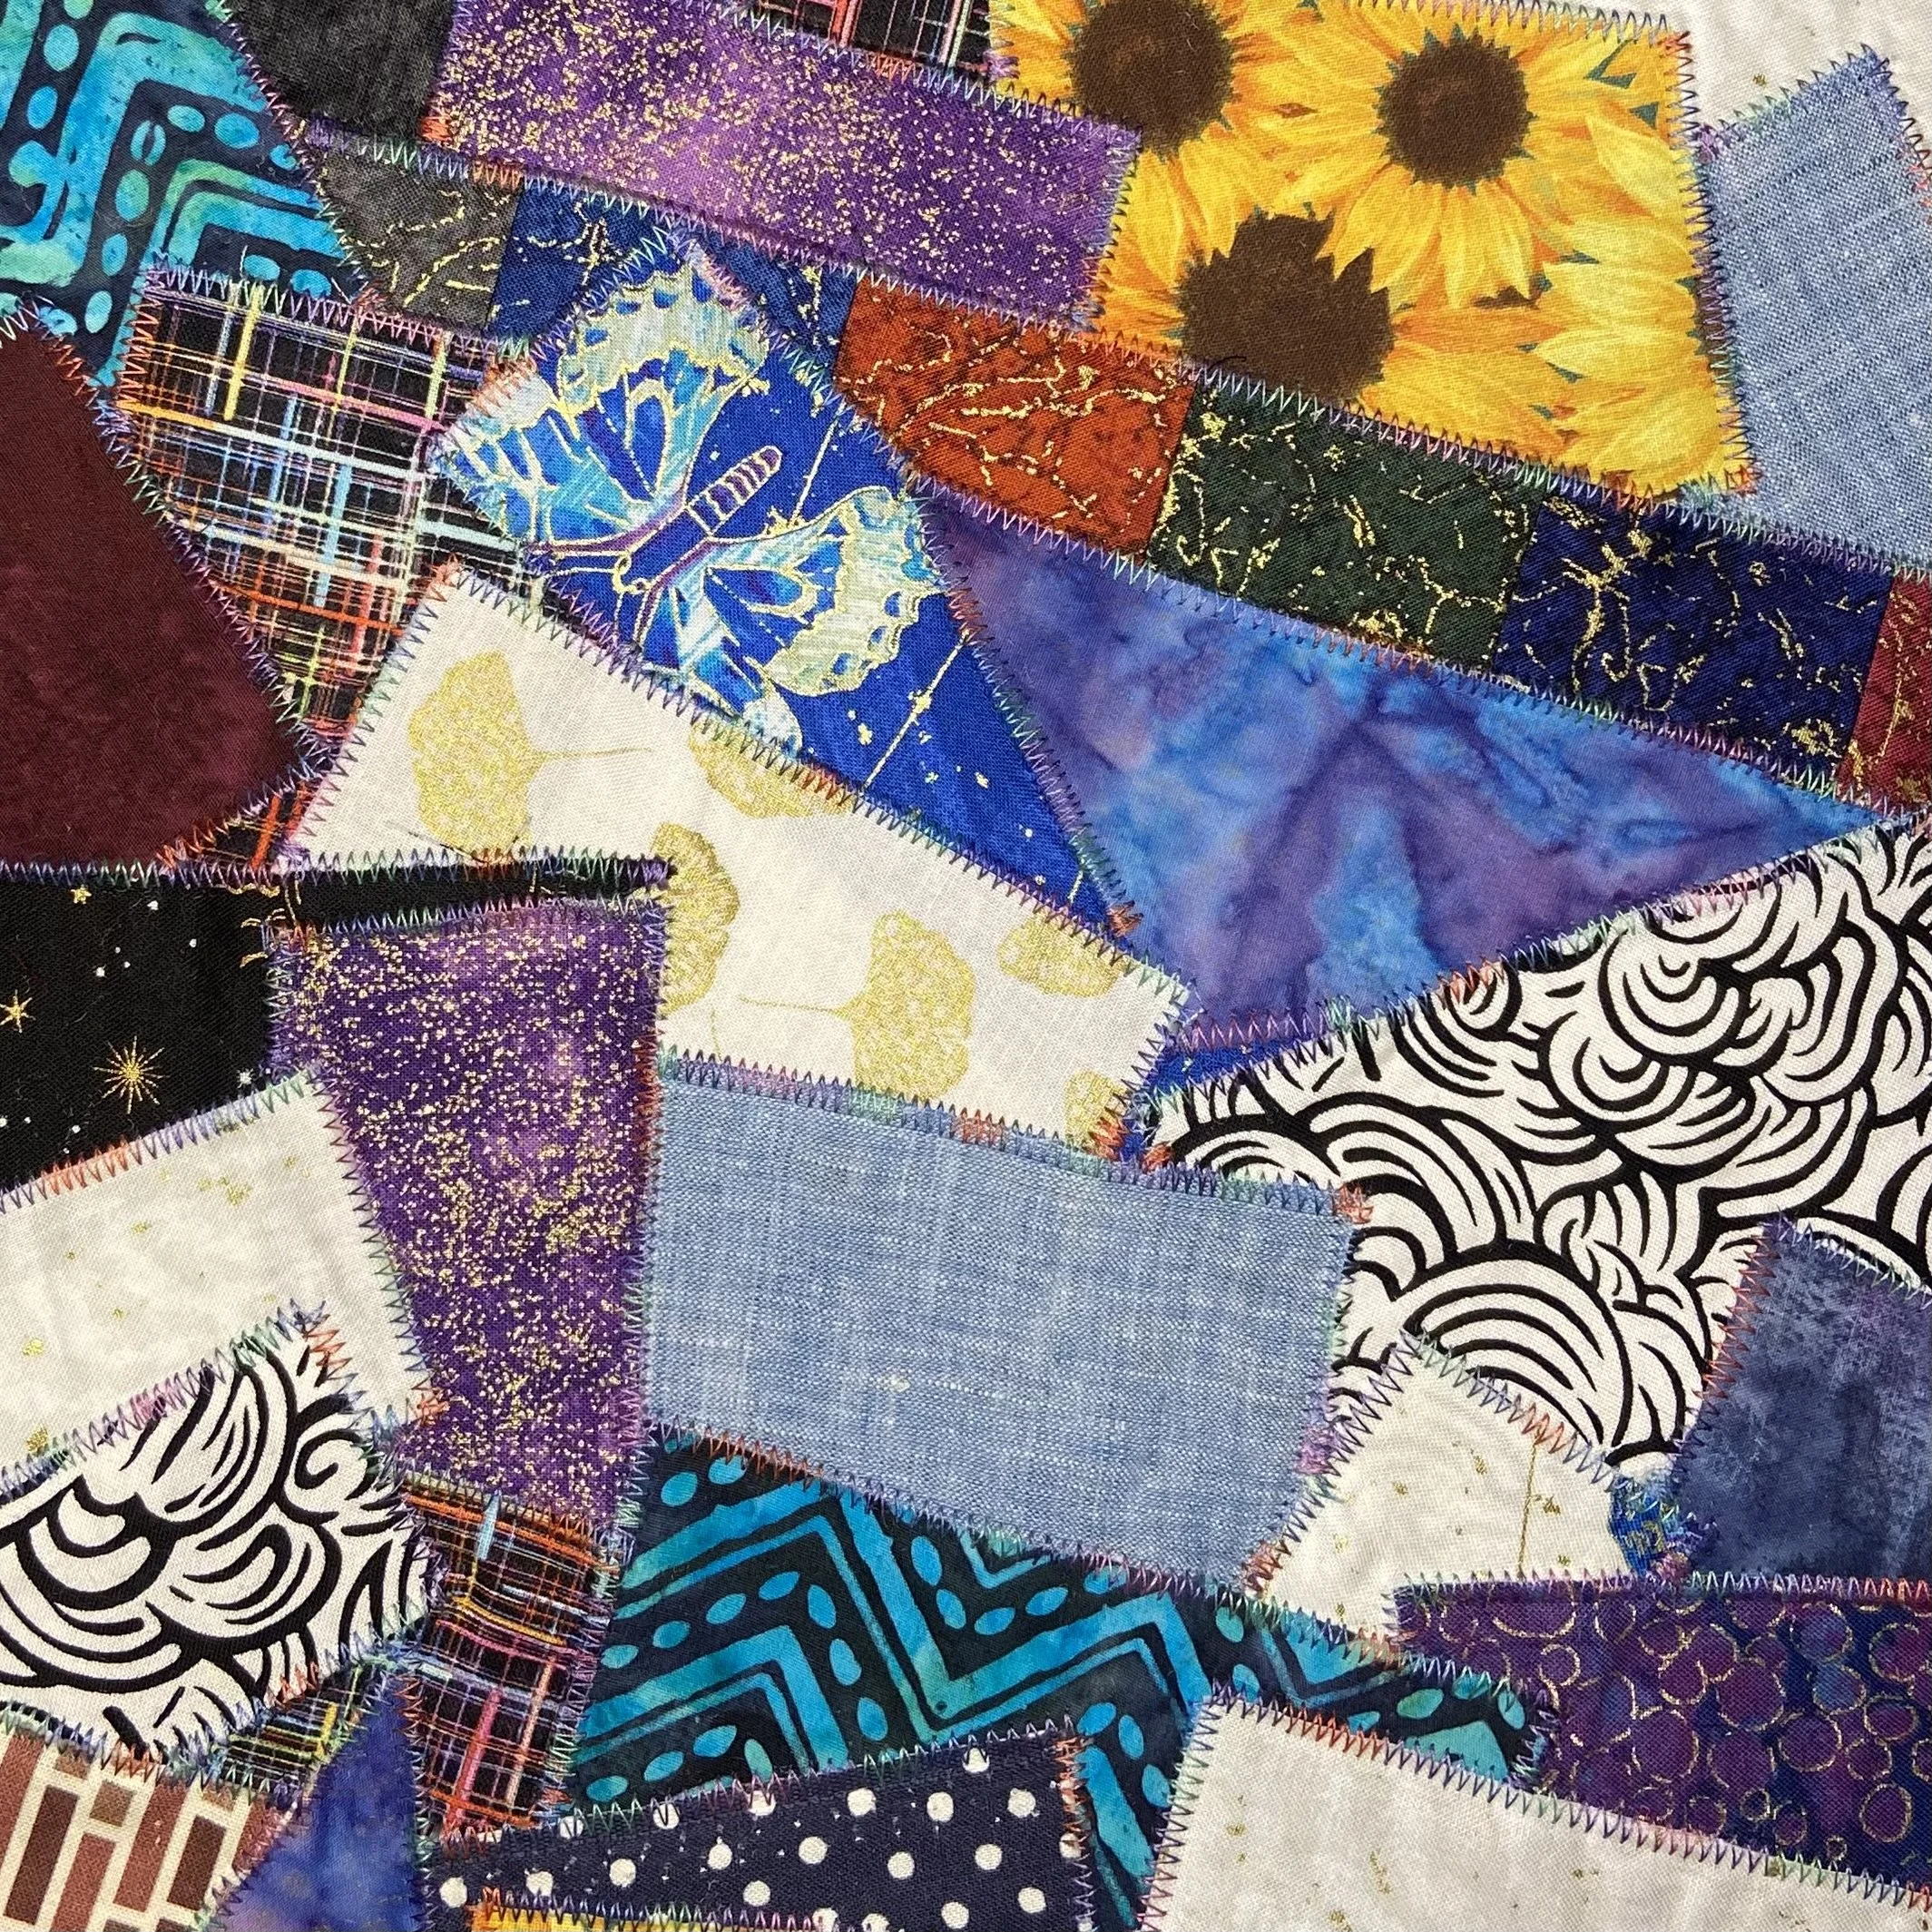
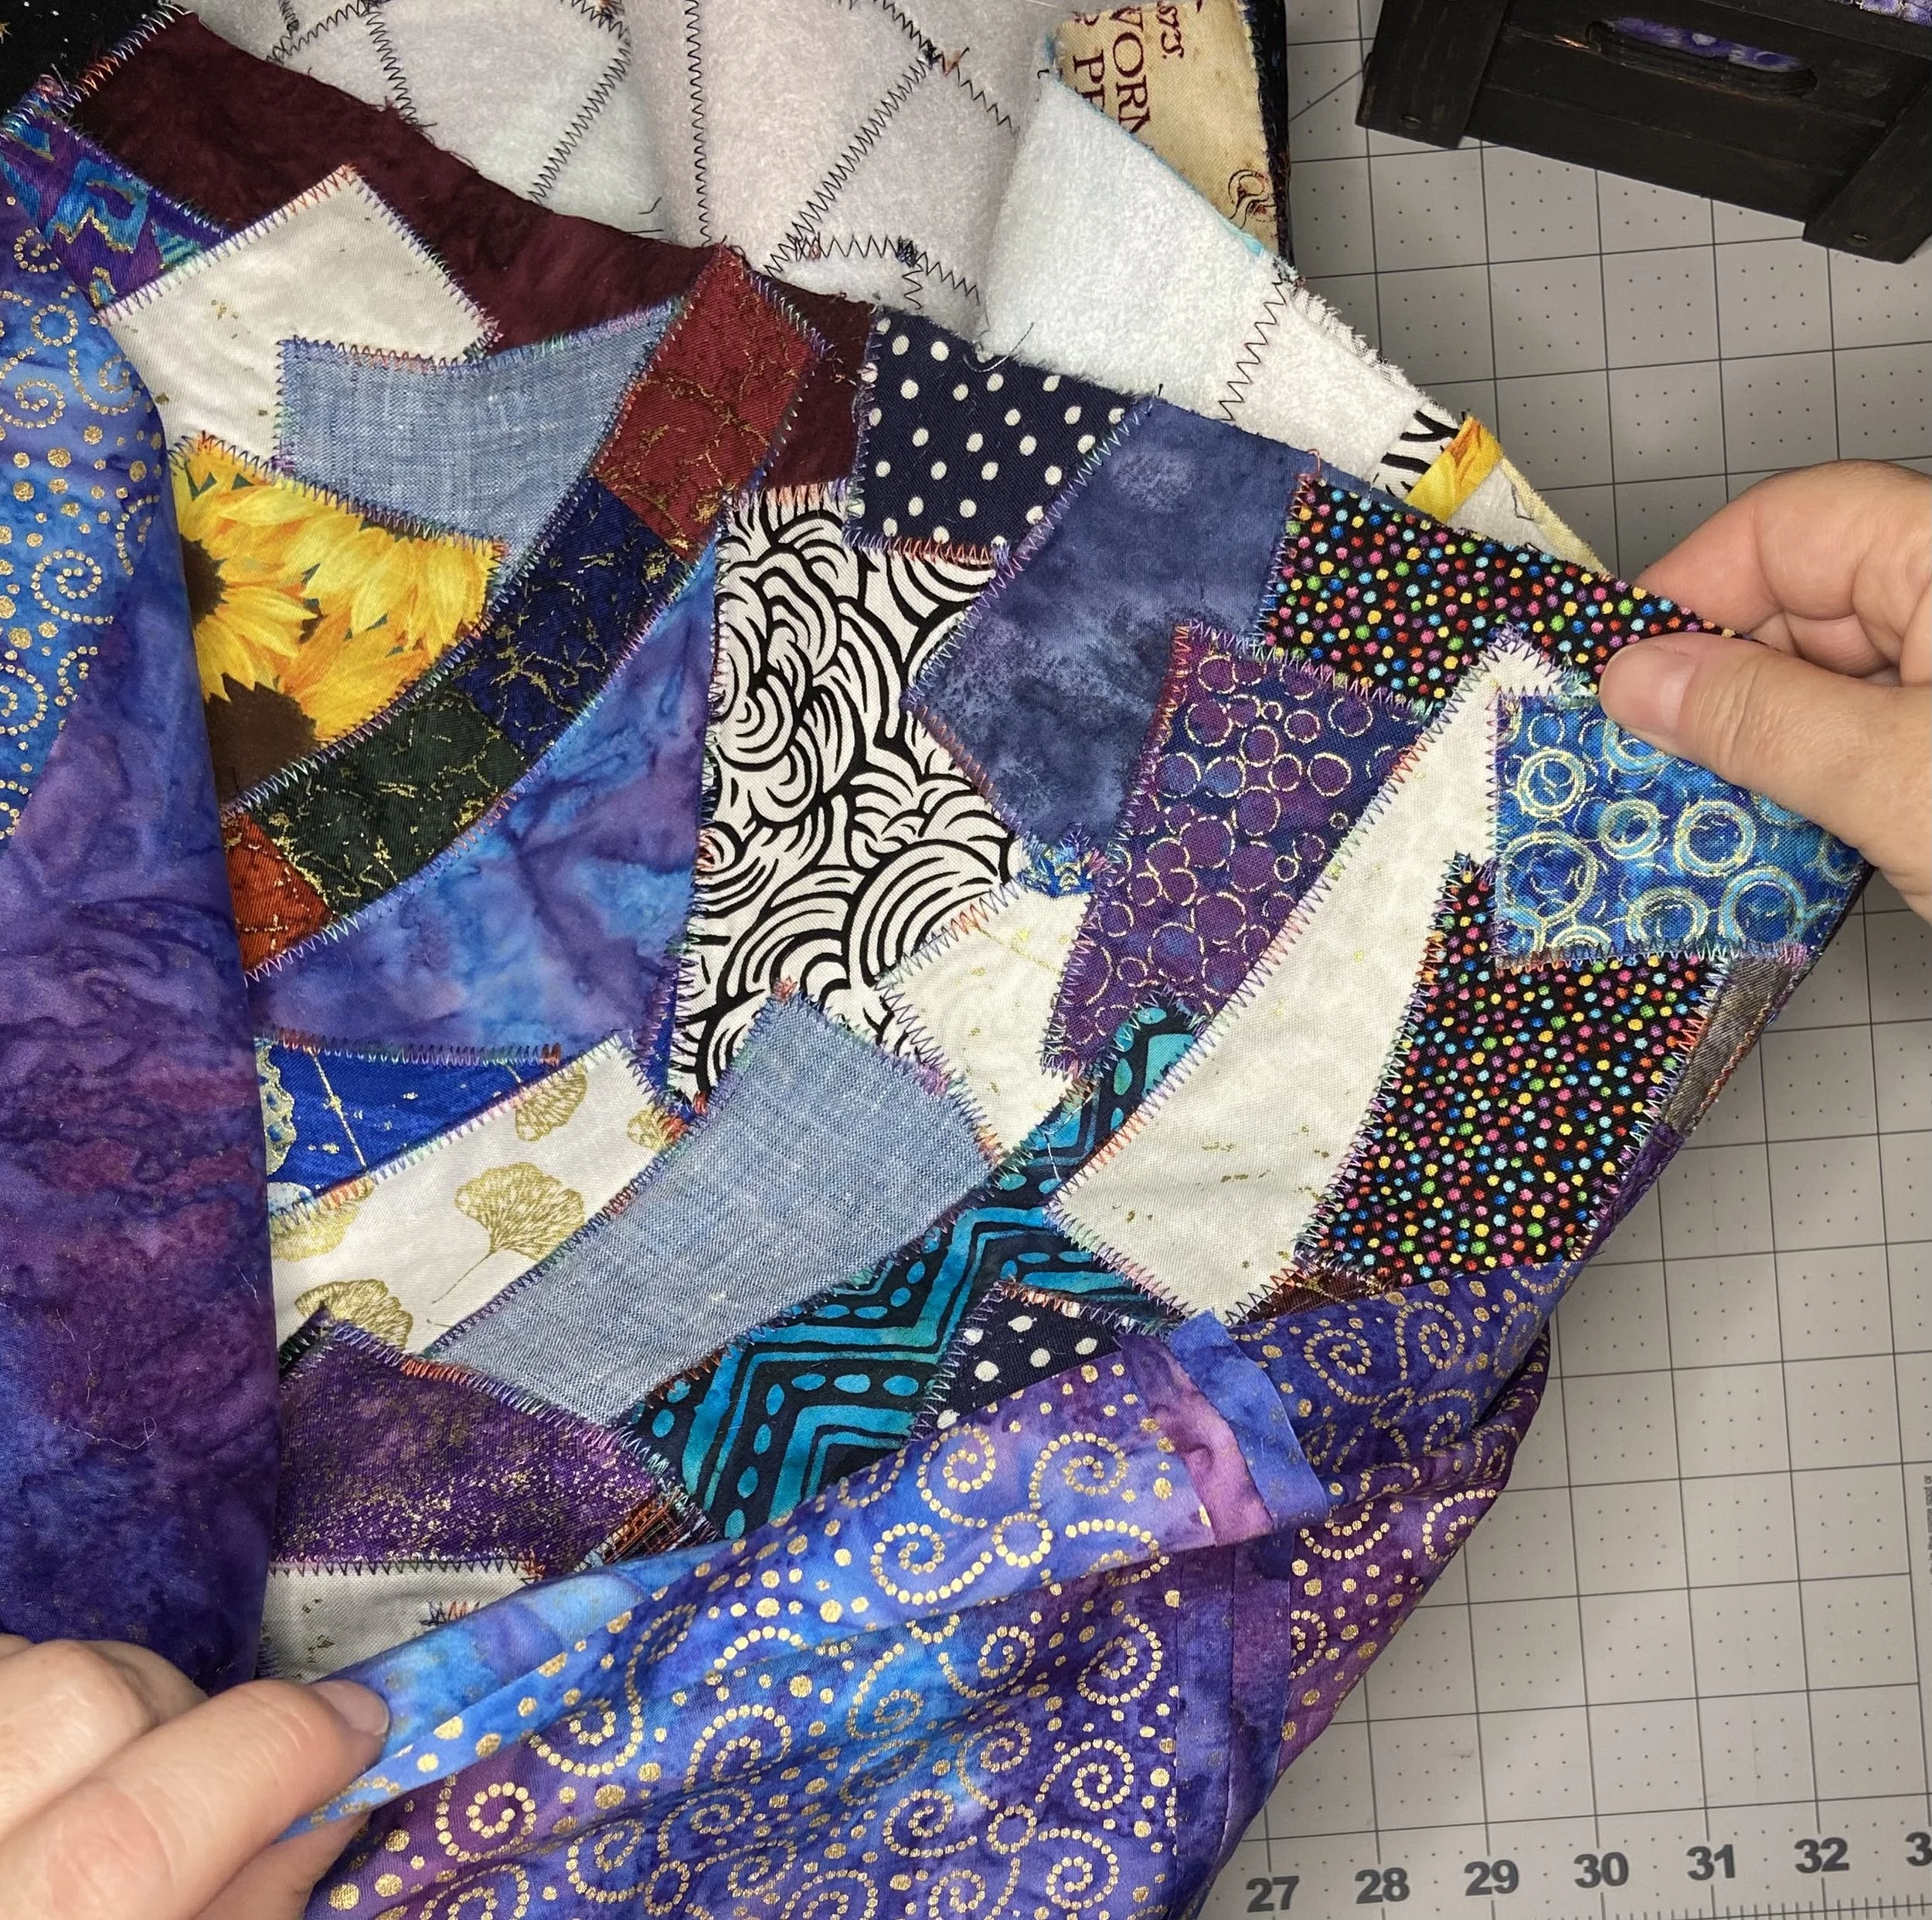
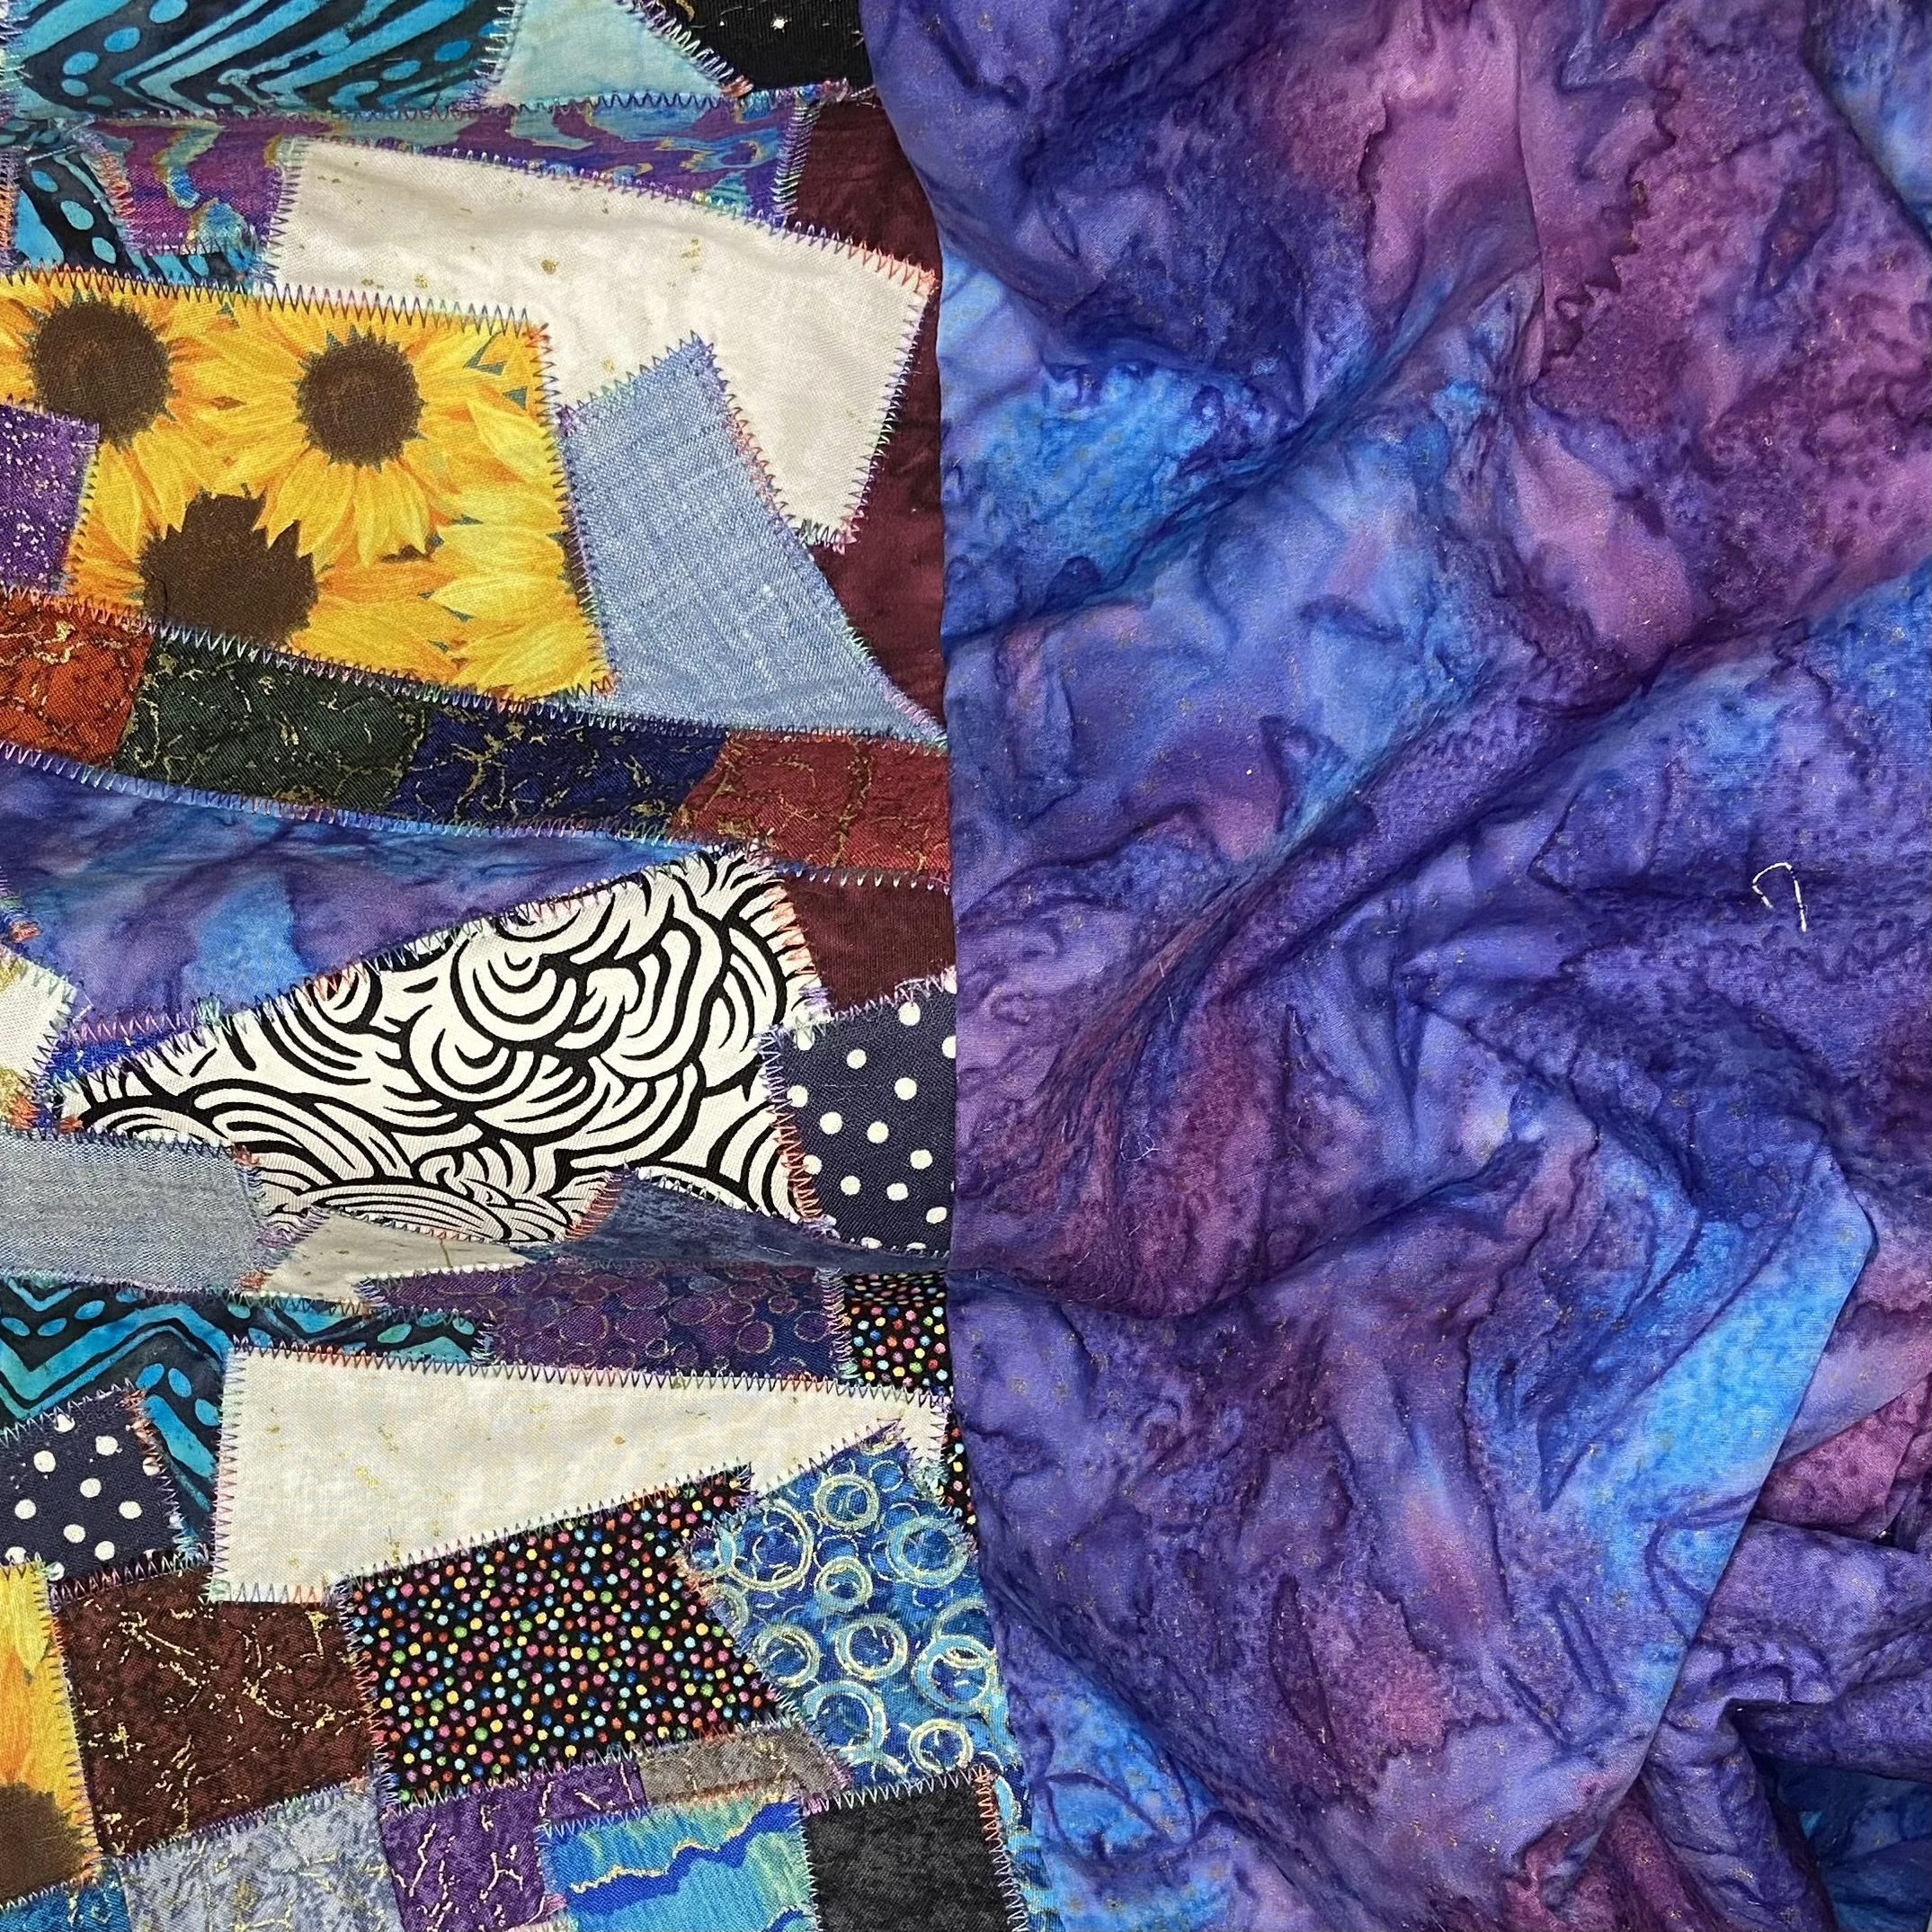
Onward to the quilting. For this project, I opted to do the same kind of crazy quilt work I’d done on the coasters I made before. Working on the glue side of one piece of Pellon at a time, I laid down pieces of scrap fabric, including some already-seamed-together off-cuts from my recent quilt. Once the pieces were laid out, I used my iron to adhere the fabric down (well, the parts of the fabric that actually touched the Pellon). Then I turned the pieces fabric-side down and cut off the fabric that extended past the edges of the Pellon.
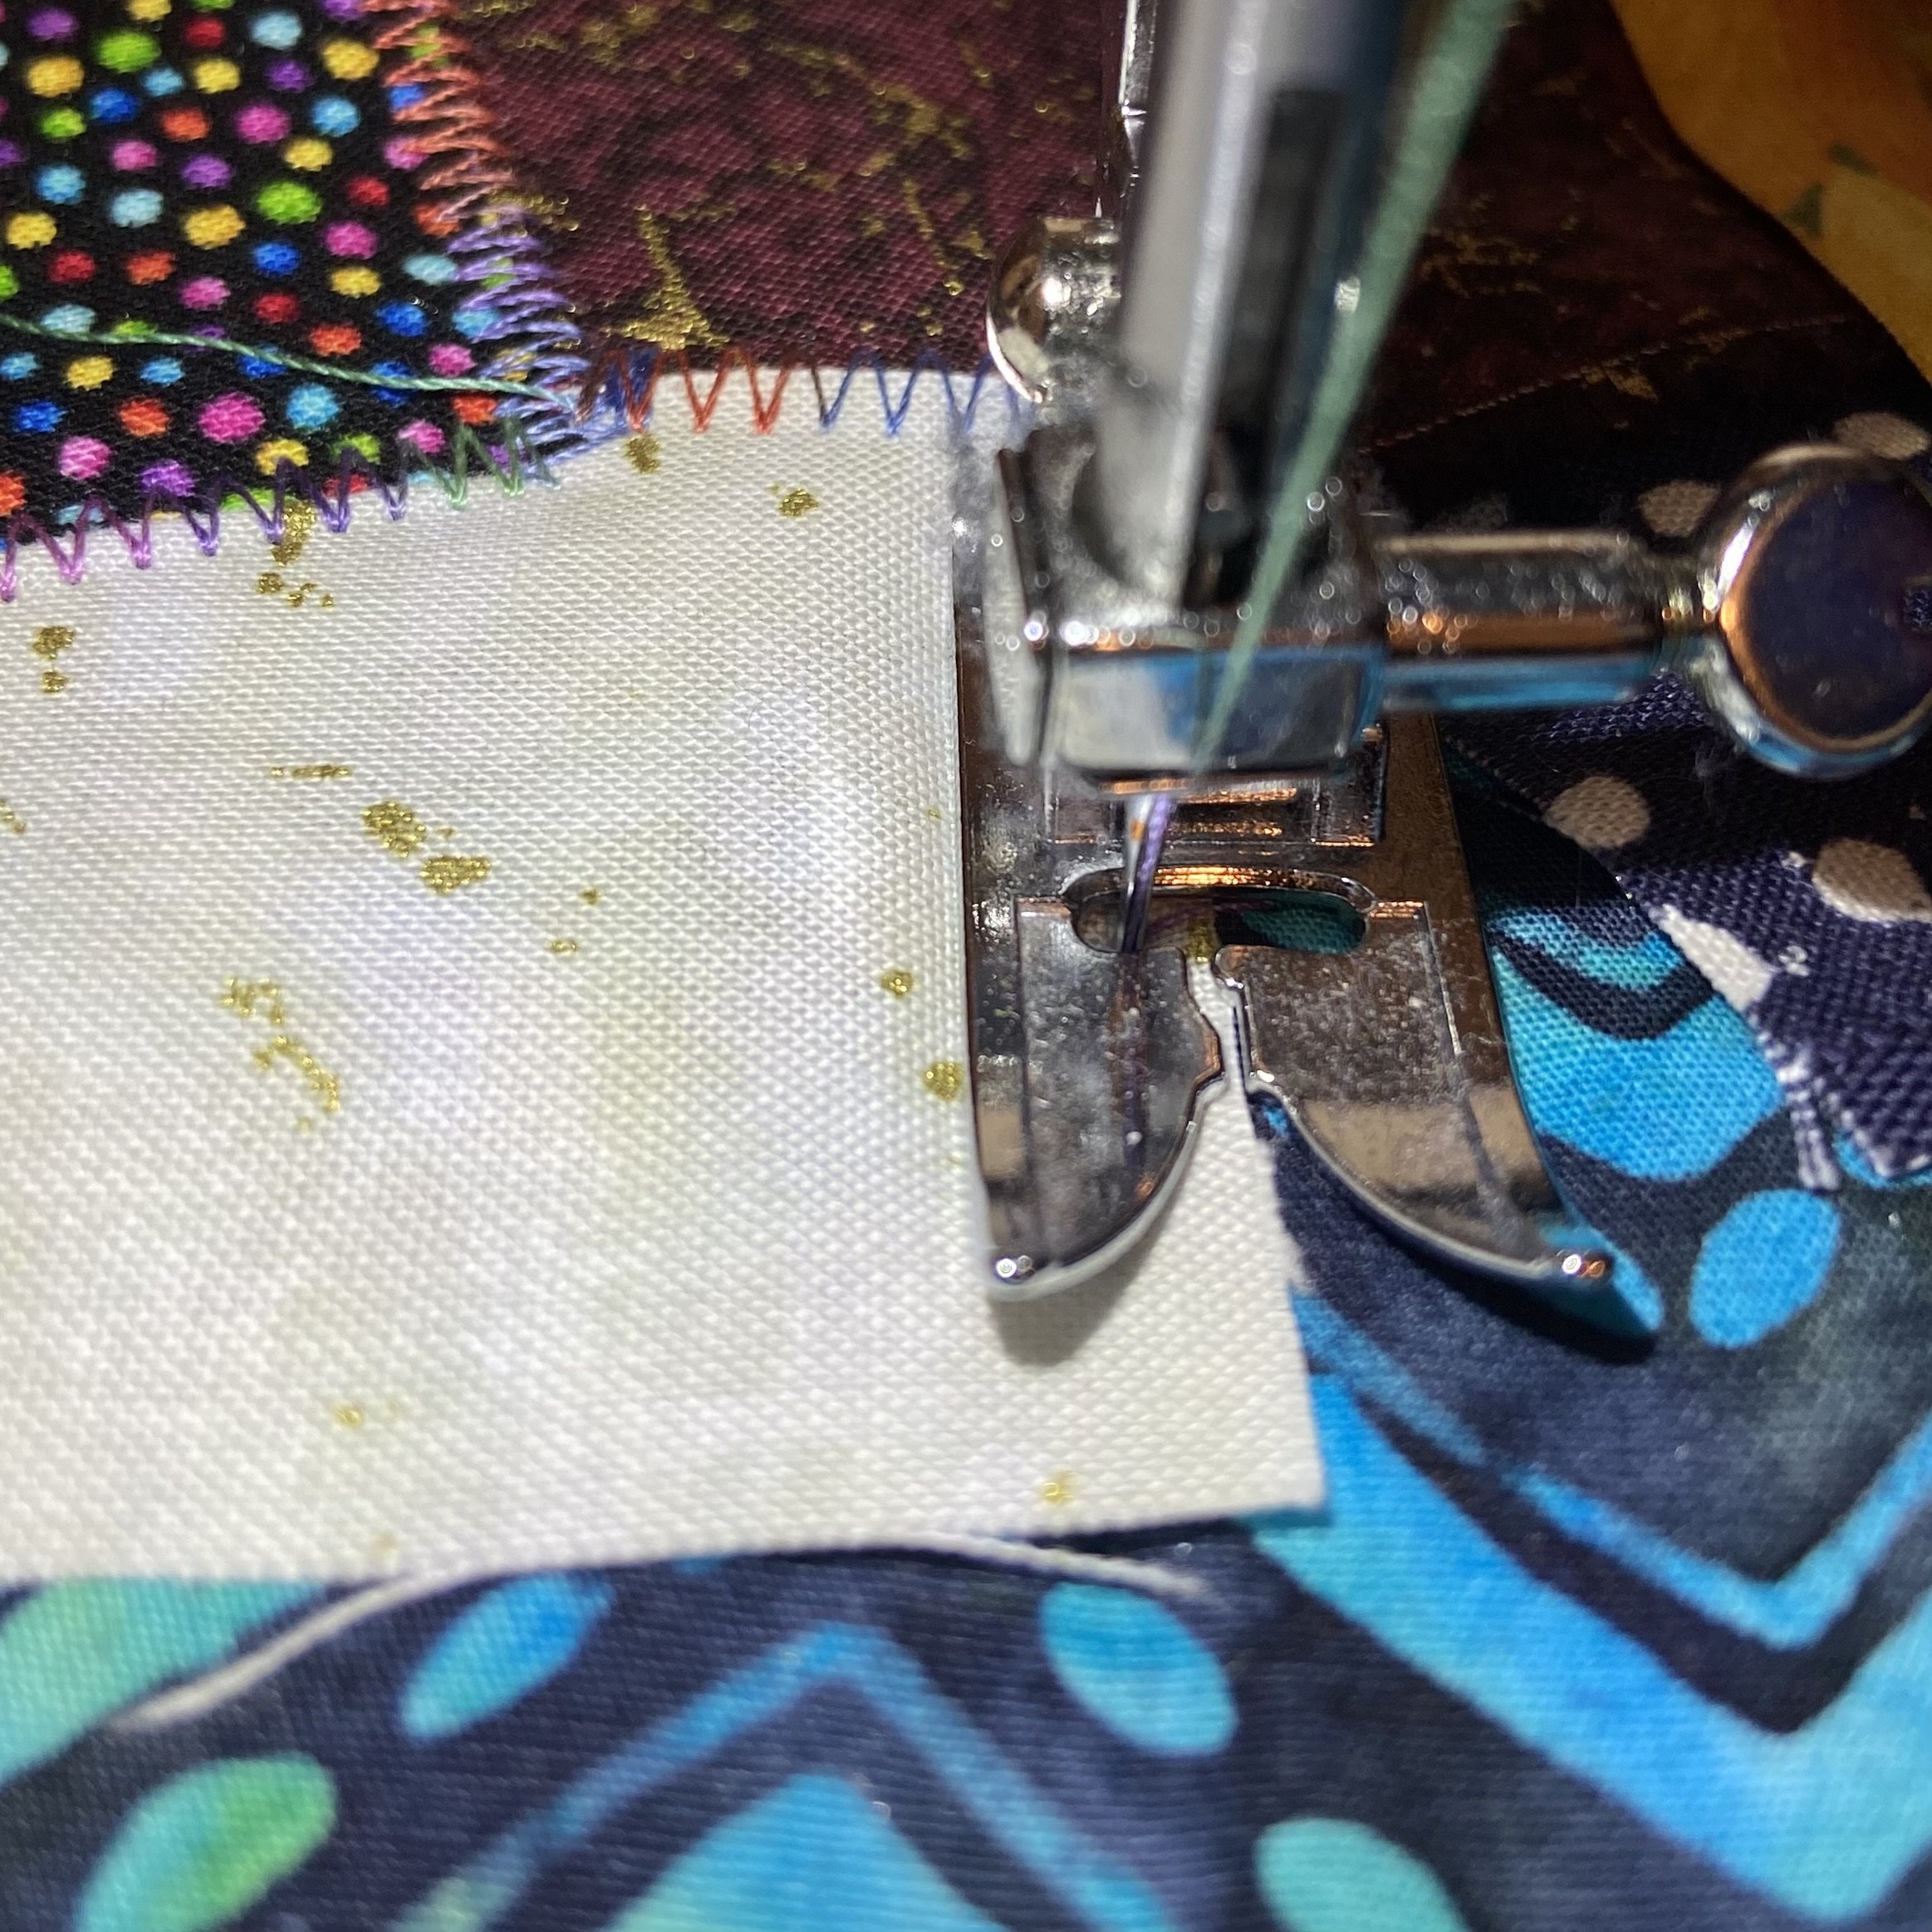
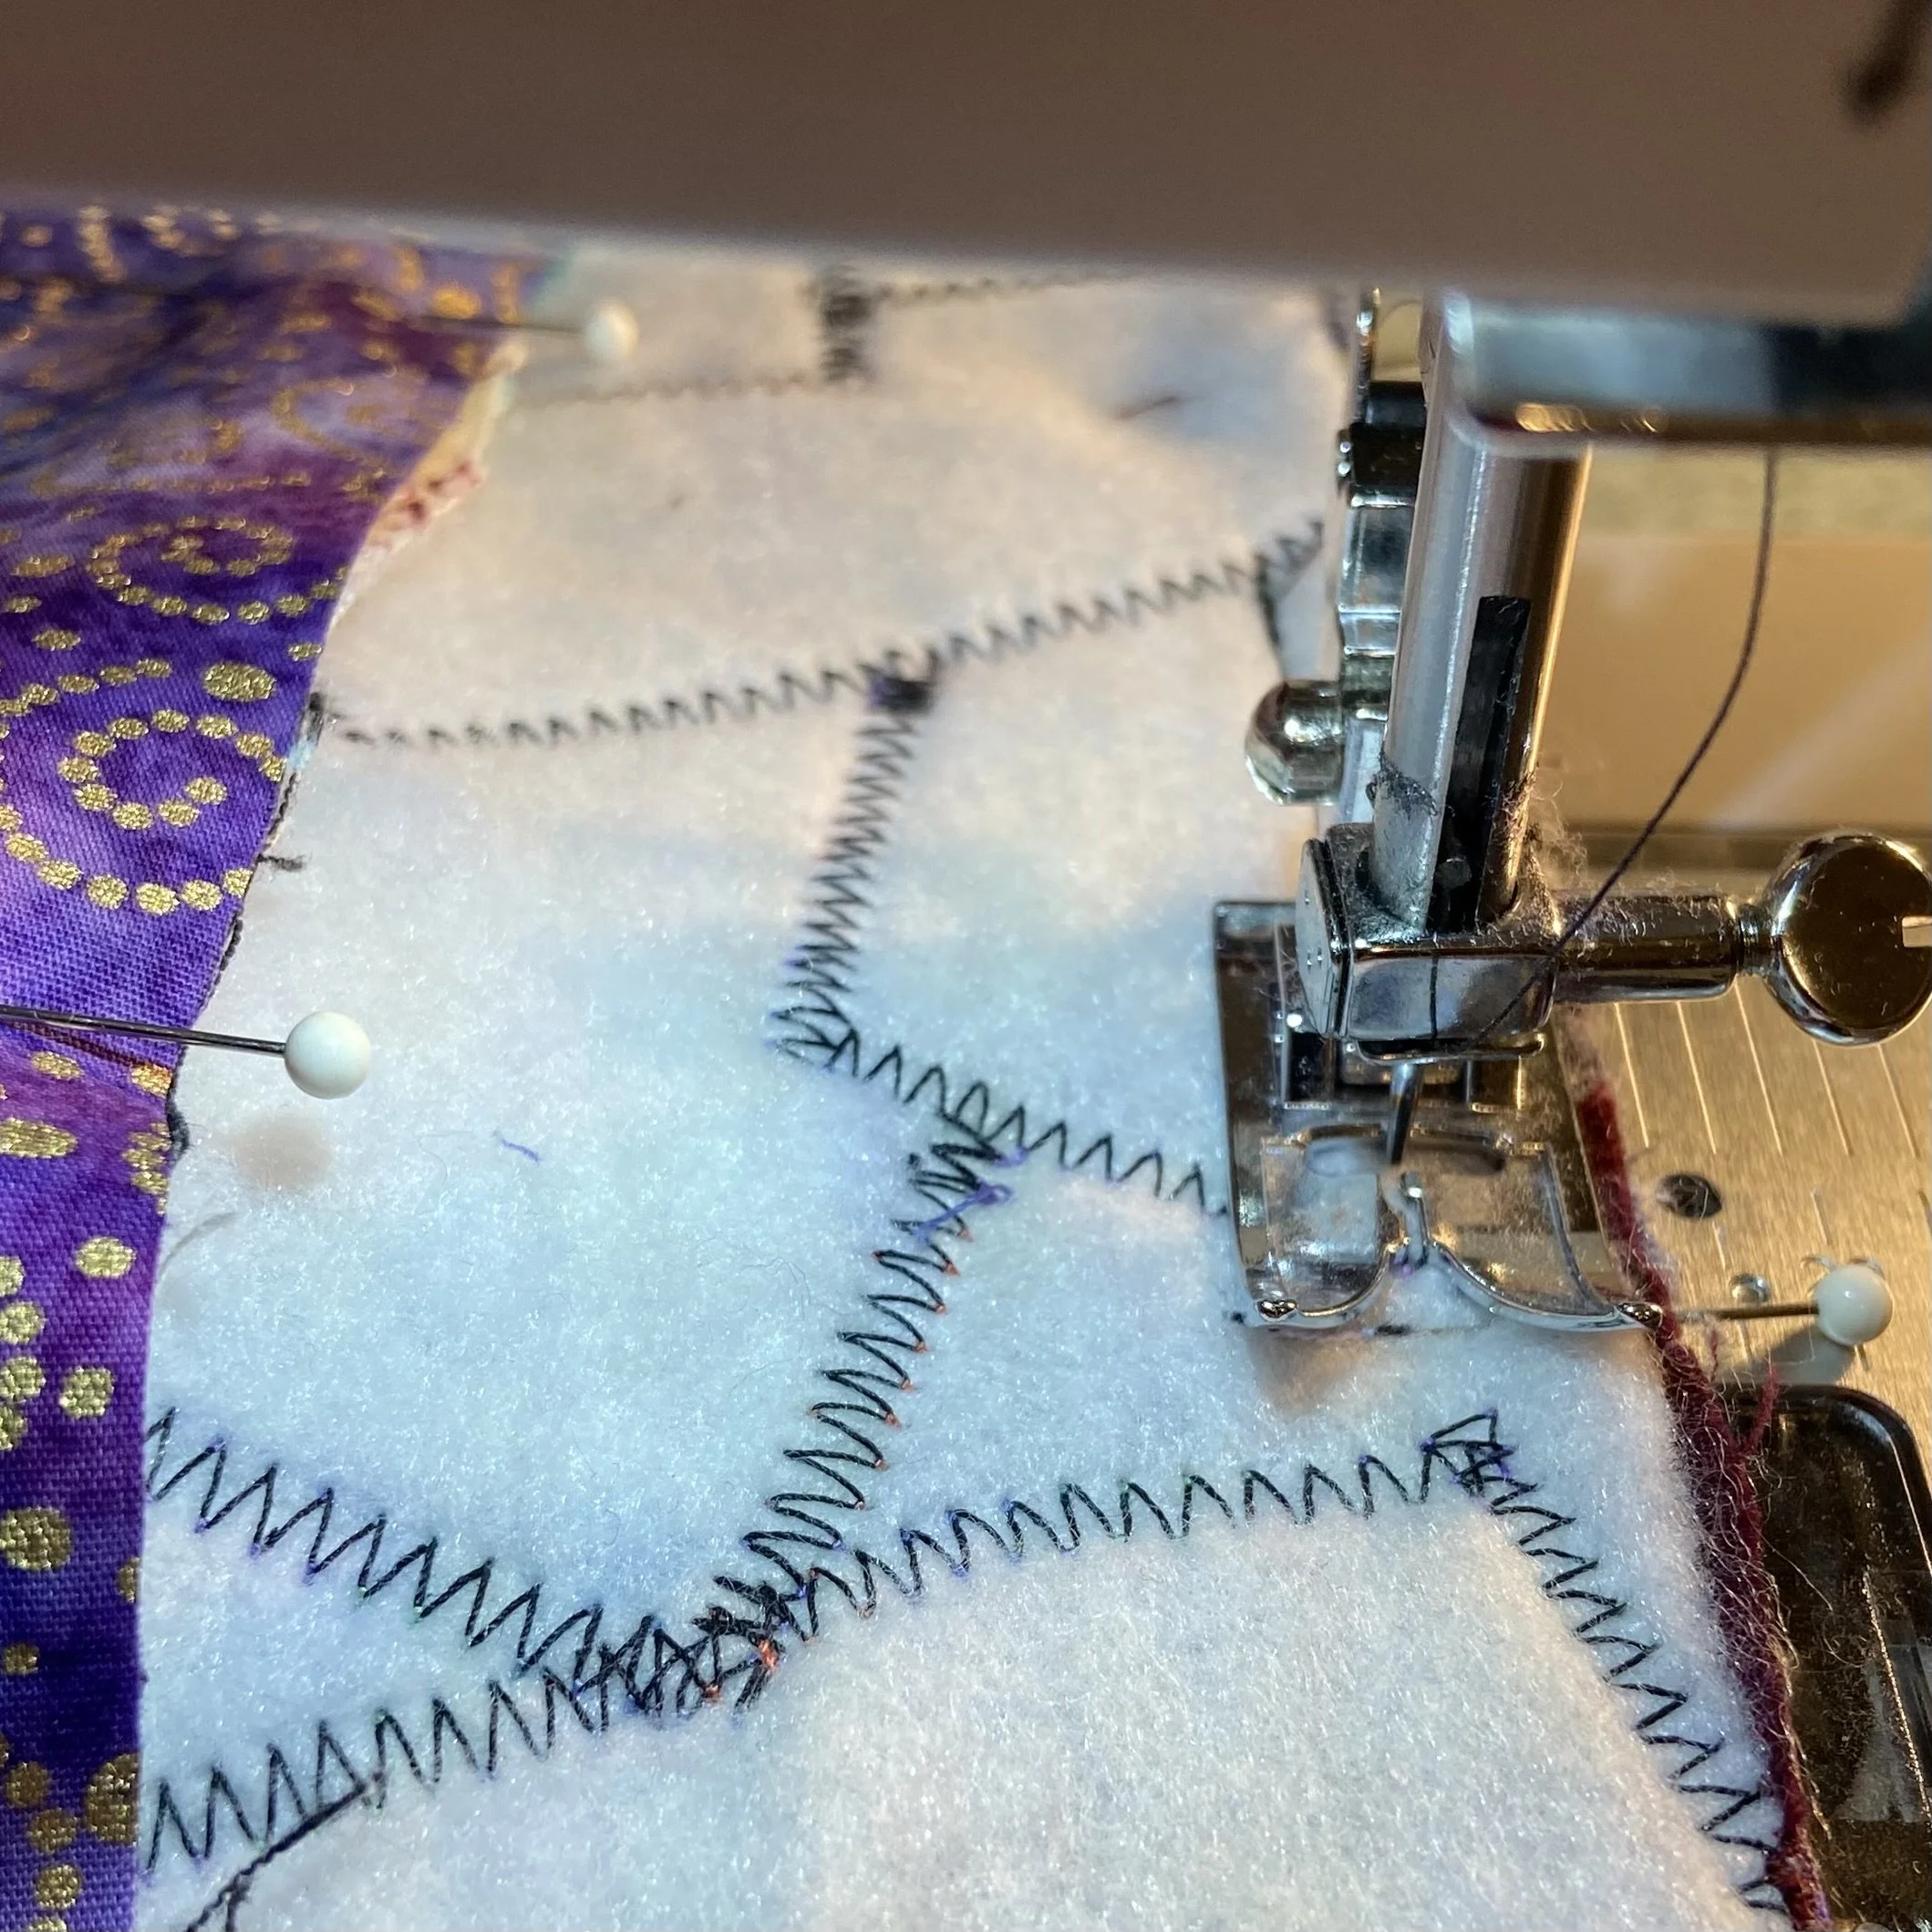
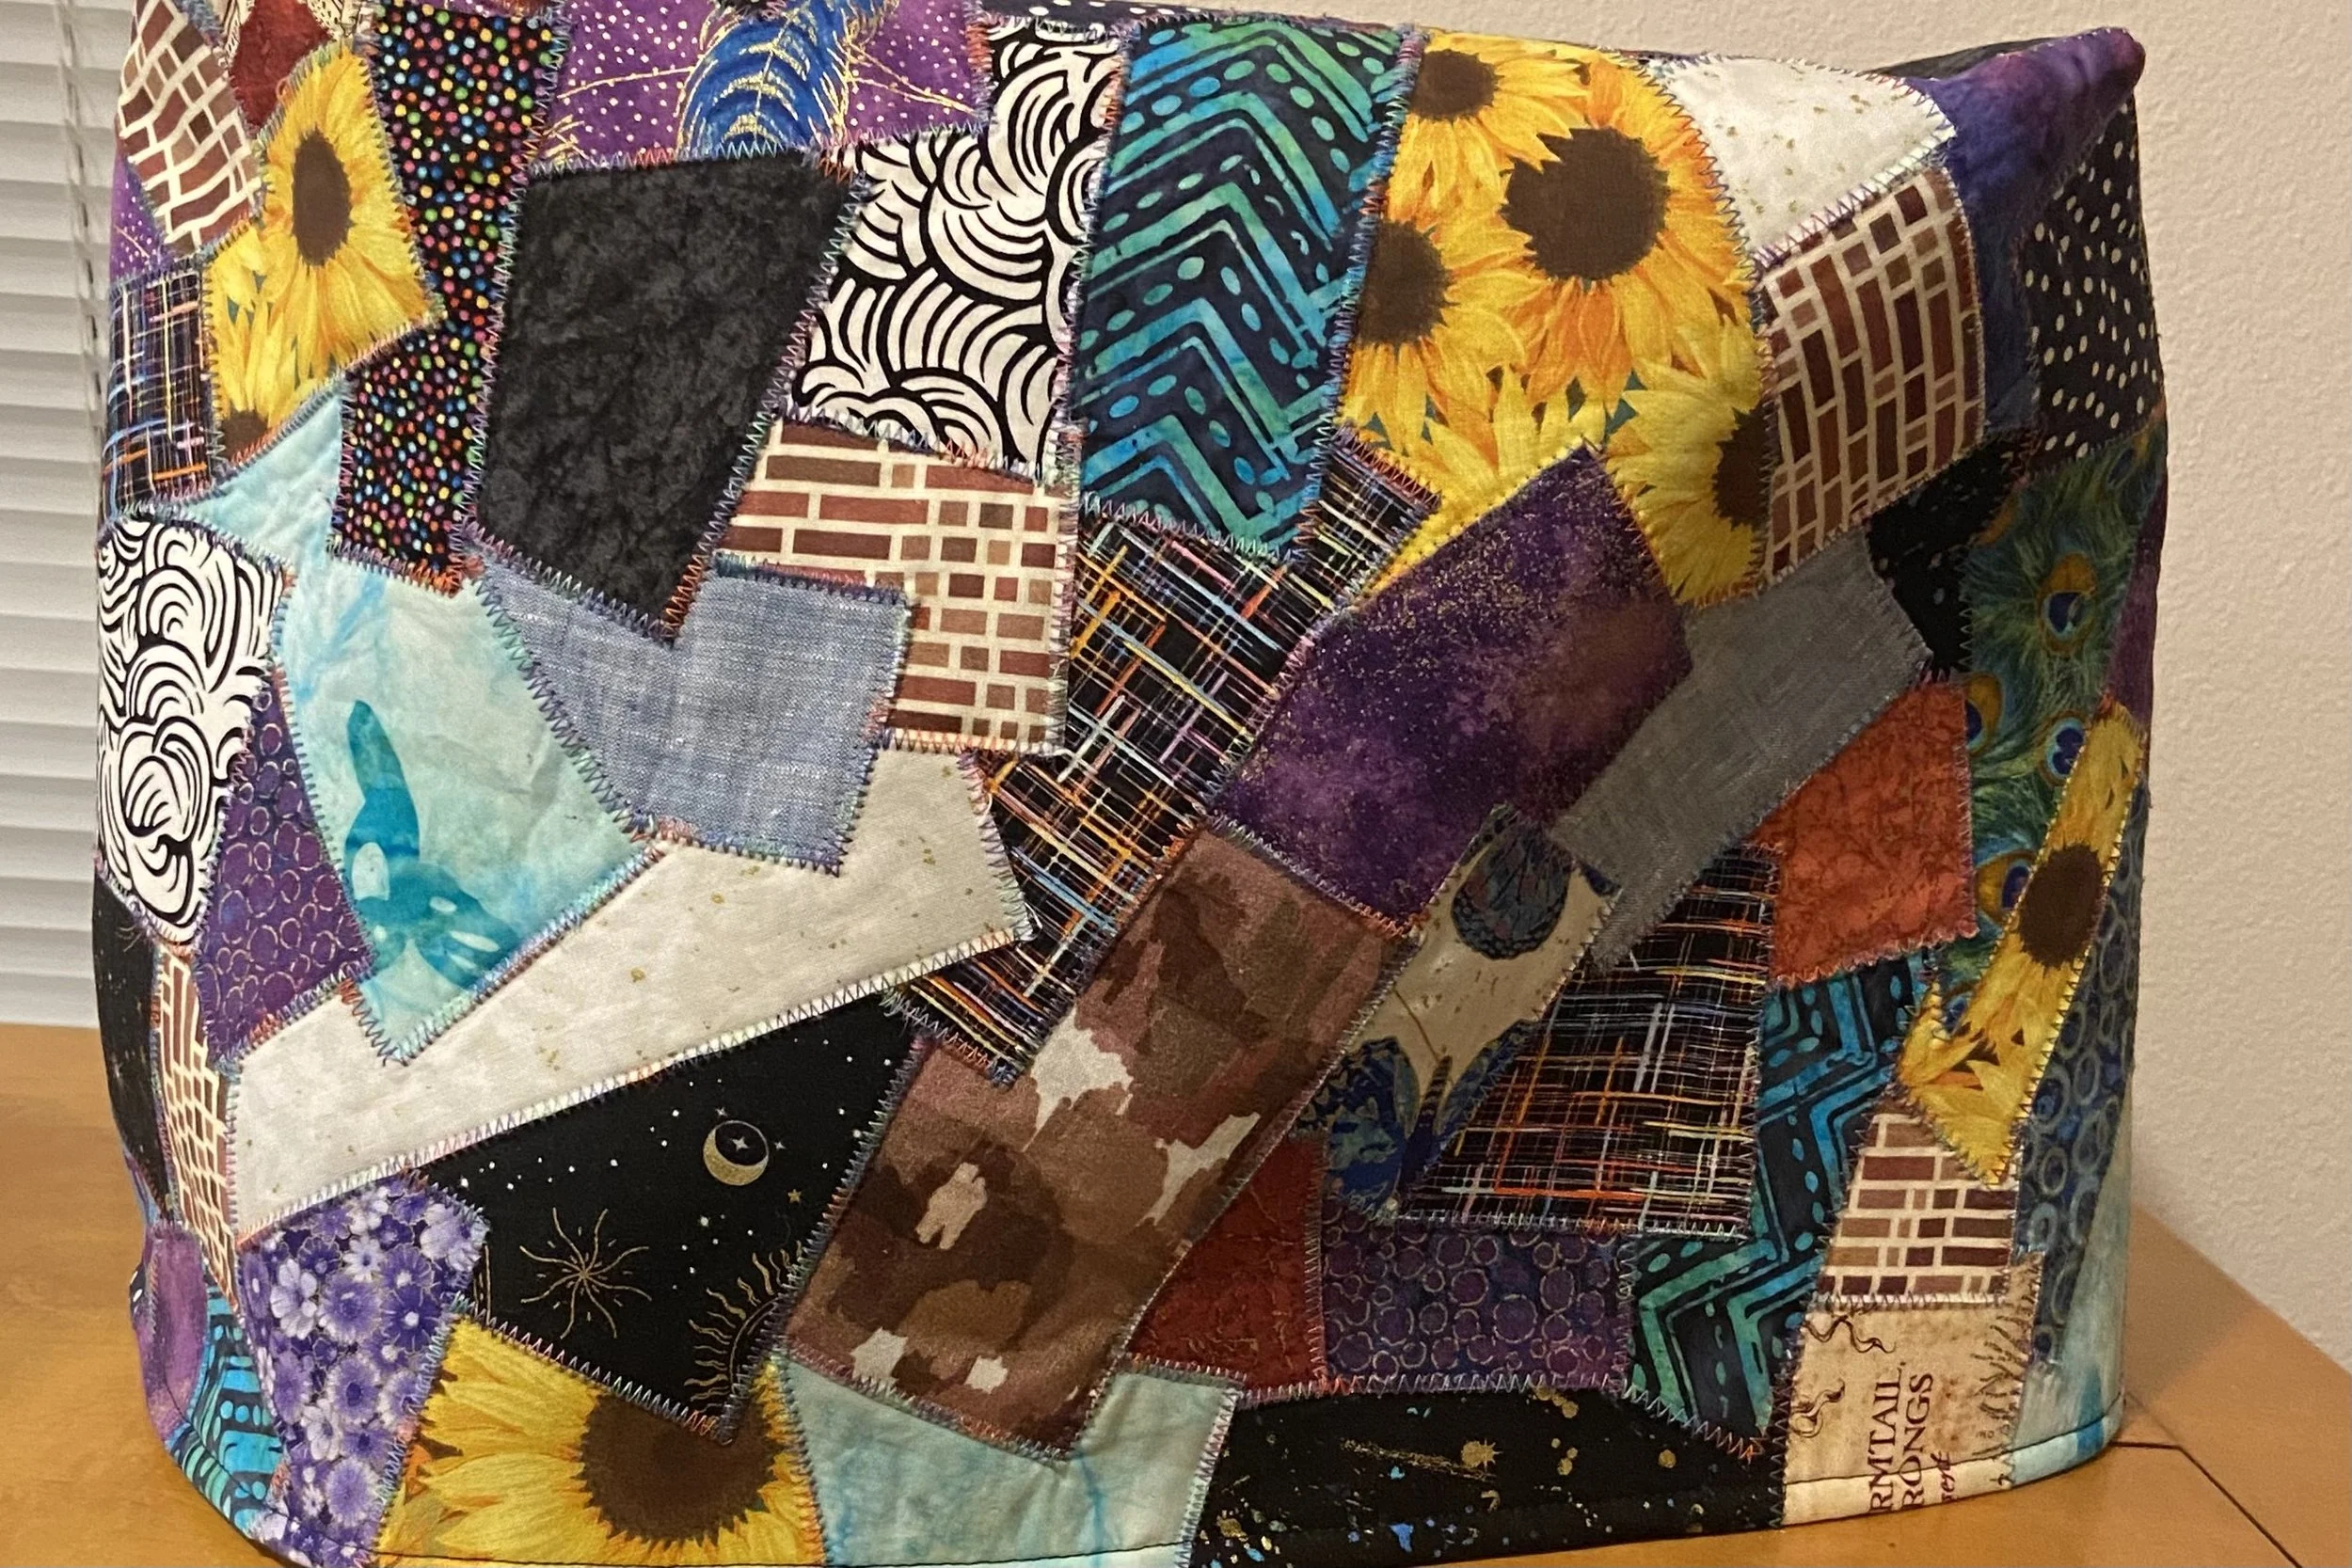
For my earlier efforts at this kind of quilting, I’d just used black thread when zigzagging down the raw edges of the fabric. But for fun, I bought some variegated thread off Amazon and I used that for the zigzagging instead. Quite pretty, I thought, and also it looked more like the stitching was part of the design rather than simply utilitarian. I’m quite pleased with how it turned out. I will say that stitching over this many raw edges on such large pieces of Pellon took me quite awhile. Several hours, actually. But it was fun, and I just listened to an audio book as I worked and enjoyed the process.
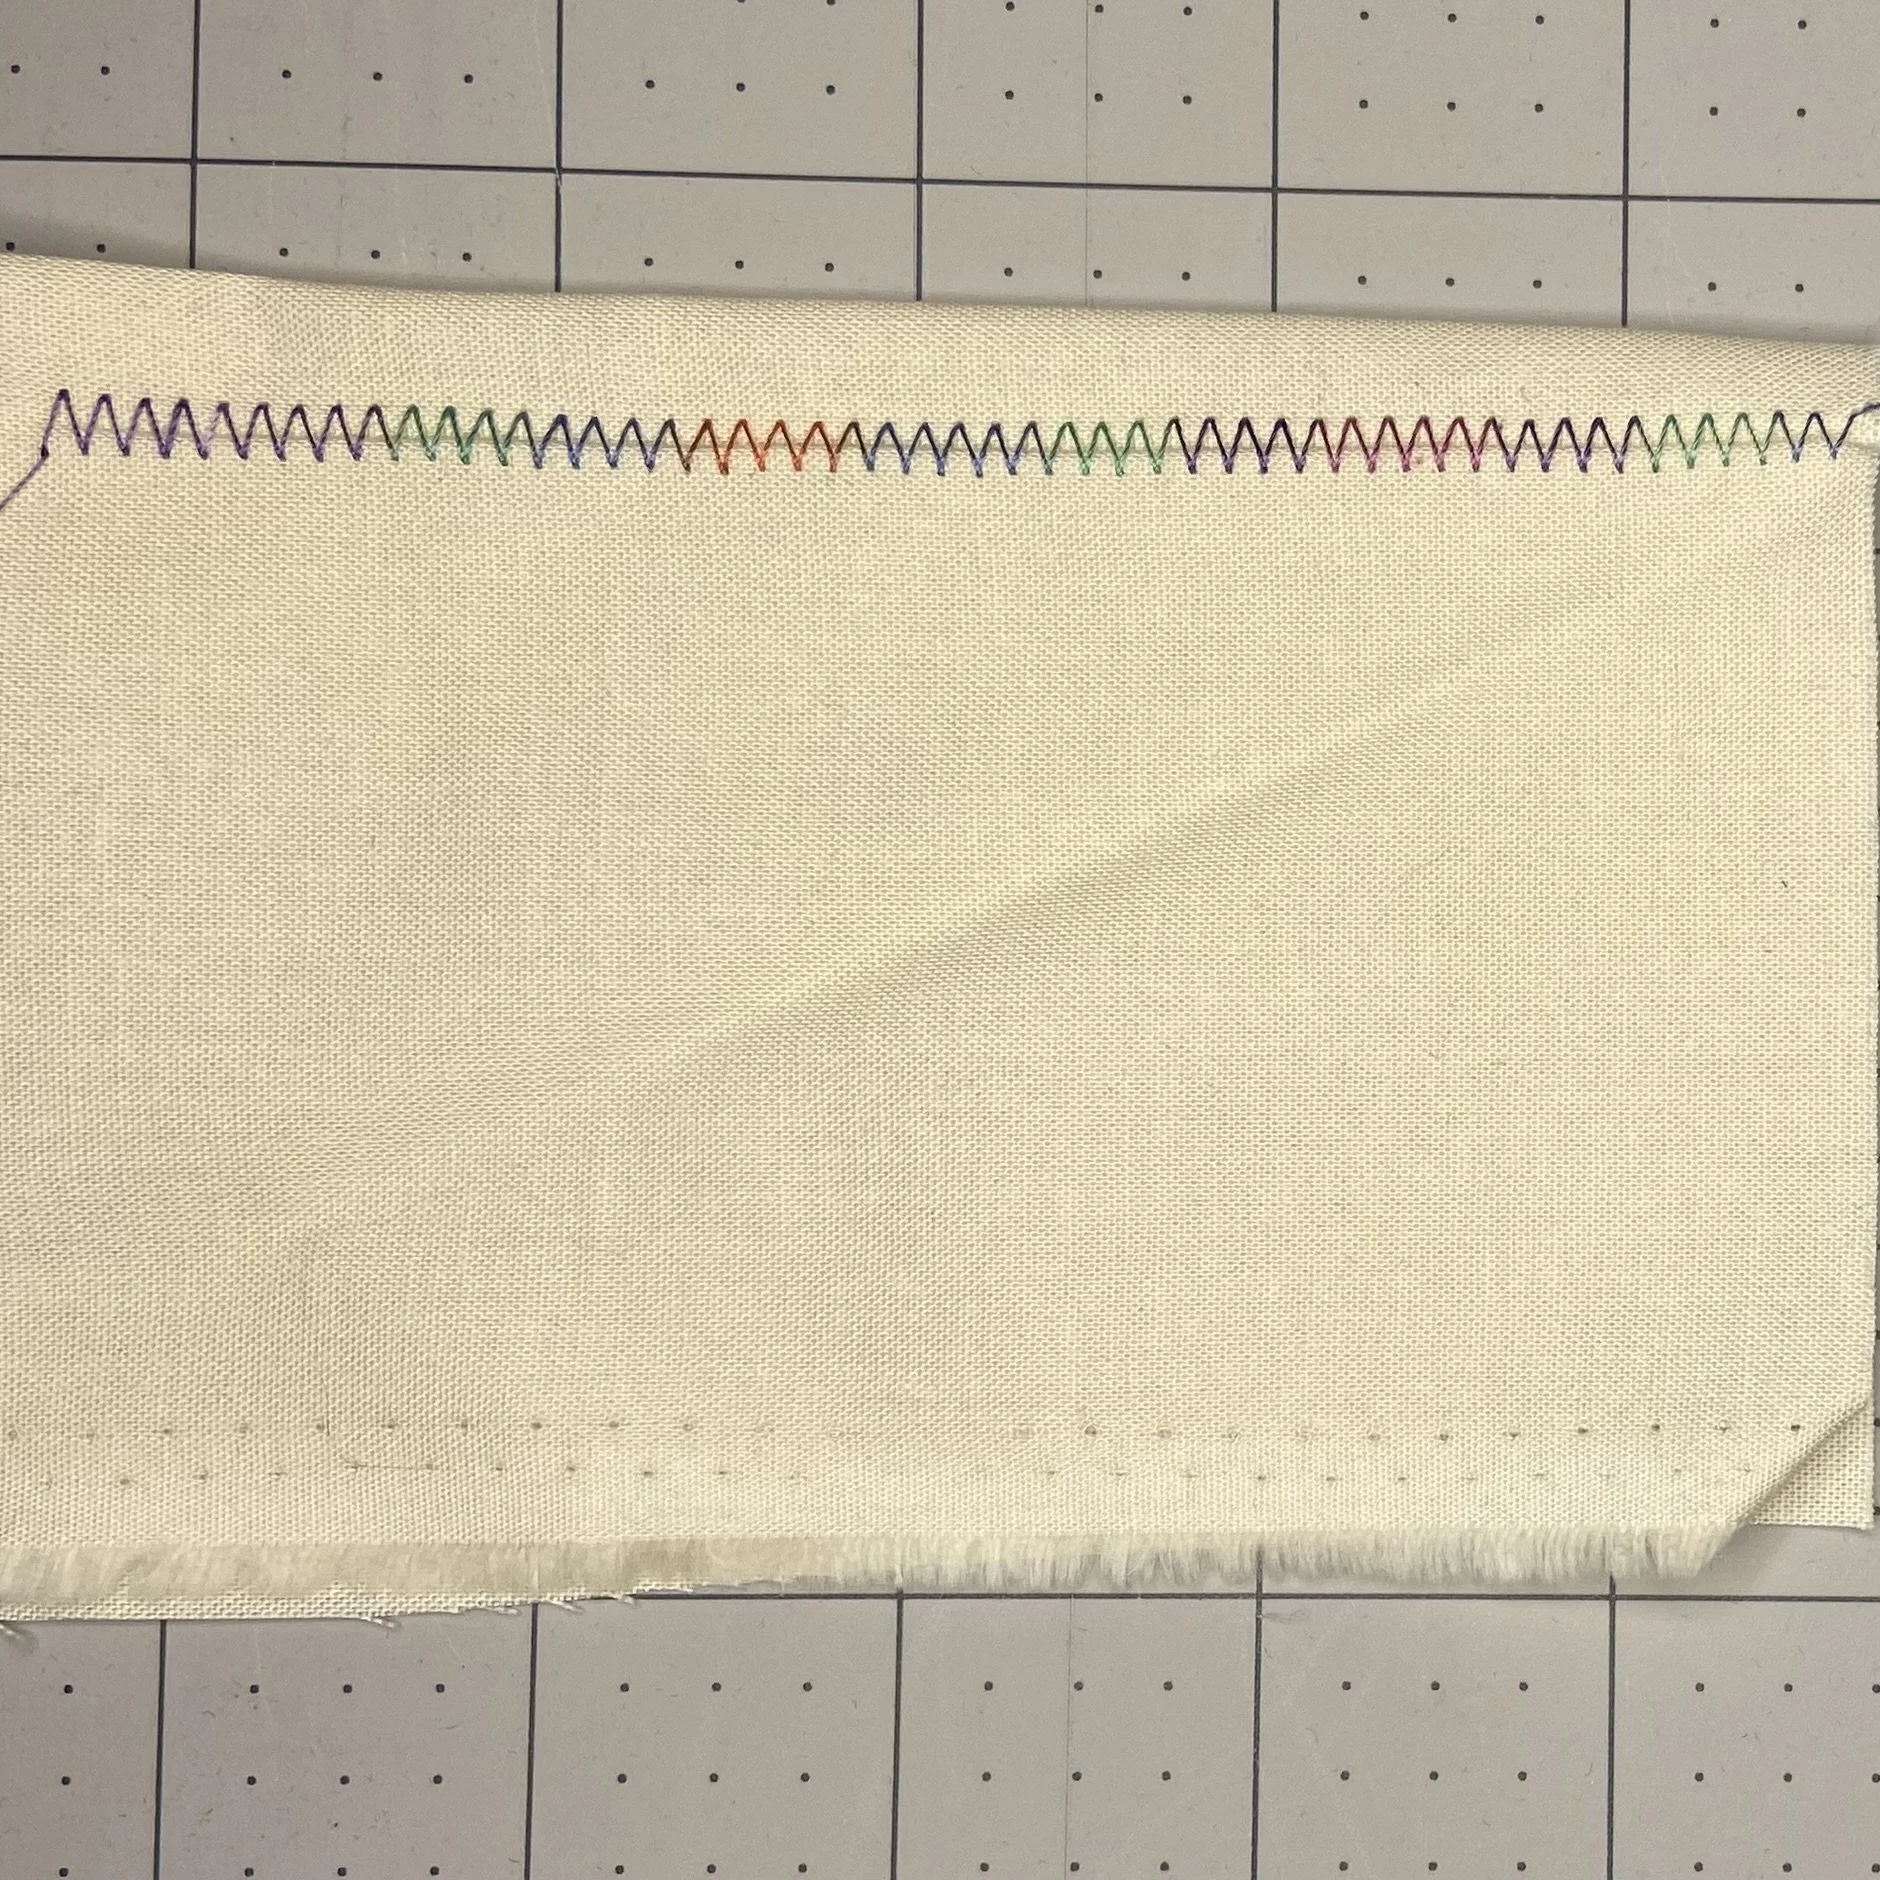
Once all the patchwork was finished, it was time to start assembly. For this, I would be sewing together the top and sides of the outer layer (the patchwork piece) and the same for the lining layer, although I’d need to leave an opening in the top seam of the lining to allow me to turn the work later. Below, you can see the stitching lines needed for each piece.
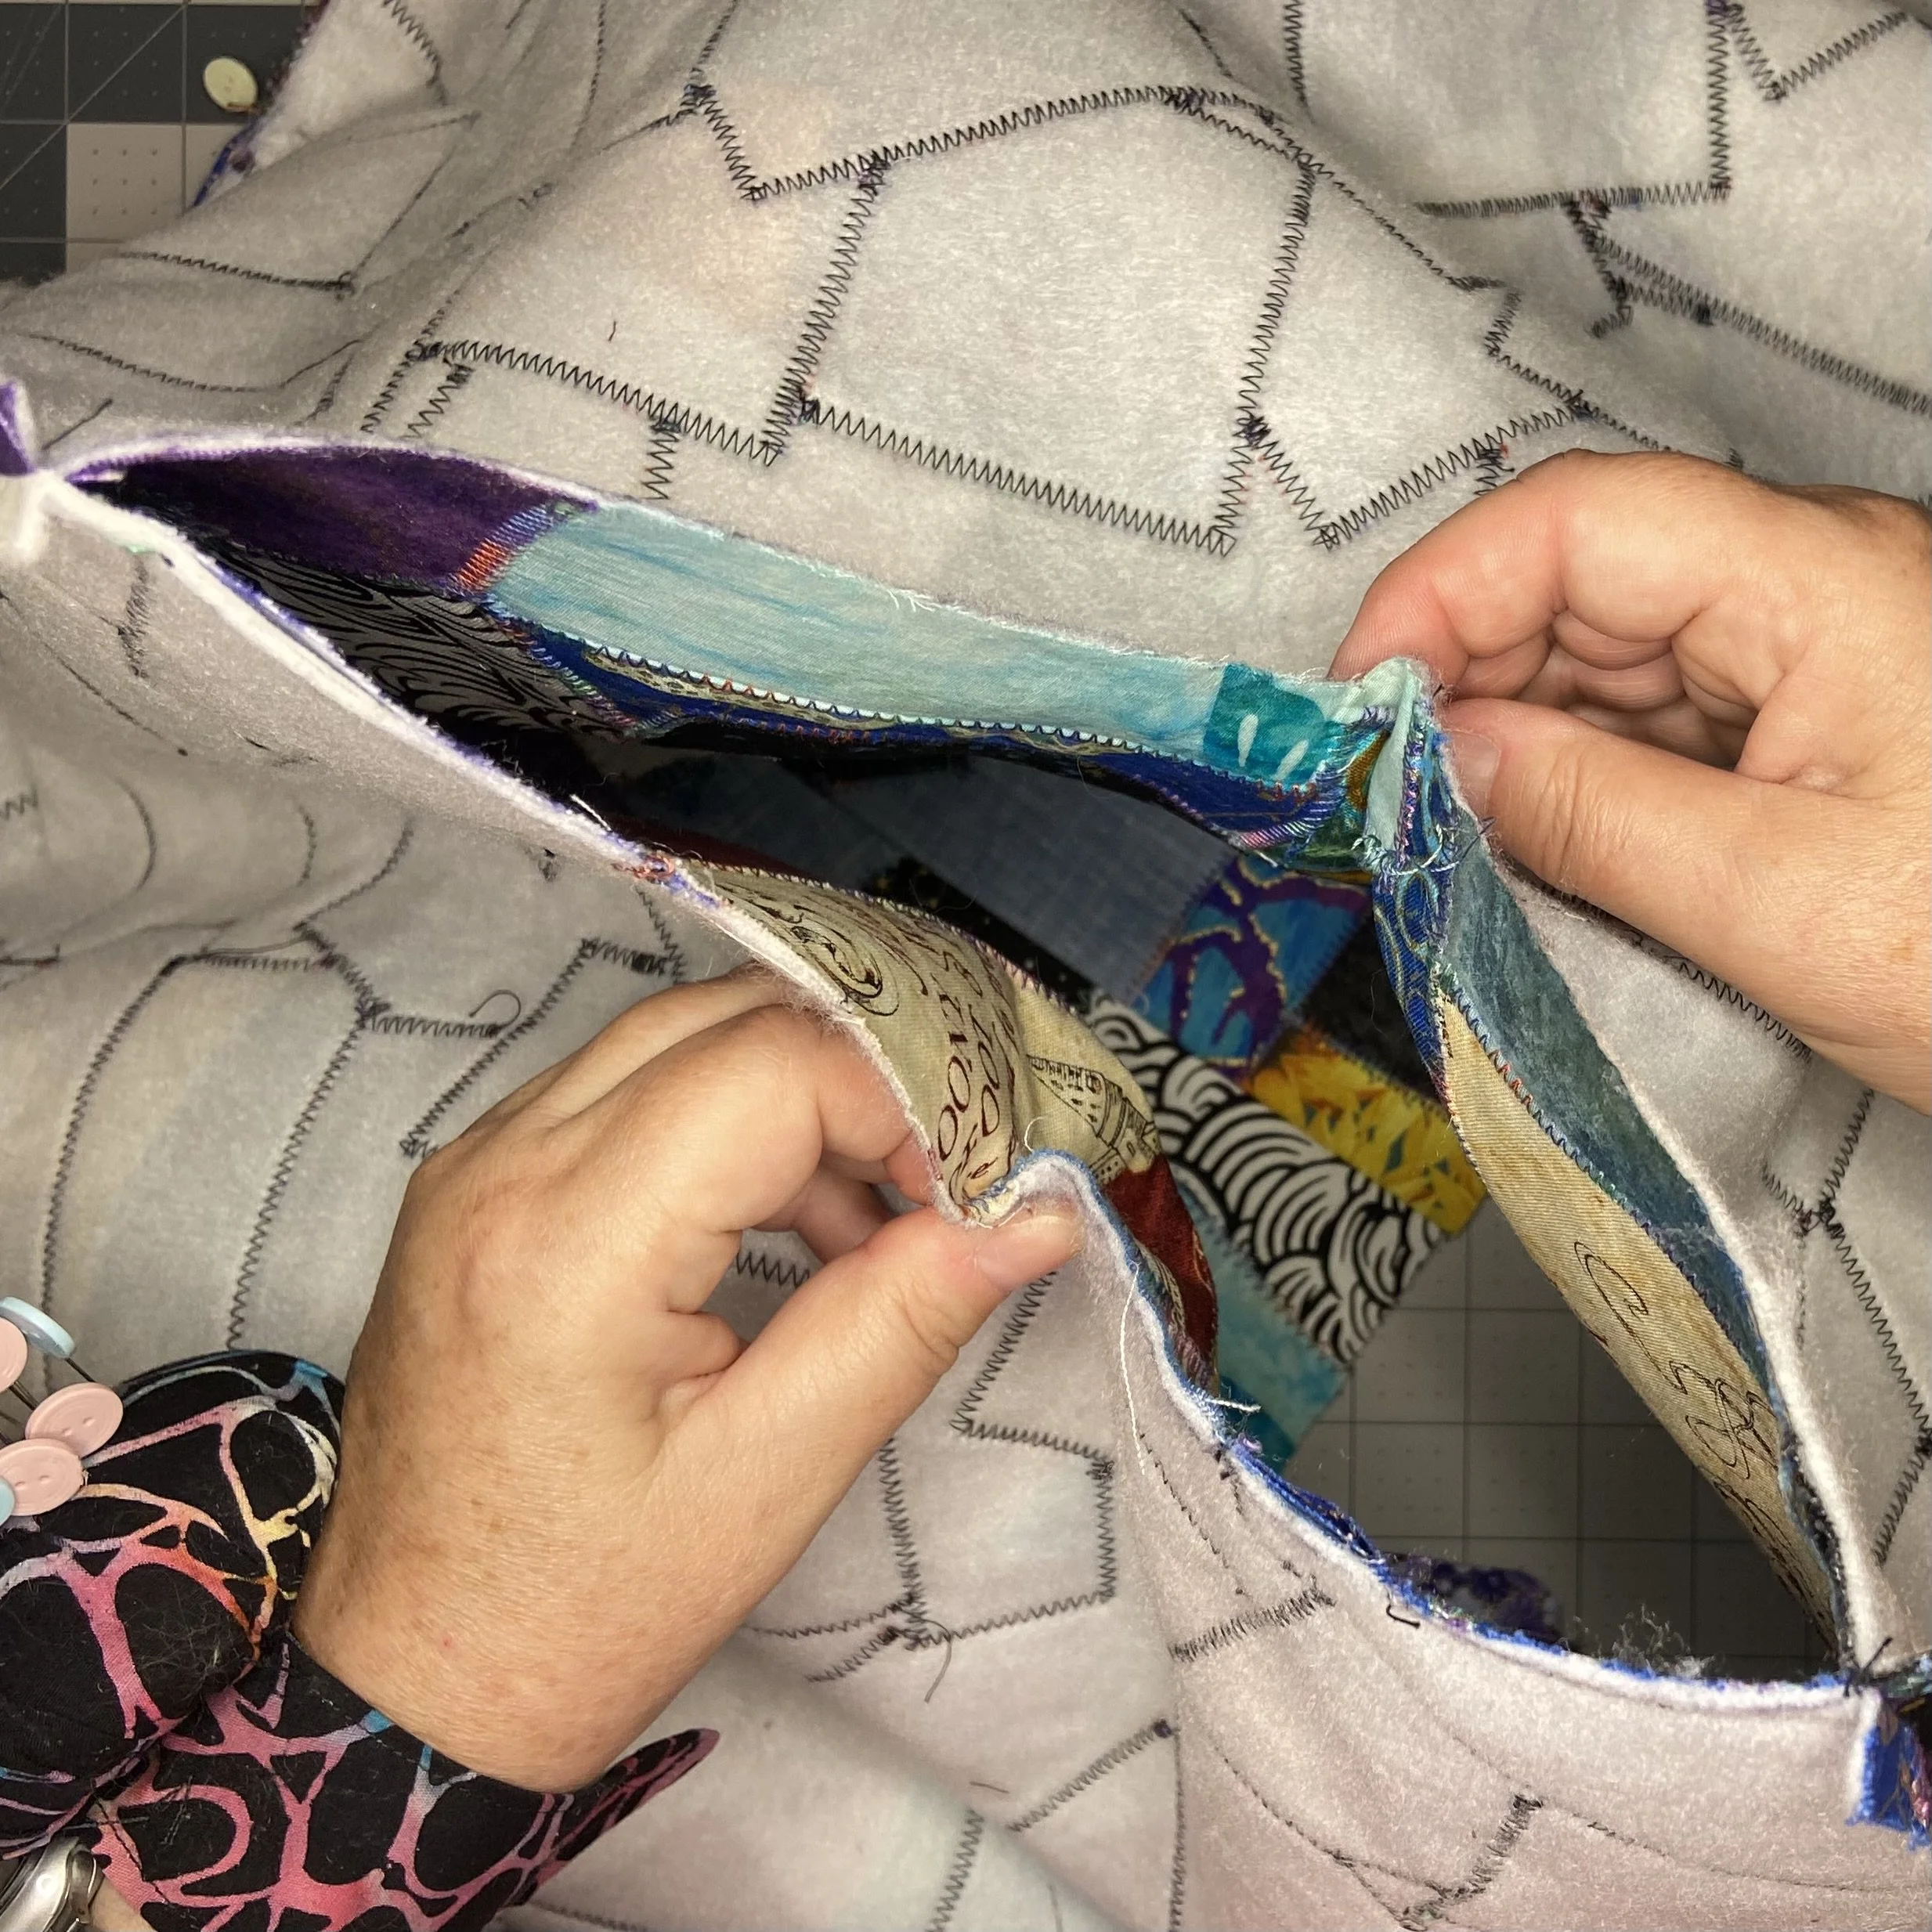
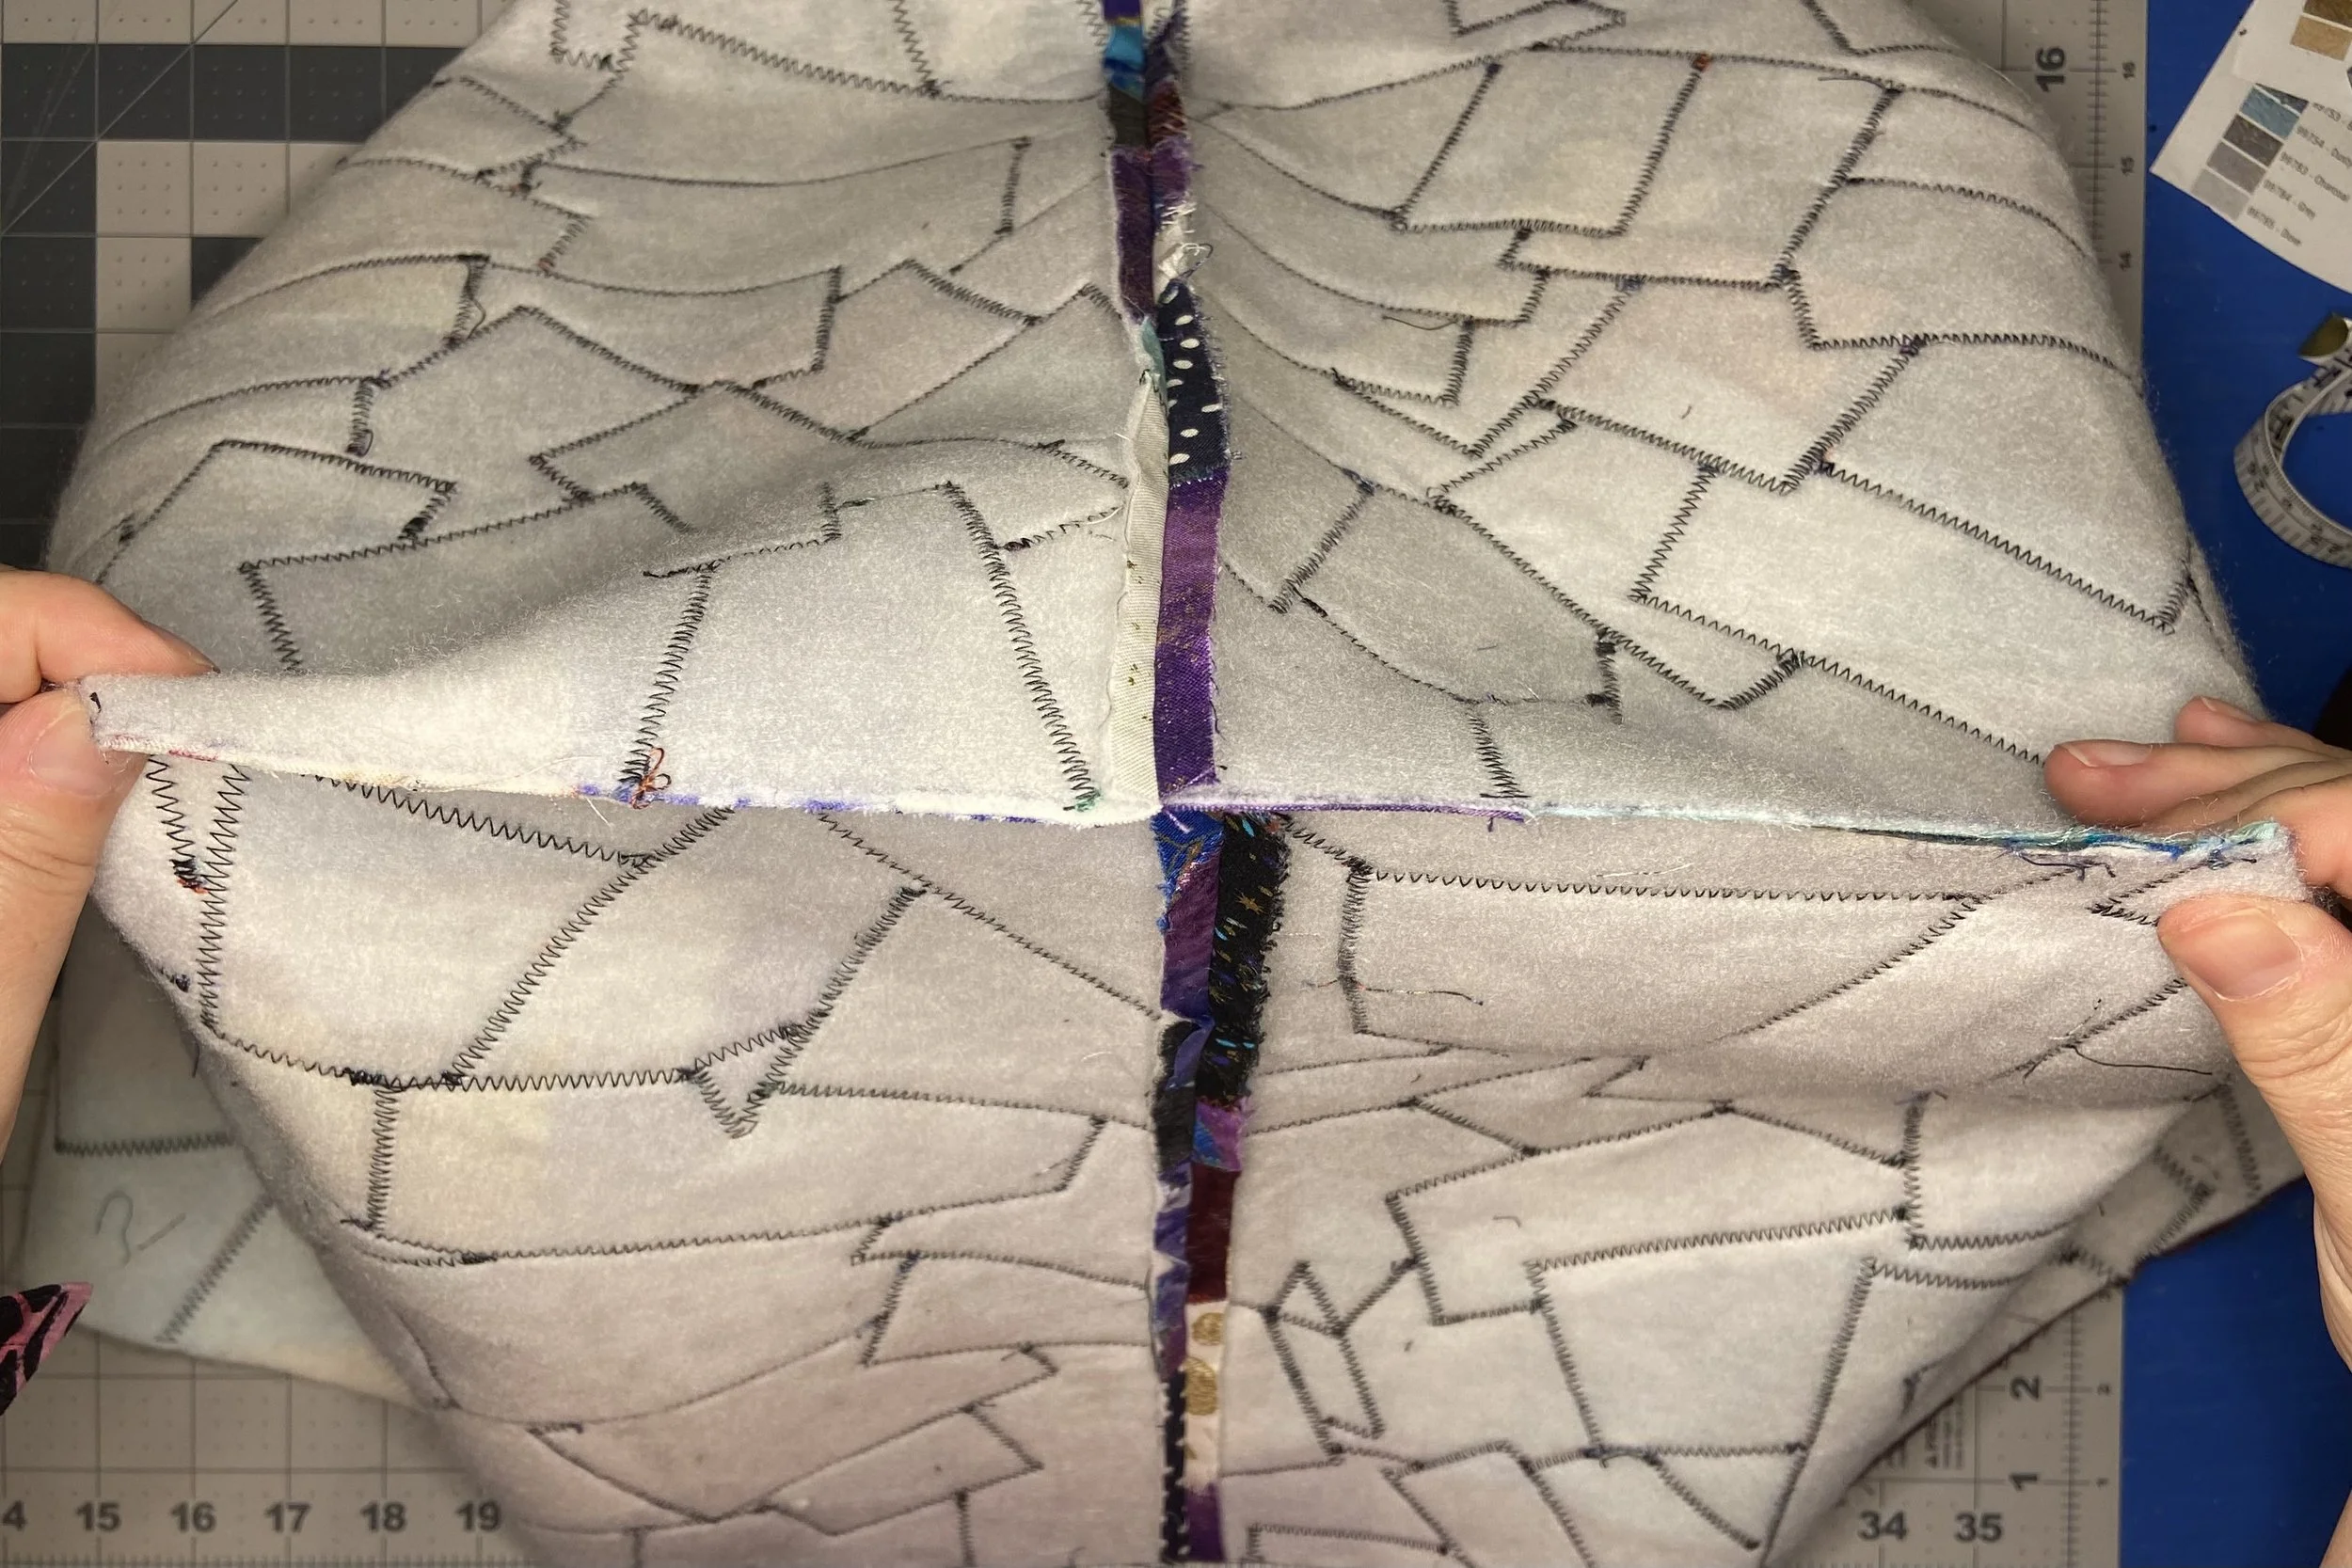
Once the sewing was done, I pressed the seams open as best I could (easier in some places than others), and prepared to box the corners. This involved grabbing the inner corners of the 6” squares I’d cut out earlier, pulling them apart, and then matching the seams and pinning the edges together before stitching. This was done for the outer cover and the lining, so four seams in total.
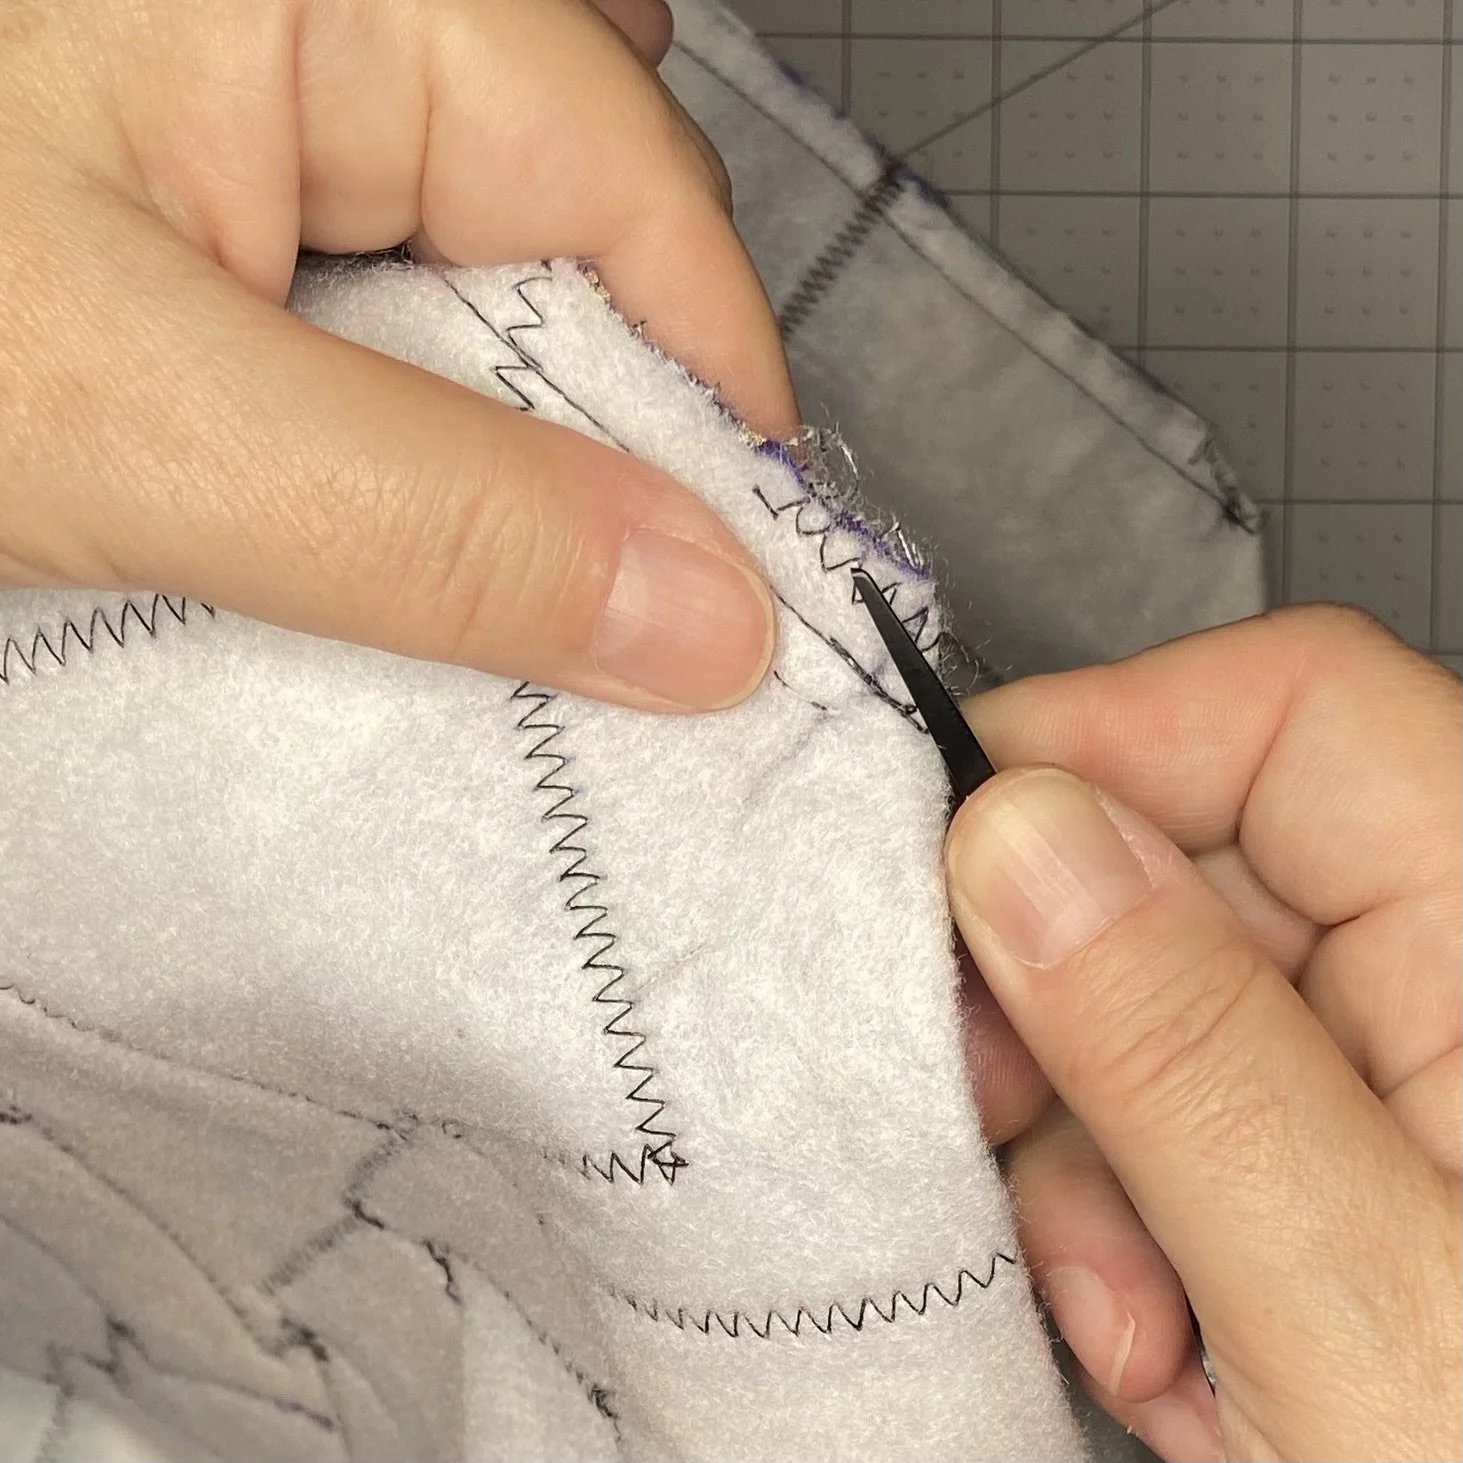
After the seams were finished and before moving on, I took the time to clip the excess fabric off the corners as best I could. It’s a weird angle, but it can be done if one clips carefully.
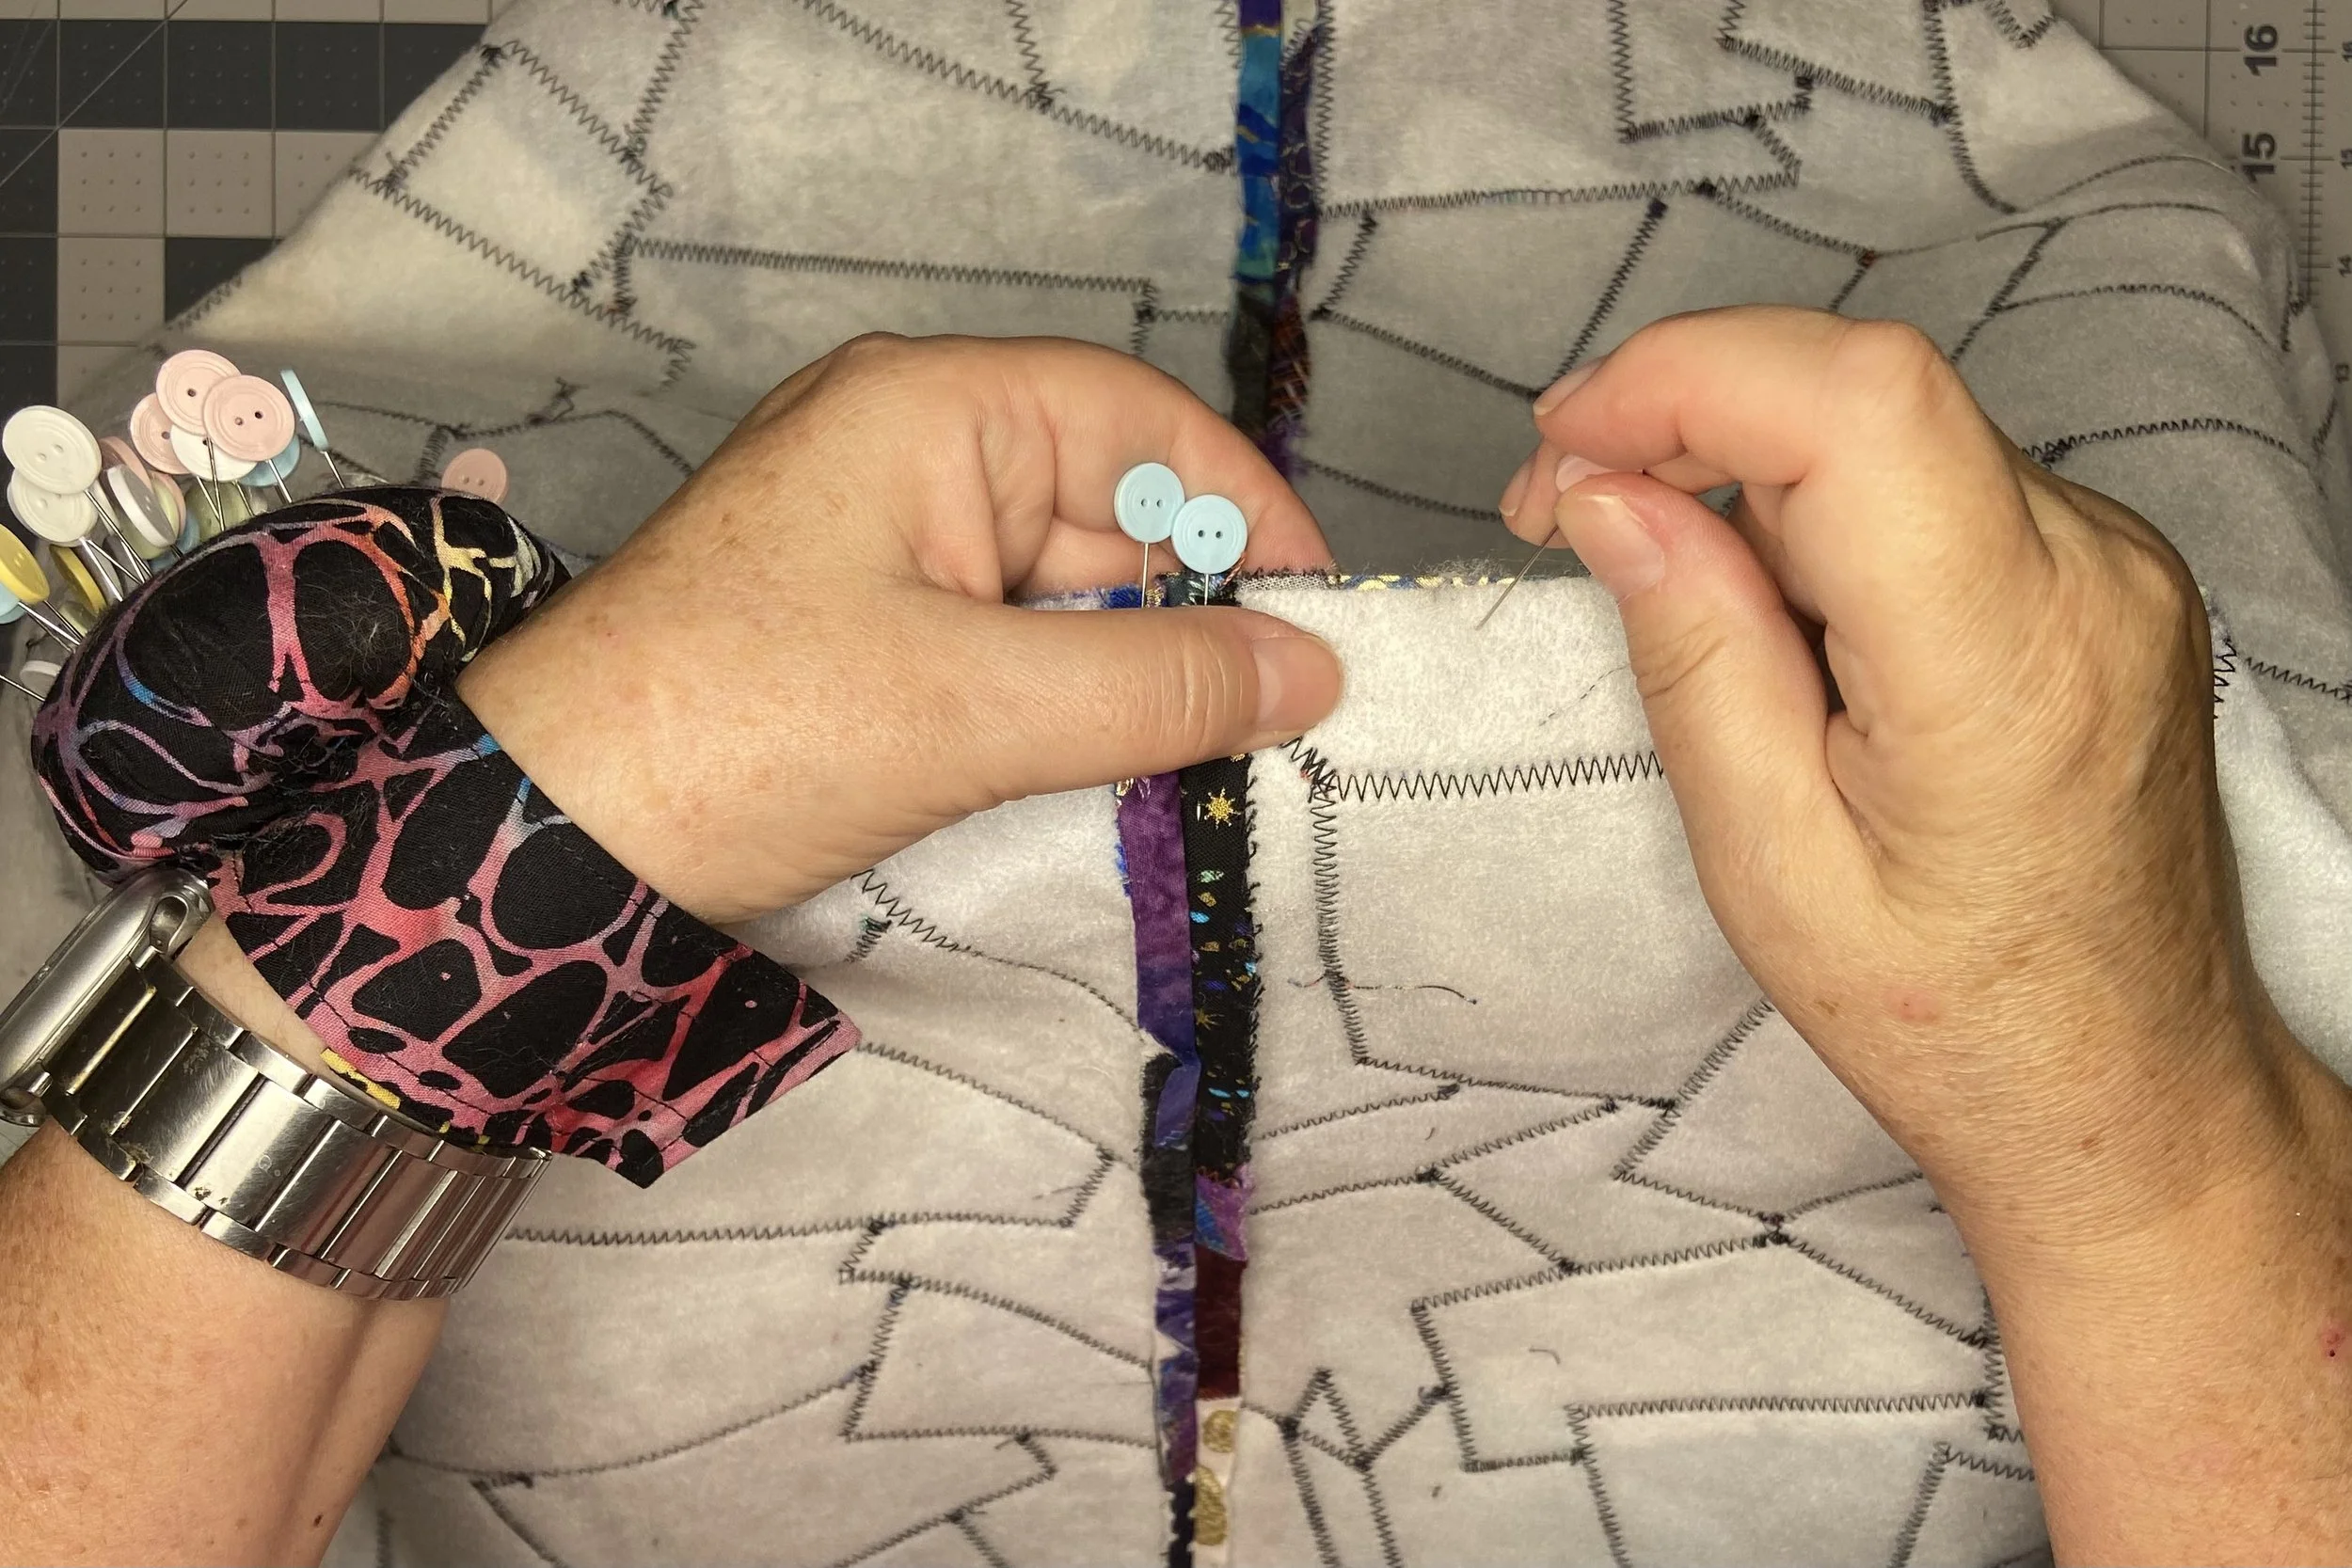
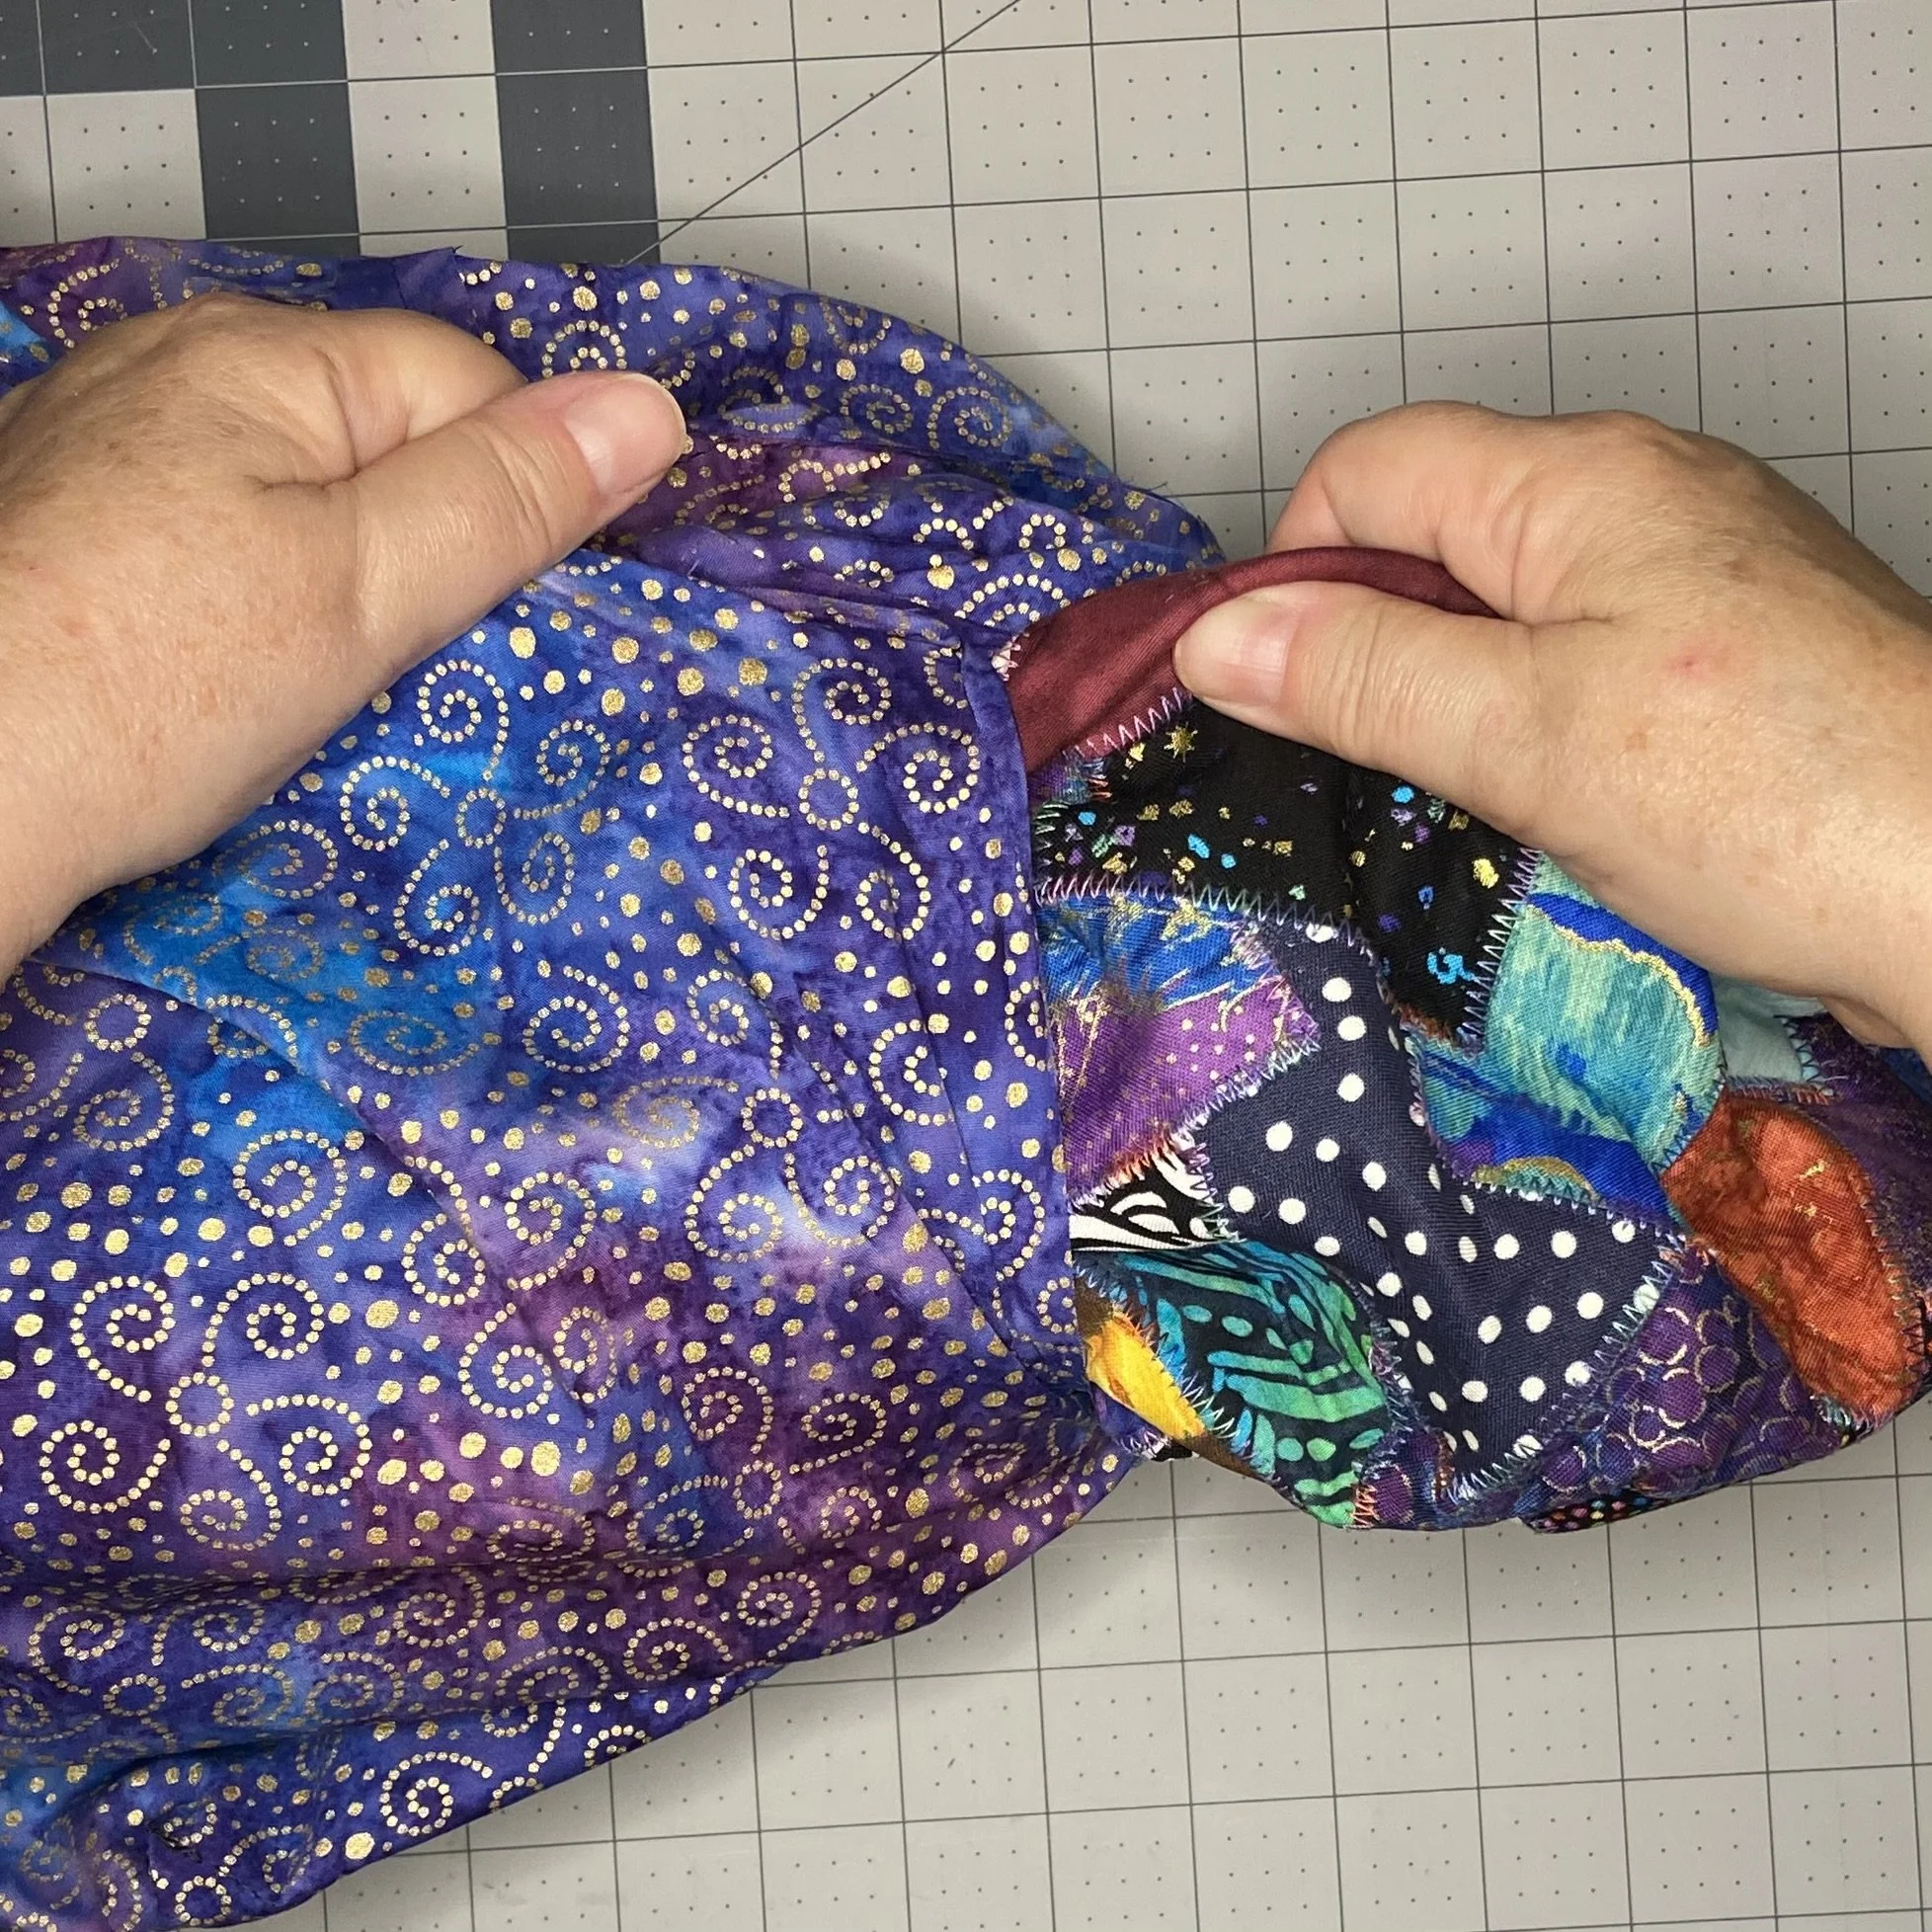
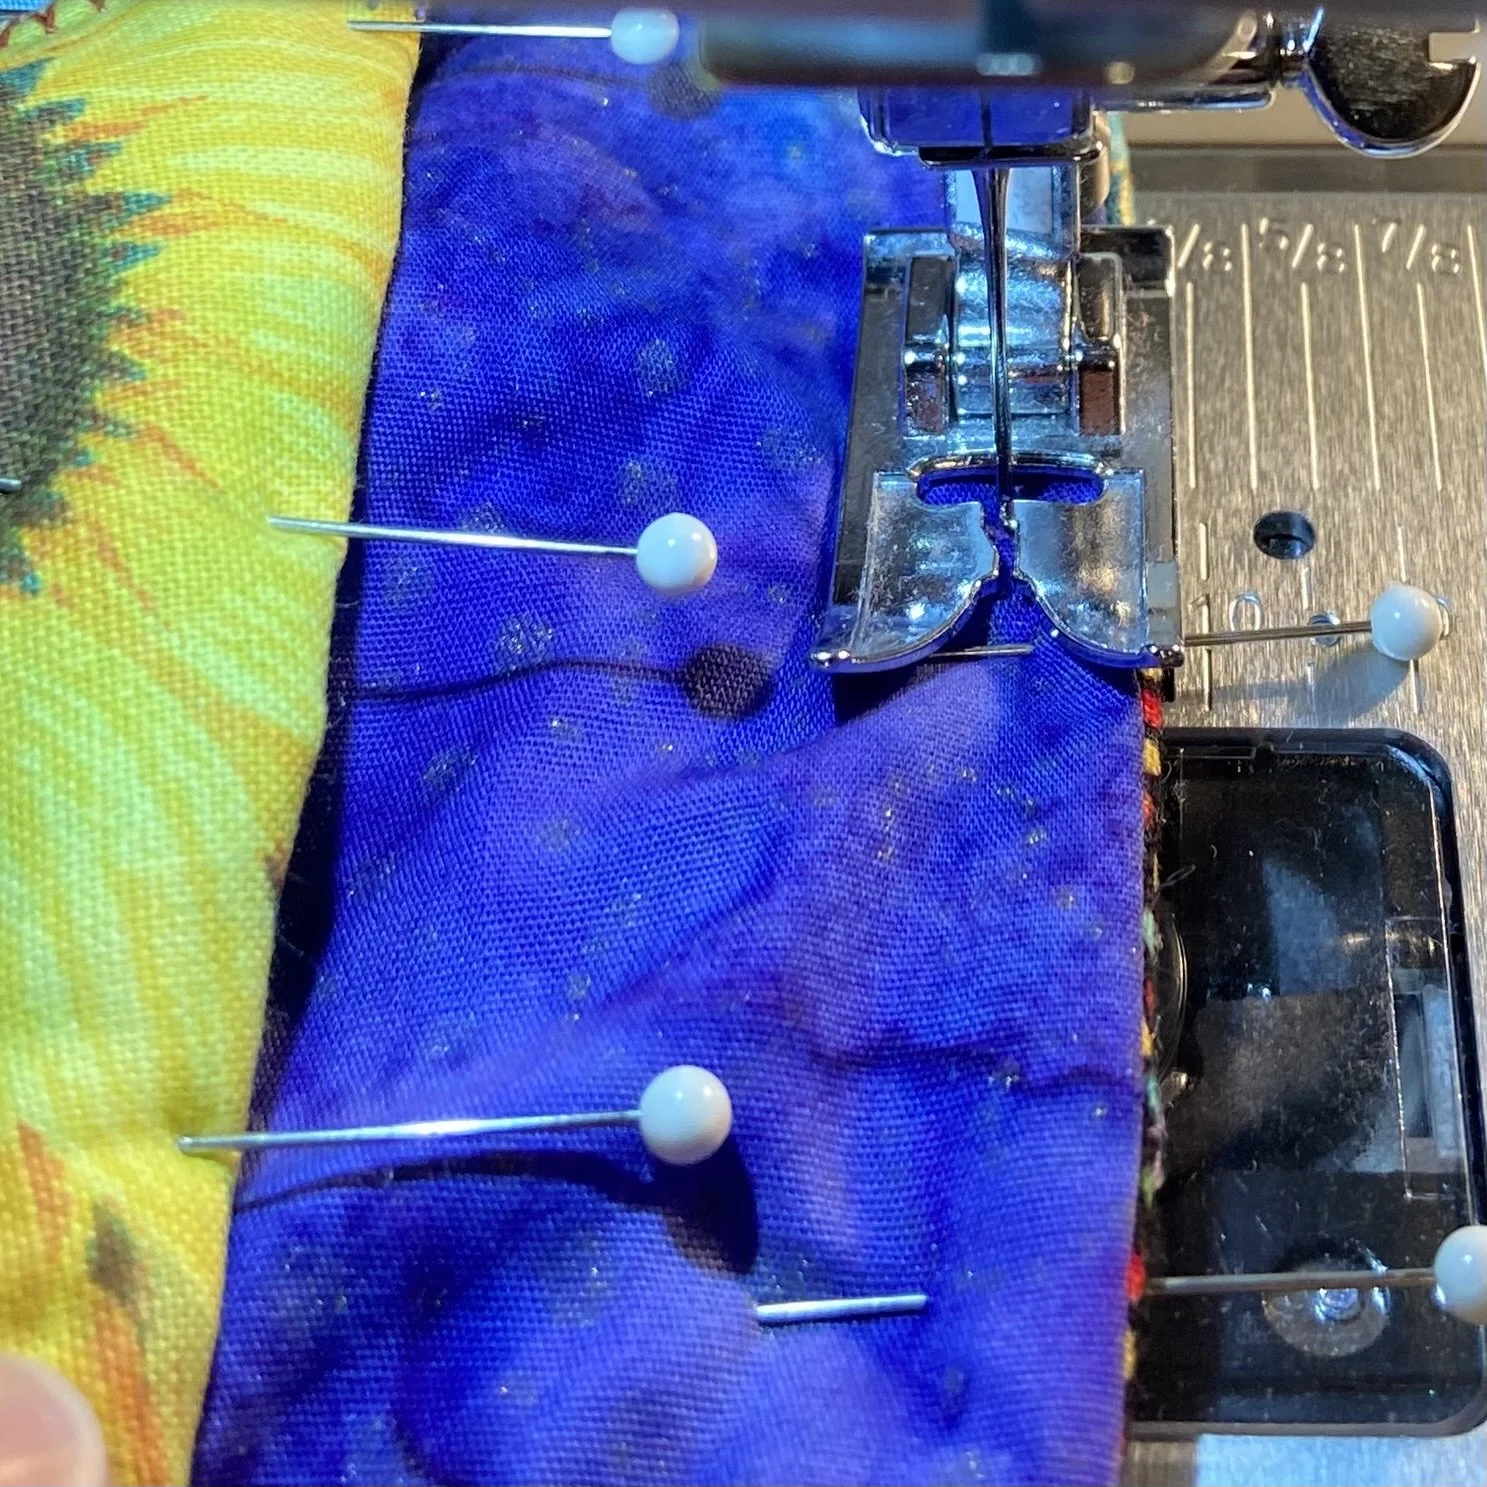
And then on to joining the inner and outer layers. I left the outer cover right side out, but turned the lining inside out. Then I tucked the outer layer inside the lining layer, with the right sides together and the raw edges lined up. Pinning the layers together was easy, starting by matching the seams, and then pinning along the raw edges. Then I sewed the layers together.
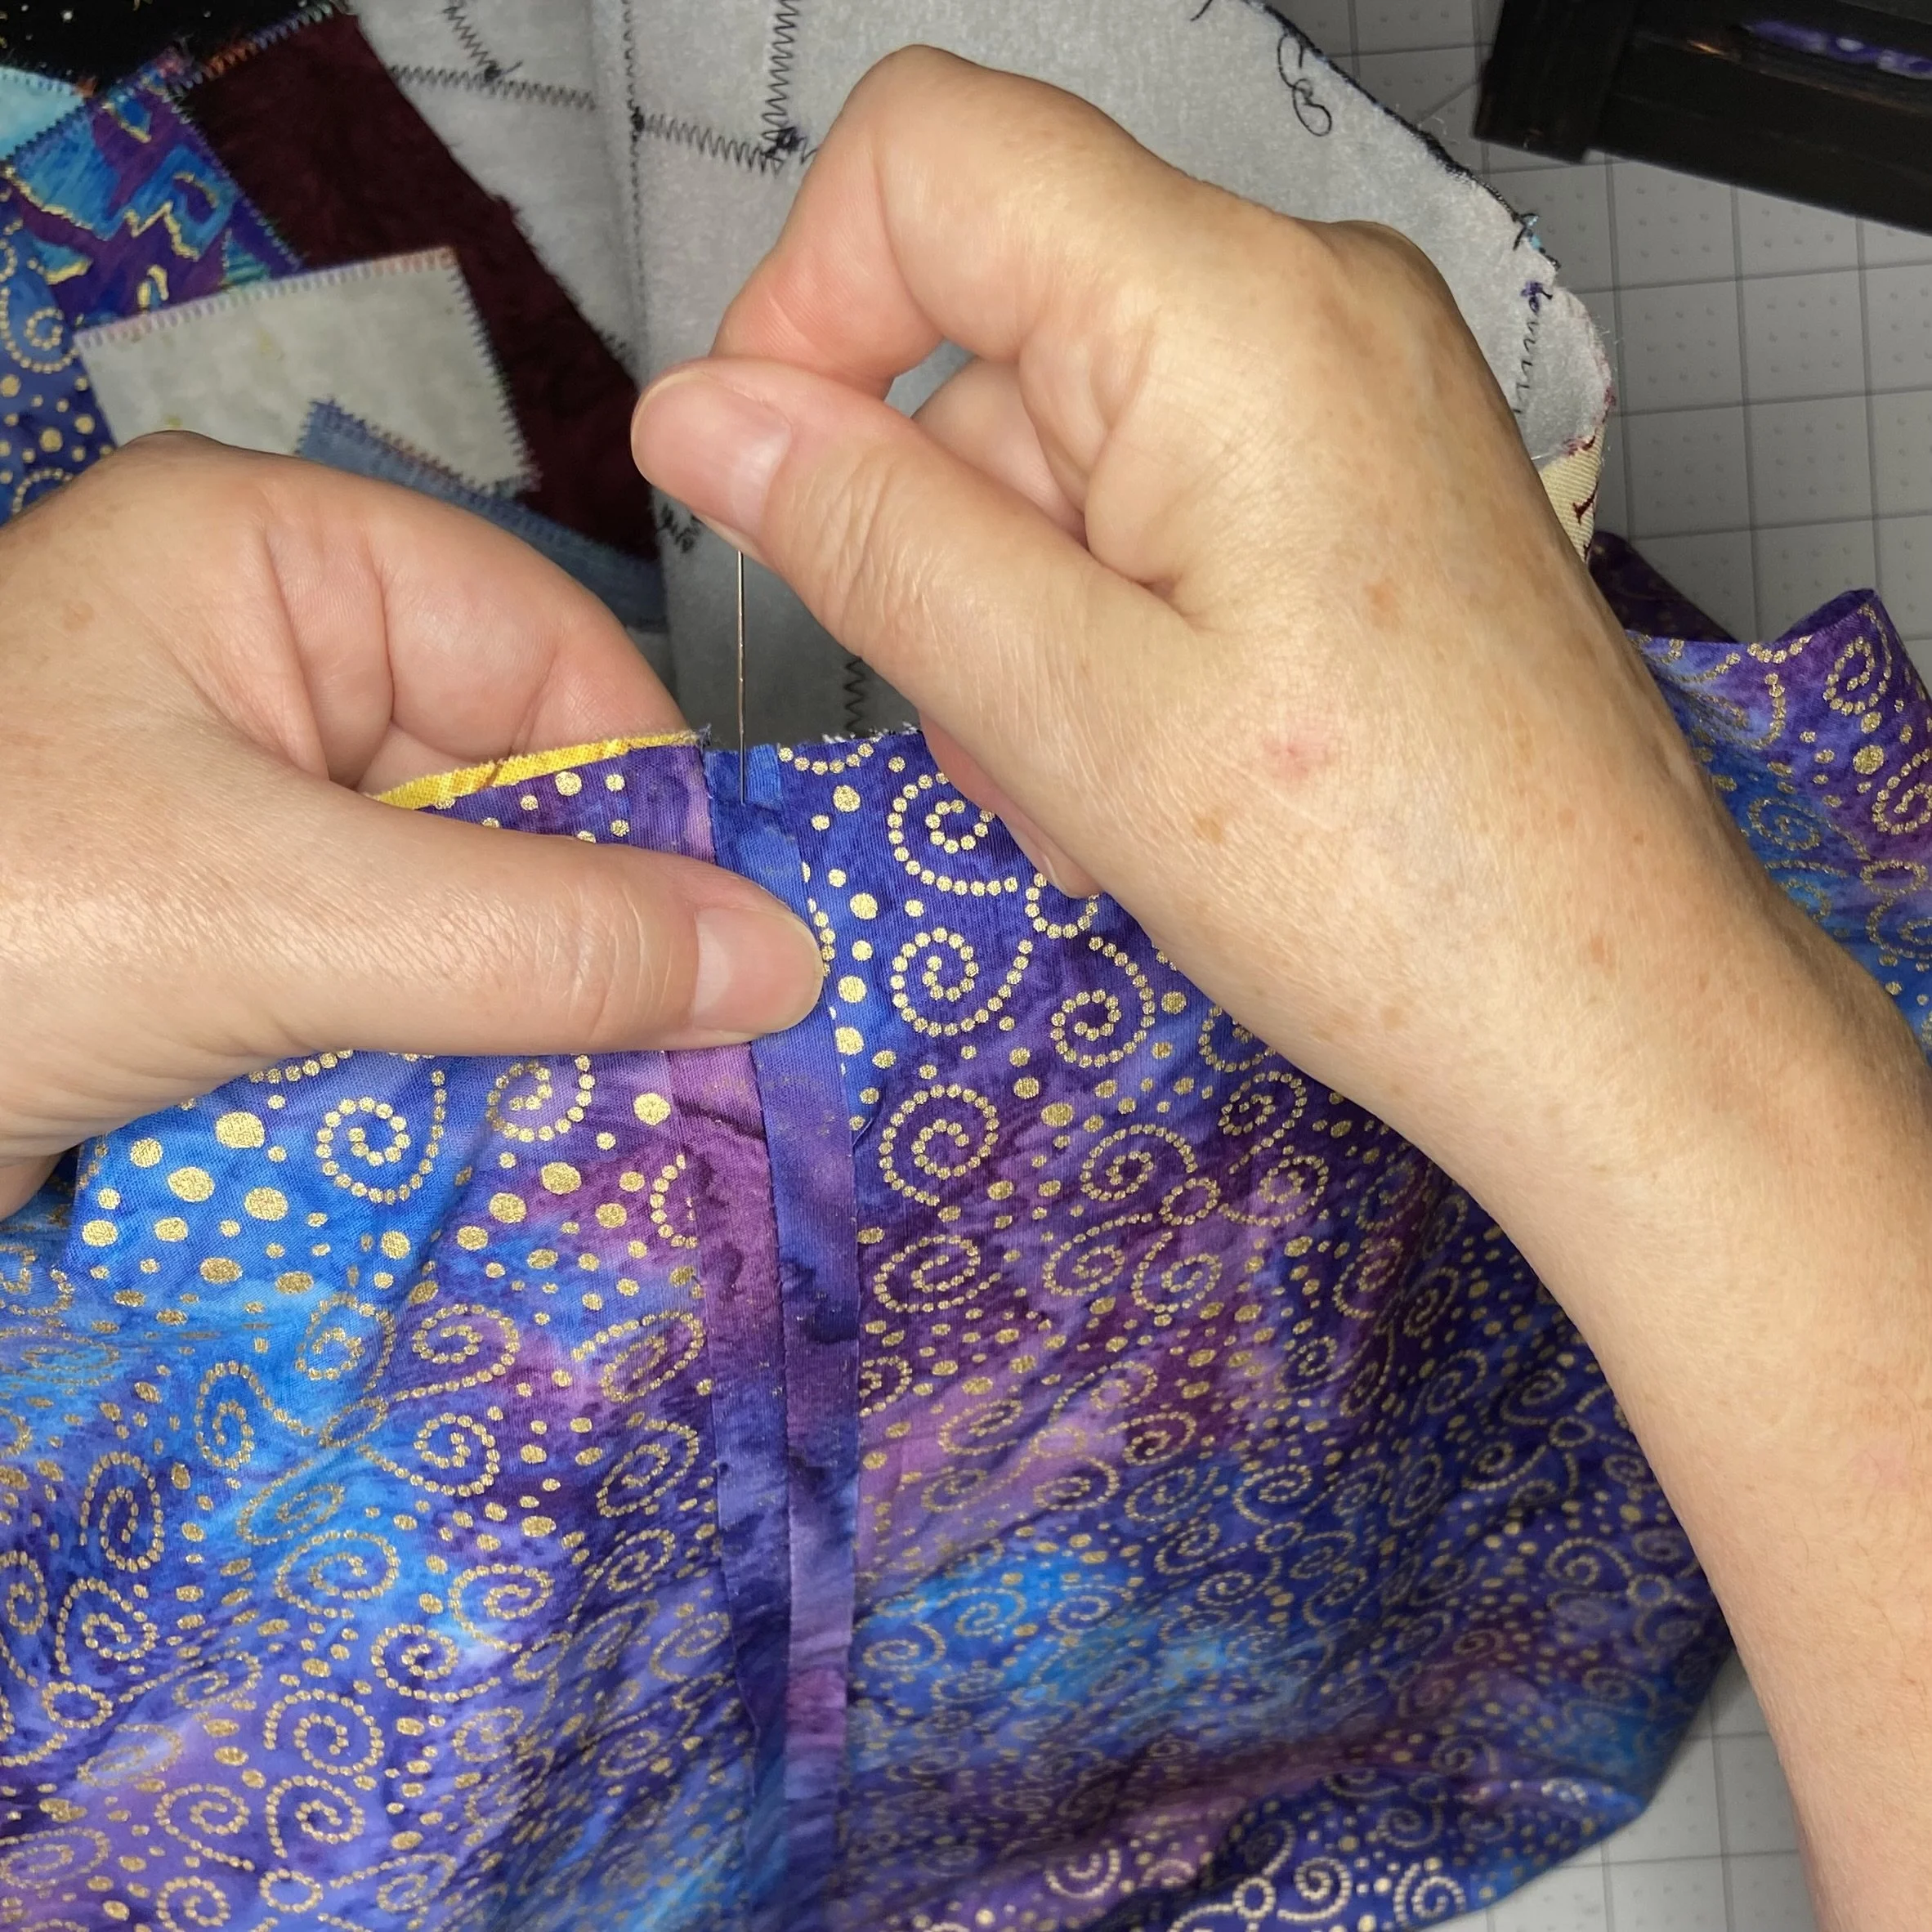
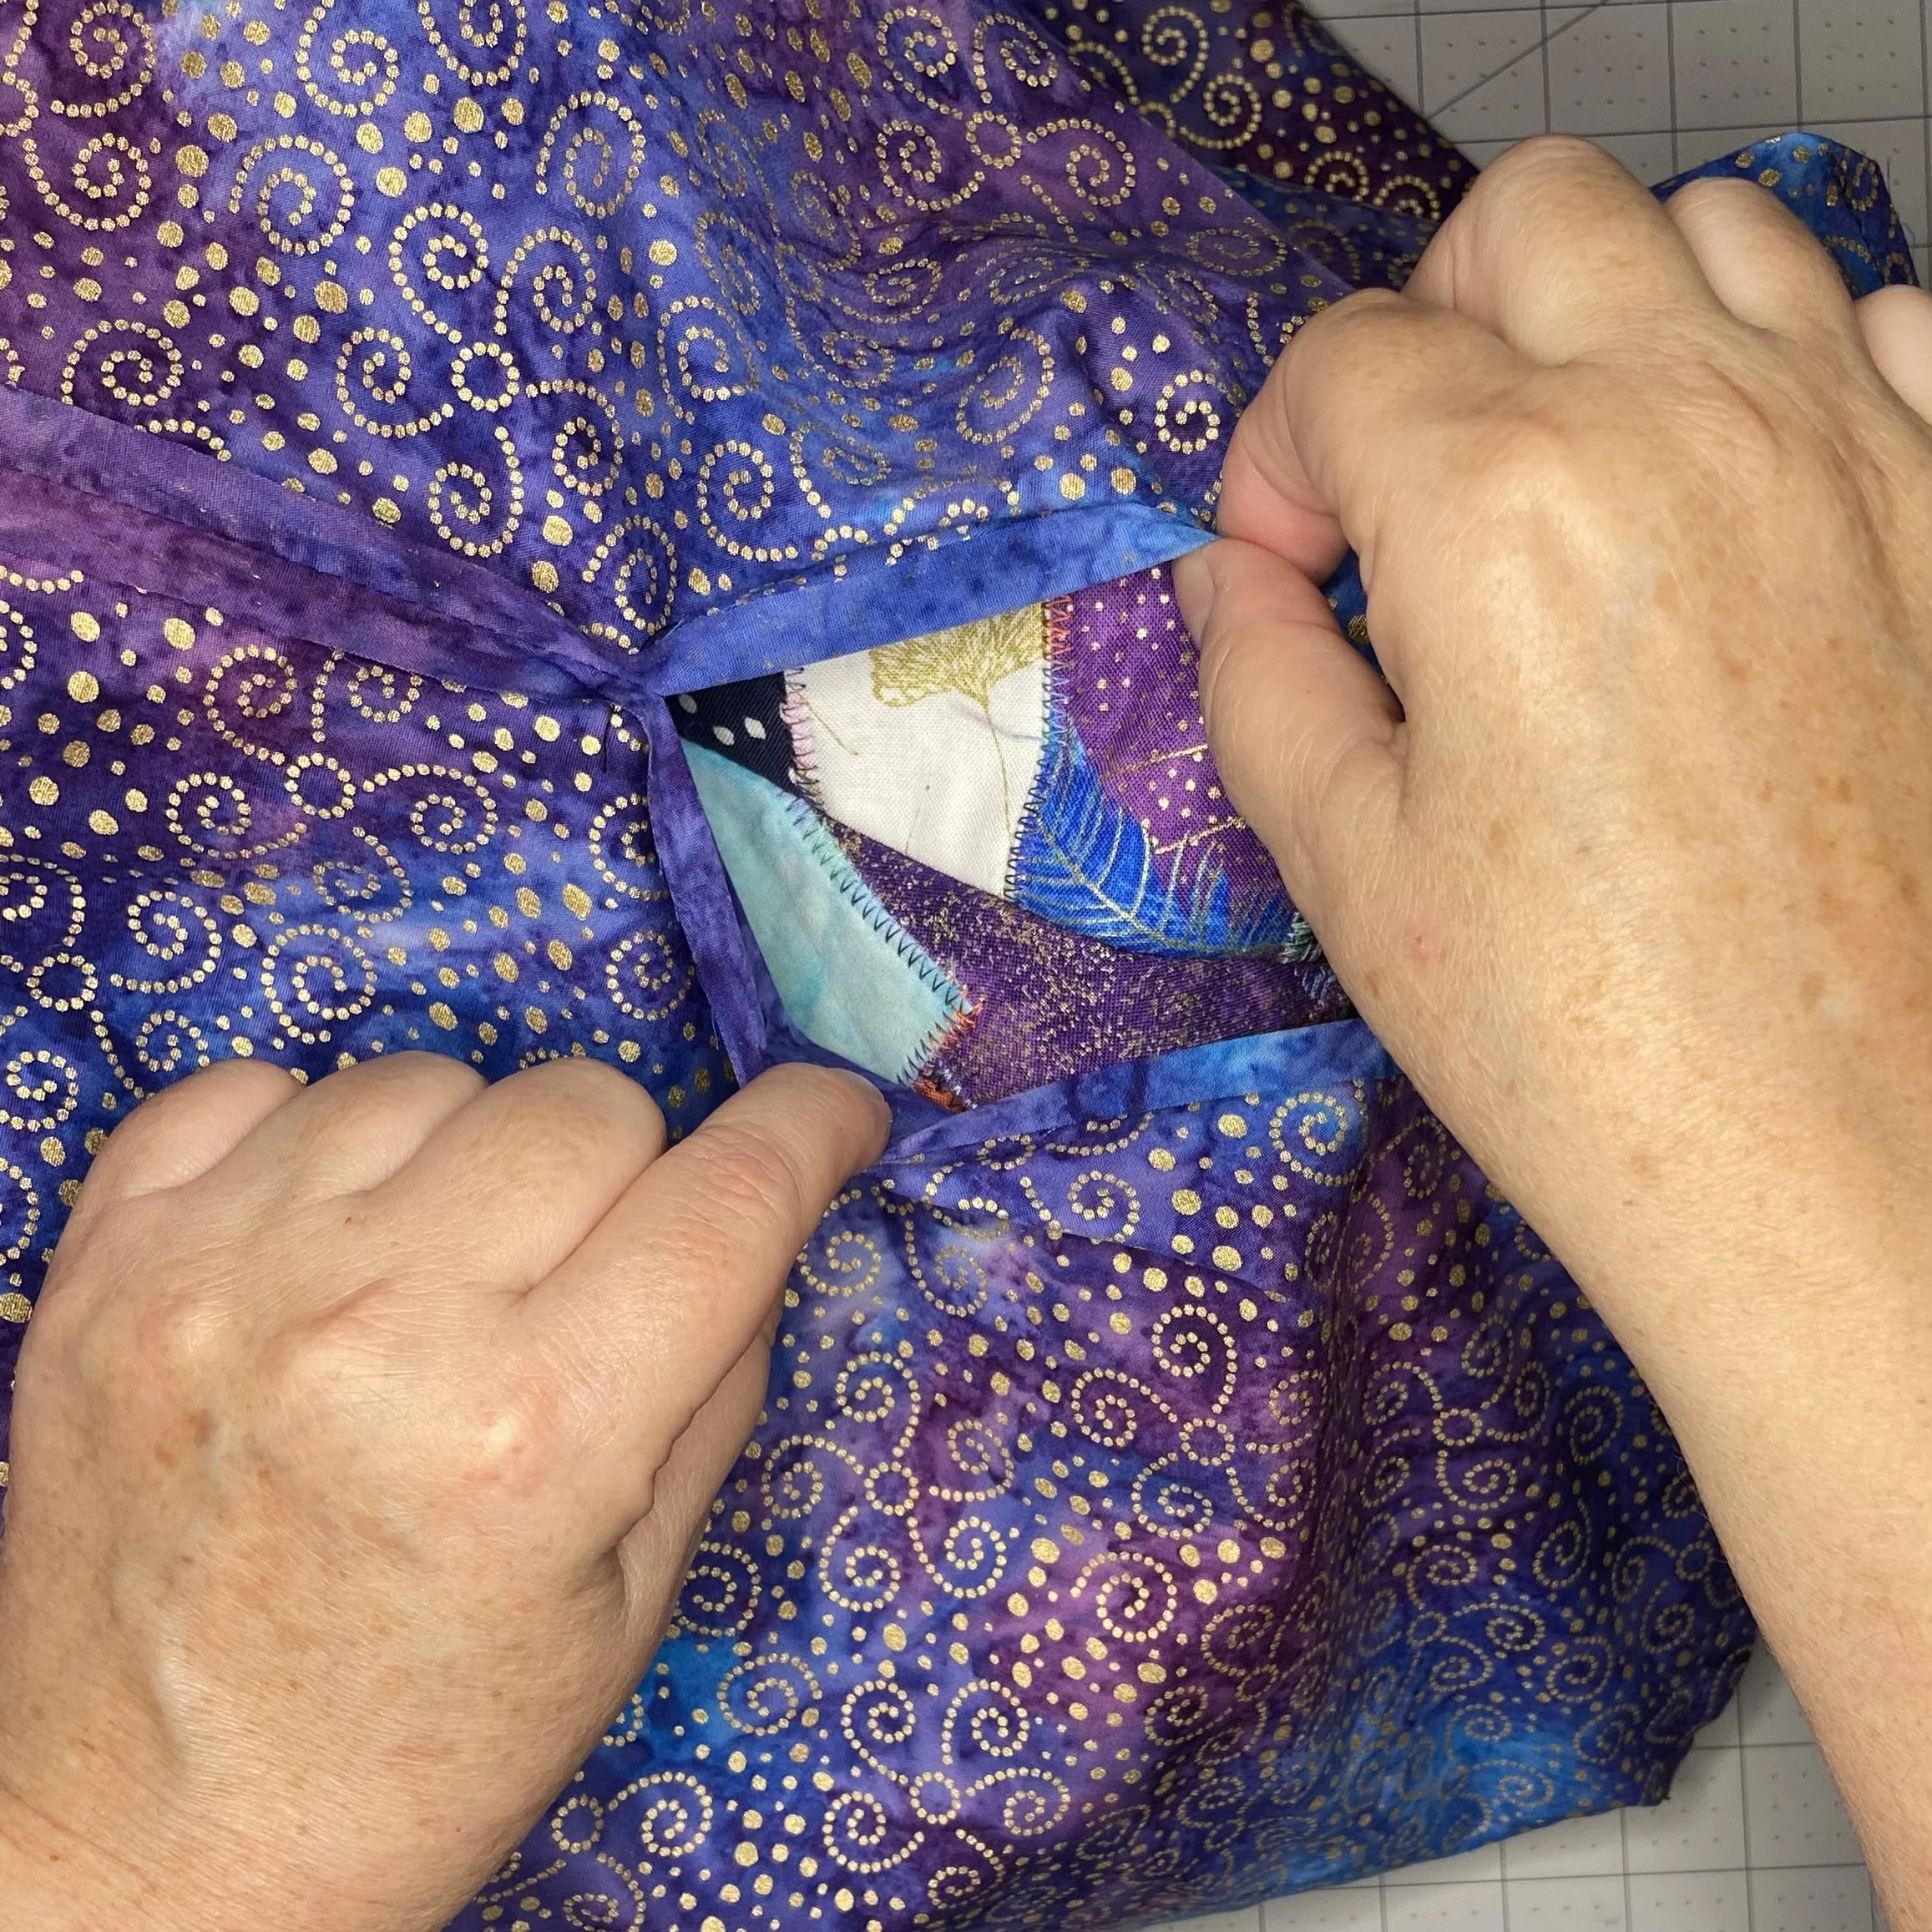
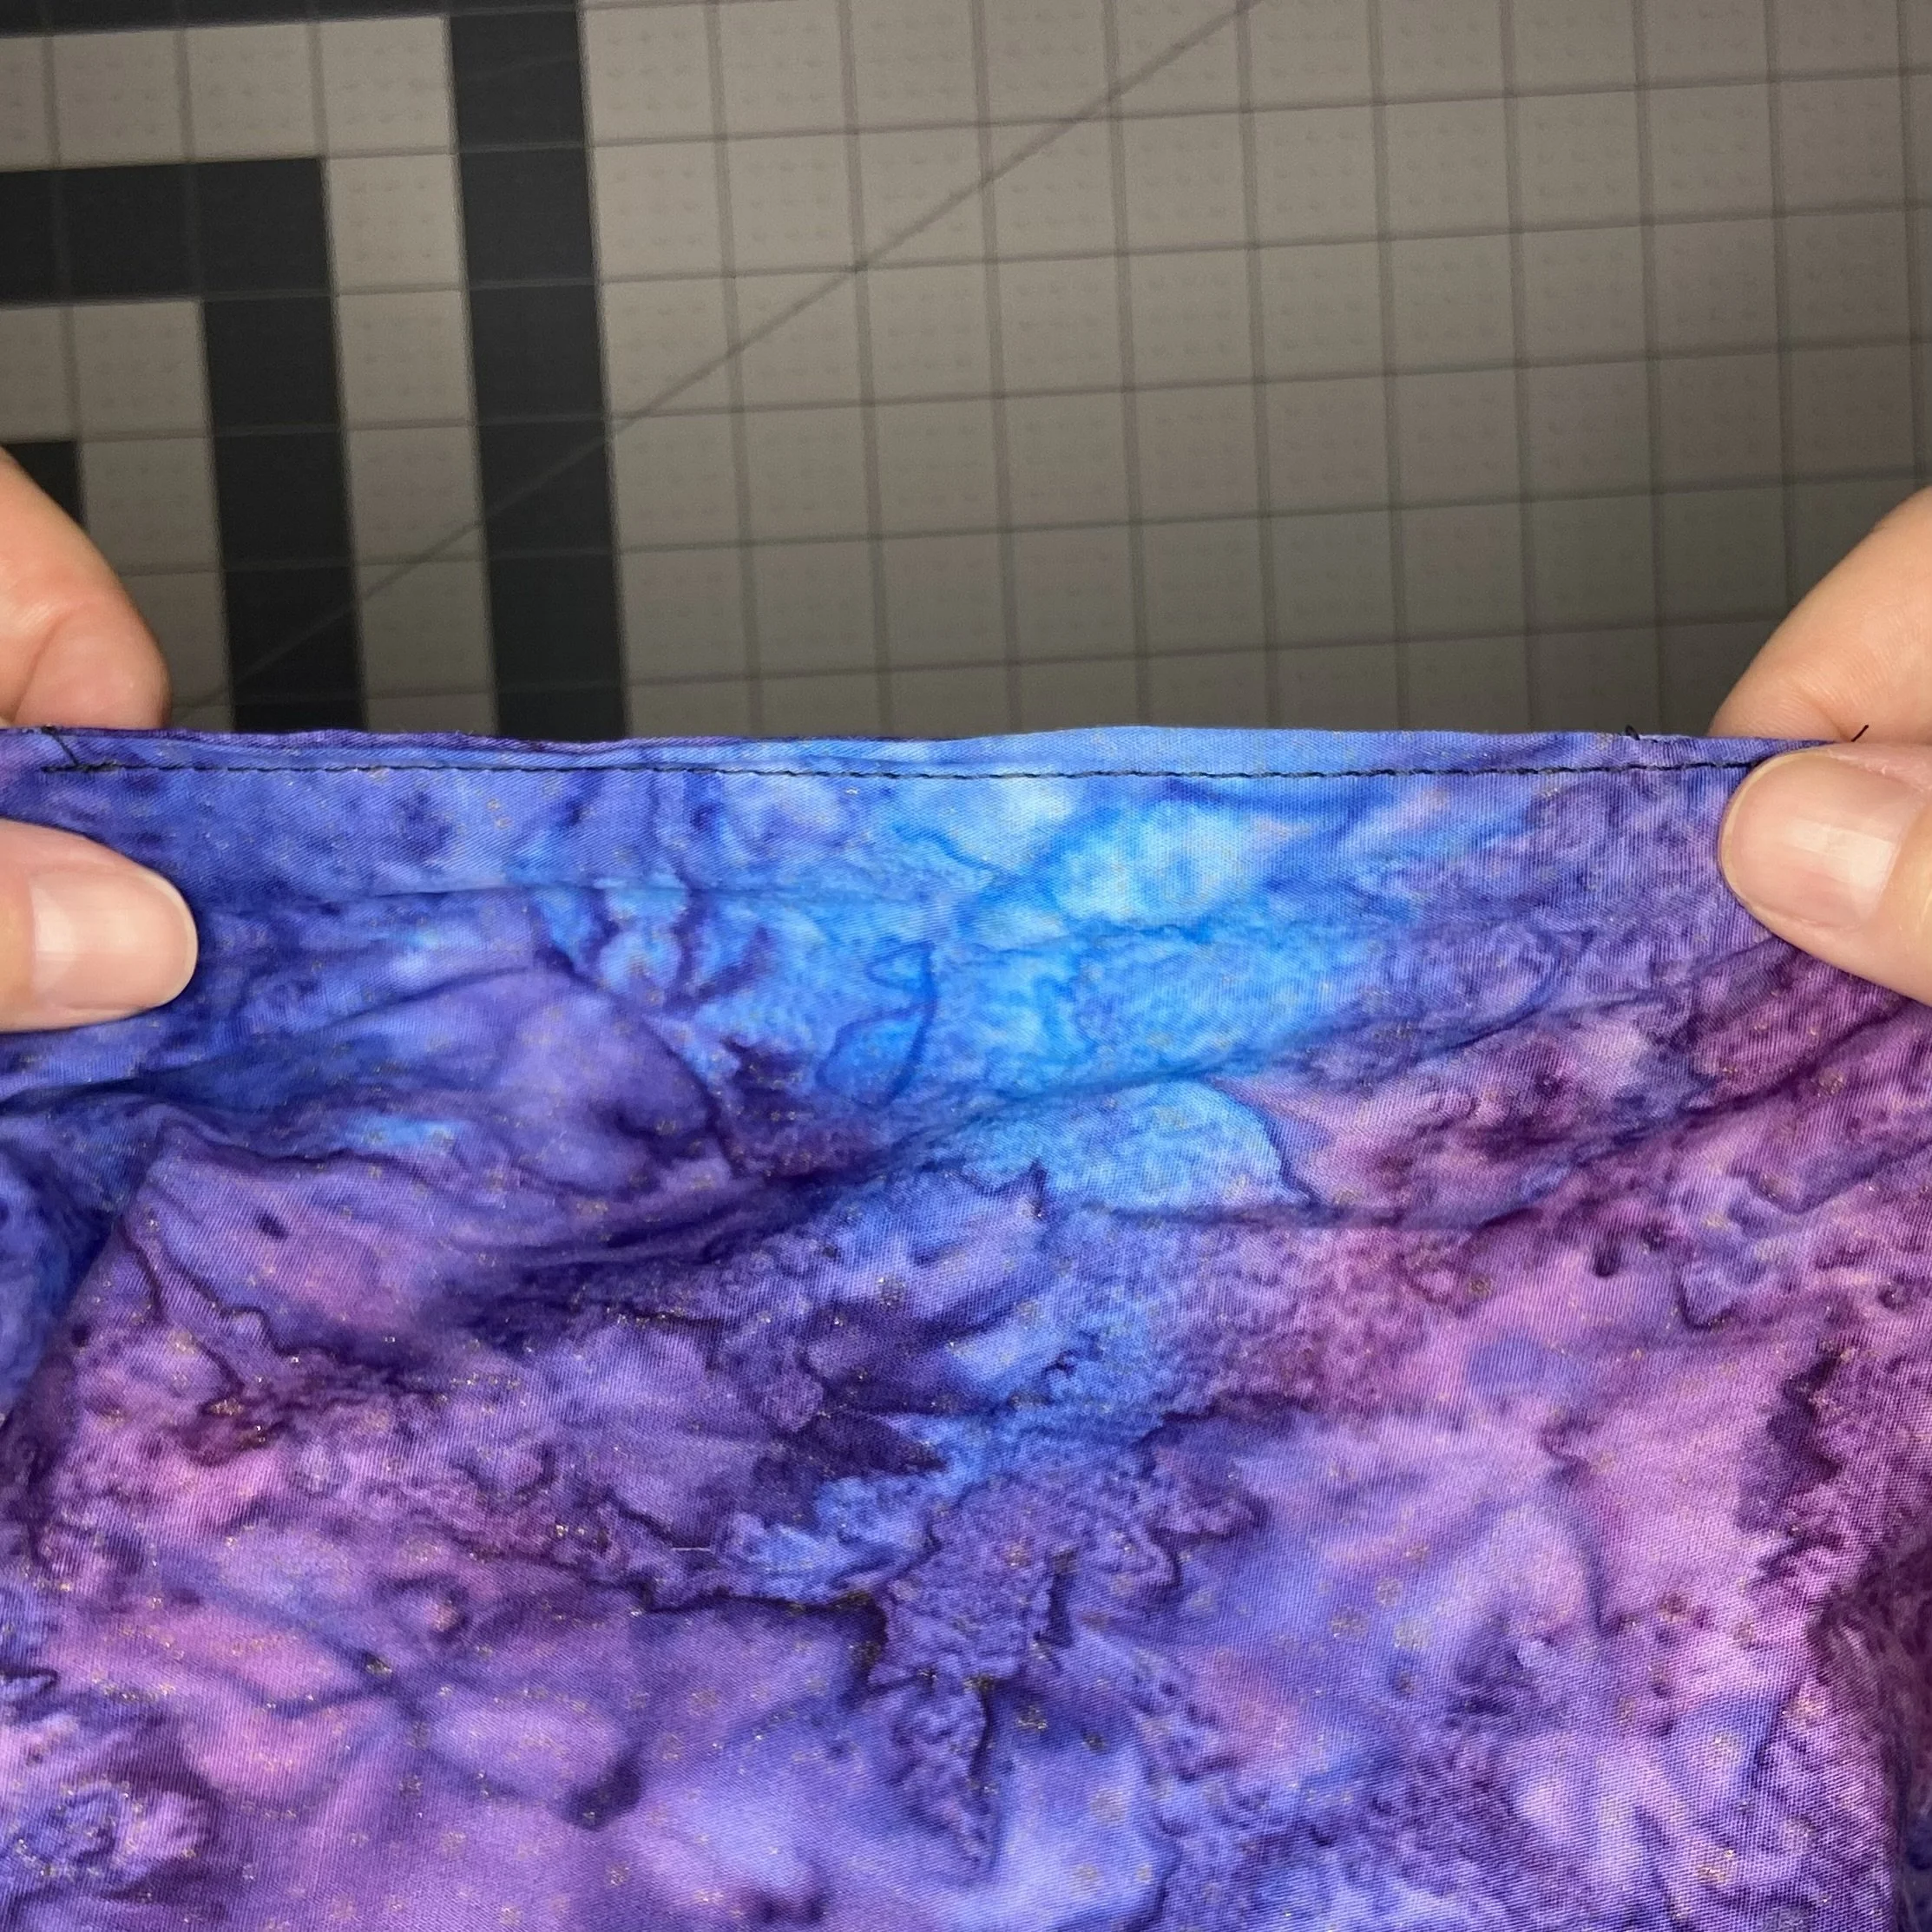
Next was turning the cover right side out. I reached through the opening I’d left in the lining seam and pulled the rest of the project through. Once it was right side out and the corners poked out, I top stitched over the opening to close the seam.
Top stitching was the final step. With the lining tucked inside the outer cover, I top stitched about 1/4” away from the edge to encourage everything to stay in place.
And it’s finished! It fits Hester (who does not by any means have a regular shape) beautifully and it looks very fancy as well. I’m quite pleased with it. I’m also quite pleased that I took a little time to work out the proper pattern/dimensions before I started…it made a world of difference in ease of construction.
