Adventures In Japanese Pinafores
As an Amazon associate, I may earn a small commission if you navigate to Amazon from my site and buy something. This will not result in an extra cost to you.
When I am in my studio playing around with mixed media ingredients, it’s messy. Glues and pastes and paints and sprays and…very messy. So I’ve been thinking that I need some sort of smock or apron to help keep my clothes clean. And having seen several YouTube videos on the virtues of the Japanese crossback apron, I decided I’d make one of those. In a moment of foolishness, I got my fabric off Amazon. The fabric is certainly pretty, but I don’t care for the drape on it…it’s a little stiff for a garment. This is what I get for buying fabric sight-unseen off the internet. I’ve had good luck with Jordan Fabrics over the years but I think that in the future, I will mostly buy from local fabric stores. There’s really nothing like being able to touch the fabric and see it in person before you buy.
Nevertheless, I had the fabric and I needed a pattern. The first thing I thought to try was one of the many free patterns you can find in places like Pinterest…but all of those required that you print out the (rather large) pattern page by page, and then tape all the pages together. No thank you. So I went looking online for a physical pattern I could buy and have mailed to me. I found this gem on Etsy and promptly ordered it. I somehow failed to notice in the Etsy listing that there are no instructions with the pattern. None. It’s a piece of heavy-duty interfacing cut into the right shape, with the word “FOLD” written on the edge that was clearly meant to be placed on a fold of fabric. Now, as I’ve done a bit of sewing over the years and this garment isn’t complicated, it wasn’t that big a deal for me. For a rookie, though, this would be a problem. But never fear…I’m going to give you all the instructions you could possibly need.


When you cut out the fabric, if you have a serger and wanted to make a single layer apron, it’s about the easiest thing in the world. Just cross over the straps in the right configuration, sew them together at the shoulders, and then serge the raw edges all the way around the apron. Done. If you don’t have a serger but still want a relatively simple method, you could sew the straps together and then roll over (twice) a quarter inch hem along all the edges and top stitch that. Or you could sew the straps and then use bias tape all the way around the apron.
But I wanted a reversible apron with pockets on each side, which meant a double thickness, and I had plenty of the blue polka dot fabric to make that happen. So what I did was cut two pieces, cut a couple pockets, sew the pockets on, then put the right sides together on the apron pieces and sew around the edges, leaving the four ends of the straps open and also an opening in the side seam big enough to get my hand into. Then I turned it inside out, sewed the straps together, and top stitched everything. Hey presto…a reversible apron that is quite sturdy. And a little stiff too, if I’m honest…I’m hoping this fabric will soften up after a few washings. Okay, the details:
I laid out the fabric and placed the pattern over it with the “FOLD” edge on the fold of the fabric. Then I cut out the fabric and did it again, so I had two identical apron pieces. Using some of the leftover fabric, I cut two identical rectangles for the pockets.


Next, I took both pocket rectangles to the ironing board and pressed 1/4” in on one long side and the two shorts sides. Then I folded over another 1/4” and pressed again. After that, I top stitched the fold down on the long side only (the top of the pocket).


Next, I folded both apron pieces in half (easy, since they were cut on a fold and were therefore symmetrical) and marked the center on the bottom edge. I did the same on the unhemmed long edge of the pocket rectangles. Then I matched up a pocket over the bottom of an apron piece, using the marks I made to get the pocket centered. The pocket lays wrong side over the right side of the apron, so both right sides facing up. I pinned the pocket in place and sewed along the short sides and then I made a seam down the middle to divide the long single pocket into two. Do this for both pockets and apron pieces, of course. Don’t worry about the open bottom edge of the pocket…it will get captured in the seam when the two apron pieces are sewn together.


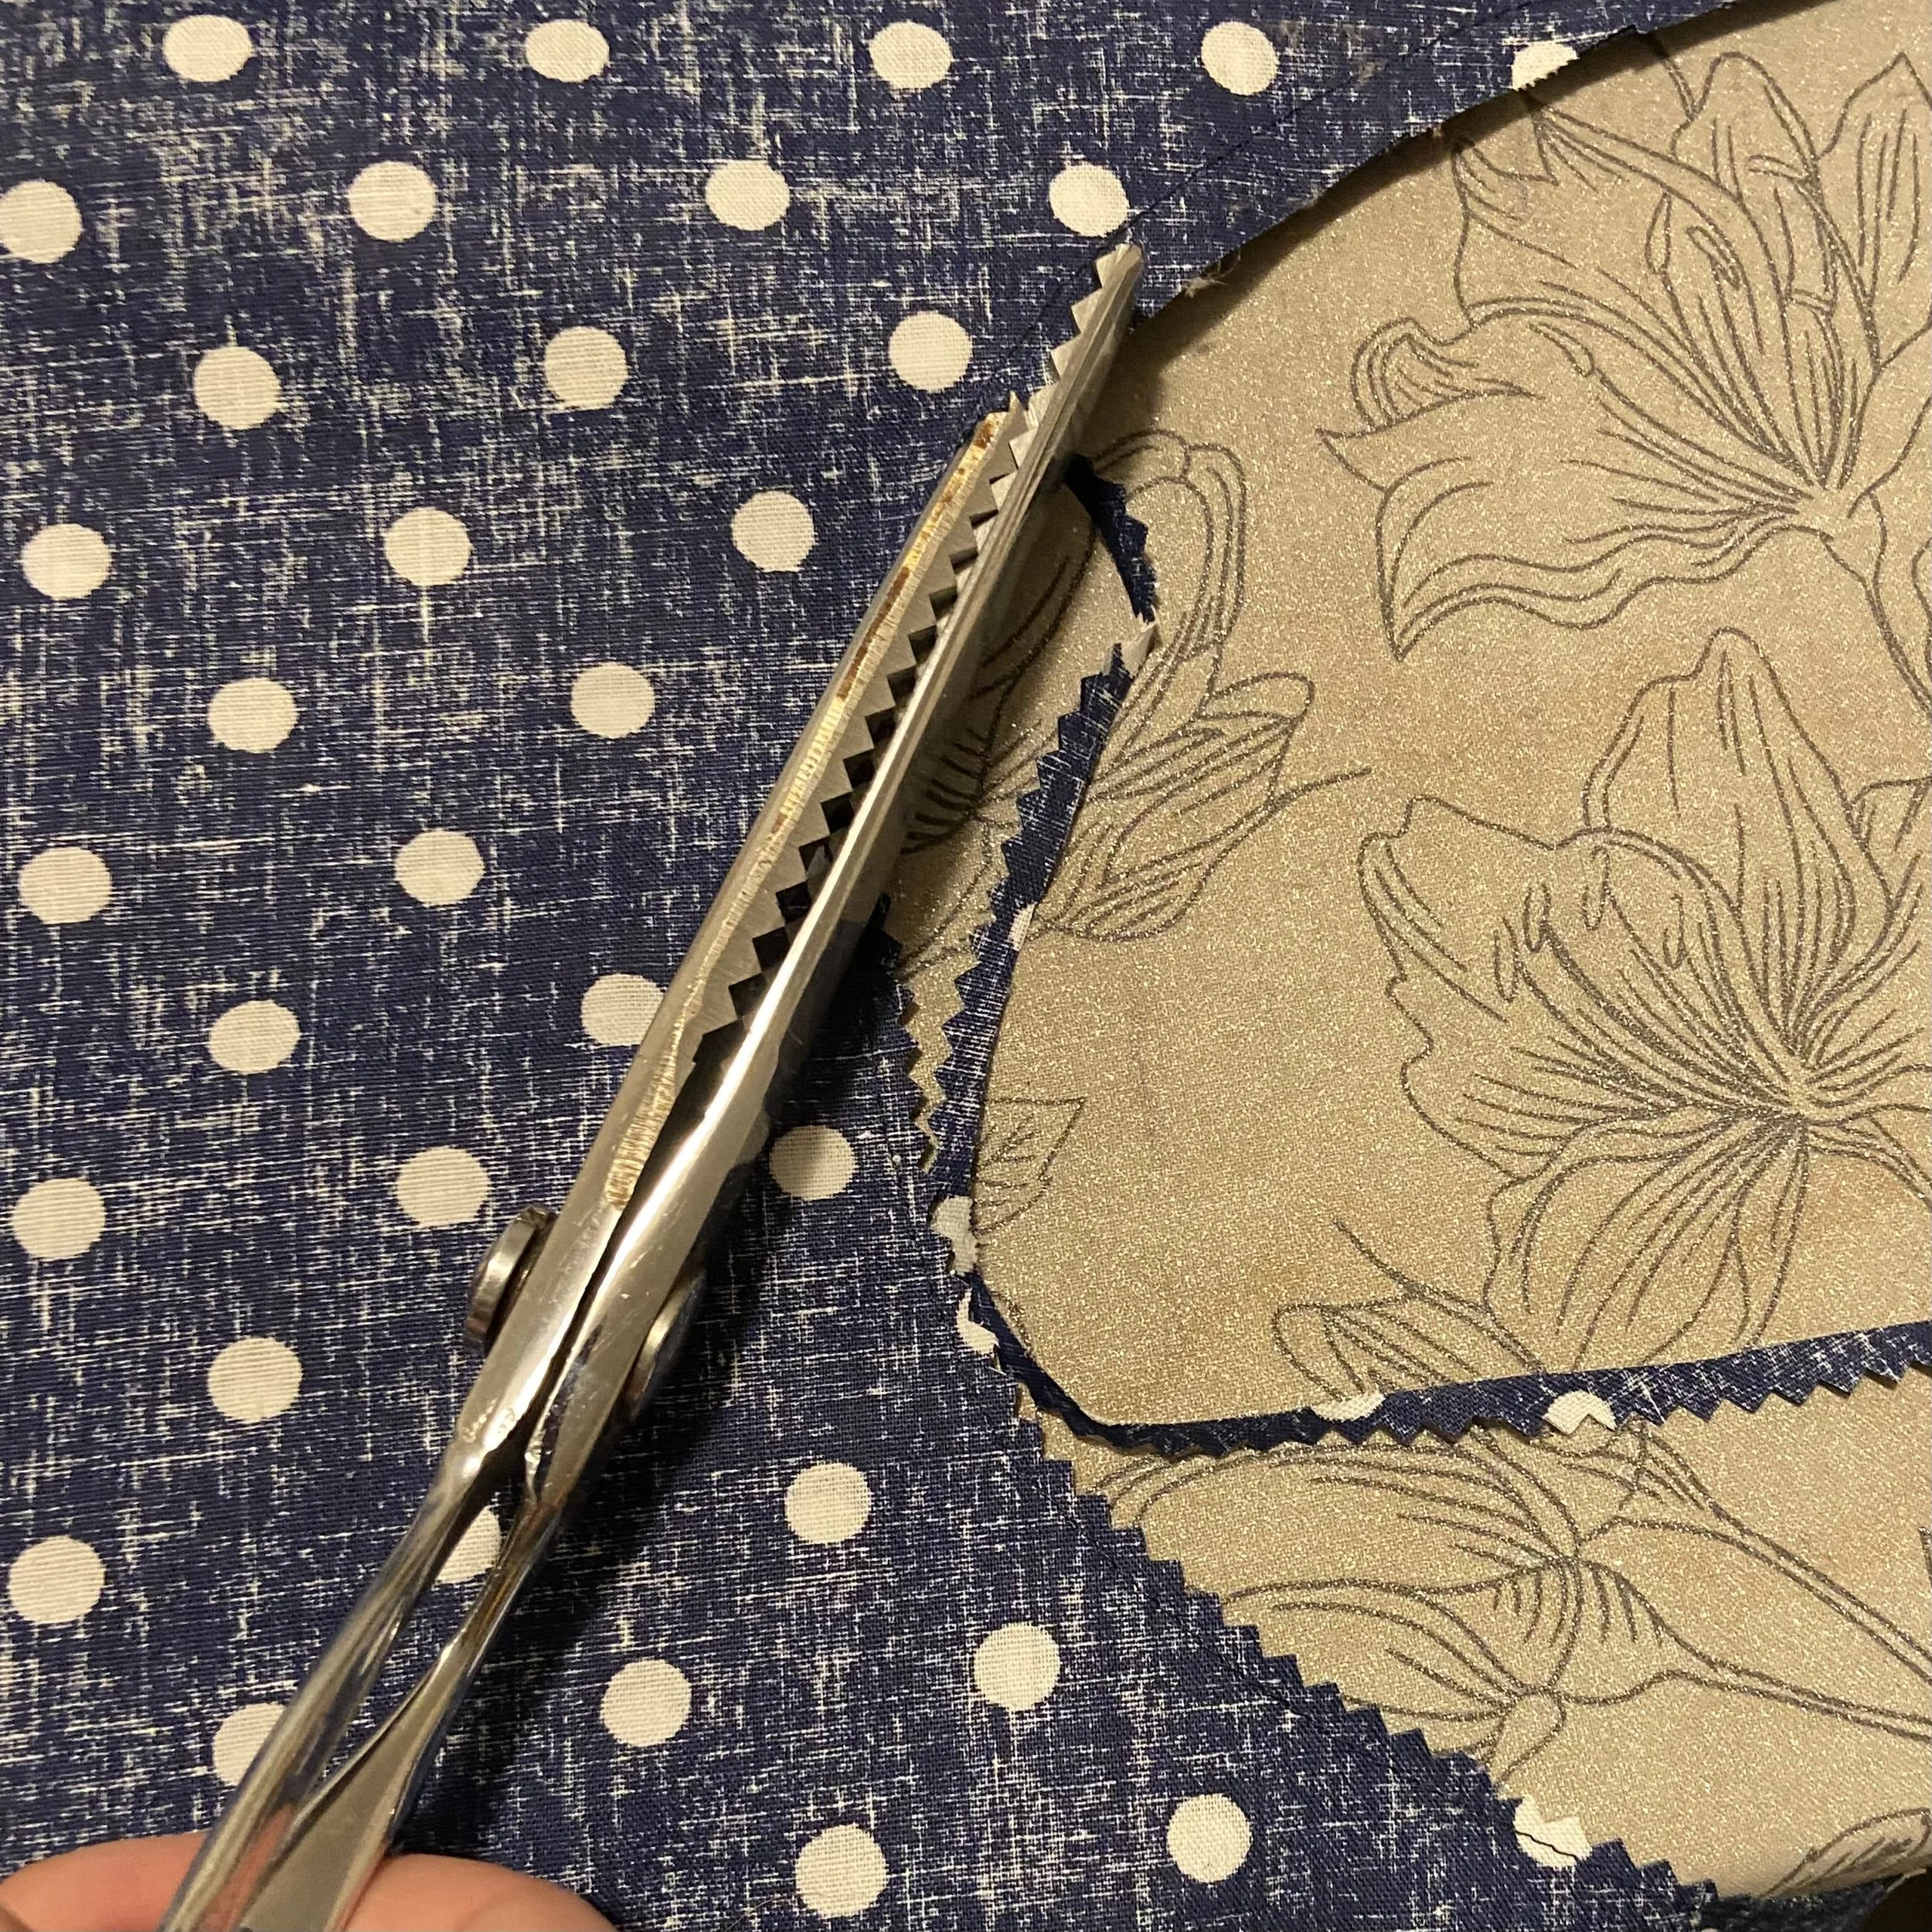
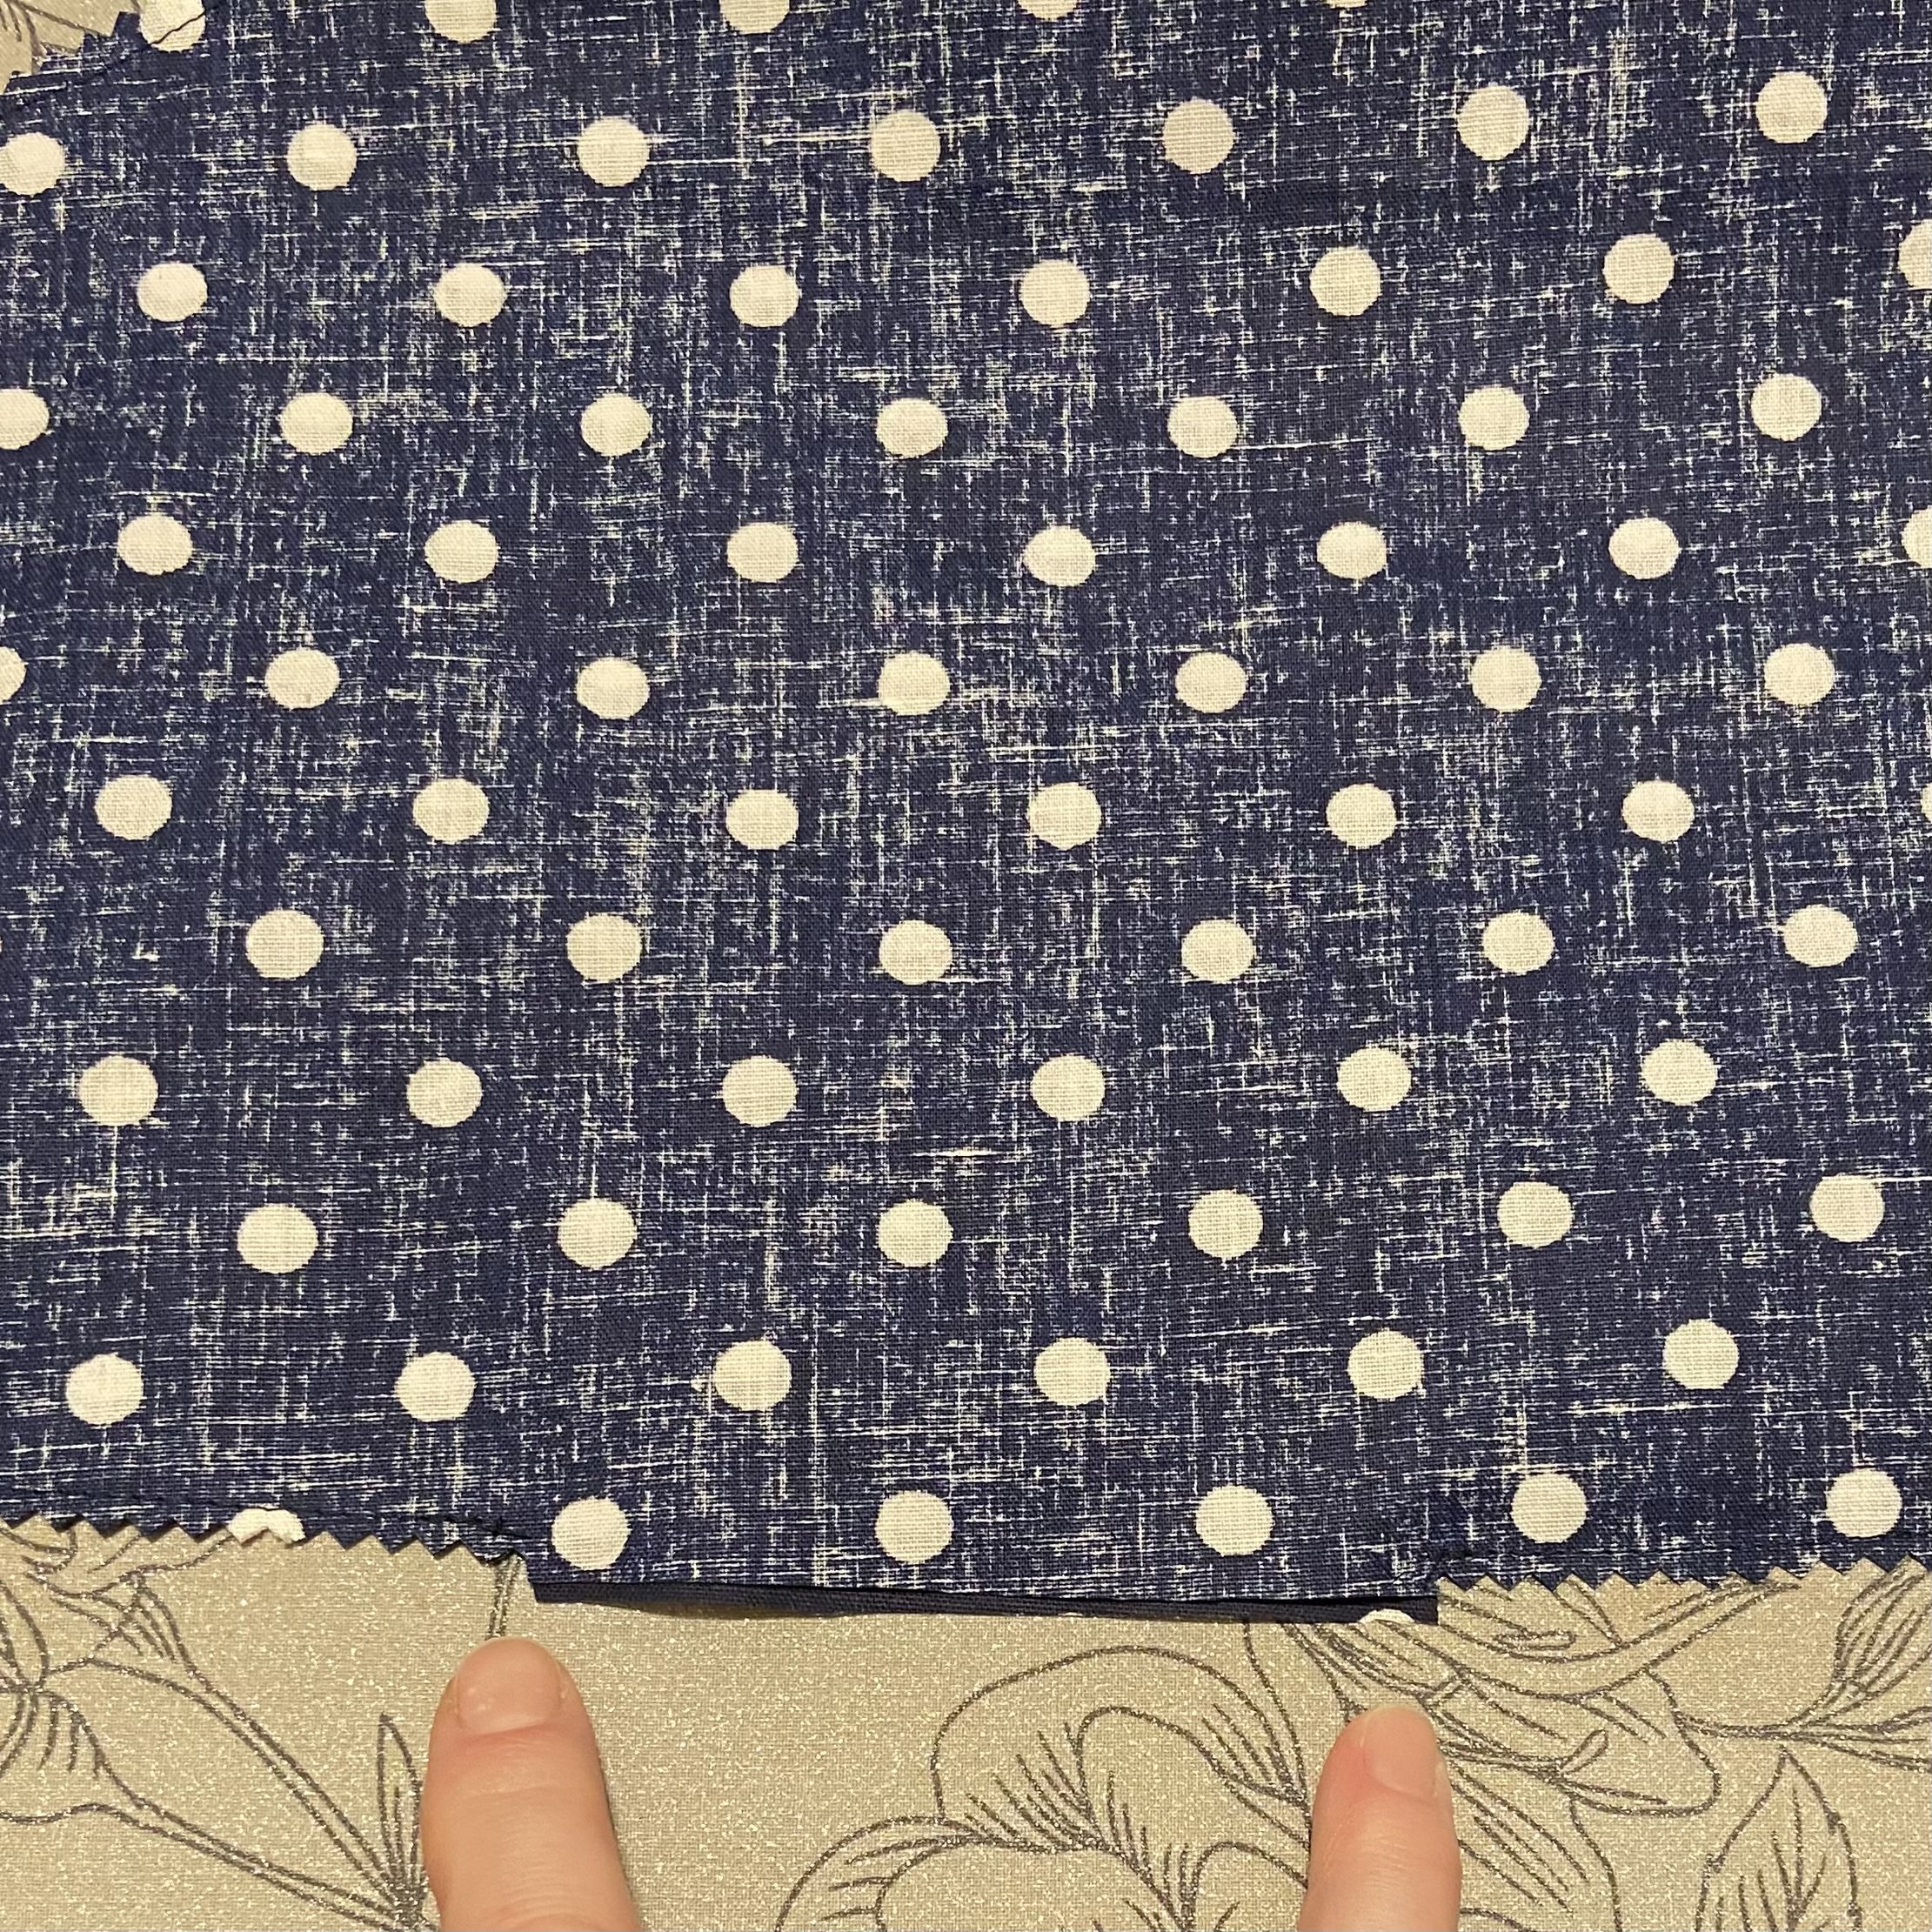
Next I sewed the apron pieces, right sides together. Note the diagram to the right…you will want to leave the ends of all four strap pieces unsewn, and you will also need to leave an opening along a straight area of the seam to allow you to turn the piece right side out. As is obvious from the picture designating the “no sew zones,” you will need to sew the neckline and armholes separately from the body of the apron, since you are skipping over the ends of the straps. Iron everything you just sewed to relax the stitches, and then trim the seams. I used pinking shears for this because 1) it cuts down on raveling inside the apron and 2) it removes the need to clip curves to make them lay flat. The glorious pinking shears do it all. Be careful not to trim the “no sew zones”, the ends of the straps and the opening left for turning.

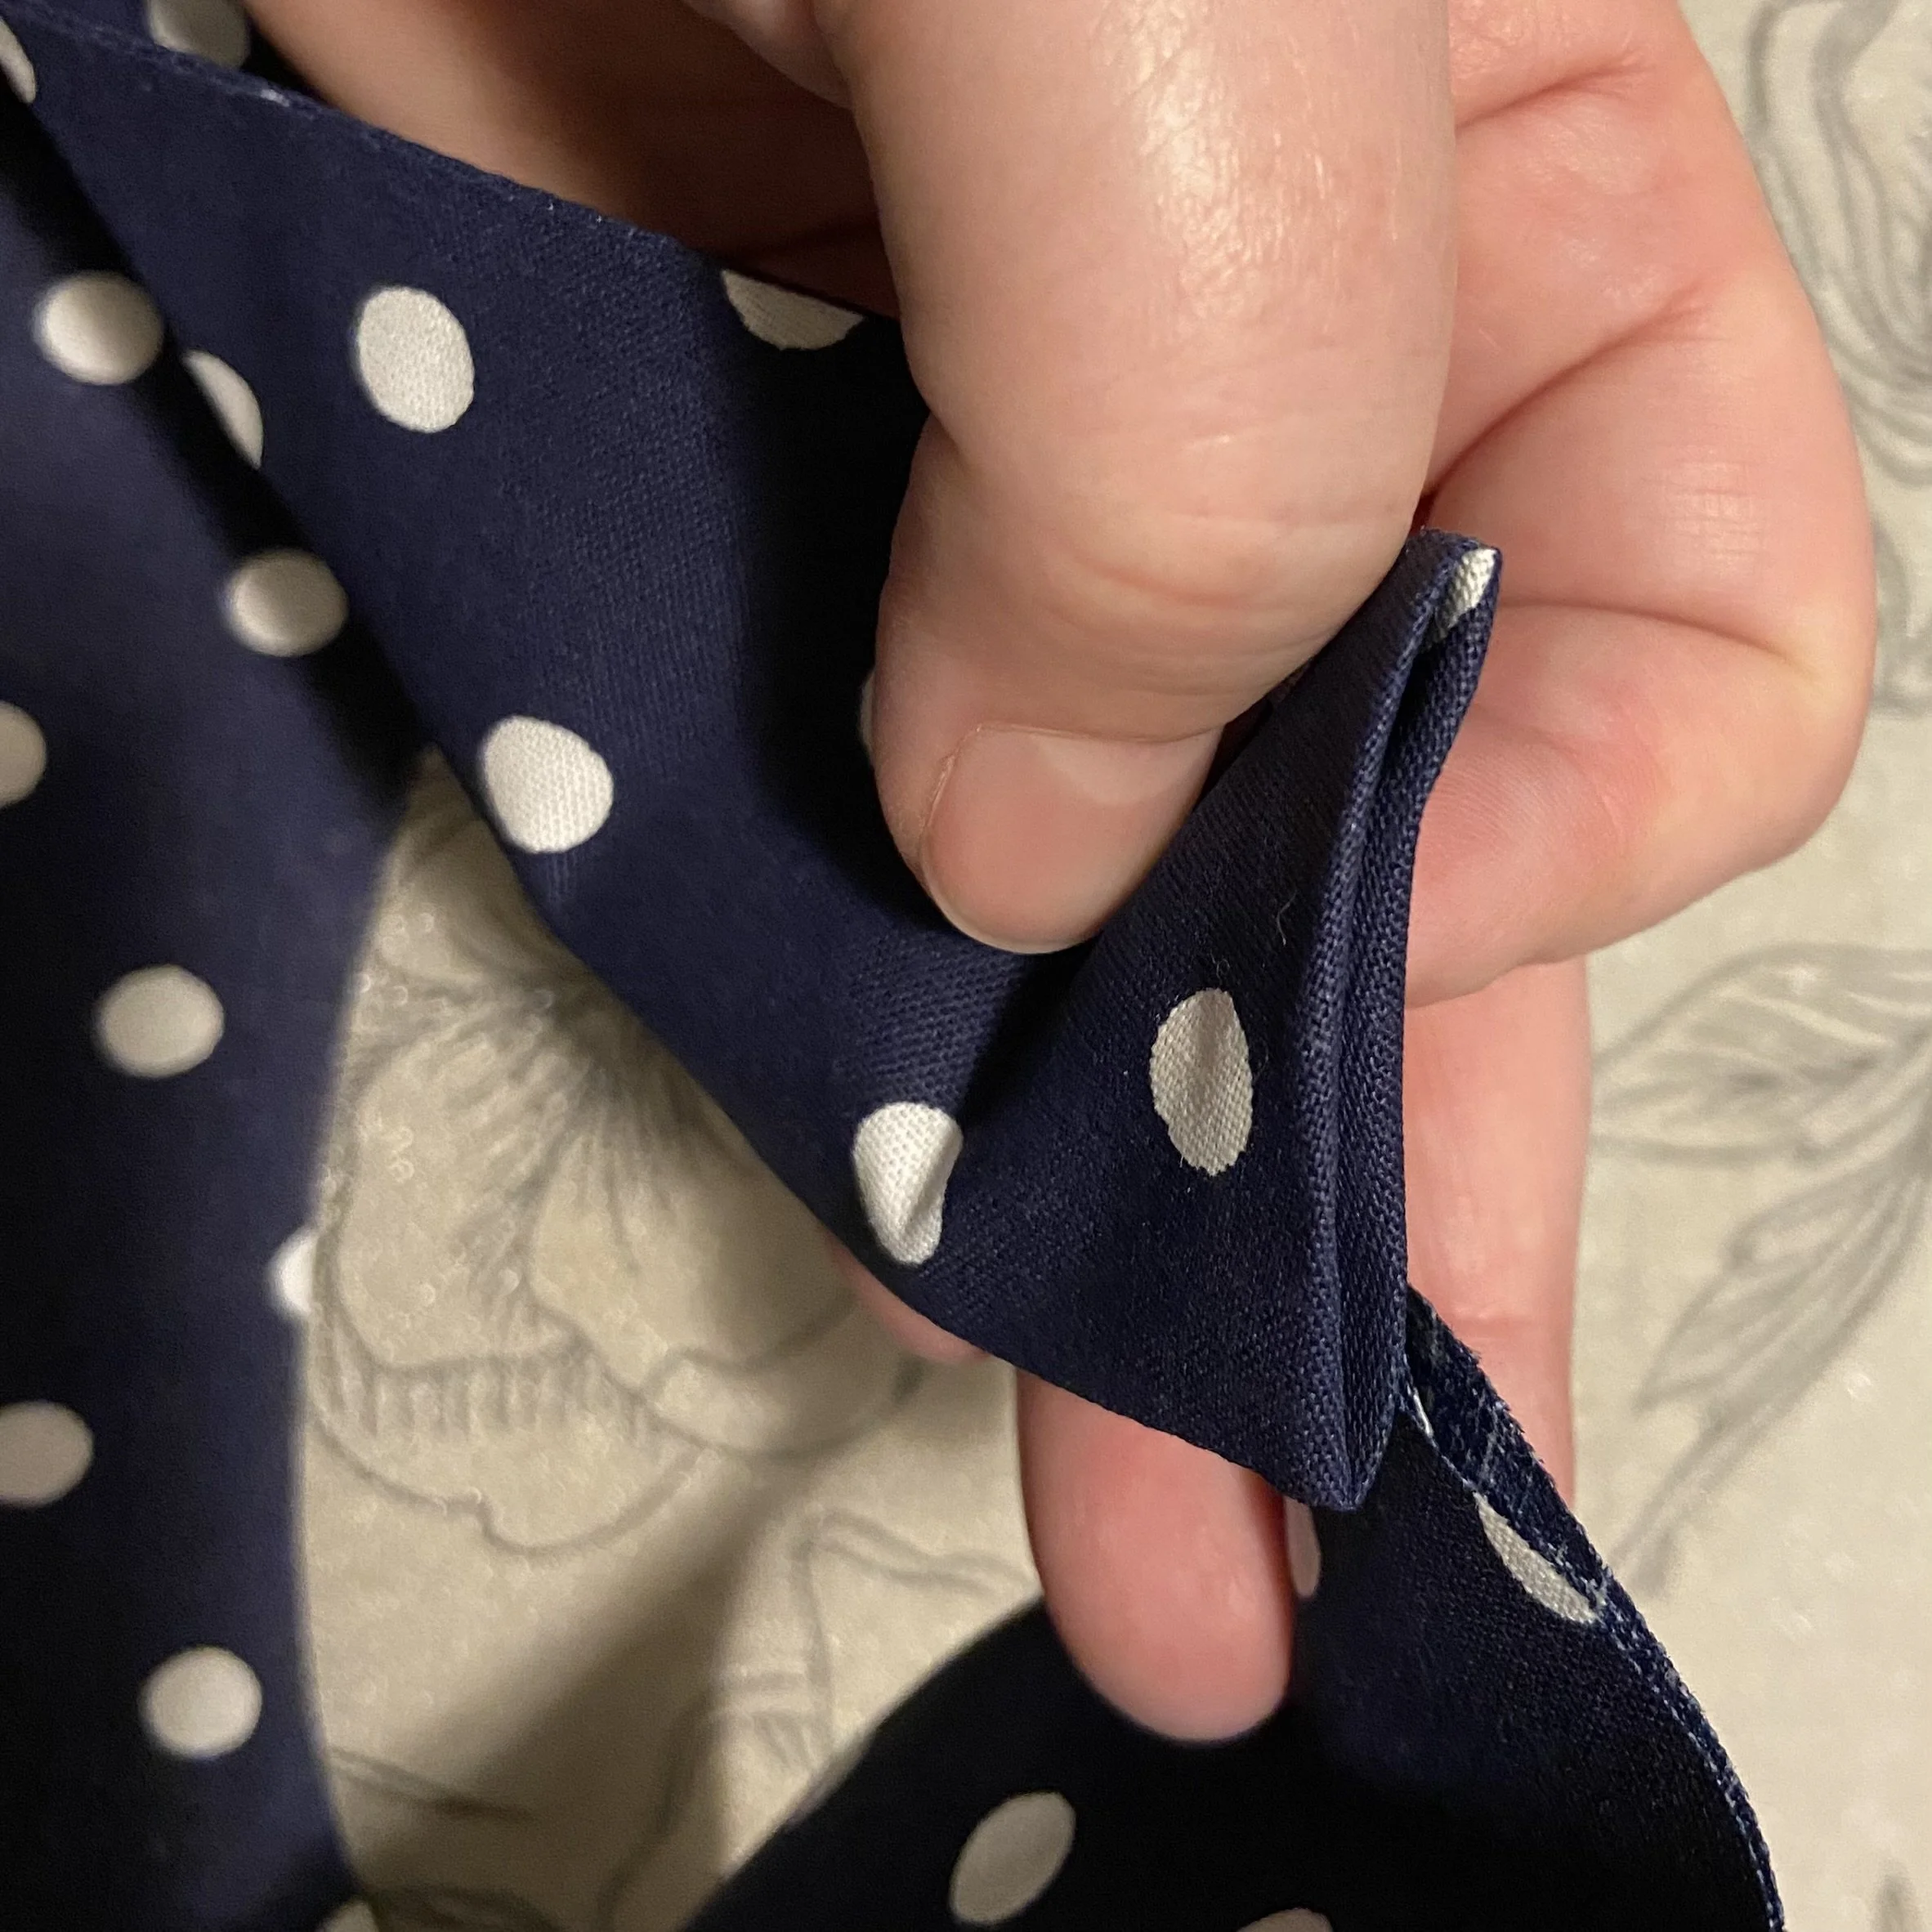
Then I got to turn the whole thing right side out. It’s oddly rewarding to see it all come right, because it looks like such a mess right up until it doesn’t. I carefully smoothed out the seams and then pressed again. When I got to the spot on the seam that I left open to turn the piece right side out, I folded the raw edges to the inside to match the rest of the seam and pressed.
On to the straps. The pattern picture makes it clear that the straps criss-cross over the back. What I suggest is that you turn under (by which I mean, turn to the interior) a quarter inch of the front straps and press. Then, criss-crossing the straps from the back, tuck each back strap inside the front strap, pin, and sew.


For my final trick, I top stitched the entire apron. This was fun, because it didn’t matter where I started; like a moebius strip, I found myself first on one side of each strap and then the other and after I’d worked my way all around, I ended up right back where I started. All one continuous seam. I suppose I should have been able to anticipate this, if I had looked at the assembled apron and really thought about it. But as it happened, this came as a delightful surprise to me. I was quite entertained. And it’s done! A perfectly elegant and useful smock/apron.


Final thoughts: I was very pleased with the pattern. It is durable and easy to use and I thought it was worth the money. You can get it here. I love the design and can see that it will fit a wide array of body types. I’m less happy with the fabric; I won’t make that mistake again. Also, I thought I was being clever with how I constructed the pockets, but because I am short, the apron is long on me. And as my arms are in proportion to the rest of me (ie: also short), I have to bend slightly to reach into the pockets. When I make this apron again in the future, I think I will just stick with patch pockets, as seen on the front of the pattern package. And I will make it again. I think it might be something all the ladies of the family need to have.