Adventures In Pincushion Propinquity
As an Amazon associate, I may earn a small commission if you navigate to Amazon from my site and buy something. This will not result in an extra cost to you.
People who sew need pincushions. Yes, pincushions plural. I personally have and use three regularly…the pumpkin one for general pincushion needs, with the two main types of pins segregated to different sides; the wrist one, to have with me when I’m moving around the studio but need to have a pincushion move with me; and the pincushion topping a little glass jar. Inside the glass jar are all the packets of my needles for hand-sewing, and on the top is my Marauder’s Map cushion where I have an assortment of sewing needles out and available. I made the wrist pincushion and the jar pincushion.


But somehow, I felt a lack. Specifically, I felt the lack of an extremely close-to-hand pincushion for when I’m sewing and pulling pins out before the machine runs over them and I need someplace to put the pins. I could wear my wrist pincushion and put those pins into that but since I have to reach over to my other wrist to do that, it’s slightly awkward. And on YouTube and Pinterest, I’ve seen many examples of pincushions that are attached directly to the sewing machine. So close and convenient! I had to try. There are multiple methods, of course, but I narrowed down my attempts to just three different styles.
First up, a magnetic pincushion. This works better, of course, if you have a metal machine that magnets will stick to. But my main machine is mostly plastic, and my backup (a fifty-year-old metal Singer) would not hold a magnet. Nevertheless, it’s still completely doable. First up, you need a metal lid, like you’d get off of a glass jar (for example, the lid off the raspberry jam jar I got for my disastrous cake experiment). Before you proceed any further, make sure that magnets will actually stick to your metal lid! I have a stash of ceramic disk magnets which I bought for some other project which worked well for this project.
Measure your metal lid; mine was about 2.5” across. Then cut a circle of fabric approximately twice as big. Also, you will need some sort of backing for the pincushion, which will make it much easier to attach to your lid. I have a lot of scrap mat board (I frame a lot of pictures), so I cut a circle out of that and then kept trimming it down until I could drop it into my lid.


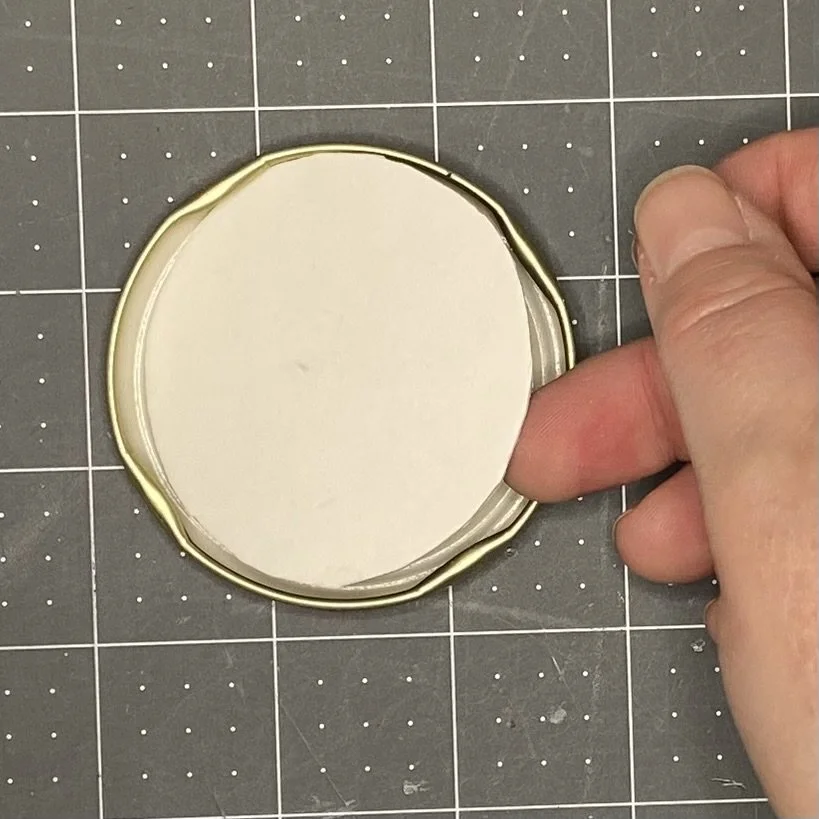
Then with a needle and doubled thread, sew a long running stitch along the outside edge of your circle of fabric. This will be a gathering stitch, so stay about 1/4” away from the edge. When you’ve gone all the way around, gently pull on the thread to gather up your fabric circle into a little pouch. Tuck in some polyester fiberfill until it’s mostly full, then set your backing circle into the pouch on top of the stuffing, and pull on your thread some more to tighten the fabric around the stuffing and the backing. I wanted a relatively shallow pincushion, so when I tightened my fabric, it almost met in the middle. If you want a poofier cushion, take the backing piece out, and add more fiberfill.


Once the fabric is tightened across the back, use the needle and thread to sew across several times to secure the fabric in place, and then tie off and cut the thread. Put a puddle of glue (I used Elmer’s) in the lid and then tuck the pincushion into the lid, ugly side down. Try to balance something heavy on it to hold it firmly in the puddle of glue until it dries.


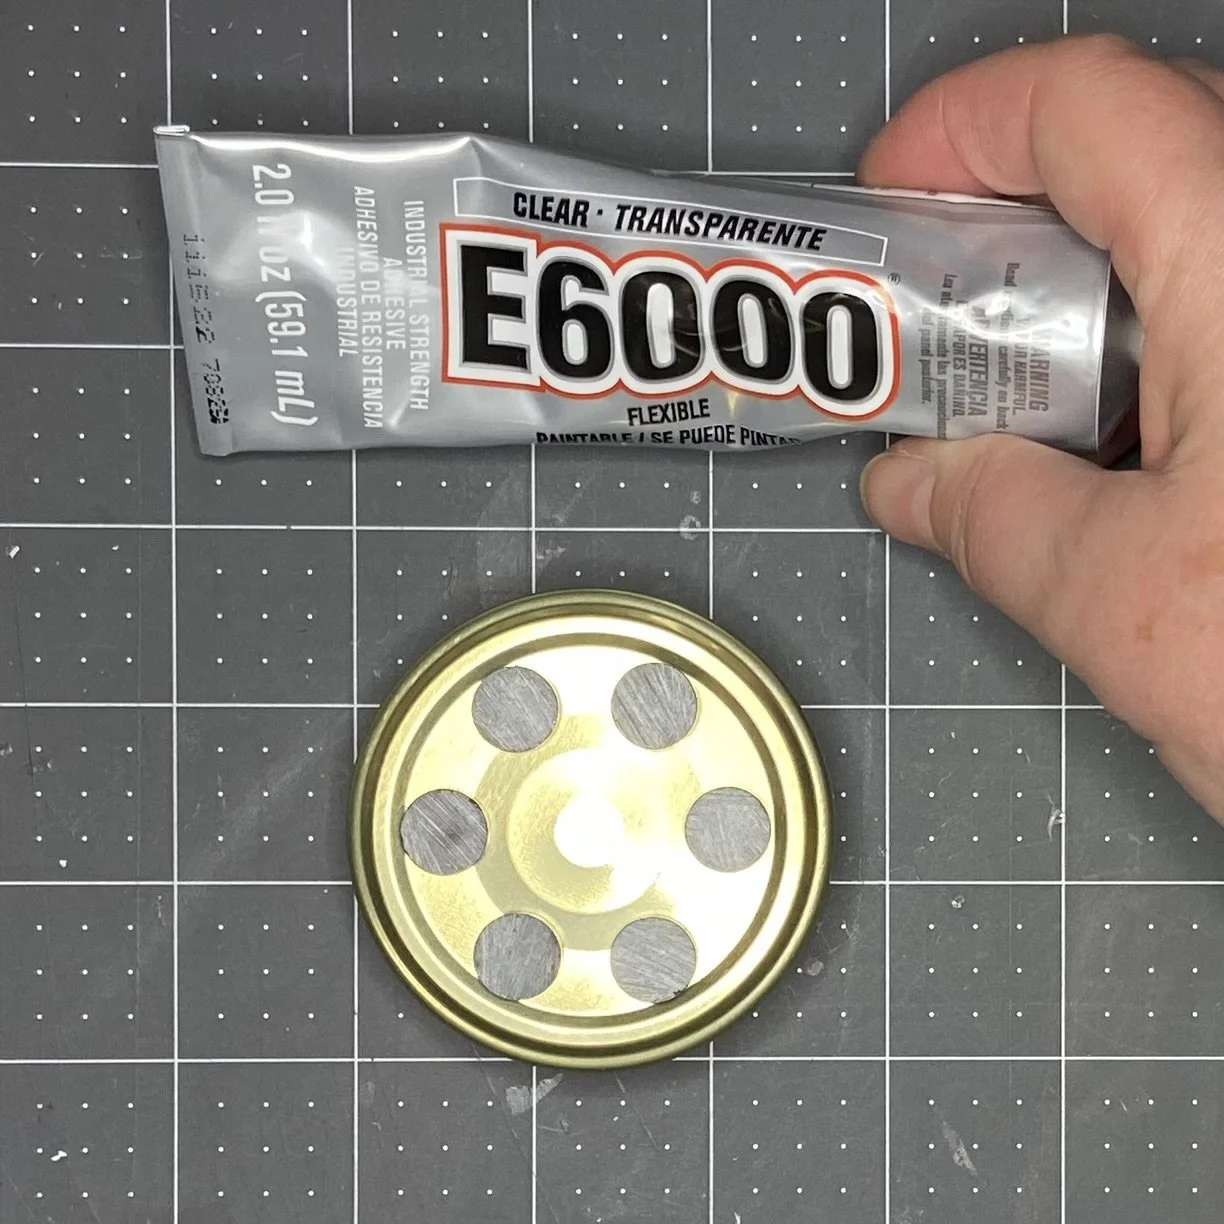
Now, although I have referred to this as a magnetic pincushion, it doesn’t have to be. One could certainly glue a piece of Velcro onto your sewing machine (be sure to attach the soft side to your sewing machine) and the corresponding piece to the metal lid. That would work just fine. But for this one, I wanted the magnets. I placed six magnets on the lid, spaced in a nice circle, then dabbed E6000 glue on each one (that stuff is messy and smelly and takes a long time to dry but it holds forever). Then I laid my sewing machine back so that the glueing surface was more or less horizontal and level, and set the pincushion in place. My hope was that leaving the pincushion to hold the magnets in my chosen formation would mean that they were glued to the machine in the nice circle I’d made. And I’m pretty sure that would have worked had I been able to resist the urge to keep picking up the pincushion and checking my progress. The magnets slid around a little and didn’t look so tidy as when I started but once I left it alone for a day, they stayed put. Now I had magnets glued to my machine and could just set the pincushion on them anytime I wanted it there. I’m really tickled pink by this magnetic pincushion, I have to say.


Next, I wanted to try a pincushion in a different shape that would attach to the machine with Velcro. I decided to make a tiny square pincushion, so I cut out two 2.5” squares of fabric, and sewed the rough side of a piece of Velcro to the right side of one of the pieces. I cut a corresponding piece of the soft side of the Velcro and set it aside for later. The pincushion was easy…just sew three sides with the right sides together, turn it right side out and press, stuff with fiberfill, and hand sew the opening closed.


Then I took the soft piece of Velcro I’d cut earlier, and put some two-sided tape on the back. I then stuck it to the rough Velcro on the pincushion, and peeled the backing off the tape. This allowed me to just place the pincushion where I wanted it and the soft velcro would stick to the machine in the right spot. So cute! Works a treat.


And finally, I wanted to make a pincushion that was sort of log shaped and that could be attached to different parts of the machine as needed. I started with a 1.5” strip cut the full width of the fabric (about 45” or so) and used my bias tape maker to turn the length into 3/8” wide fabric, which involved pulling it through the bias tape maker and pressing as I went, then folding the fabric over and pressing again, then stitching the folded edge.


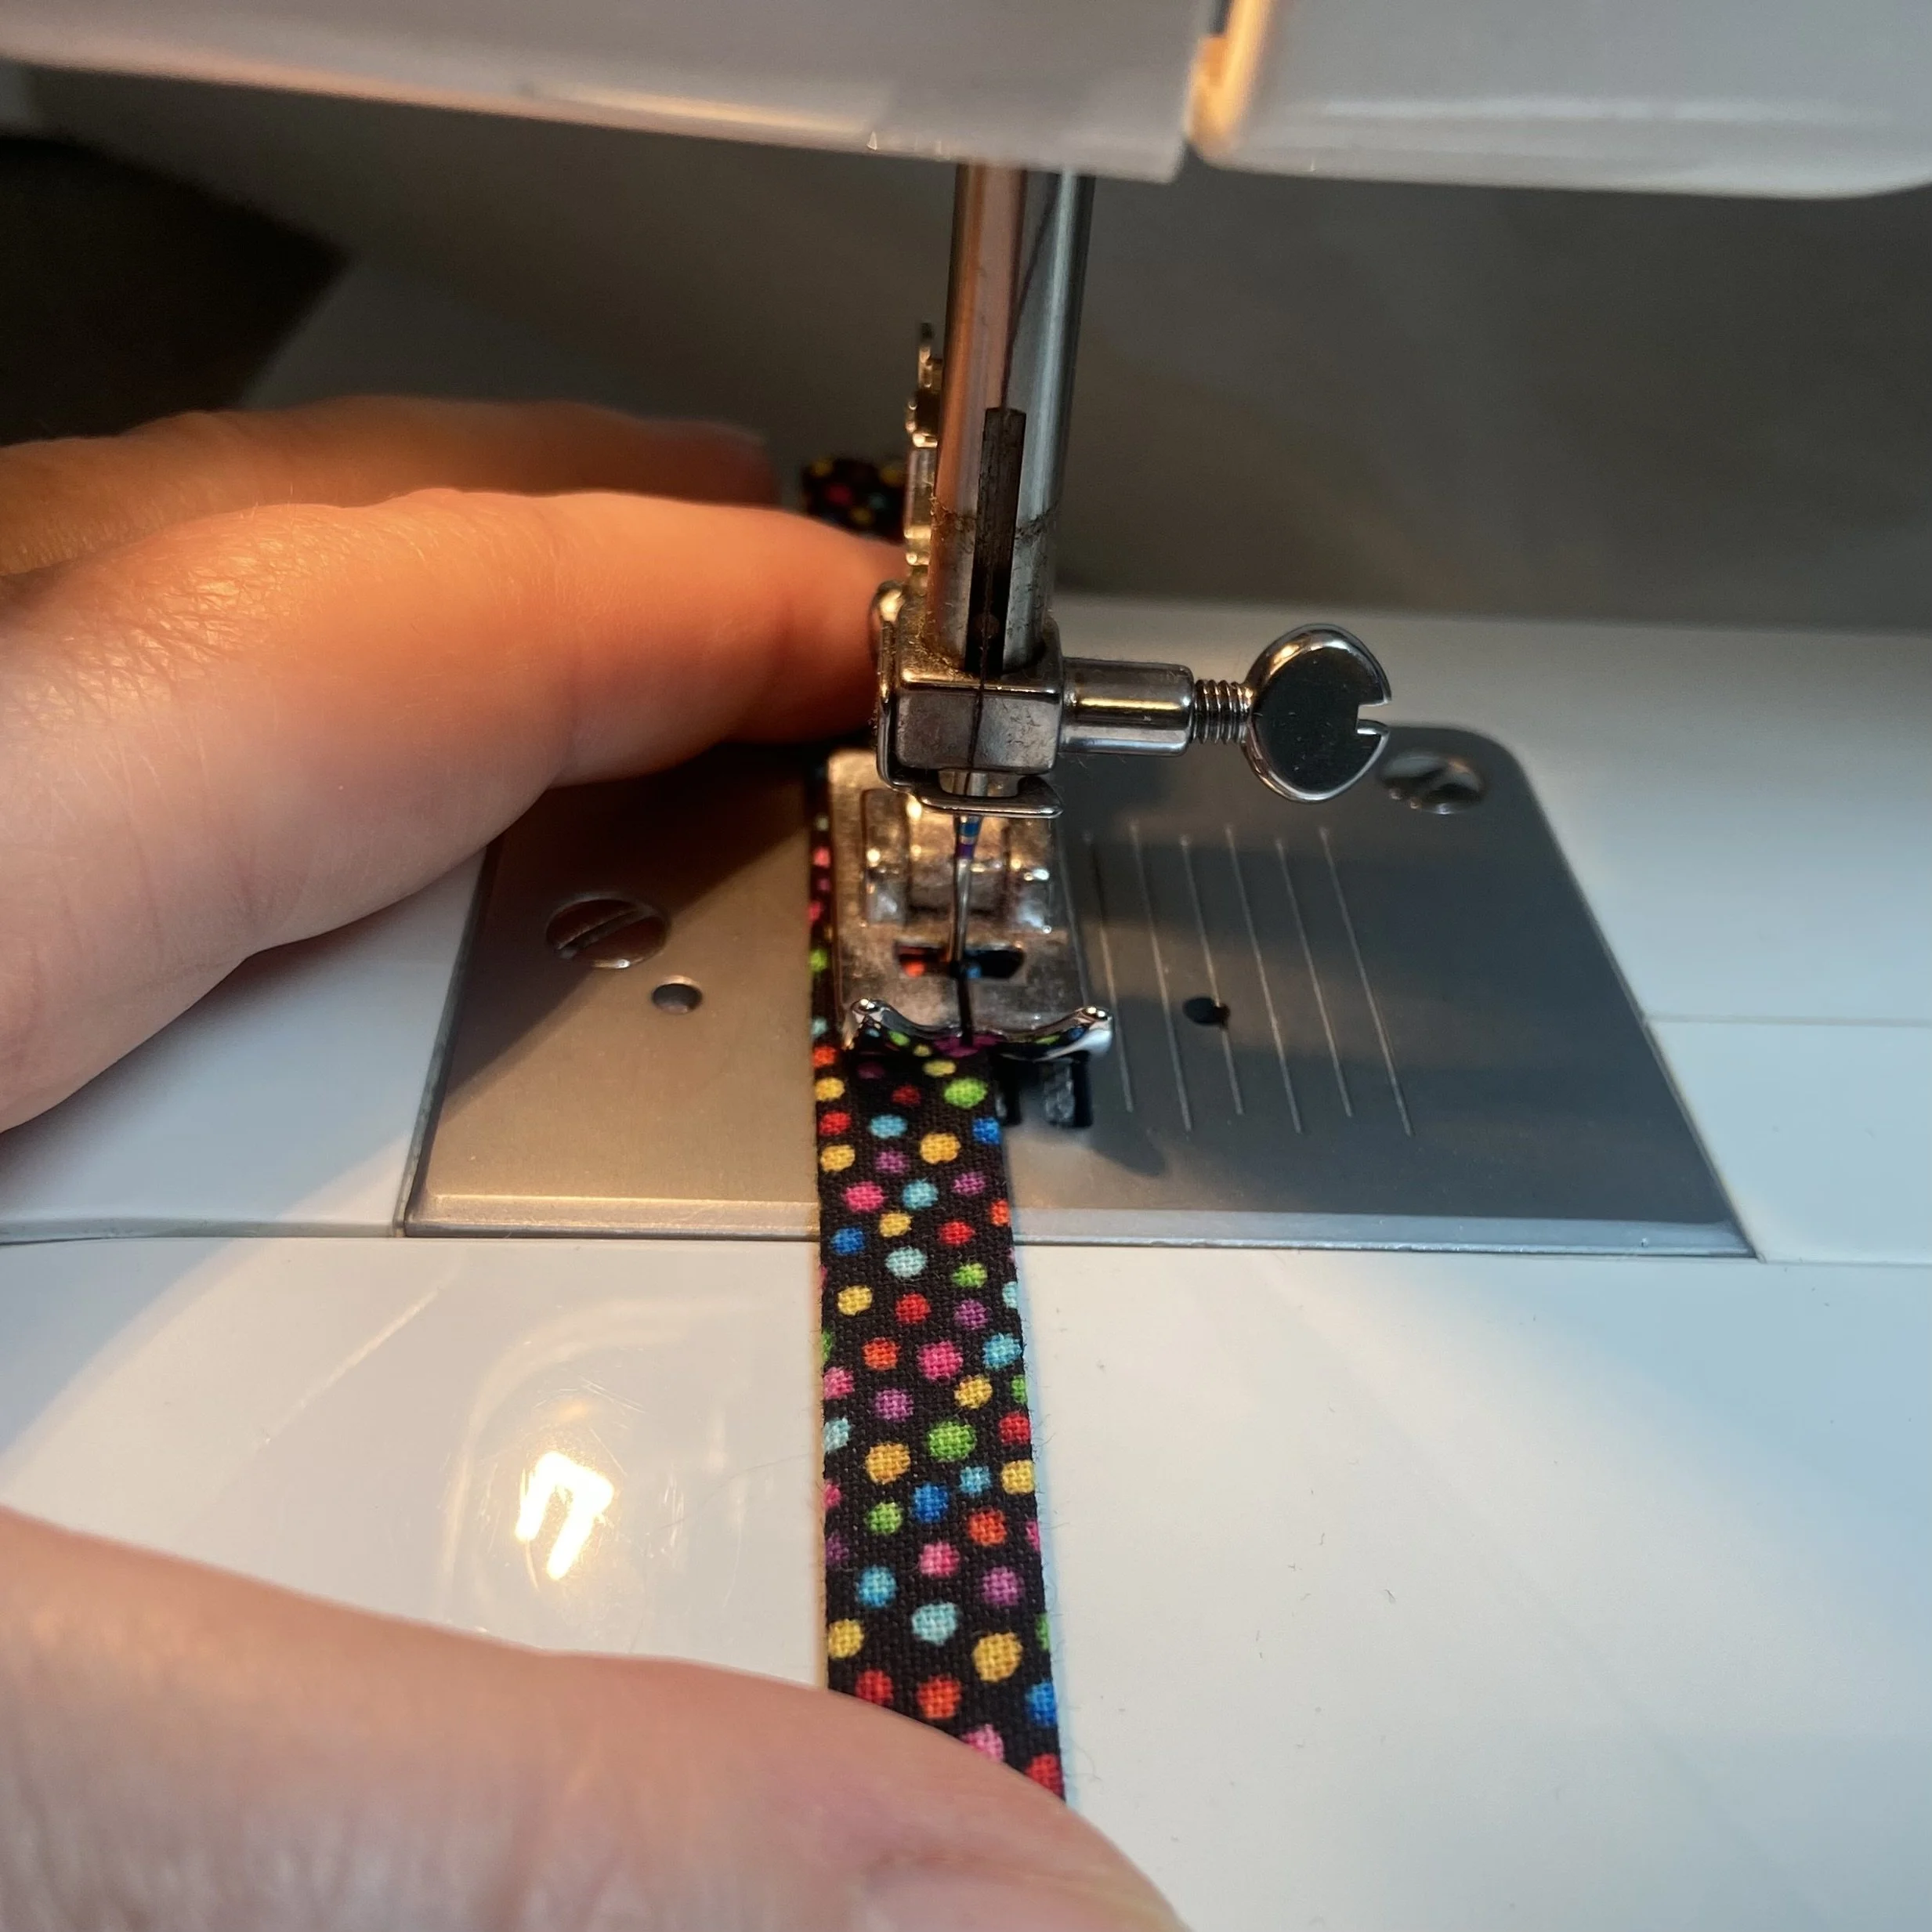
I tied a knot in each end of the bias tape strip to keep it from raveling, and then cut it in half. If one doesn’t have a bias-tape maker and doesn’t want to make bias tape without it, ribbon could certainly be substituted.


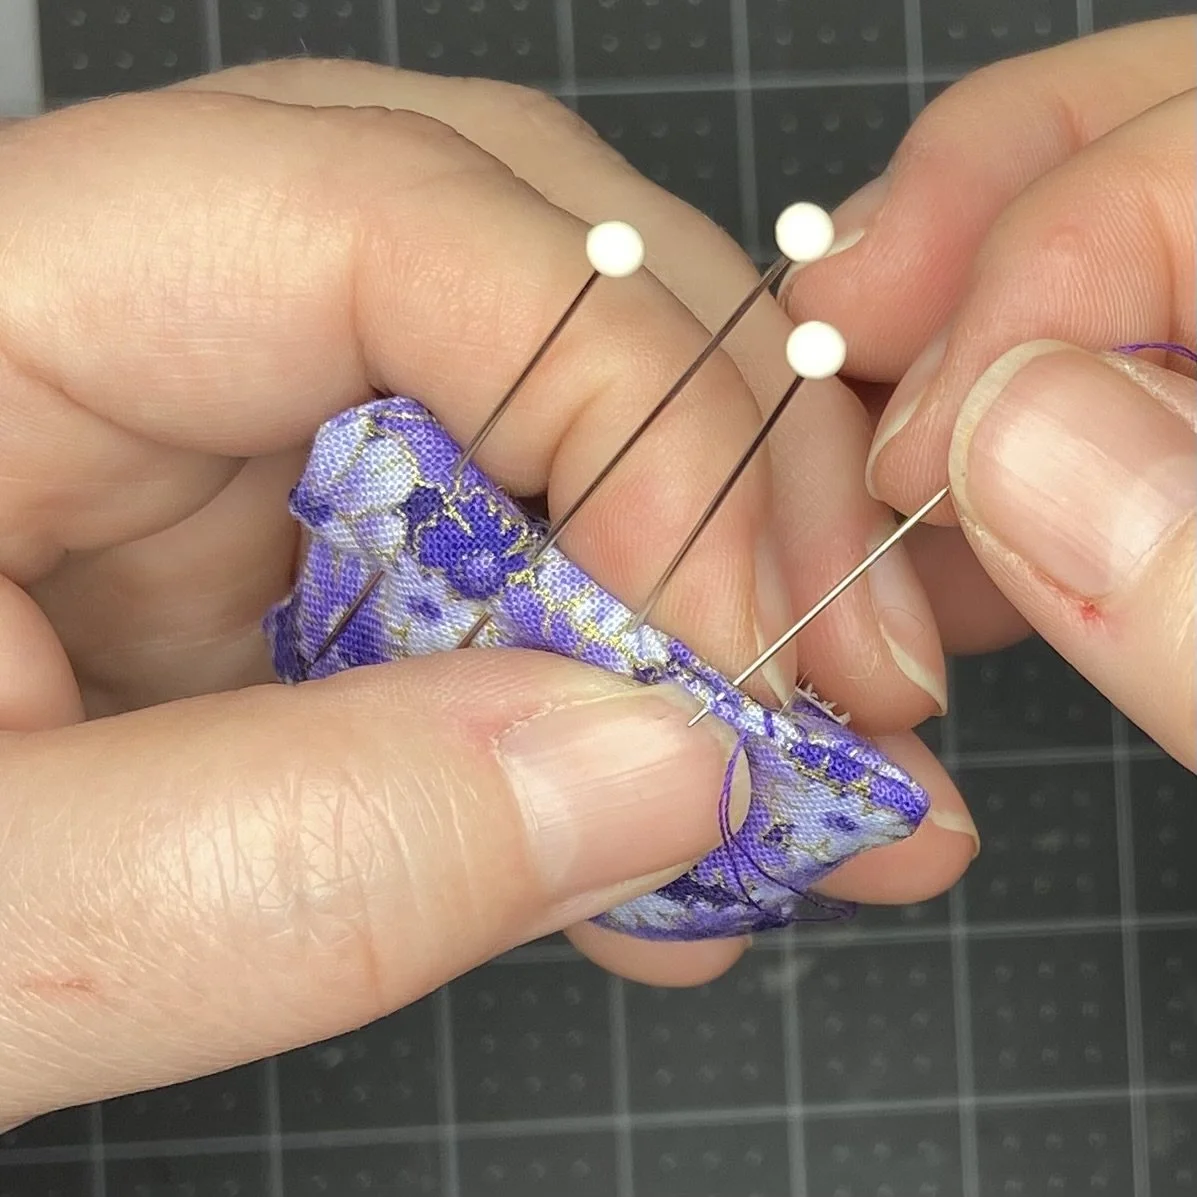
The actual cushion part of this project can be any size desired, but I opted to go with a rectangle of fabric that was 6” x 4.5”. I folded this in half along the long edge with right sides together. I tucked the un-knotted end of one of my bias tape strips into the inside of this little pocket and pinned it in place along a short edge. This has to be tucked inside (touching the right side of the fabric). Then I stitched that short edge and the long edge closed, and trimmed the corners on the sewn end. Do not clip the corners on the open end.

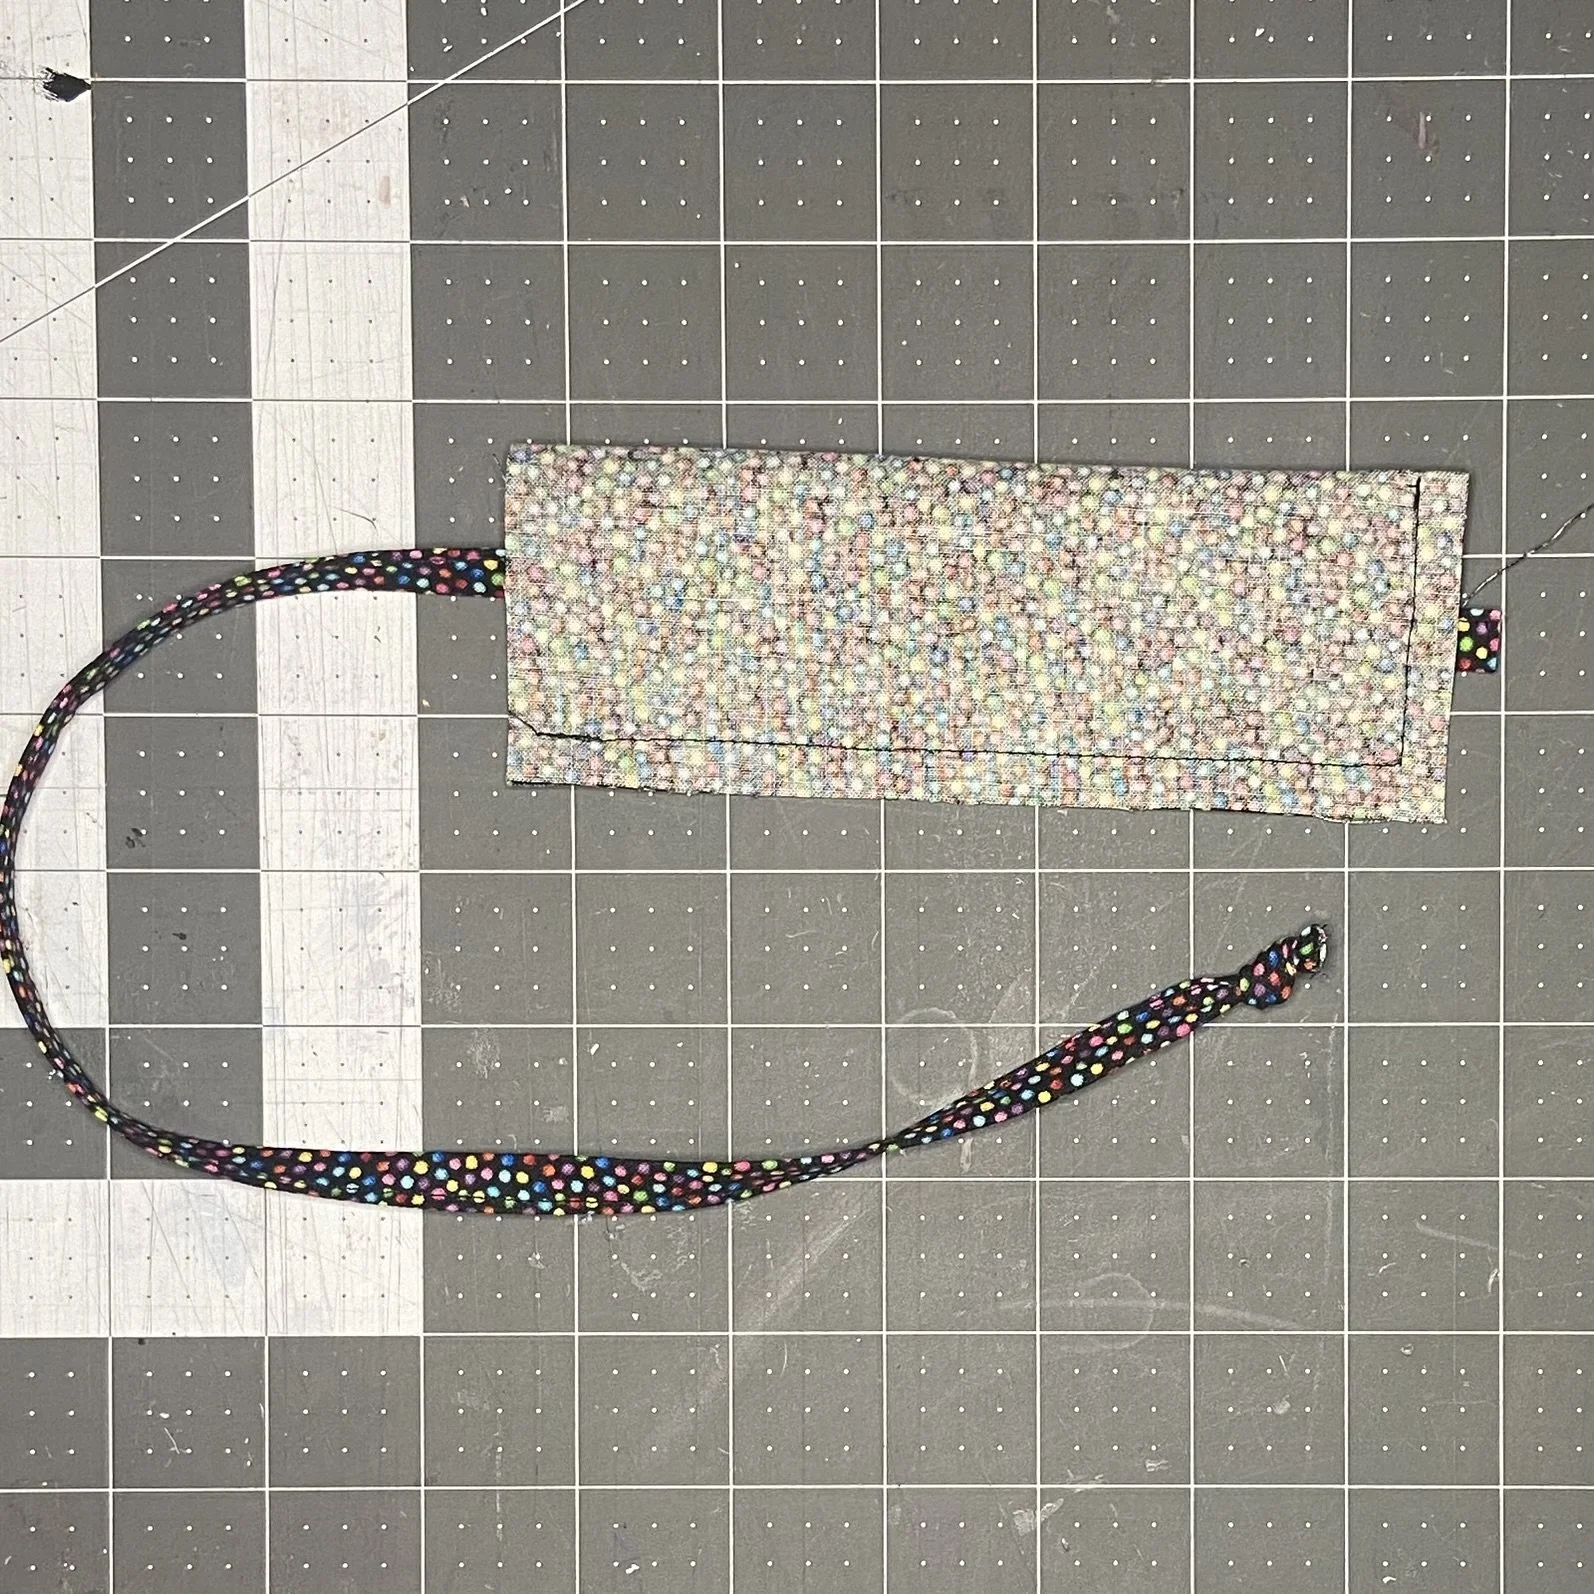
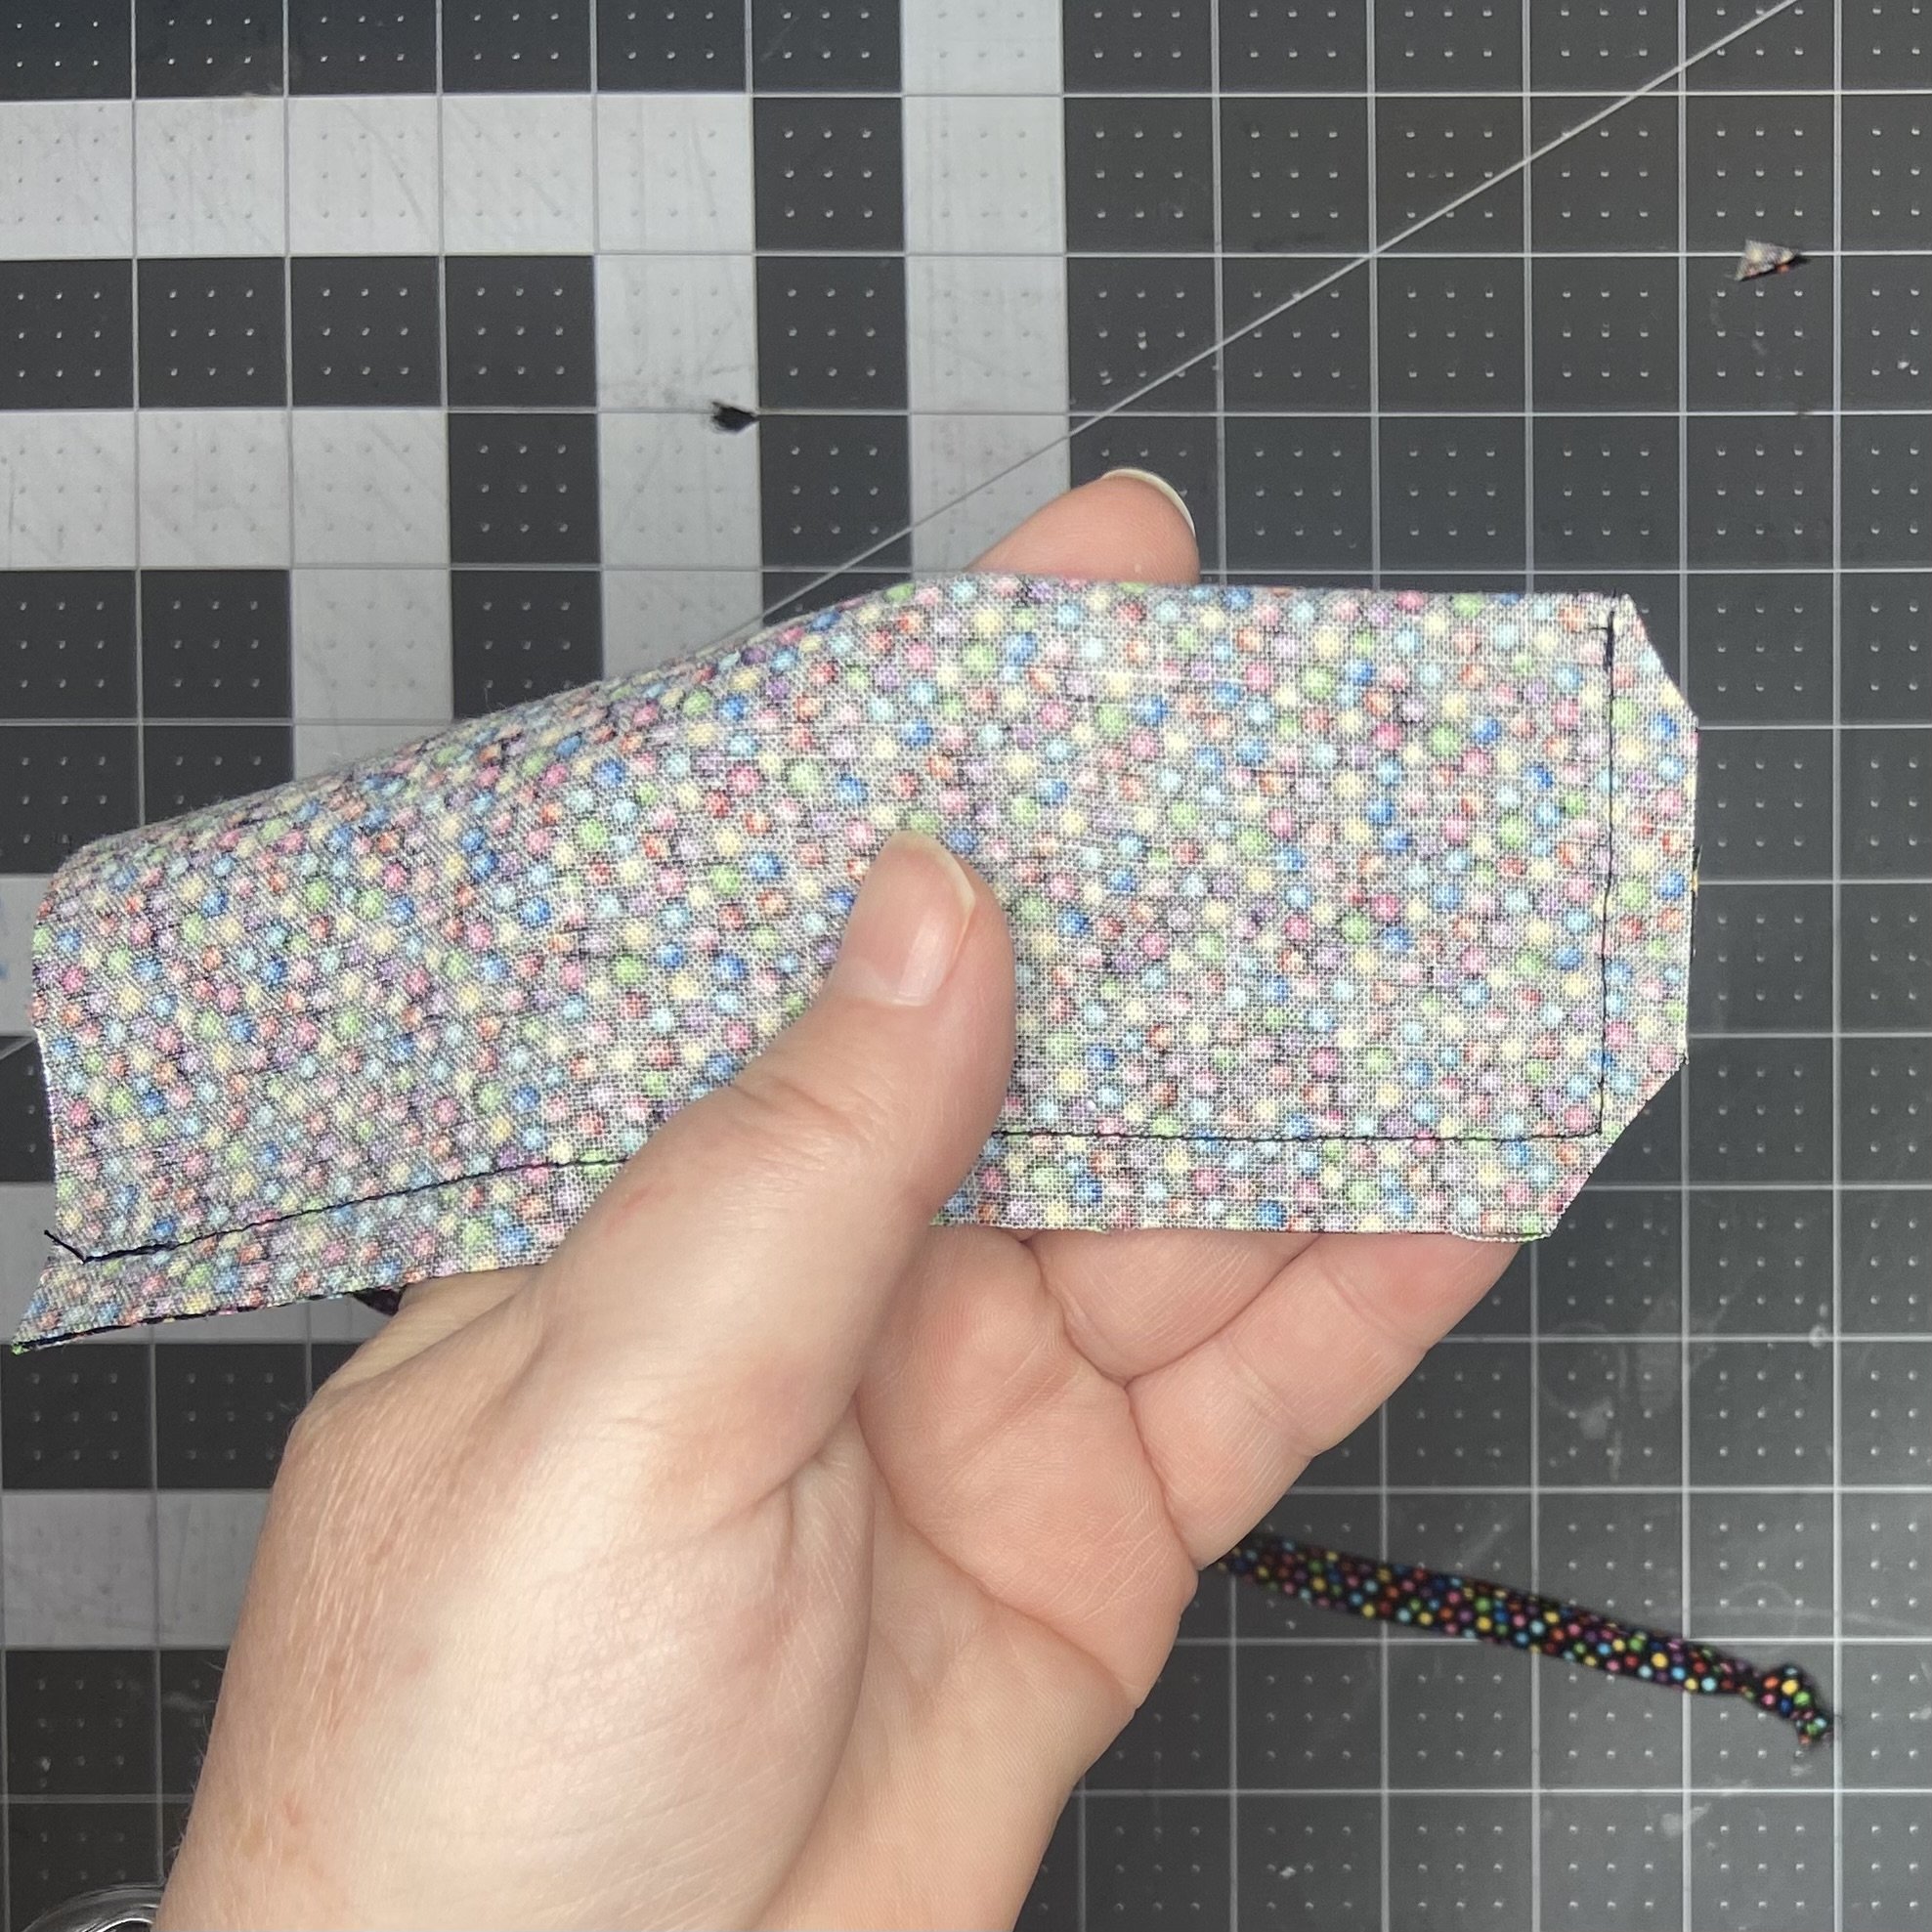
Then I turned the little tube right side out, which was made much easier by virtue of the fact that I could mostly pull on the attached bias tape strip to get it turned. I then stuffed my little tube with fiberfill, pushed it firmly down inside to give me about an inch of space at the top, and pinned the tube closed to hold the fiberfill down until I was done messing with the end.


I then turned under (by which I mean, I turned to the inside) the raw edges of the open end of the tube, then tucked the un-knotted end of my other bias tape strip into the opening, and pinned it closed. Then I machine-stitched that opening closed, which captured the bias tape strip. The pin holding the fiberfill out of my way was removed, and I squooshed (I’m positive that’s a word) the tube a little bit with my fingers until the fiberfill more or less evenly filled the space. And then I tied it to my machine. It stays right where I put it. Delightful!


I like all three of these options and if I had to pick just one, I’m not sure which I’d pick. But if these are being given as gifts, I have to say that the Velcro attachment or the bias tape attachment are easiest for the recipient to customize to their own needs. I do love my magnetic pincushion, but I don’t see how to give that one as a gift without bothering the recipient with the chore of securely glueing the magnets in place. But I sure am happy that I have that one for myself…