Adventures In Sealing Wax
As an Amazon associate, I may earn a small commission if you navigate to Amazon from my site and buy something. This will not result in an extra cost to you.
“The time has come,” the Walrus said,
“To talk of many things:
Of shoes — and ships — and sealing-wax —
Of cabbages — and kings —
And why the sea is boiling hot —
And whether pigs have wings.”
As I might have mentioned once or twice before, I watch a lot of YouTube. And what’s caught my attention recently is wax seals. Or actually, faux wax seals. The thing about taking up a new hobby (like making a bunch of wax seals) is that it costs money to buy start-up supplies and then you also have to find a place to store your new stash of fabulous stuff.
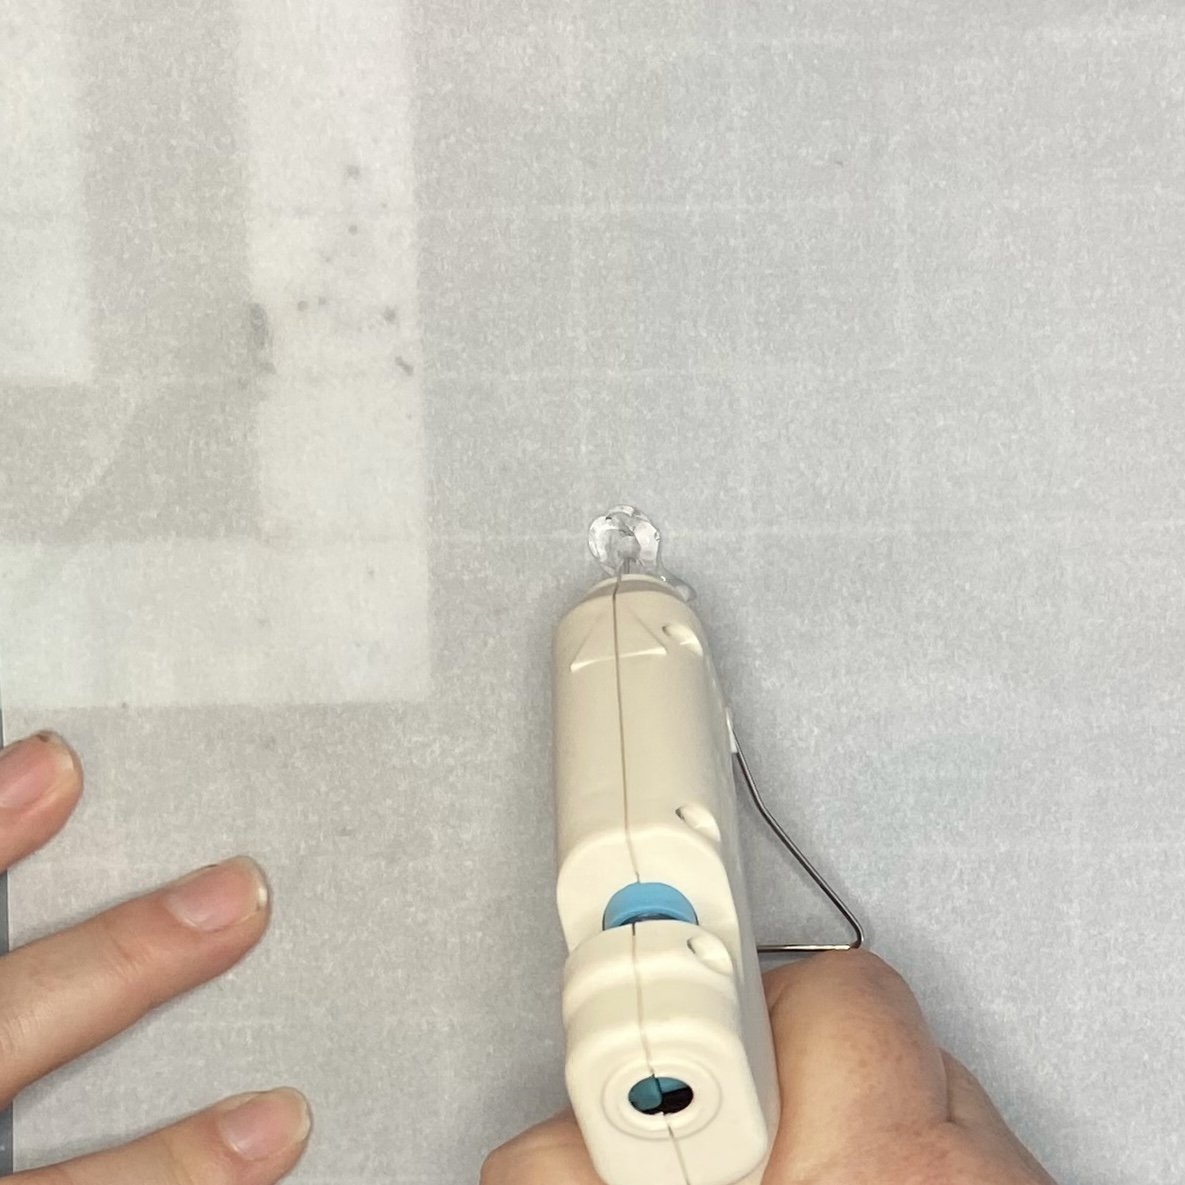
But. If I were to try making wax seals without the bother of buying a bunch of wax and wax melting implements, maybe that might be fun. Turns out, you can make “wax” seals with hot glue. And it so happens that I was already in possession of a little hot glue gun and a bunch of mini glue sticks, both in a translucent style and in solid black. So I watched several different YouTube videos on the subject and then played around.
I confess, I did actually buy one set of wax seal stamps since I didn’t have anything already in my stash that I could substitute. But I’m quite happy with the six stamps that came in the set and in addition to using the seals on correspondence and such, I will also be using at least some of them in another art project I’m working on.

I started with the translucent hot glue, my heat gun, and embossing powder (which I also had in the stash and which I almost never use, more’s the pity). The idea is you squeeze out a little pile of hot glue onto some baking parchment, and then use the heat gun to get it to spread out a little. Then, before the glue cools completely, you need to sprinkle it generously with the embossing powder and shake off the excess onto another piece of paper (so you can return the excess to the container).

Then use the heat gun again to melt the embossing powder (you’ll know it’s done when it stops looking like sand and instead looks smooth and shiny). Again, while the glue is still warm, place your seal stamp down.


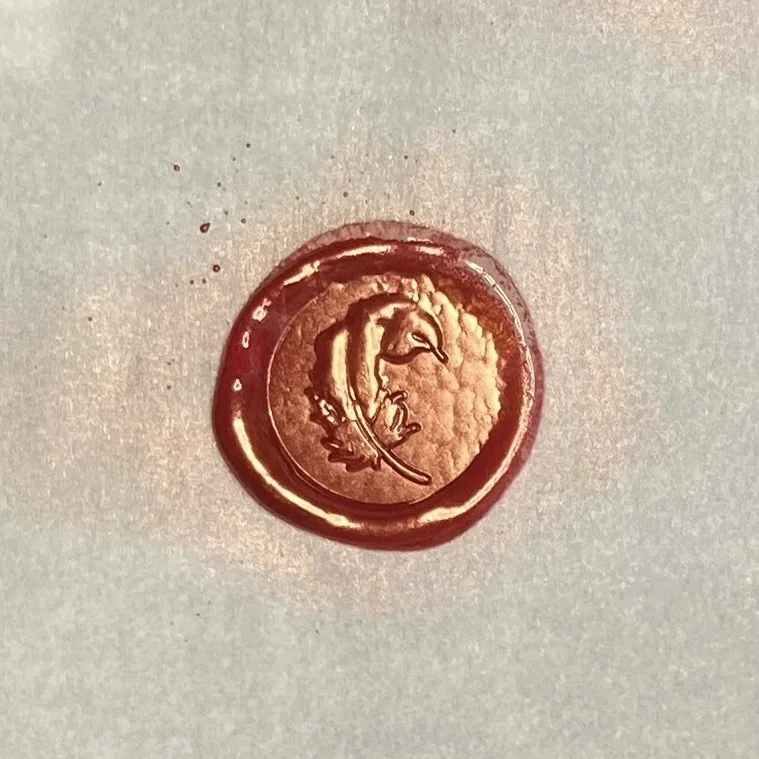
The problem here is that you can’t push the stamp too firmly into the embossed glue or else the glue spreads out and your perfect embossing starts to crack up and show the translucent glue. So you may or may not get a discernible pattern on your seal. It took me a couple tries, but I did get a feather design that was clearly visible. So I brushed it with some of my gold wax and then used Elmer’s Glue to adhere it to the back of a birthday card envelope for my favorite sister-in-law.


Since this method was interesting in principle but frustrating in practice, I tried another method, gleaned from a different YouTube video. This method required cutting 1” circles out of paper, then putting the glue and stamp over the top of that. I dug out some very old paper from my stash, cut out a couple circles (with a flower centered in the middle), then tried my glue and stamps over the top of that. Those looked okay, especially when the stamps were touched up and highlighted with a little gold wax. They’re cute and I’ll find a use for them.


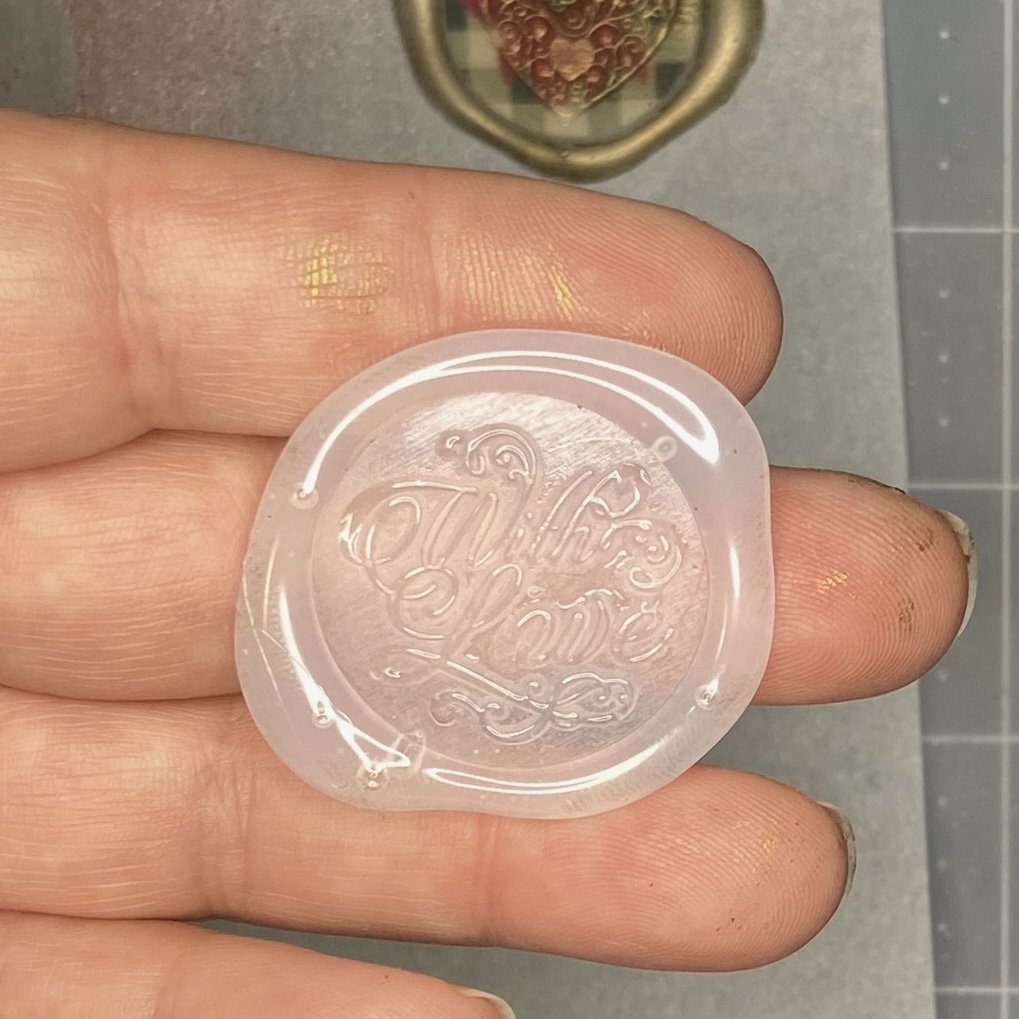
Then I tried a stamp just of the translucent glue, which I then highlighted with the gold wax. That was cute as well, although I wish I’d had something to add to the glue before I stamped it. On YouTube, I saw some lovely examples using tiny pieces of gold leaf or itty bitty dried and pressed flowers. But I didn’t have any of those items and I wasn’t willing to buy them, since I was actually trying to use down my stash. So I just stuck with my (relatively) plain seal. All of my seals are only sort of round-ish but if you wanted to make yours look perfectly round, you could use one of these molds to accomplish that.


Then, I switched to the black glue. First I tried just plain glue and stamps, subsequently highlighted by whatever color wax took my fancy. Those turned out very pretty.


And then I had a Brilliant Idea (TM) and thought, Why not use these for gift tags on Christmas presents? So I grabbed some scrap card stock, cut out a couple more 1” circles, and stamped my black glue over those.


I highlighted both of them with what I’m going to call Christmas Red wax (the actual name doesn’t really matter, since it’s no longer available) and then used my Crop-A-Dile (I just love this tool) first to punch a hole in the top of the seal, and then to set in an eyelet. Et voila! A Christmas gift tag that looks beautiful on the front but has a paper back on which you can write the recipient’s name!


This is a fun little project that doesn’t take very long and lends itself enjoyably to experimentation. One slight (potential) drawback might be that your glue gun might never be completely clear of the black glue and you won’t be able to ever get completely clear glue out of it again. I solved this problem by using a second cheap glue gun for clear glue. And one particular benefit to this technique for creating seals versus using actual wax is that the hot glue seals are much more durable. They are more sturdy and also slightly flexible, so they won’t crack and break like wax does. They are easily stored and then glued onto any desired project. Have fun experimenting!