Adventures In Shoestring Variations
As an Amazon associate, I may earn a small commission if you navigate to Amazon from my site and buy something. This will not result in an extra cost to you.
My mother is fond of sending me emails with links to articles she thinks I might enjoy. One recent such email included a link to this page on the Connecting Threads website, about a project one could make to use up left-over strips from a jelly roll. Having read the article, I was immediately intrigued by the idea and determined to try it. The article in question involves making shoelaces out of 3/8” bias tape and suggests trimming down the jelly roll strips (which are 2.5” wide) to 1.5”, while cutting off the pinked edges. This seemed tedious and wasteful to me…why not just cut 1.5” strips off a regular piece of fabric?
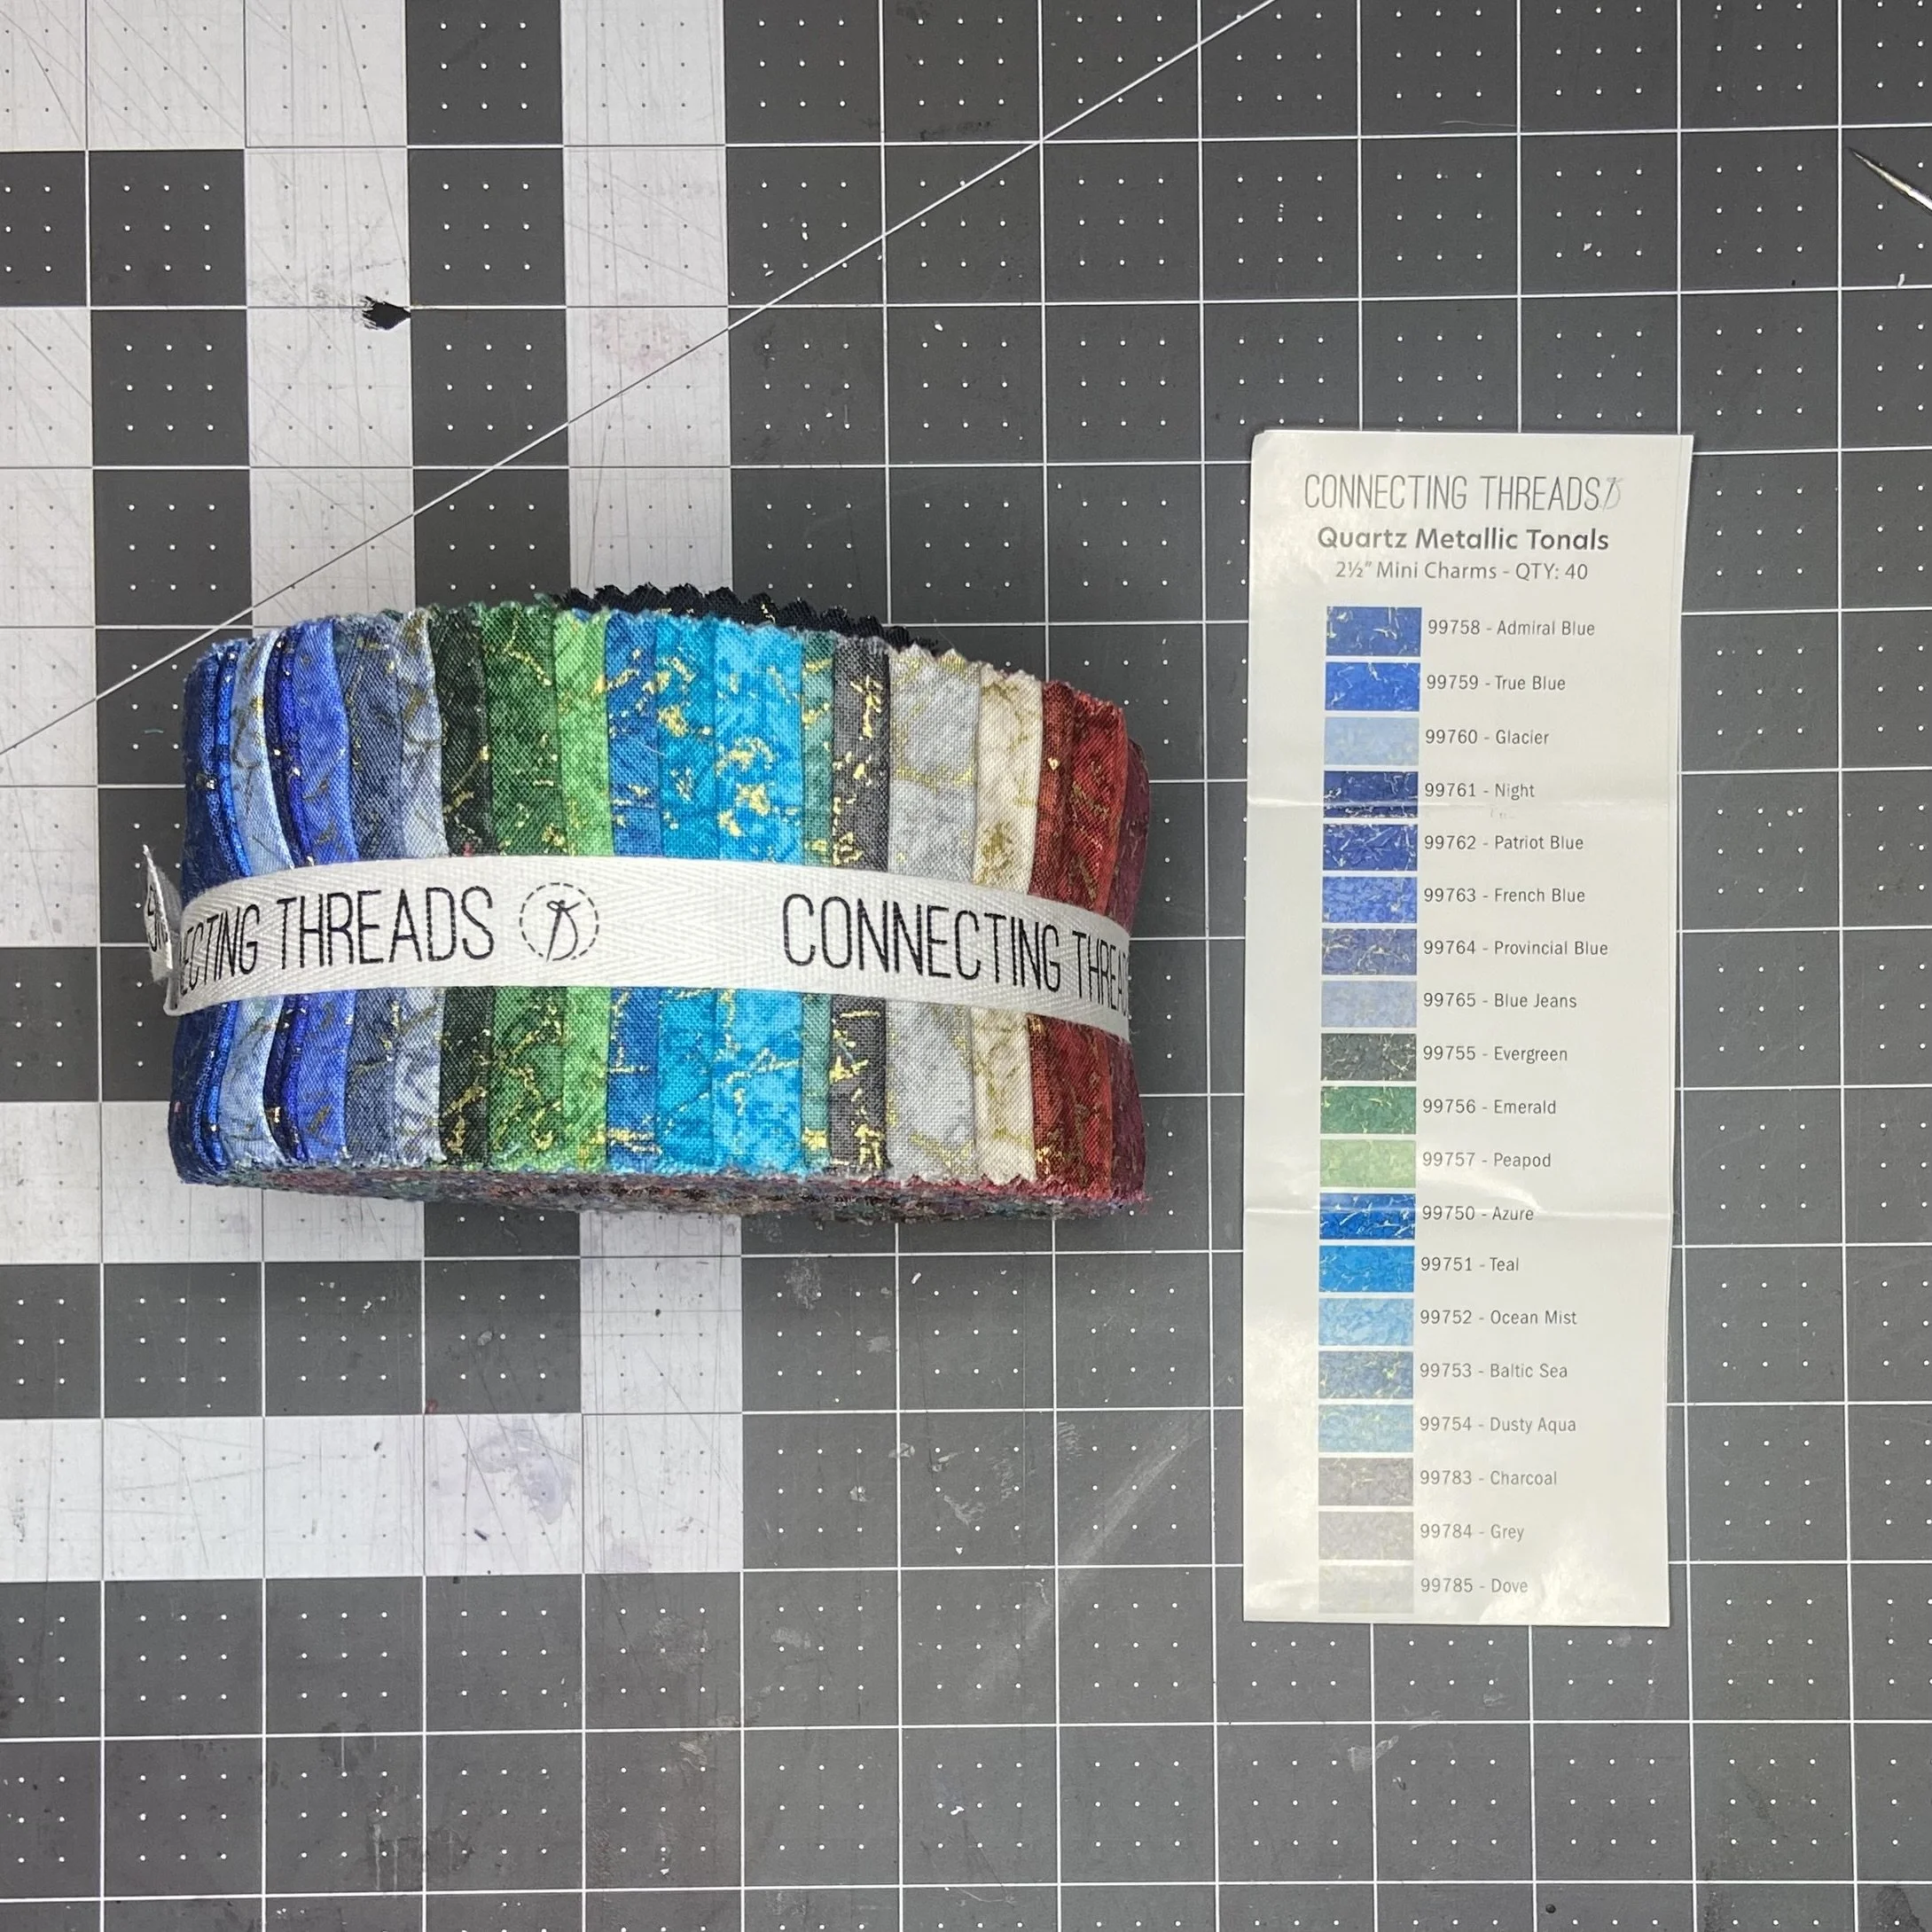
This jelly roll comes with a listing of every fabric in the roll, so that if you want to order a specific fabric, you can easily find it on the website. Why don’t all jelly rolls have this listing? Genius.
The article also pointed out that if you didn’t have two matching jelly roll strips, you could go for “quirky” and make coordinating but not matching shoelaces. This cuts right into my OCD heart…I couldn’t do it. I do actually have a jelly roll that I haven’t cracked open yet…it’s this one from the Connecting Threads website, and like most jelly rolls, it has 40 strips in it. Now, most jelly rolls only have 20 different patterns…so, two strips of each pattern. This gorgeous jelly roll has 40 different patterns…no way to get matching shoelaces out of this one!
Since the shoelace ends up being only 3/8” wide, most patterned fabrics won’t show up well unless you have a very small pattern, and I had just the thing: this yard of cotton fabric with a black background covered in teeny-tiny multi-colored polka dots. Perfect! And, dare I say, unisex!

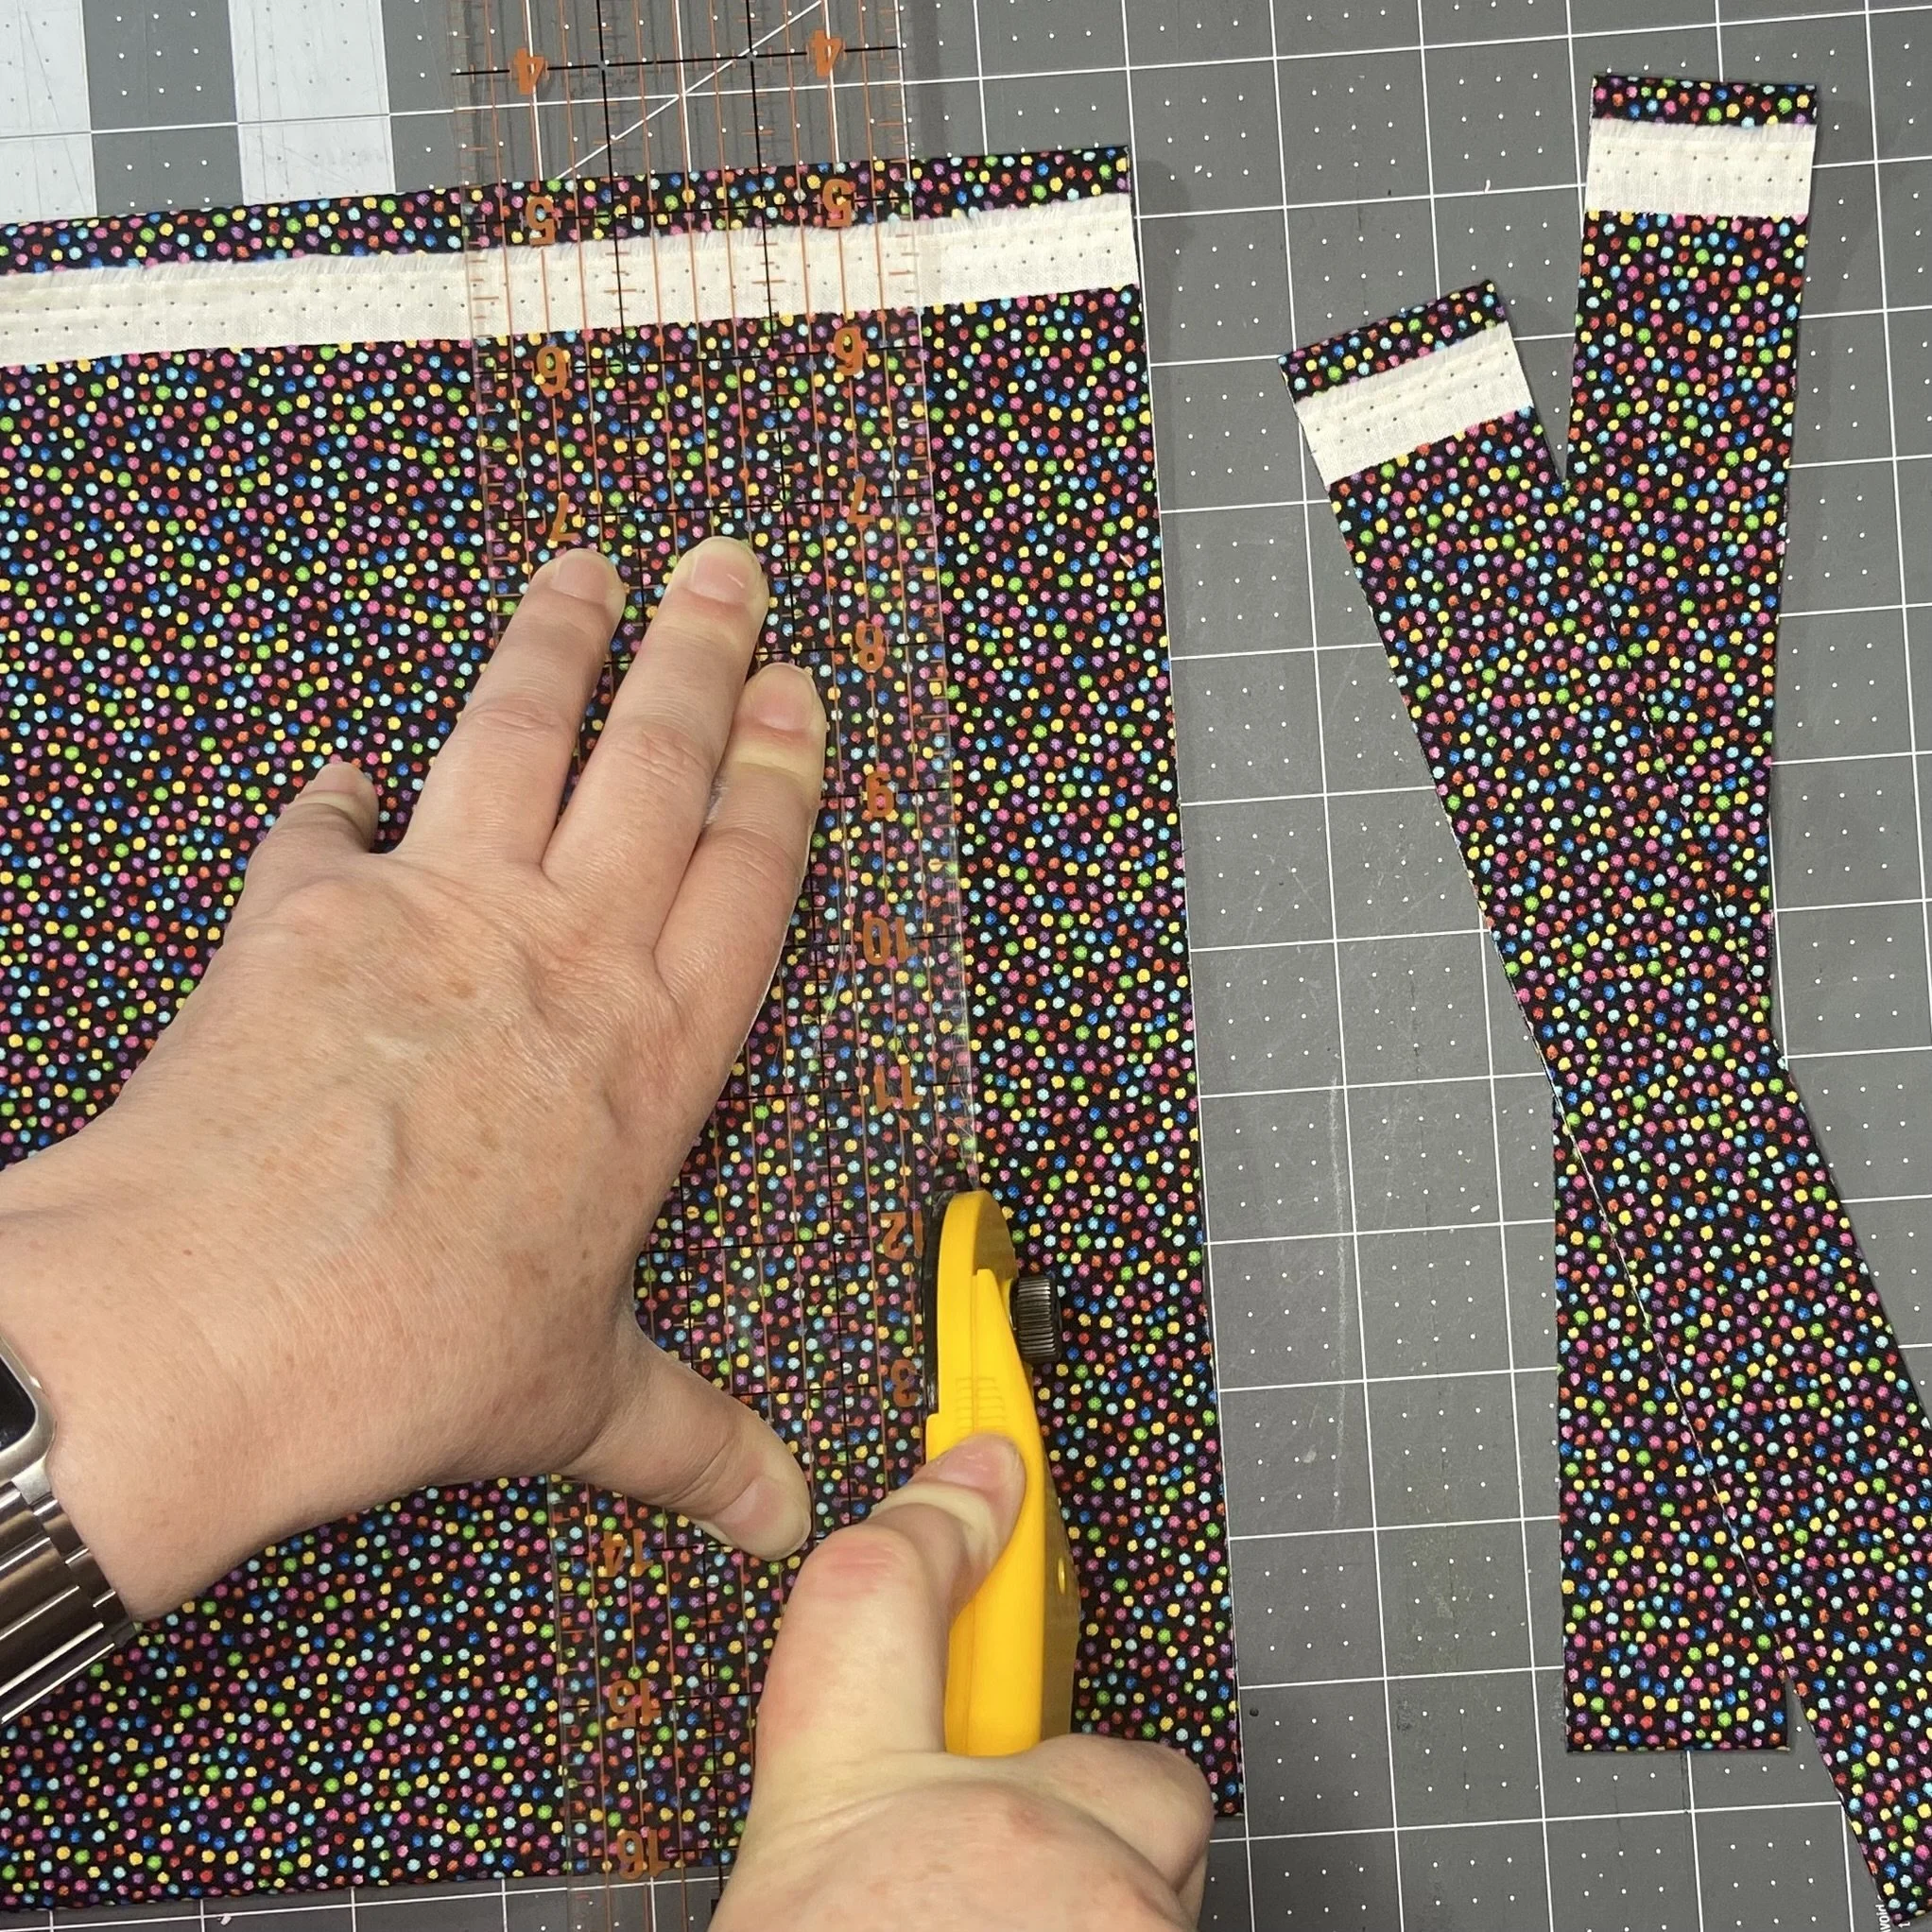
The general idea of this project is that you turn your 1.5” strips into 3/8” bias tape (a bit of a misnomer, since this fabric is not cut on the bias, but I don’t know what else you’d call it) that are as long as the width of your fabric, generally about 45”. You can do this a couple ways. You can do it without any special equipment…just fold the fabric in half along the long edge and press. Then unfold a little, fold both raw edges to meet the middle crease you just made, fold along the crease, and press again. That’s a pretty standard way to make all sorts of things (handles for bags, ties for aprons, shoulder straps for lingerie, etc), not just bias tape.
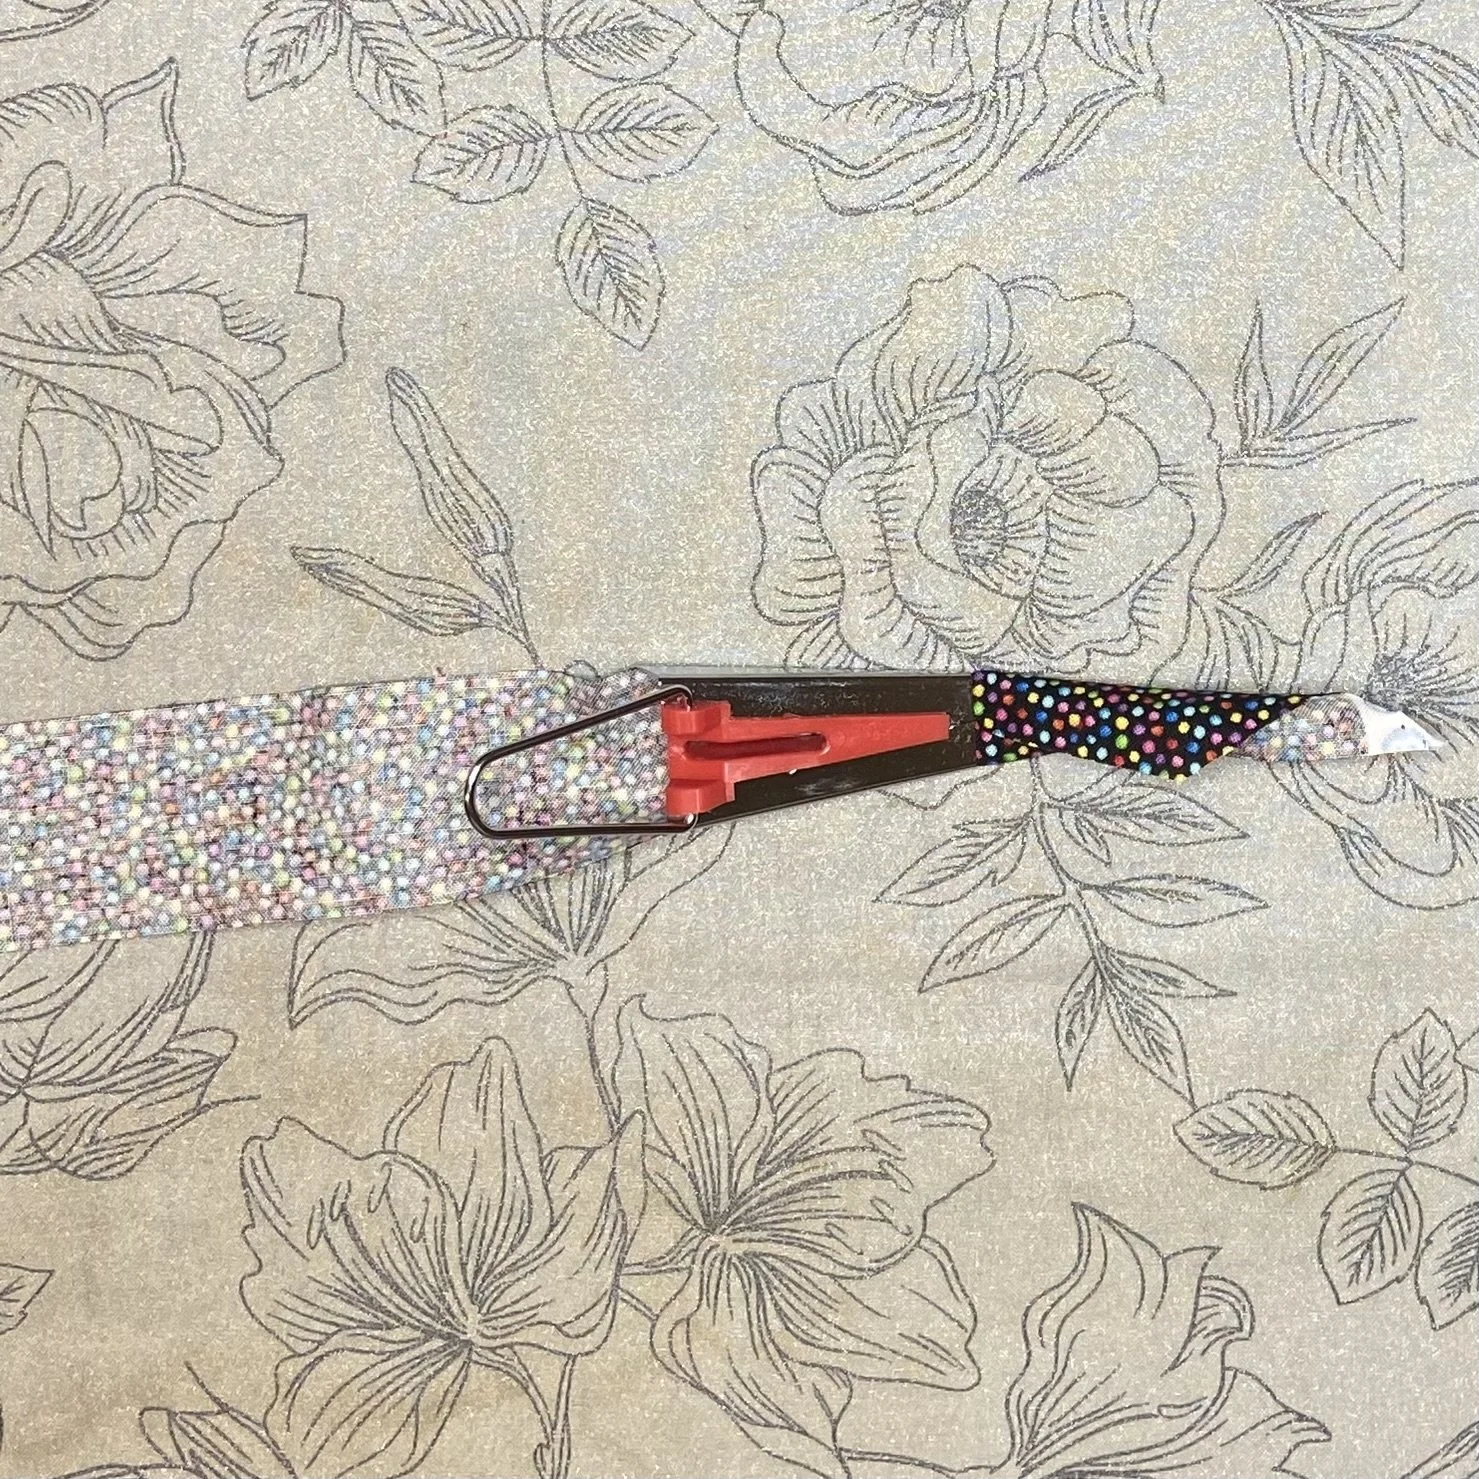
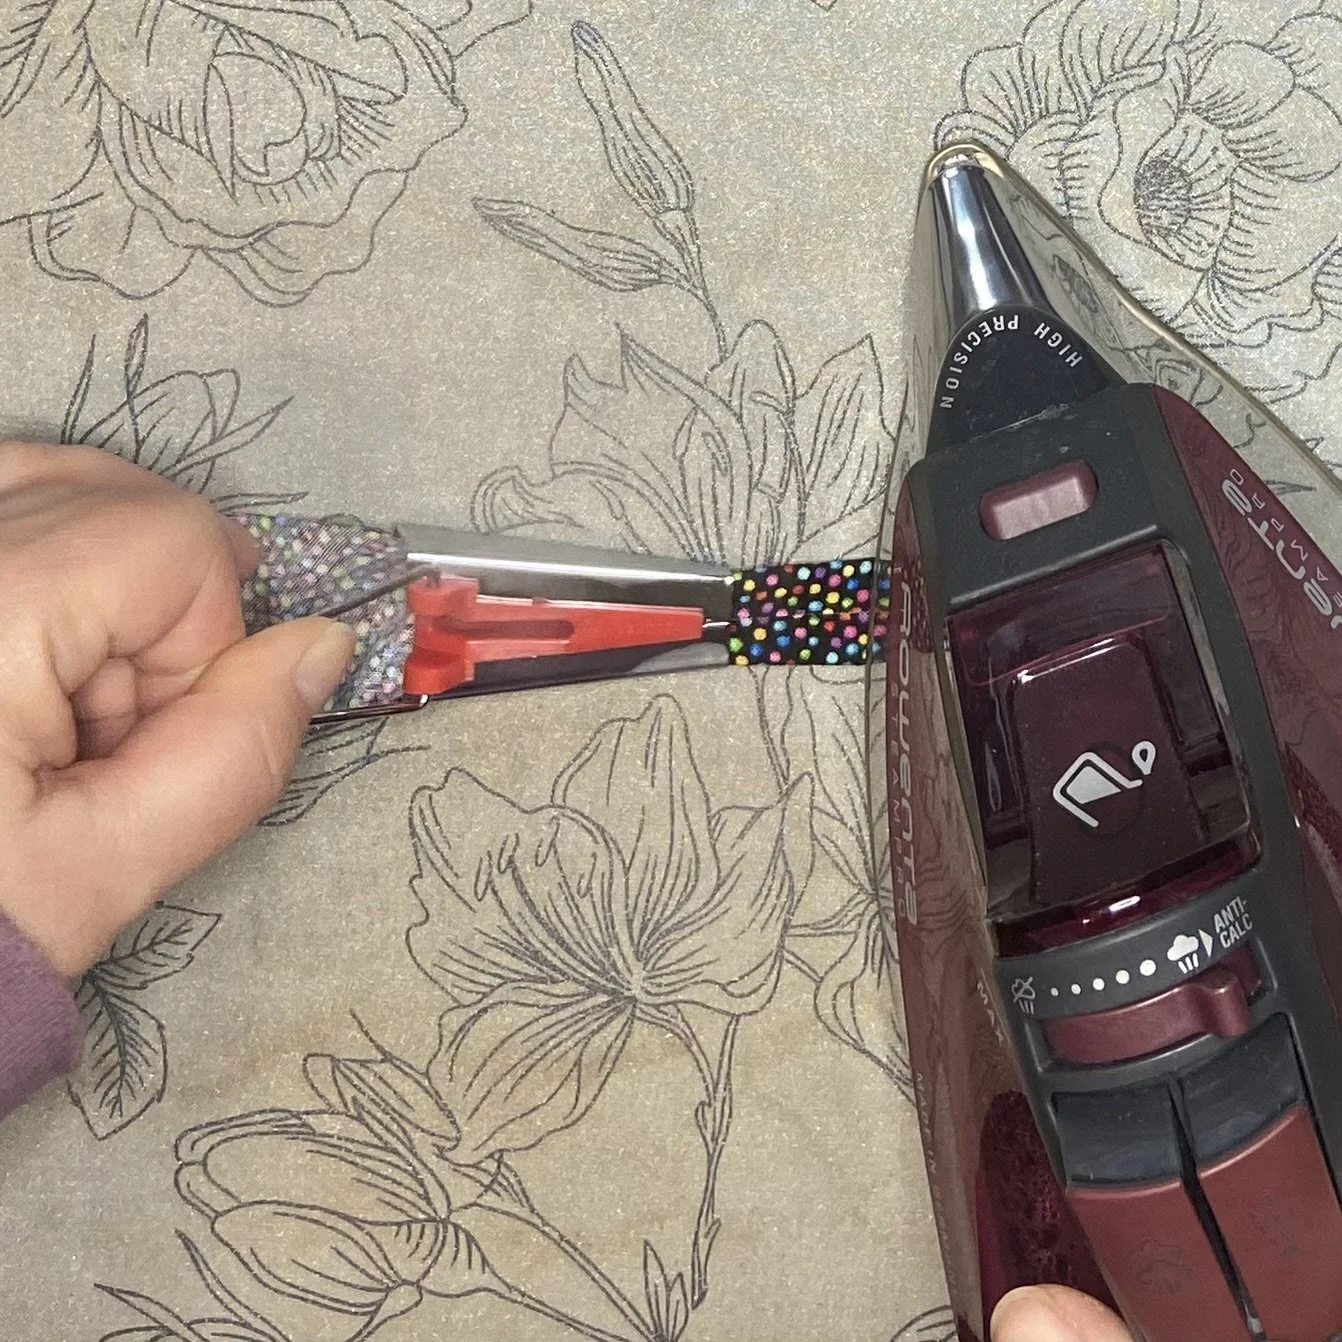
But…there’s an easier way. A better way. A faster way. A fun way. A MAGIC way. Use a bias tape maker. I have this one, and it’s brilliant. The general idea is that you cut a triangle off one end of your 1.5” strip so that you can more easily poke it through the device. Then once you’ve got it started, draw back a little bit to straighten your fabric out and then put your steam iron on the little bit that’s folded and poking out the end. Press down with your iron to hold the fabric in place while you pull on the bias tape maker and when you have a couple more inches of folded fabric, stop pulling and slide your iron over to press it. Then press down with the iron, and pull the device; stop pulling and slide the iron over. Repeat until done.

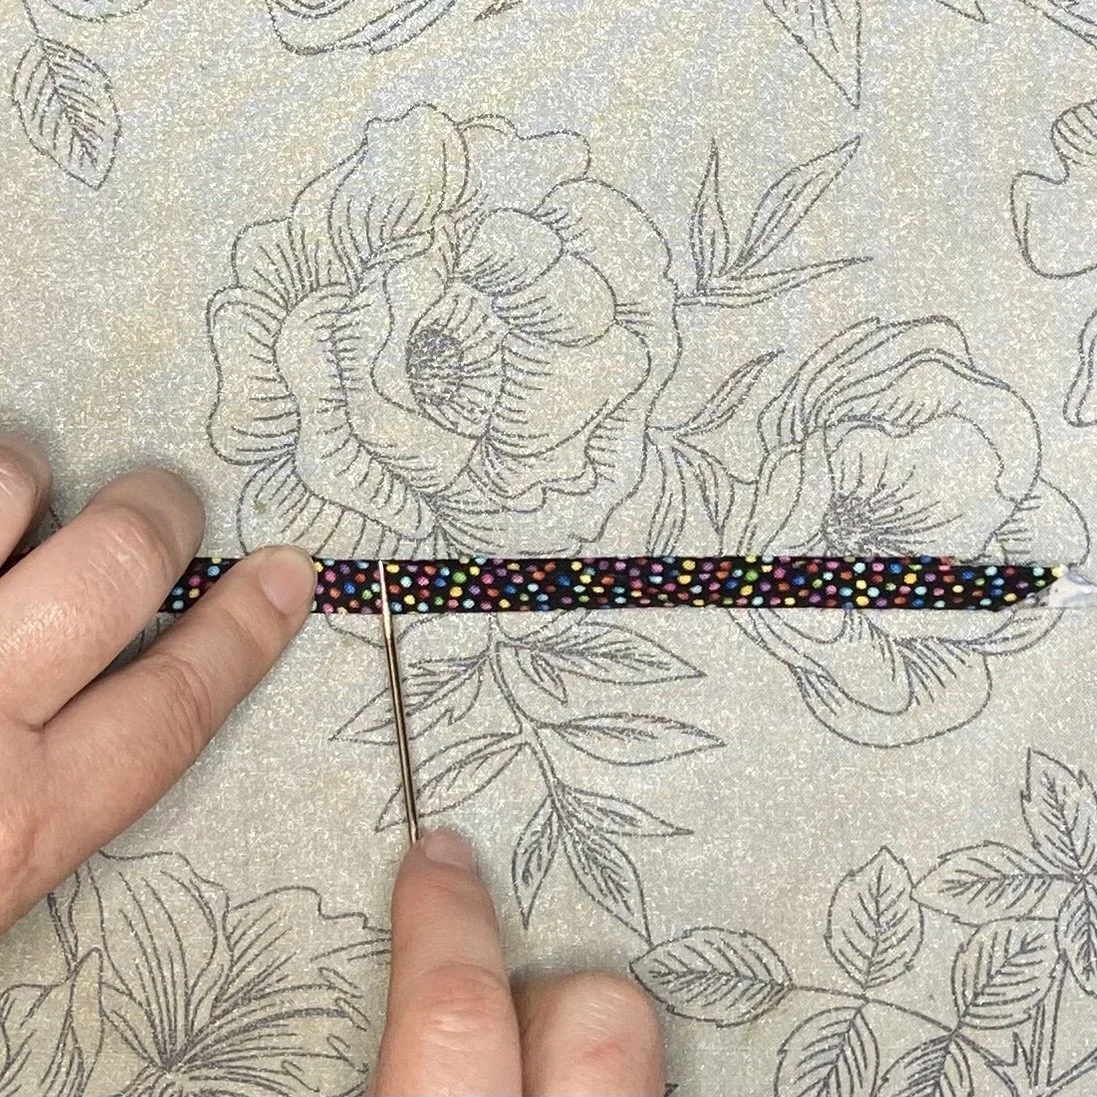
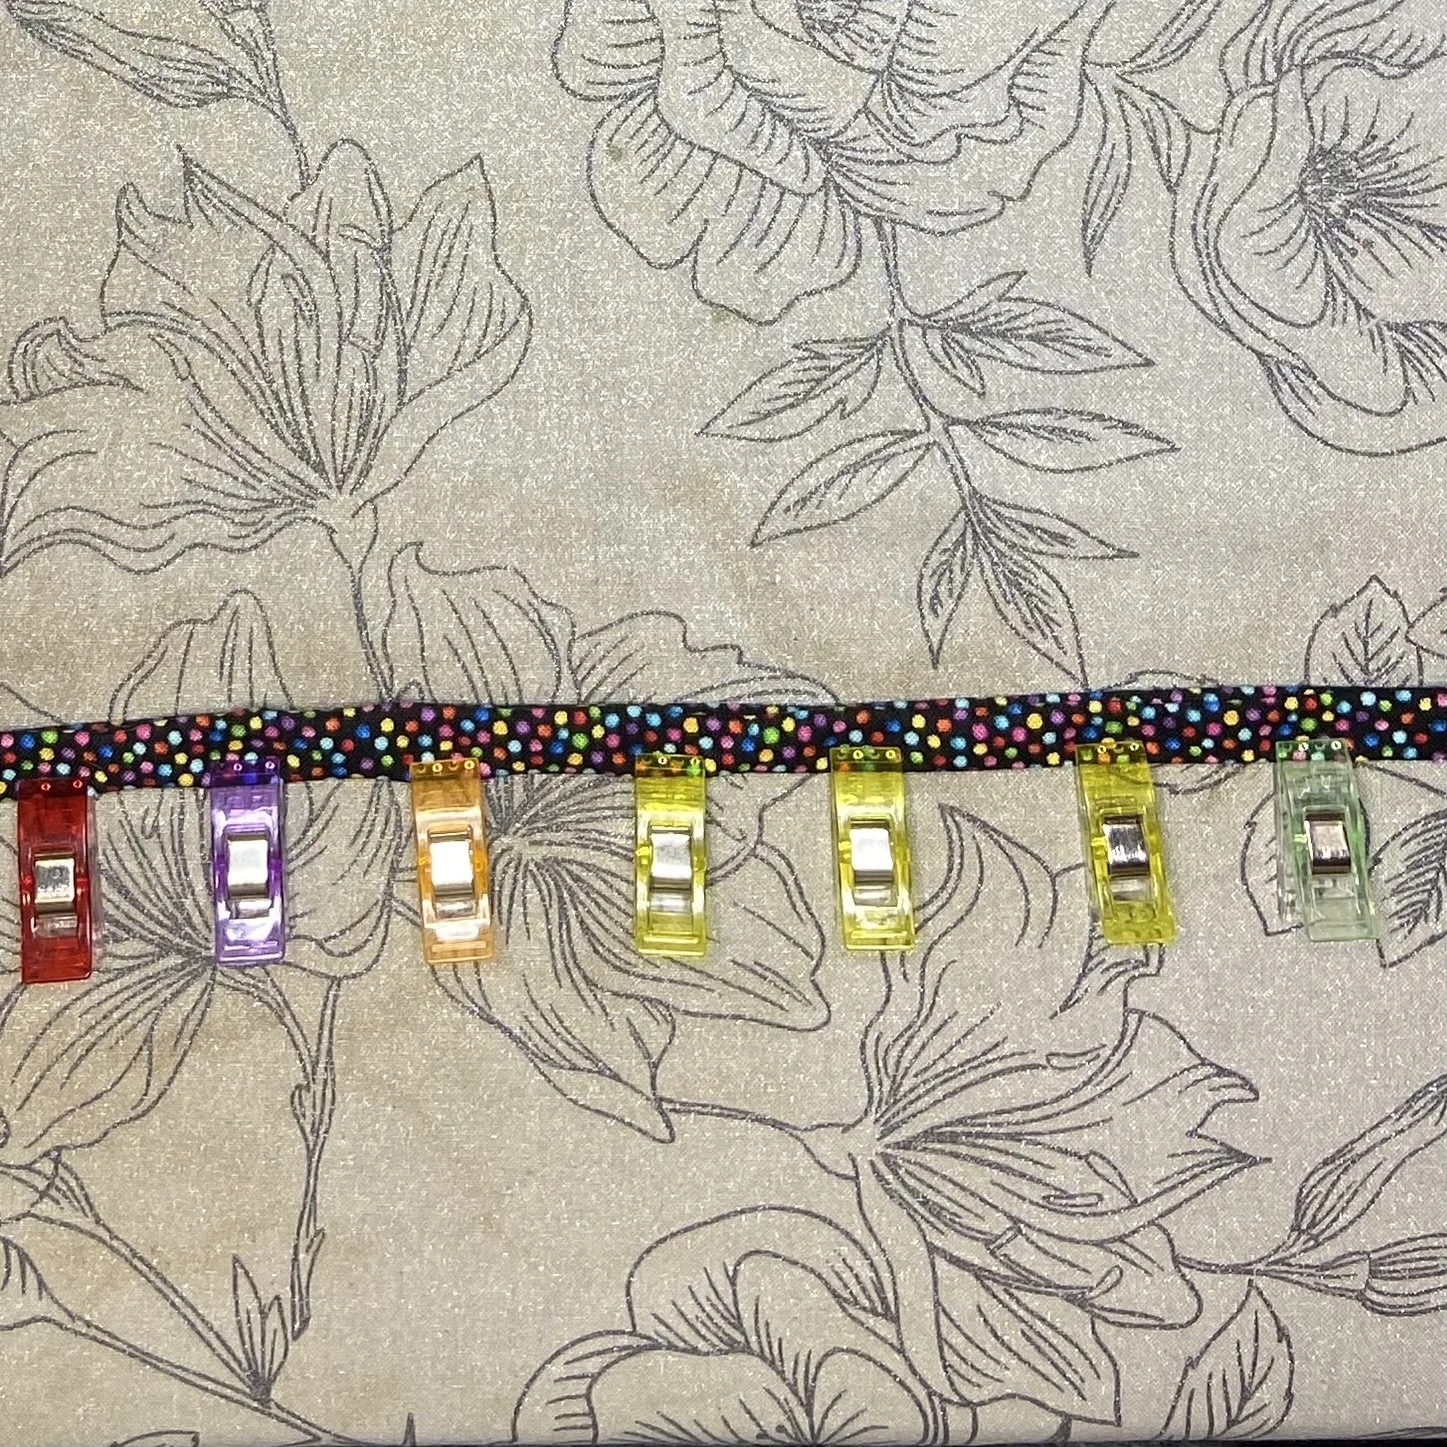
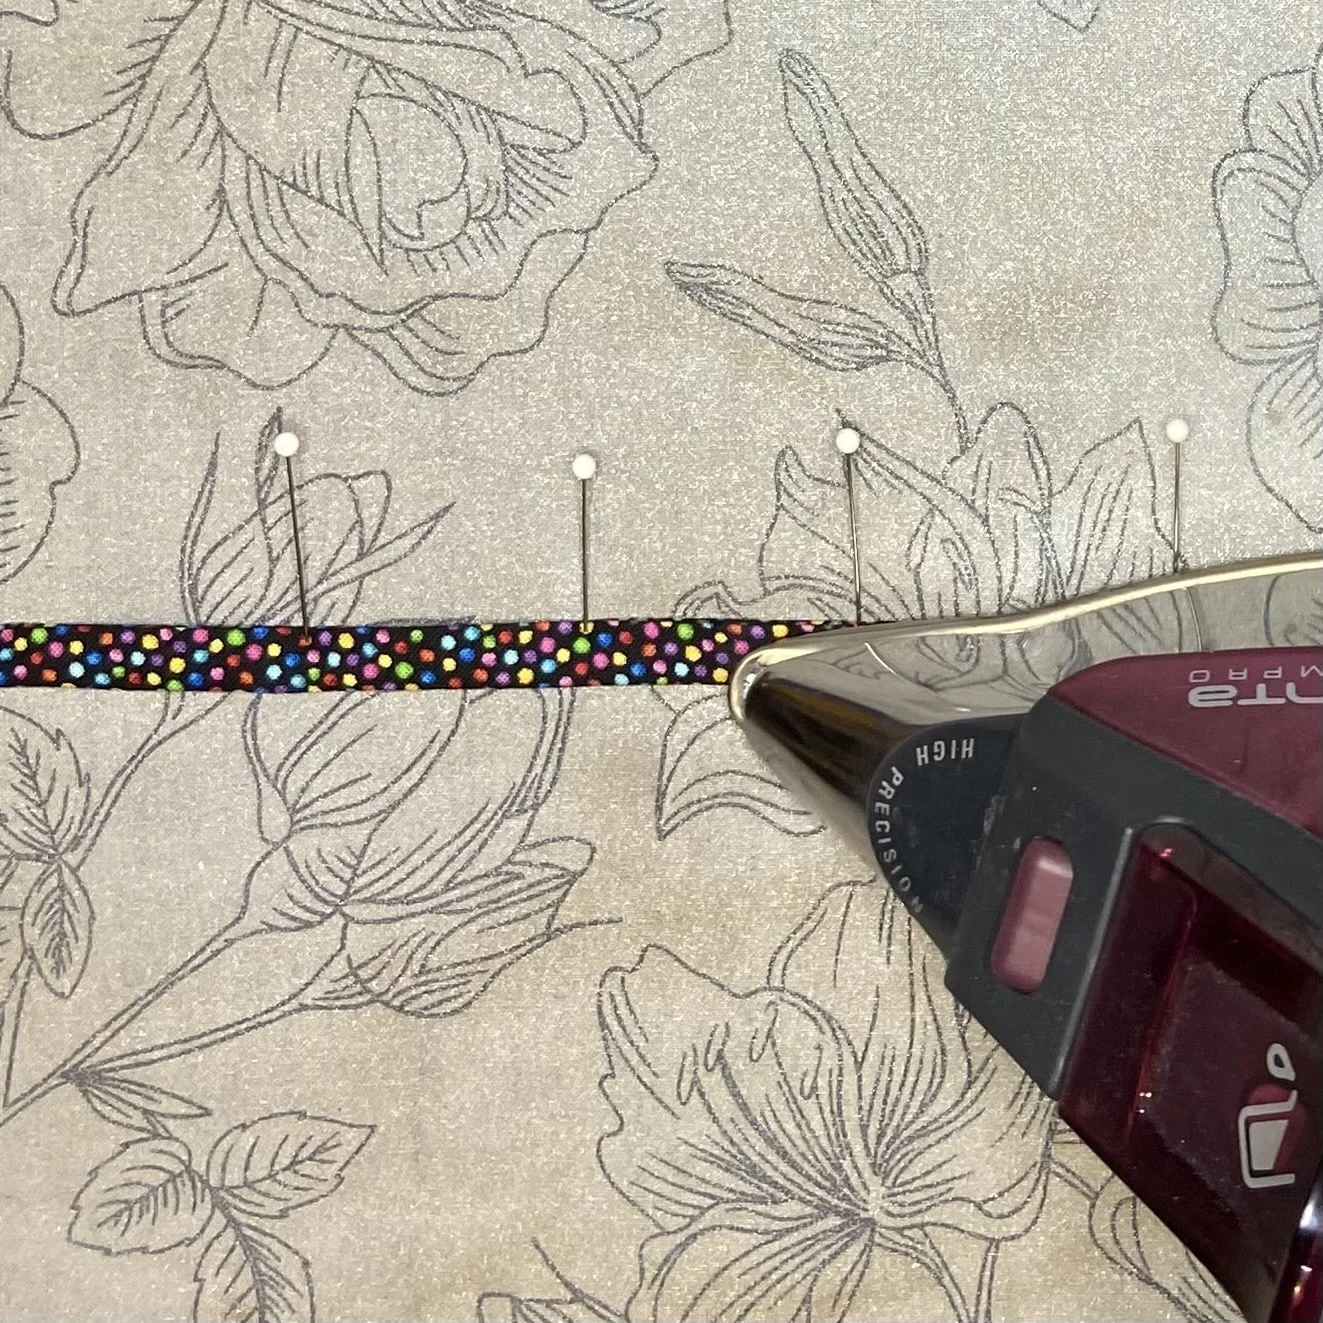
Now that you’ve got your edges folded over, you need to fold the whole thing in half and press again. The bias tape maker won’t help you here…you have to do it with your hands. And since you’ll be working very closely with the steam iron, it’s quite easy to burn your hand if you’re not careful (I don’t want to talk about it; the bandages come off next week). So you have options: you can use something like an awl or a seam-ripper or a skewer to hold the fabric down while keeping your fingers at a burn-free distance. Or you could use pins to tack the edge down to your ironing board, and then iron. Or you could use these fancy sewing clips to hold the fabric while you carefully iron around them. If you use the pins, it’s not the end of the world if you run over them with the iron. But the plastic clips will not fare so well, so you’d have to be more careful with them.
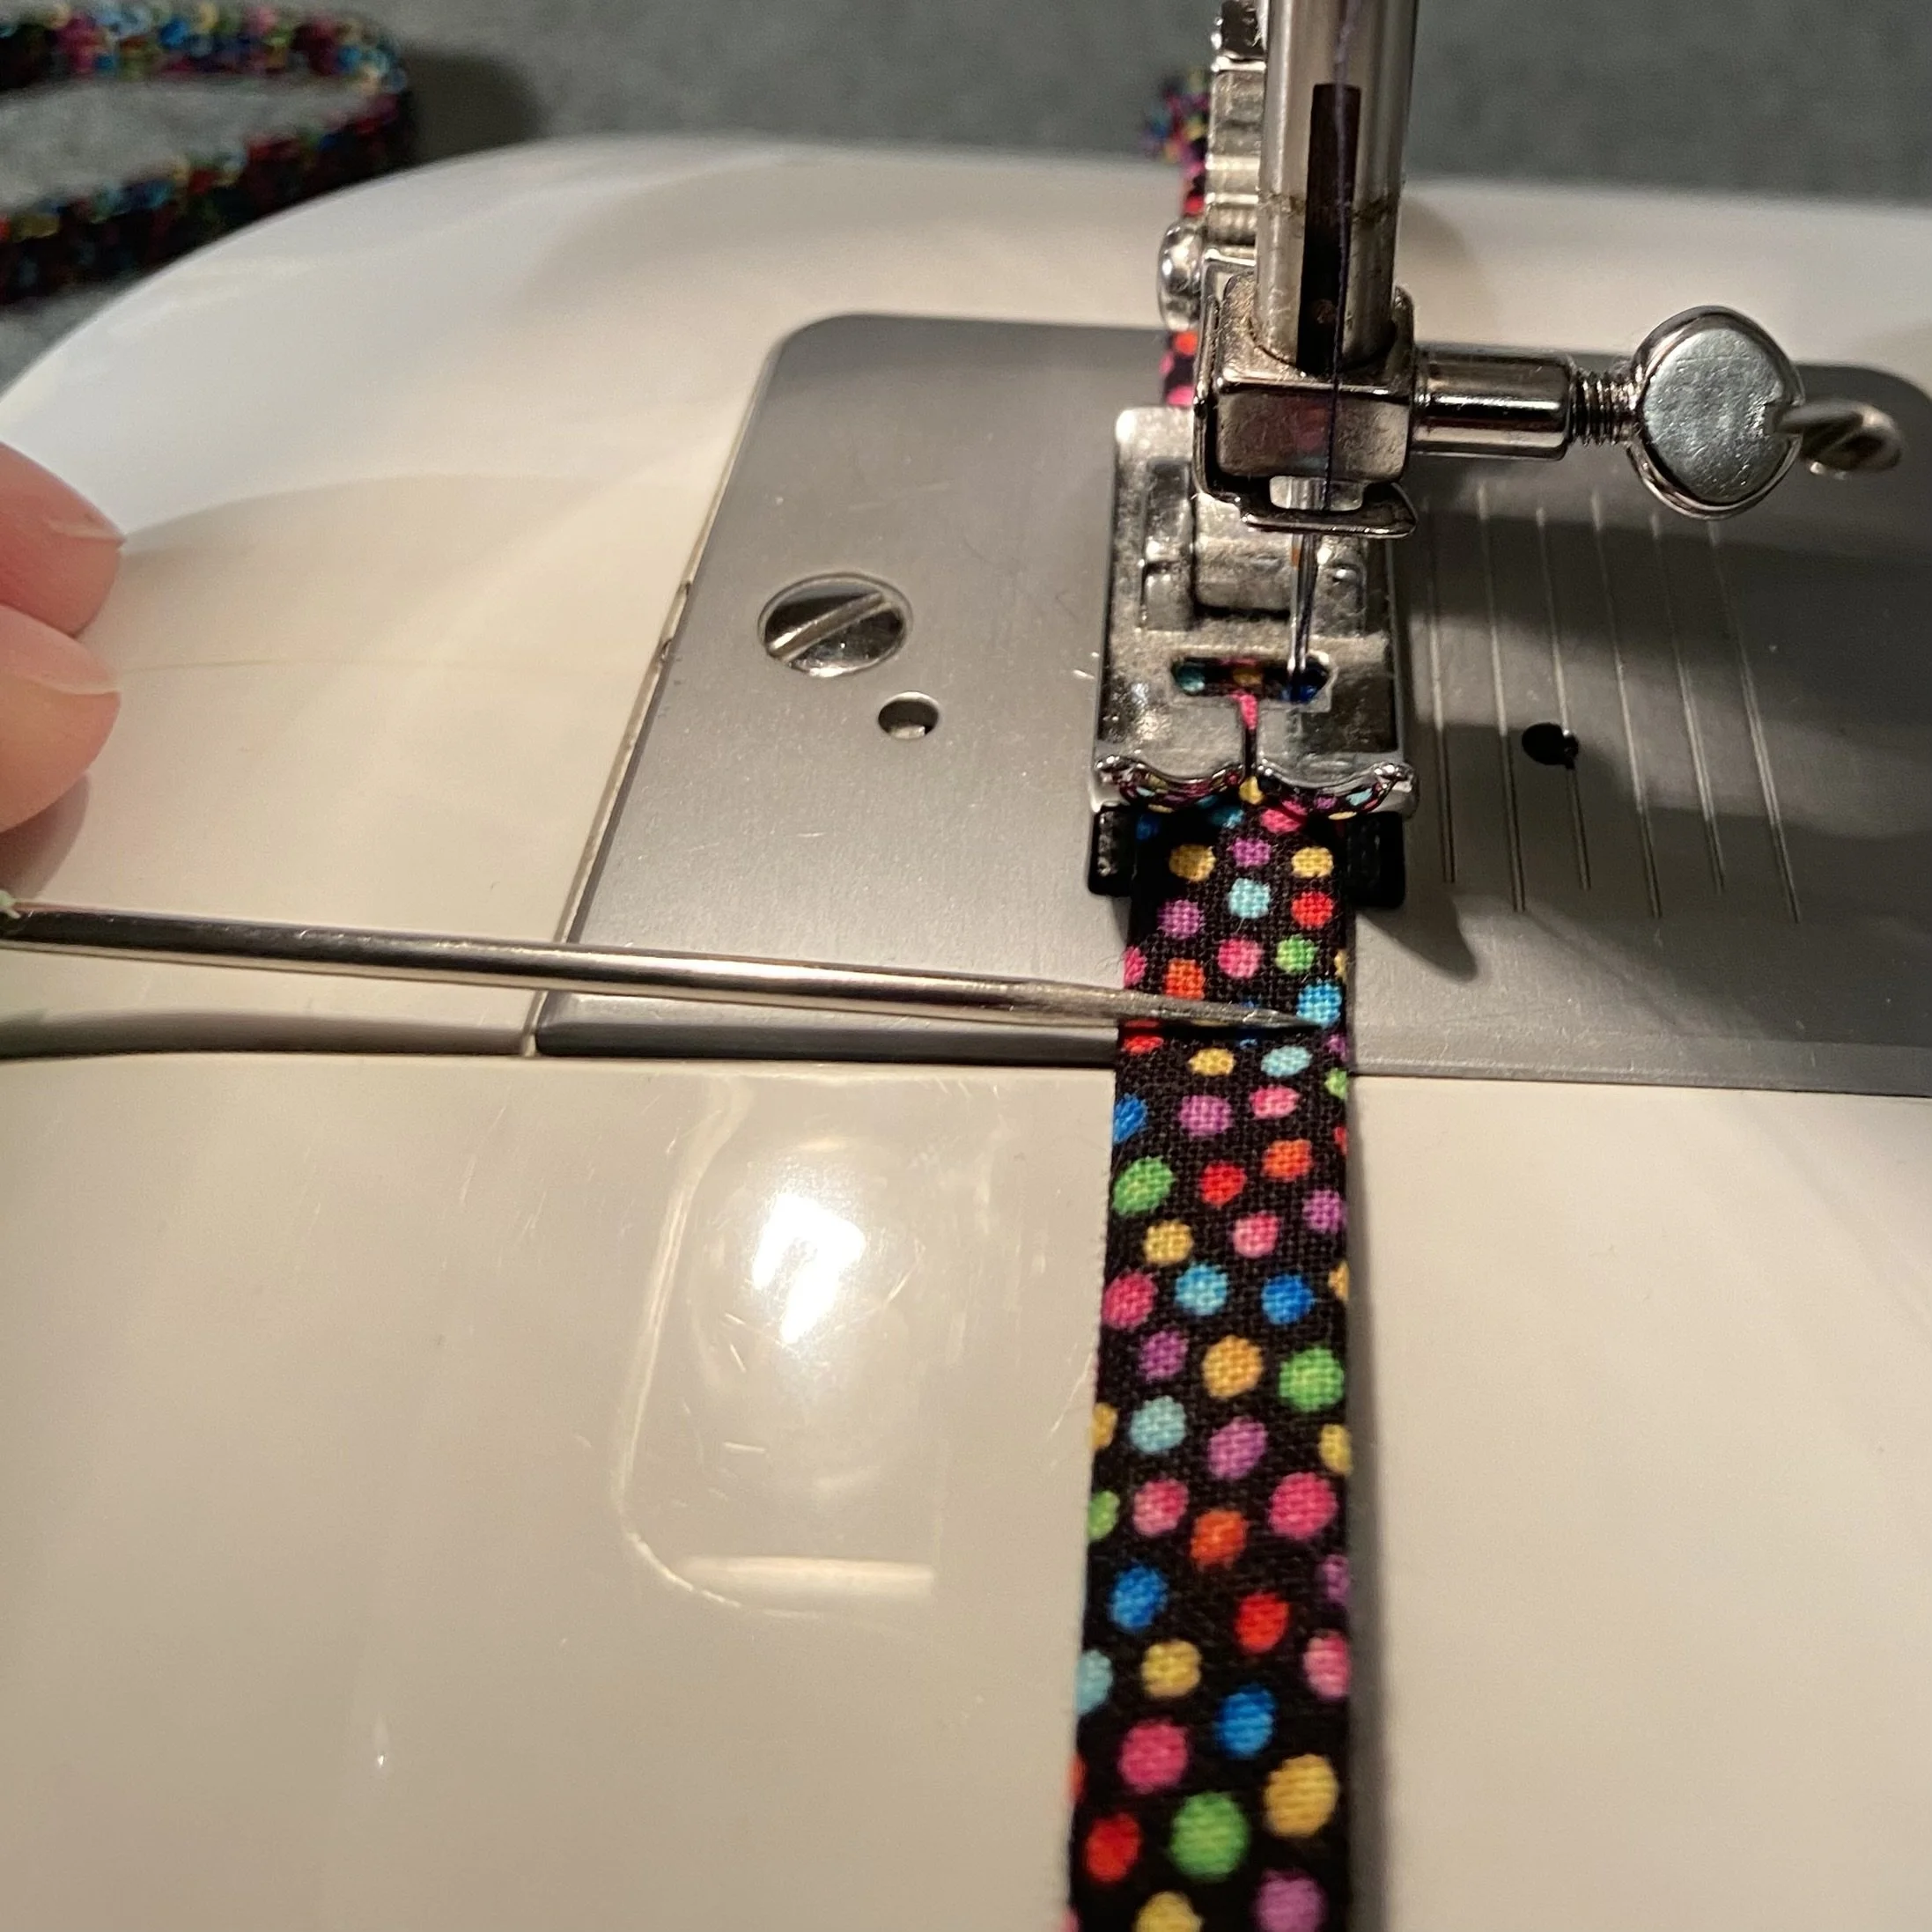
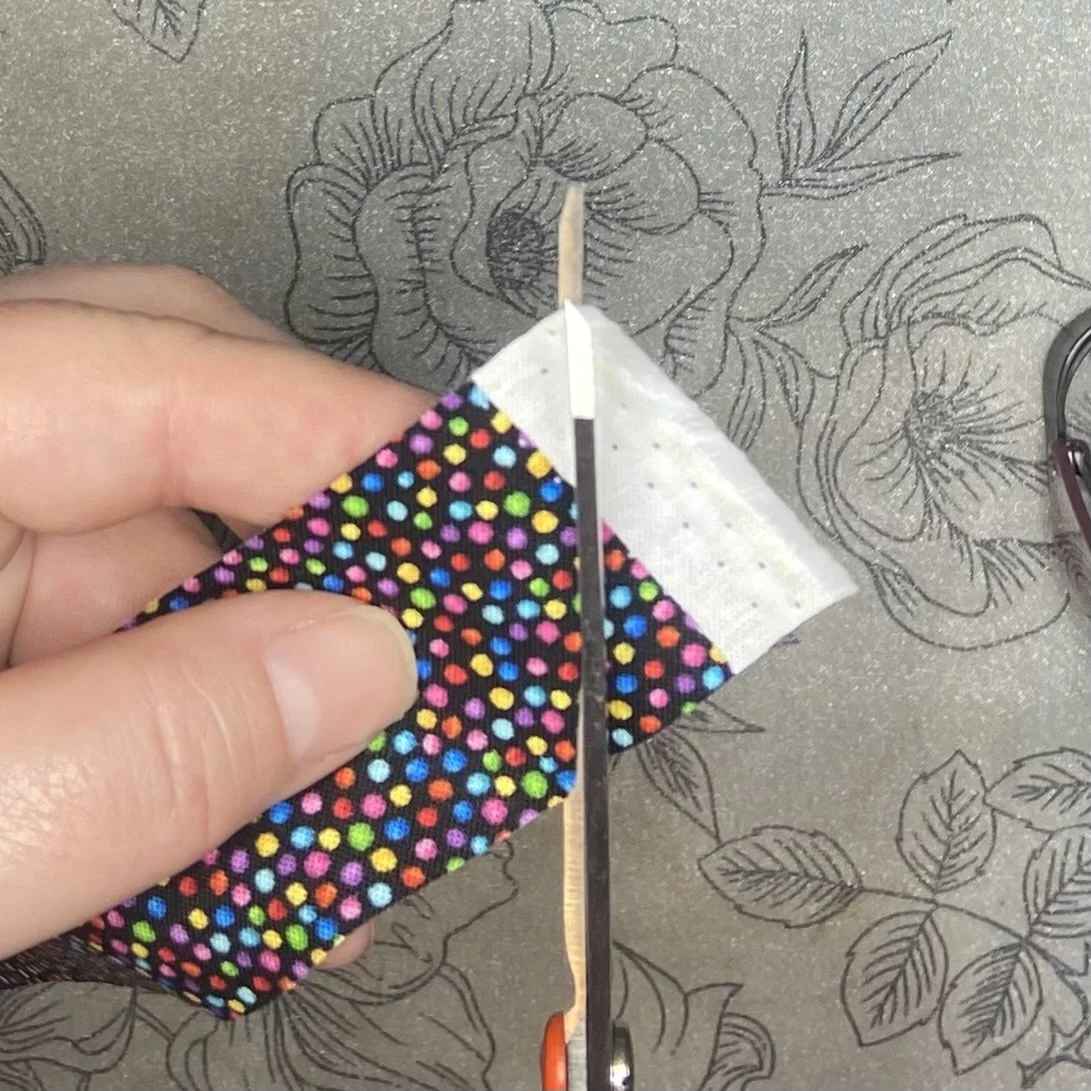
However you decide to do it, once you’ve got your 1.5” strip folded properly into a 3/8” strip, you then have to stitch it down to secure it. Before you start sewing, best to trim off both the selvage edge of both ends and the uneven bit where you cut at an angle to get the fabric into the bias maker. I recommend sewing as close to the edge as you can. After that, you should press again, just to really tightly secure your folds and also to relax the seam you just made.
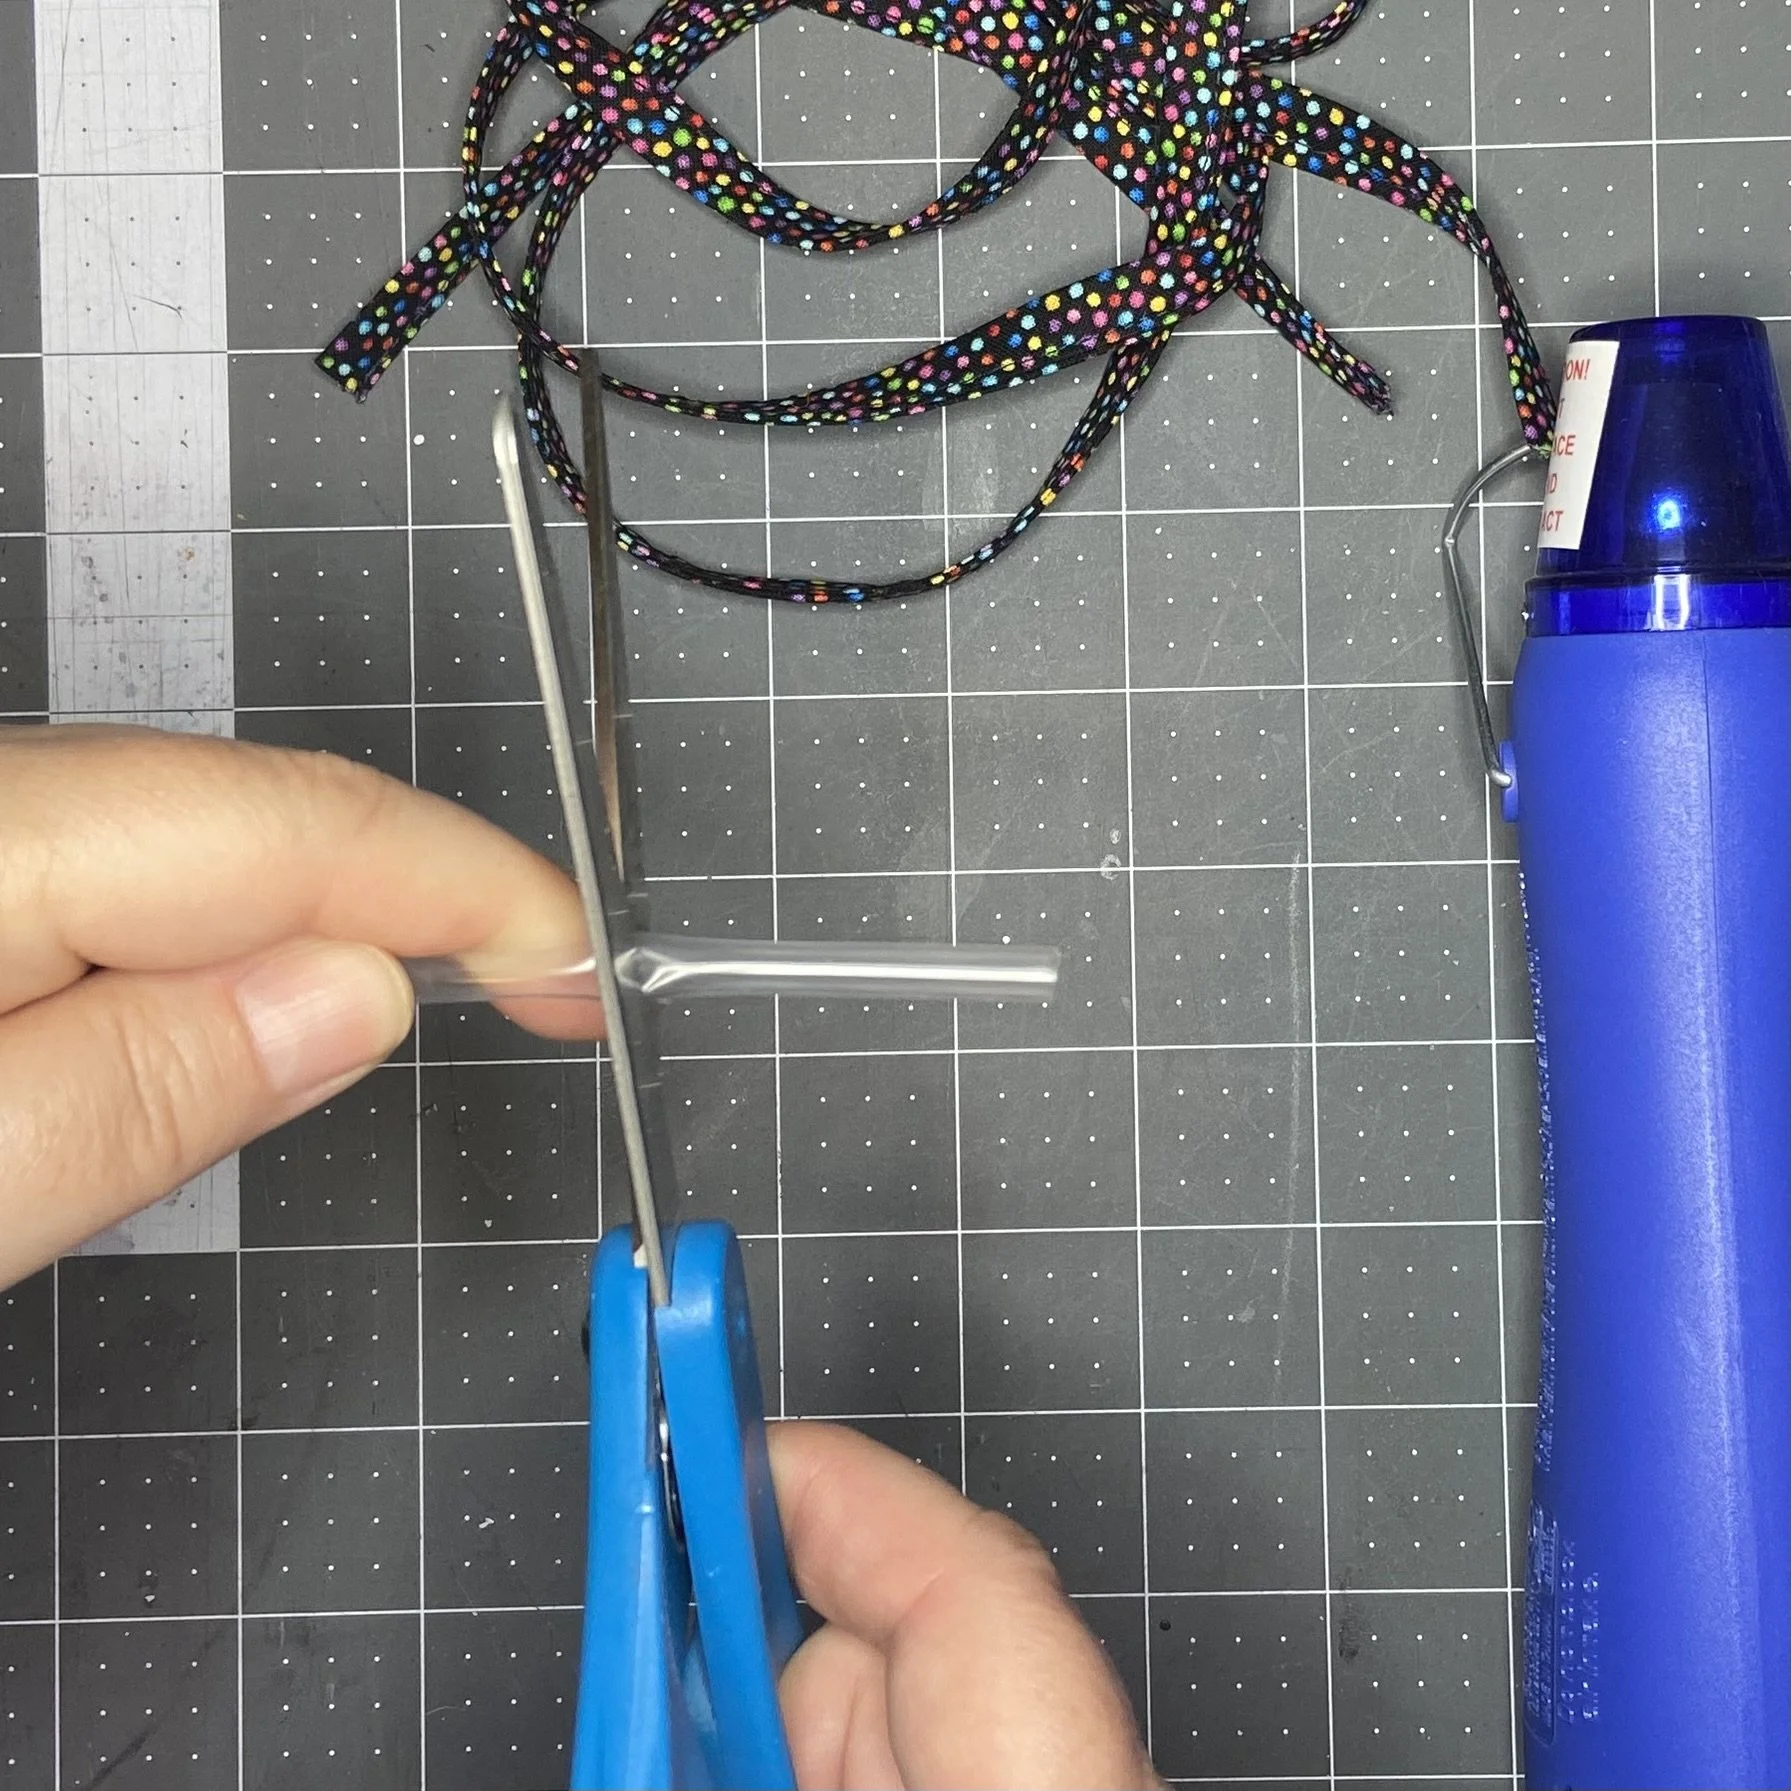
Then you just need to finish off the ends in some way. There are lots of options: you could go for fancy metal aglets like this or you could use these metal ones that you just crimp with a pair of pliers. But I preferred the result I got by shrinking plastic tubing around the ends of the laces. I found that 4mm tubing worked best for me. After cutting 1.5” lengths off the roll of tubing, I found it relatively easy to insert the ends of the fabric into the tube and then I used a heat gun to shrink the plastic. I also left a little plastic overhang to tighten over the end of the fabric, and then trimmed it down. If you don’t have a heat gun, you can use your steam iron. Just turn the temperature all the way up, set it for the heaviest steam setting, and then hold the steaming iron as close to the plastic as you can get without touching it.


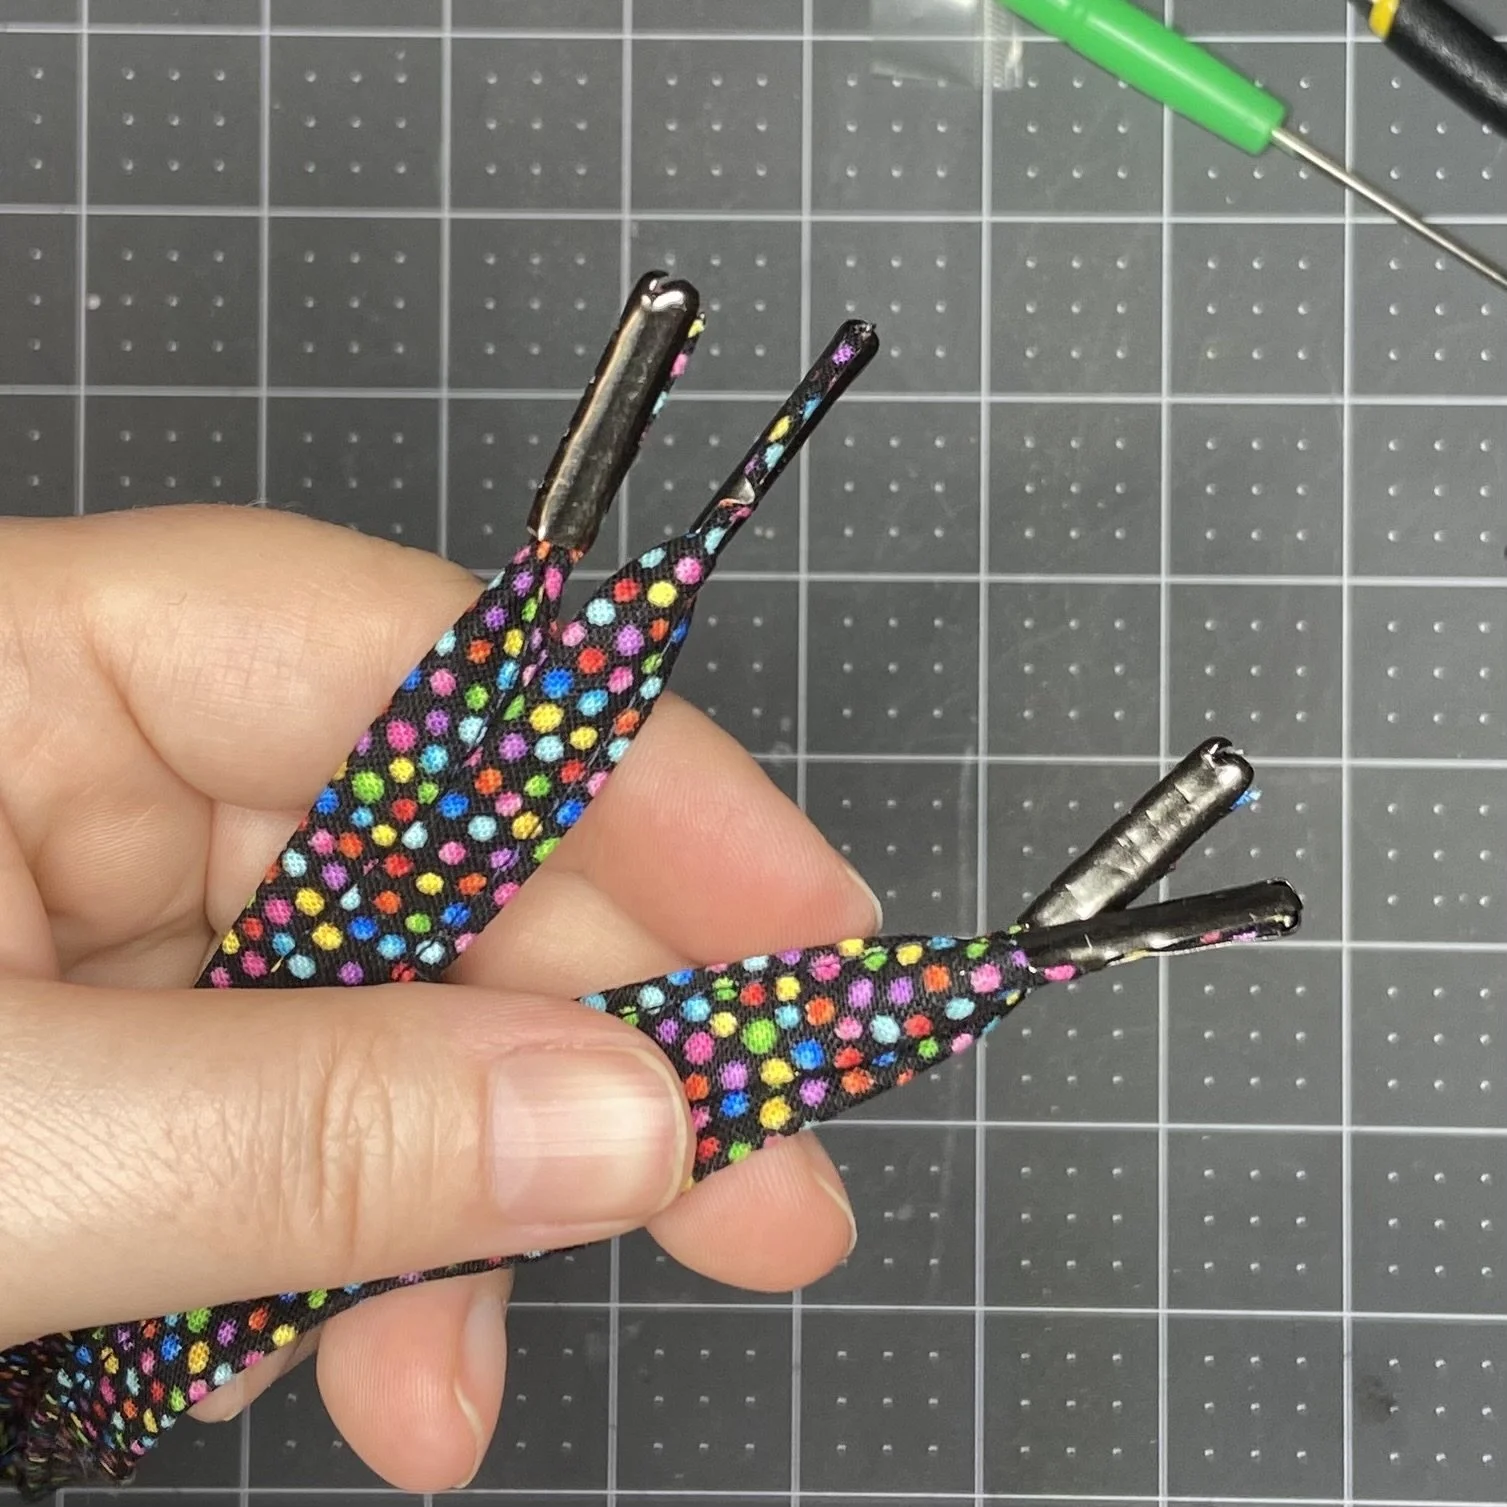
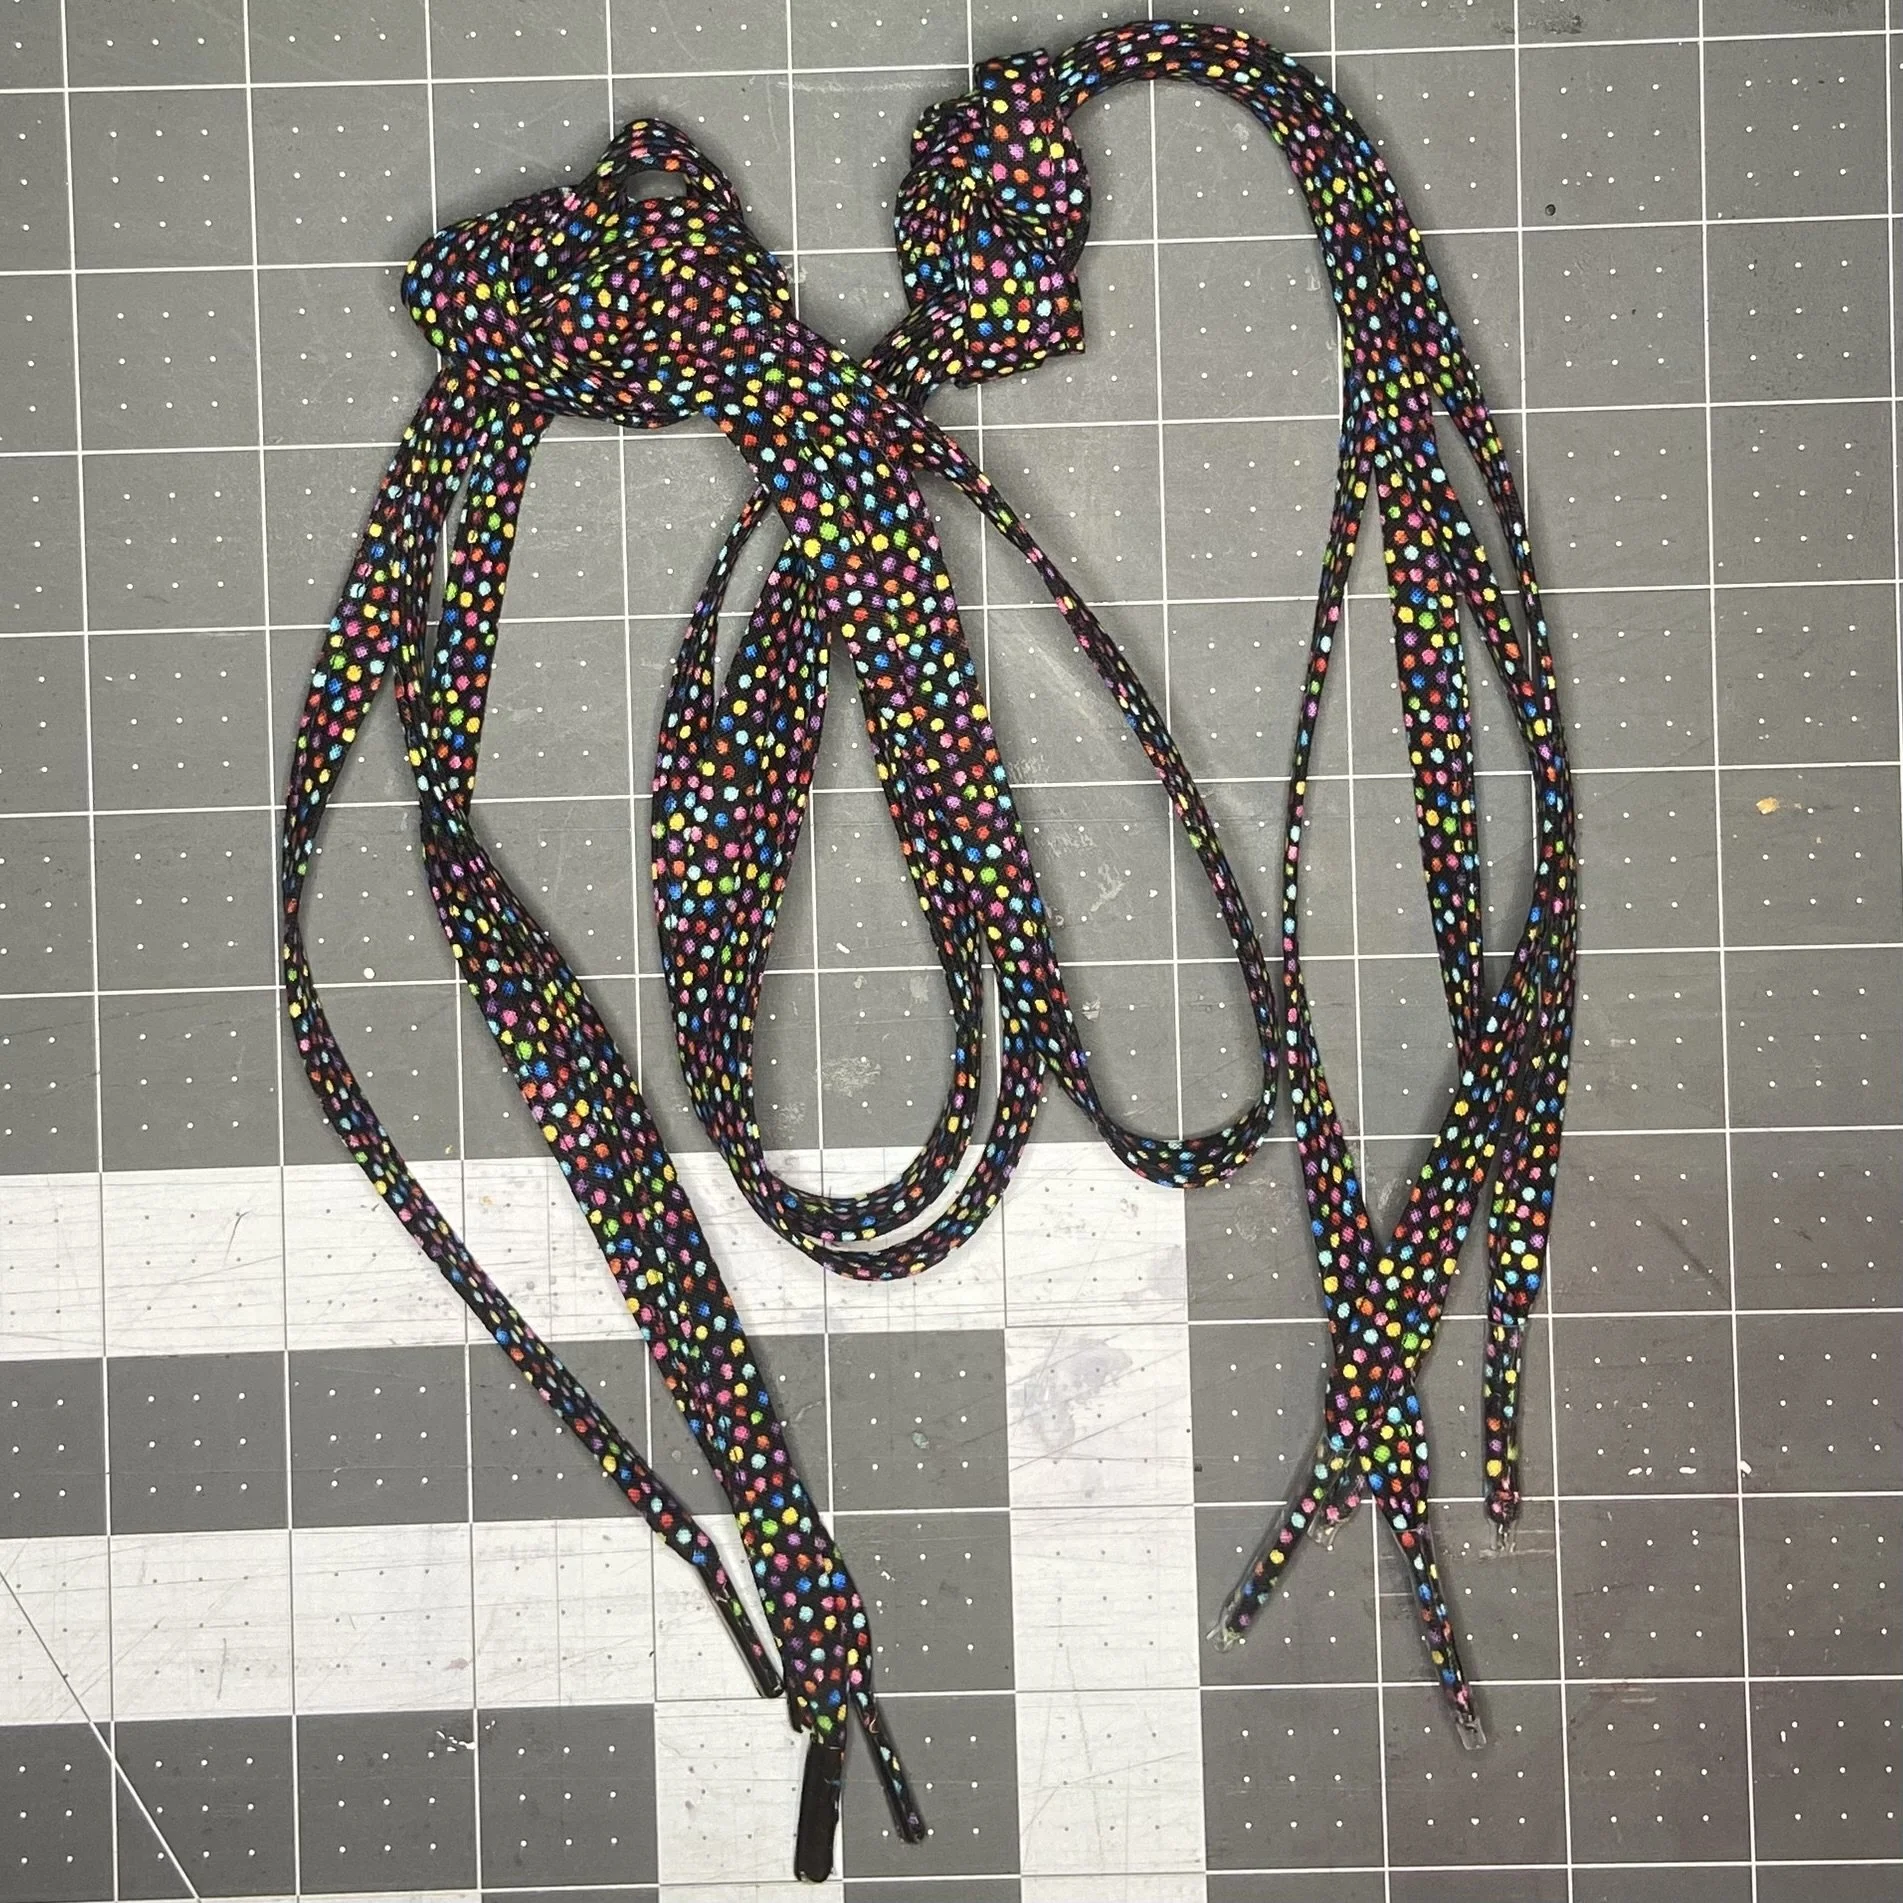
And done! They are so cute…but I only own one pair of lace-up shoes myself. Now I have to figure out who I can give the rest of them to…maybe the nephews would like some quirky shoelaces?