Adventures In Superior Turkey Management
As an Amazon associate, I may earn a small commission if you navigate to Amazon from my site and buy something. This will not result in an extra cost to you.
I know, it’s tradition to cook a whole turkey, display it triumphantly to the family on the table, and then return it to the kitchen for carving. Okay, maybe some people carve at the table but my family switched to kitchen carving many years ago. Cuts way down on the hassle and mess (and also, the public embarrassment if something goes awry). My favorite sister-in-law, who usually hosts our family Thanksgiving celebration at her house, loves roasting a whole turkey. And she does an excellent job of it, don’t get me wrong.
But several years ago, I became convinced that the best way to roast a turkey for Thanksgiving dinner and have it come out properly cooked (not overcooked on the legs and undercooked on the breast), moist, and intensely flavorful was a combination of cutting up the bird (like you’d cut up a chicken for roasting) and dry-brining it. Then when it comes time to cook it, you can take each piece out when it’s done, and not have to leave everything in until the thickest part has cooked, by which time, the thinner parts are overcooked, stringy, and dry. Yuck.
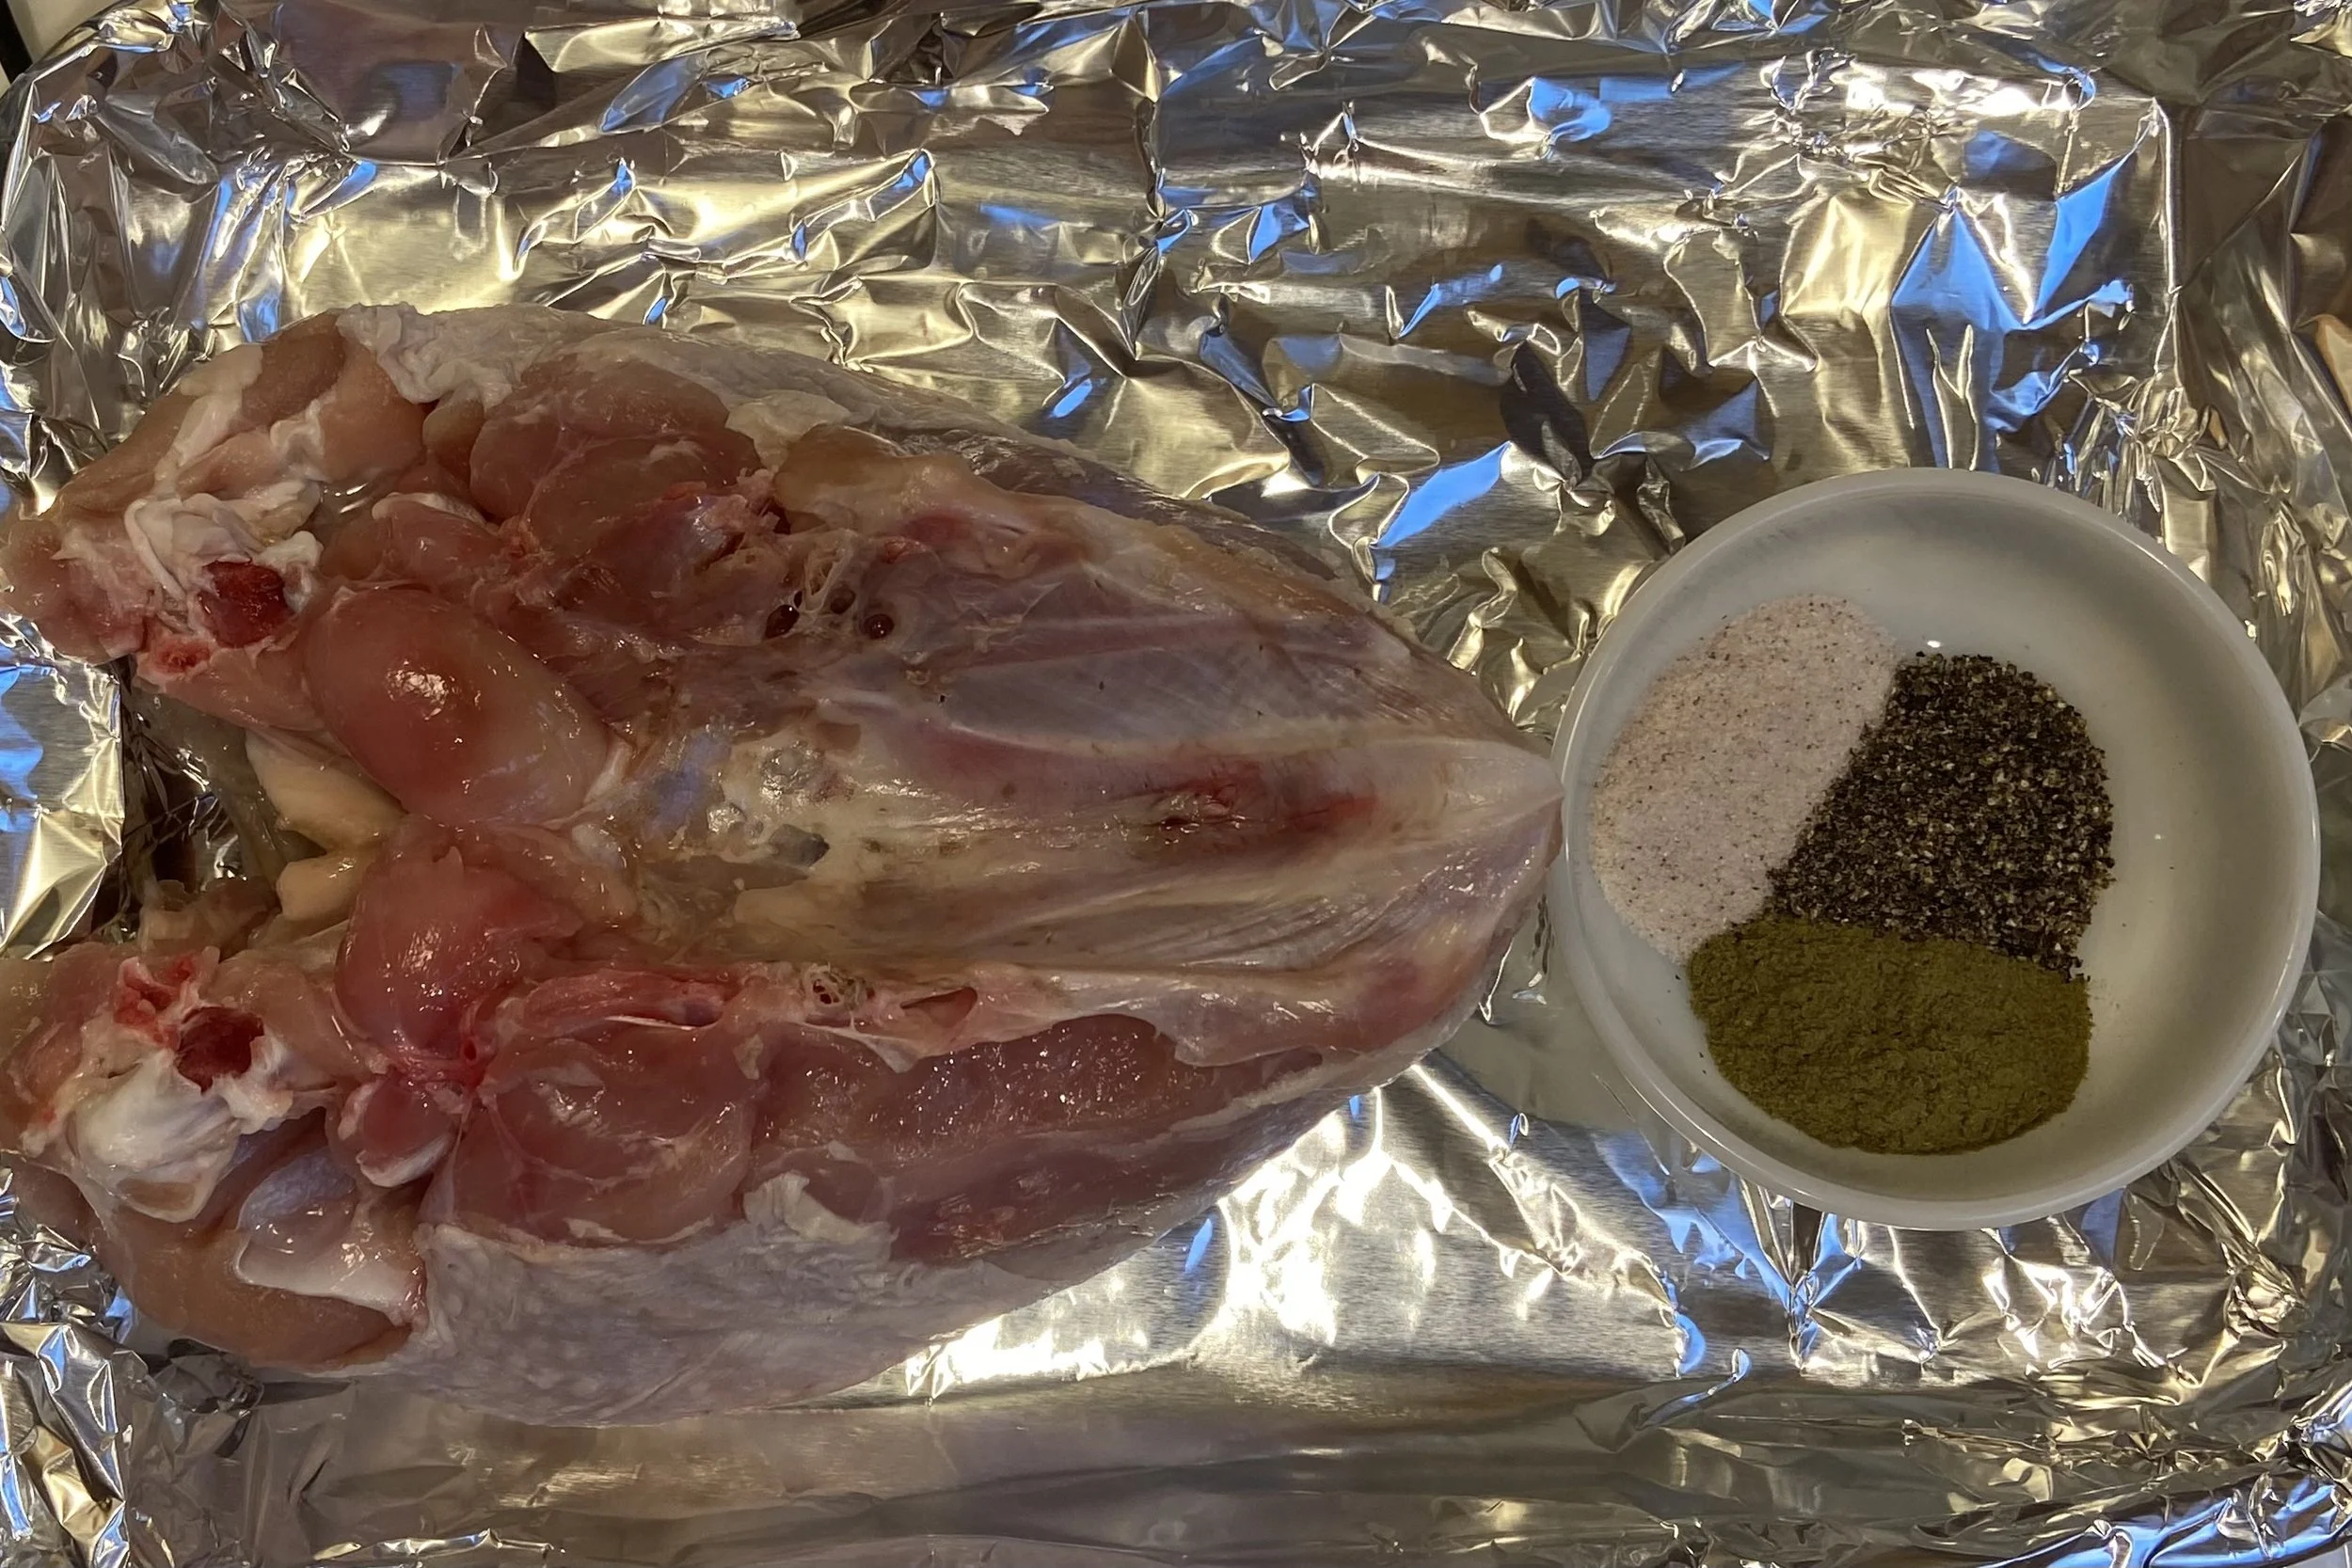
Okay, let’s talk about dry-brining first. As I’m sure everyone knows, when you brine meat, you are soaking it in a salt solution that often has other things added to it, like sugar and some other spices. And this works fine, but having cooked turkeys MANY different ways over the years, I’ve come to believe that dry-brining works better. Basically, you take salt and whatever other herbs and spices you want to add, make sure everything is ground up fine, and then spread it over the inside and outside of the bird (or over the entirety of the parts, if you’ve cut it up). And then you leave it covered in the fridge and wait for the magic to happen.
How long you wait and how much of the salt/herb mixture you use depends on how much meat you have. A general rule of thumb for the seasoning:
1 Tbsp kosher or sea salt per 5 pounds of meat
Roughly the same amount (total) of any herbs you’re adding
Some pepper
So if you were cooking a 15 pound turkey, you’d use 3 Tbsp salt, 3 Tbsp (total) of herbs/spices, and then some pepper. Maybe a Tbsp or so of pepper.
And a rule of thumb for how long the turkey needs to sit in the fridge, soaking up the seasonings:
Roughly, one day per five pounds of meat (although I wouldn’t leave it in longer than 3 days)

If you want a fancier seasoning rub for your bird, then a very nice combination (in the proportions I’ve already given) is salt, peppercorn, juniper berries, marjoram, and thyme. You’d need to grind the peppercorns and juniper berries in a spice grinder (I bought this one years ago for this very purpose) or a small food processor (I like this multi-use one from KitchenAid). And if your thyme is not already very fine, it would be good to grind that in as well. For the 15 pound bird I mentioned earlier, again you’d want: 3 Tbsp salt, maybe 1.5 tsp of pepper, and a total of 3 Tbsp of the juniper berries/marjoram/thyme mixture. These are rough numbers, of course…but the salt is the important part. Get that right and it will carry the rest of the flavors into the meat.
If I cannot persuade you to cut up the bird because you have your heart set on roasting it whole, then here’s my go-to method/recipe for both the turkey, and the pan gravy that I make afterward in the roasting pan. And speaking of the roasting pan, I highly recommend this one that my favorite sister-in-law bought me several years ago. It’s fantastic.
But I’m actually hoping that you’ll be willing to try a different way: cut your turkey up. Like you would a chicken. You could ask your butcher to do it, if you bought a fresh turkey (they’re not going to mess with a frozen one) or you could do it yourself, and if you don’t know how, here’s the YouTube video I watched (multiple times) to learn how to do it. I take off the legs (cutting them into thigh and drumstick), then the wings (setting them aside for stock), and then I remove the backbone, using kitchen shears (and set the backbone aside for stock as well). But I stop there. I don’t split the breast in half. I have tried that, but I think I get better flavor cooking the breast intact and on the bone.
Or if you don’t want to mess with that, you could just buy a turkey breast on the bone, which is what I did for the blog. Cover your turkey pieces with the spice mixture you made, although when you’re doing calculations by weight, remember that you discarded part of the bird and it no longer weighs as much as the label says it did. Maybe use your big kitchen scale to ascertain the new weight…or weigh the pieces you cut off and subtract that from the total. Or you can decide not to get too hung up on precise math, and just wing it (my preferred method of “calculation”). However you work it out, spice it up and let it sit in the fridge for however long you’ve decided.

On the big day, let your bird sit out at room temperature for at least an hour. You can use butter under the breast skin if you want (as per the recipe I linked above for roasting a whole bird), but I haven’t found it necessary with this method. Cook it at 325°, starting with breast side down. This will cook much more quickly than a whole bird, so start checking the pieces after about 90 minutes or so. And turn the breast upward toward the end of baking, to brown up the skin a little. Let the meat rest for at least 20 minutes before carving. You can make pan gravy the same way as with cooking a whole bird, if you wish (linked recipe above). Et voila! A perfectly cooked, already (partly) carved turkey!


Oh, and if you’d like a superb recipe for cranberry sauce for your turkey sandwich, you can find that here.