Adventures In Amateur Quilting-Part 1
As an Amazon associate, I may earn a small commission if you navigate to Amazon from my site and buy something. This will not result in an extra cost to you.
I’ve never made a quilt. I’ve done very small quilting projects (placemats and the like) but never a proper big blanket. But this did not stop me from volunteering my sewing “skills” when my favorite sister-in-law mentioned that she’d been saving up my oldest nephew’s T-shirts and wanted to make him a T-shirt quilt for his high school graduation. How hard could it be? Well…the answer to that is lengthy but the simple version is…harder than I thought.
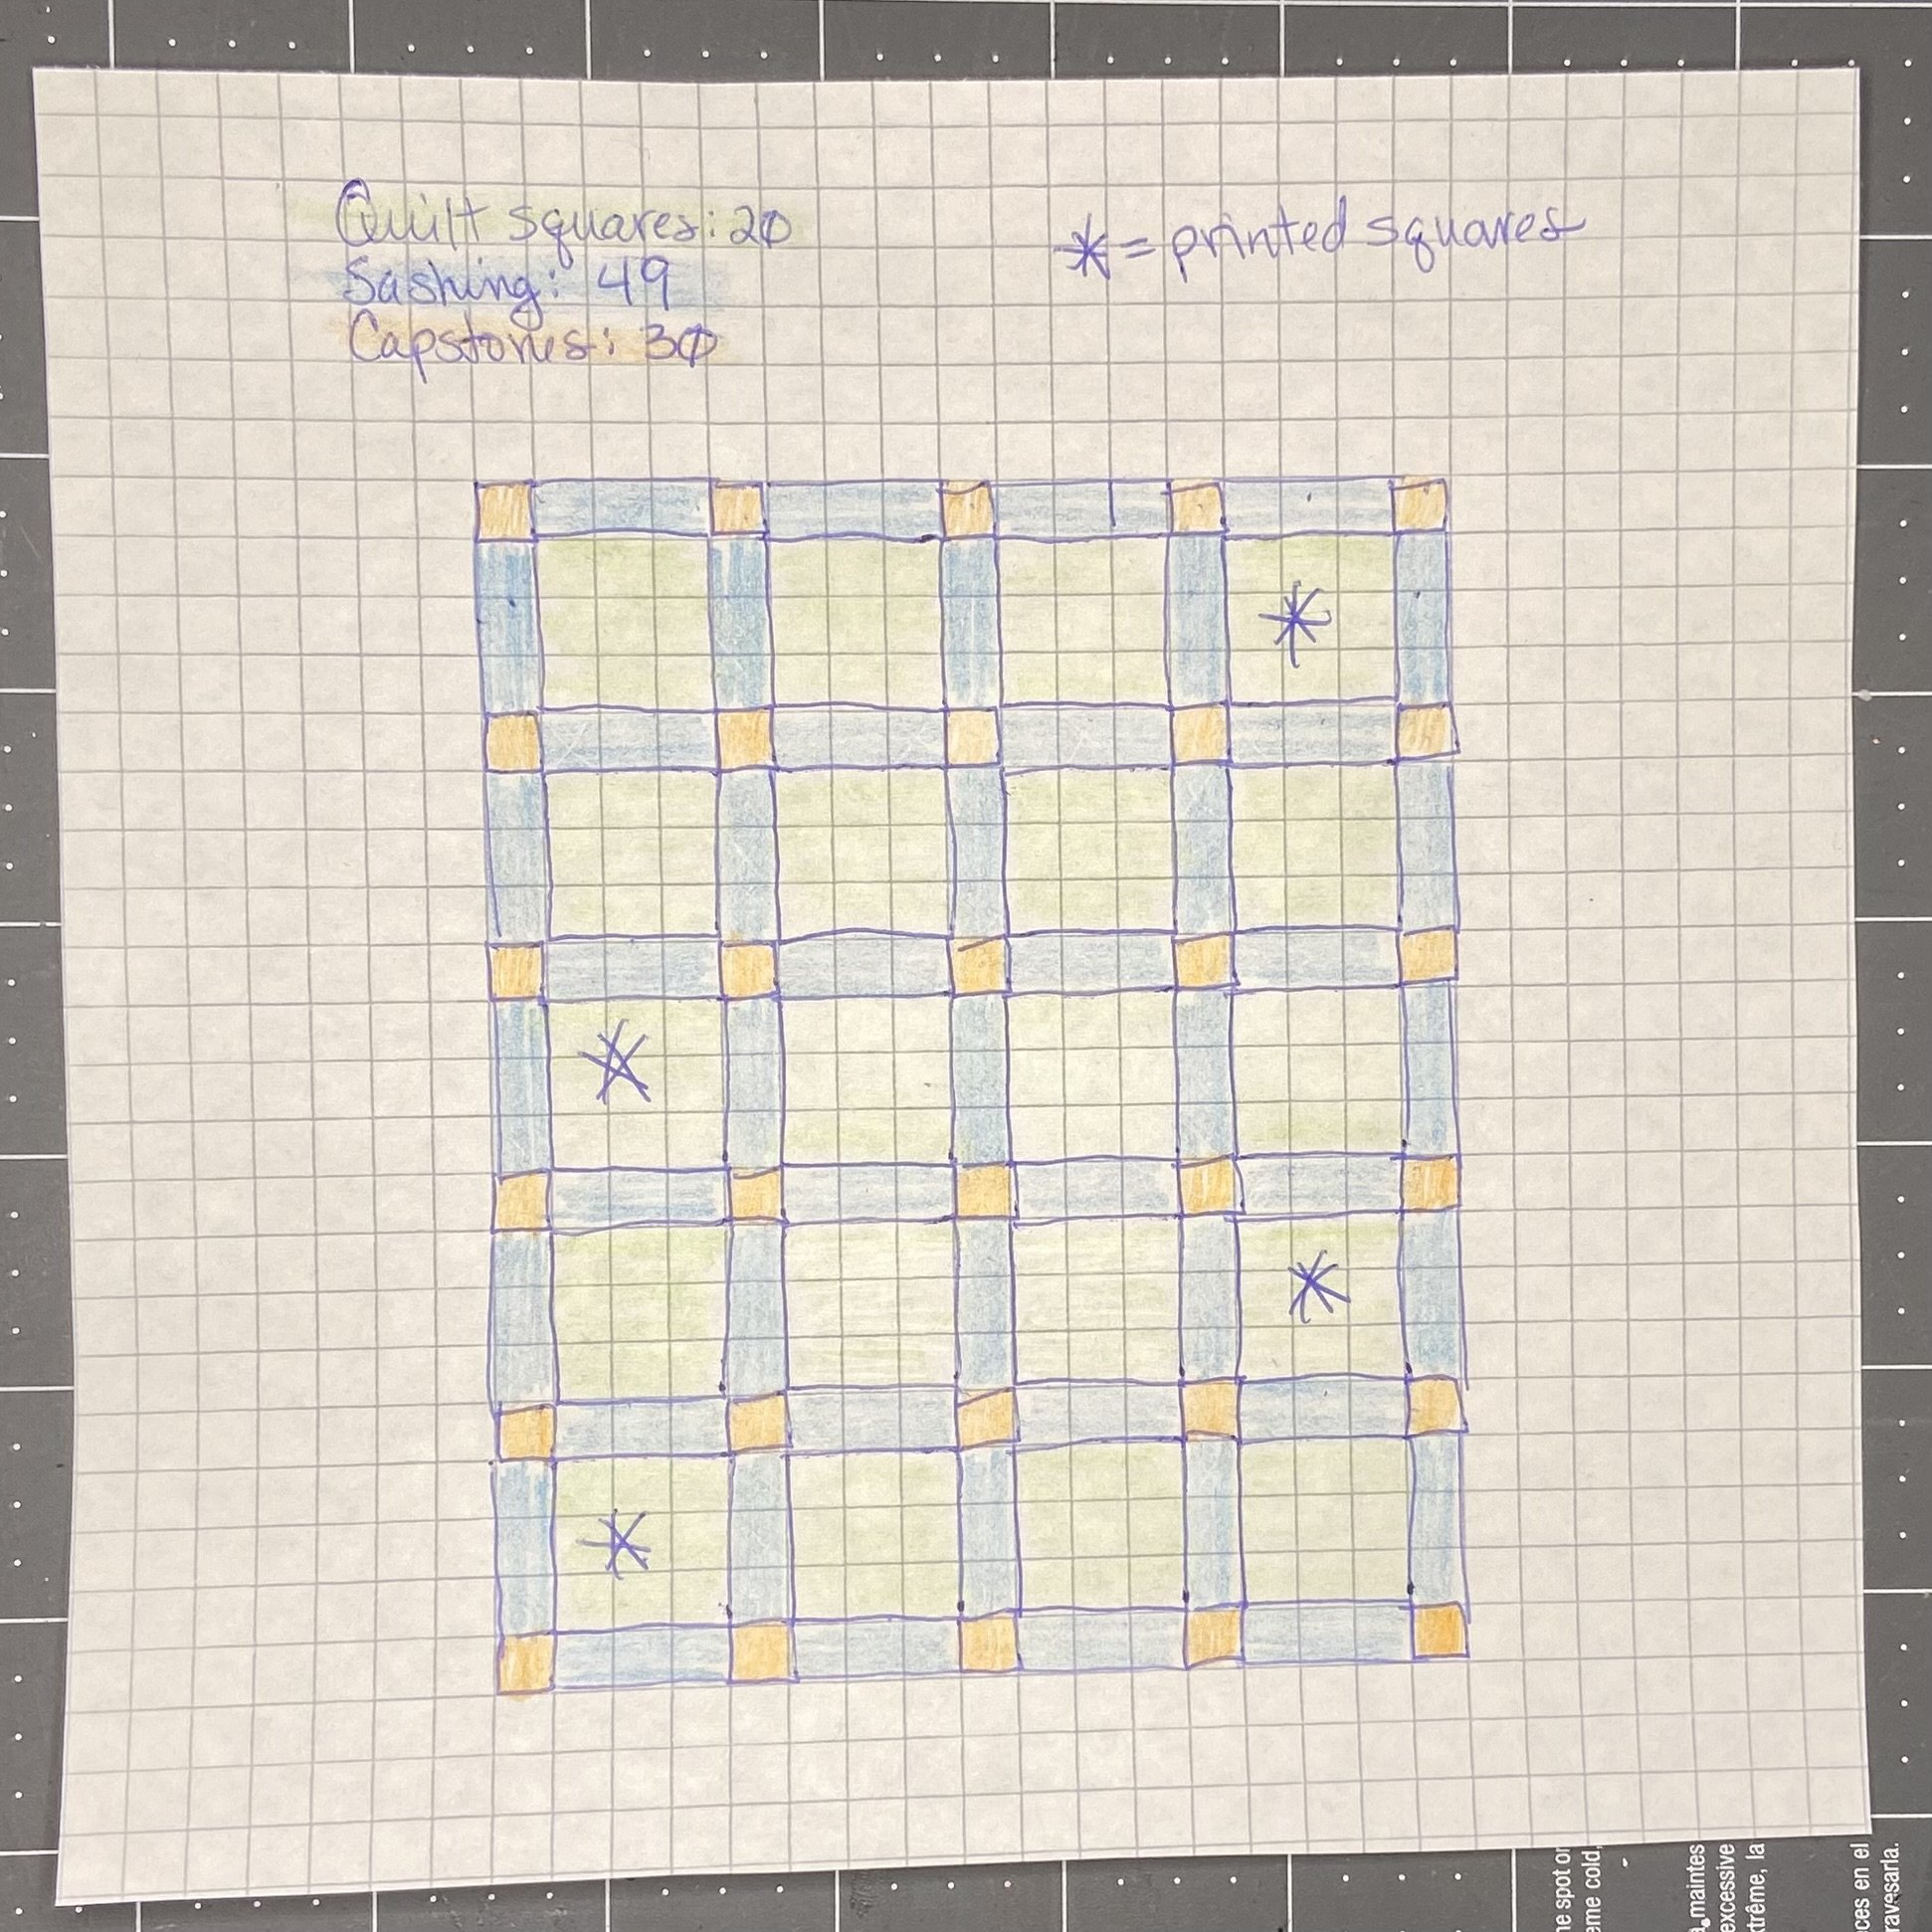
To start, my sister-in-law and I looked at the T-shirt treasure trove and decided that we had enough to make a blanket that was 4x5 12” squares. Well, we had almost enough. We had 15 usable T-shirts and one little old set of pajamas that I’d have to piece into a 12” square; but then we had to think of something for the last 4 squares. We decided on one square being a “Class of 2024” sort of thing, one being a Bible verse, and two filled with little notes from teachers and both brothers. I also wanted sashing and capstones between the squares, for a more finished look.
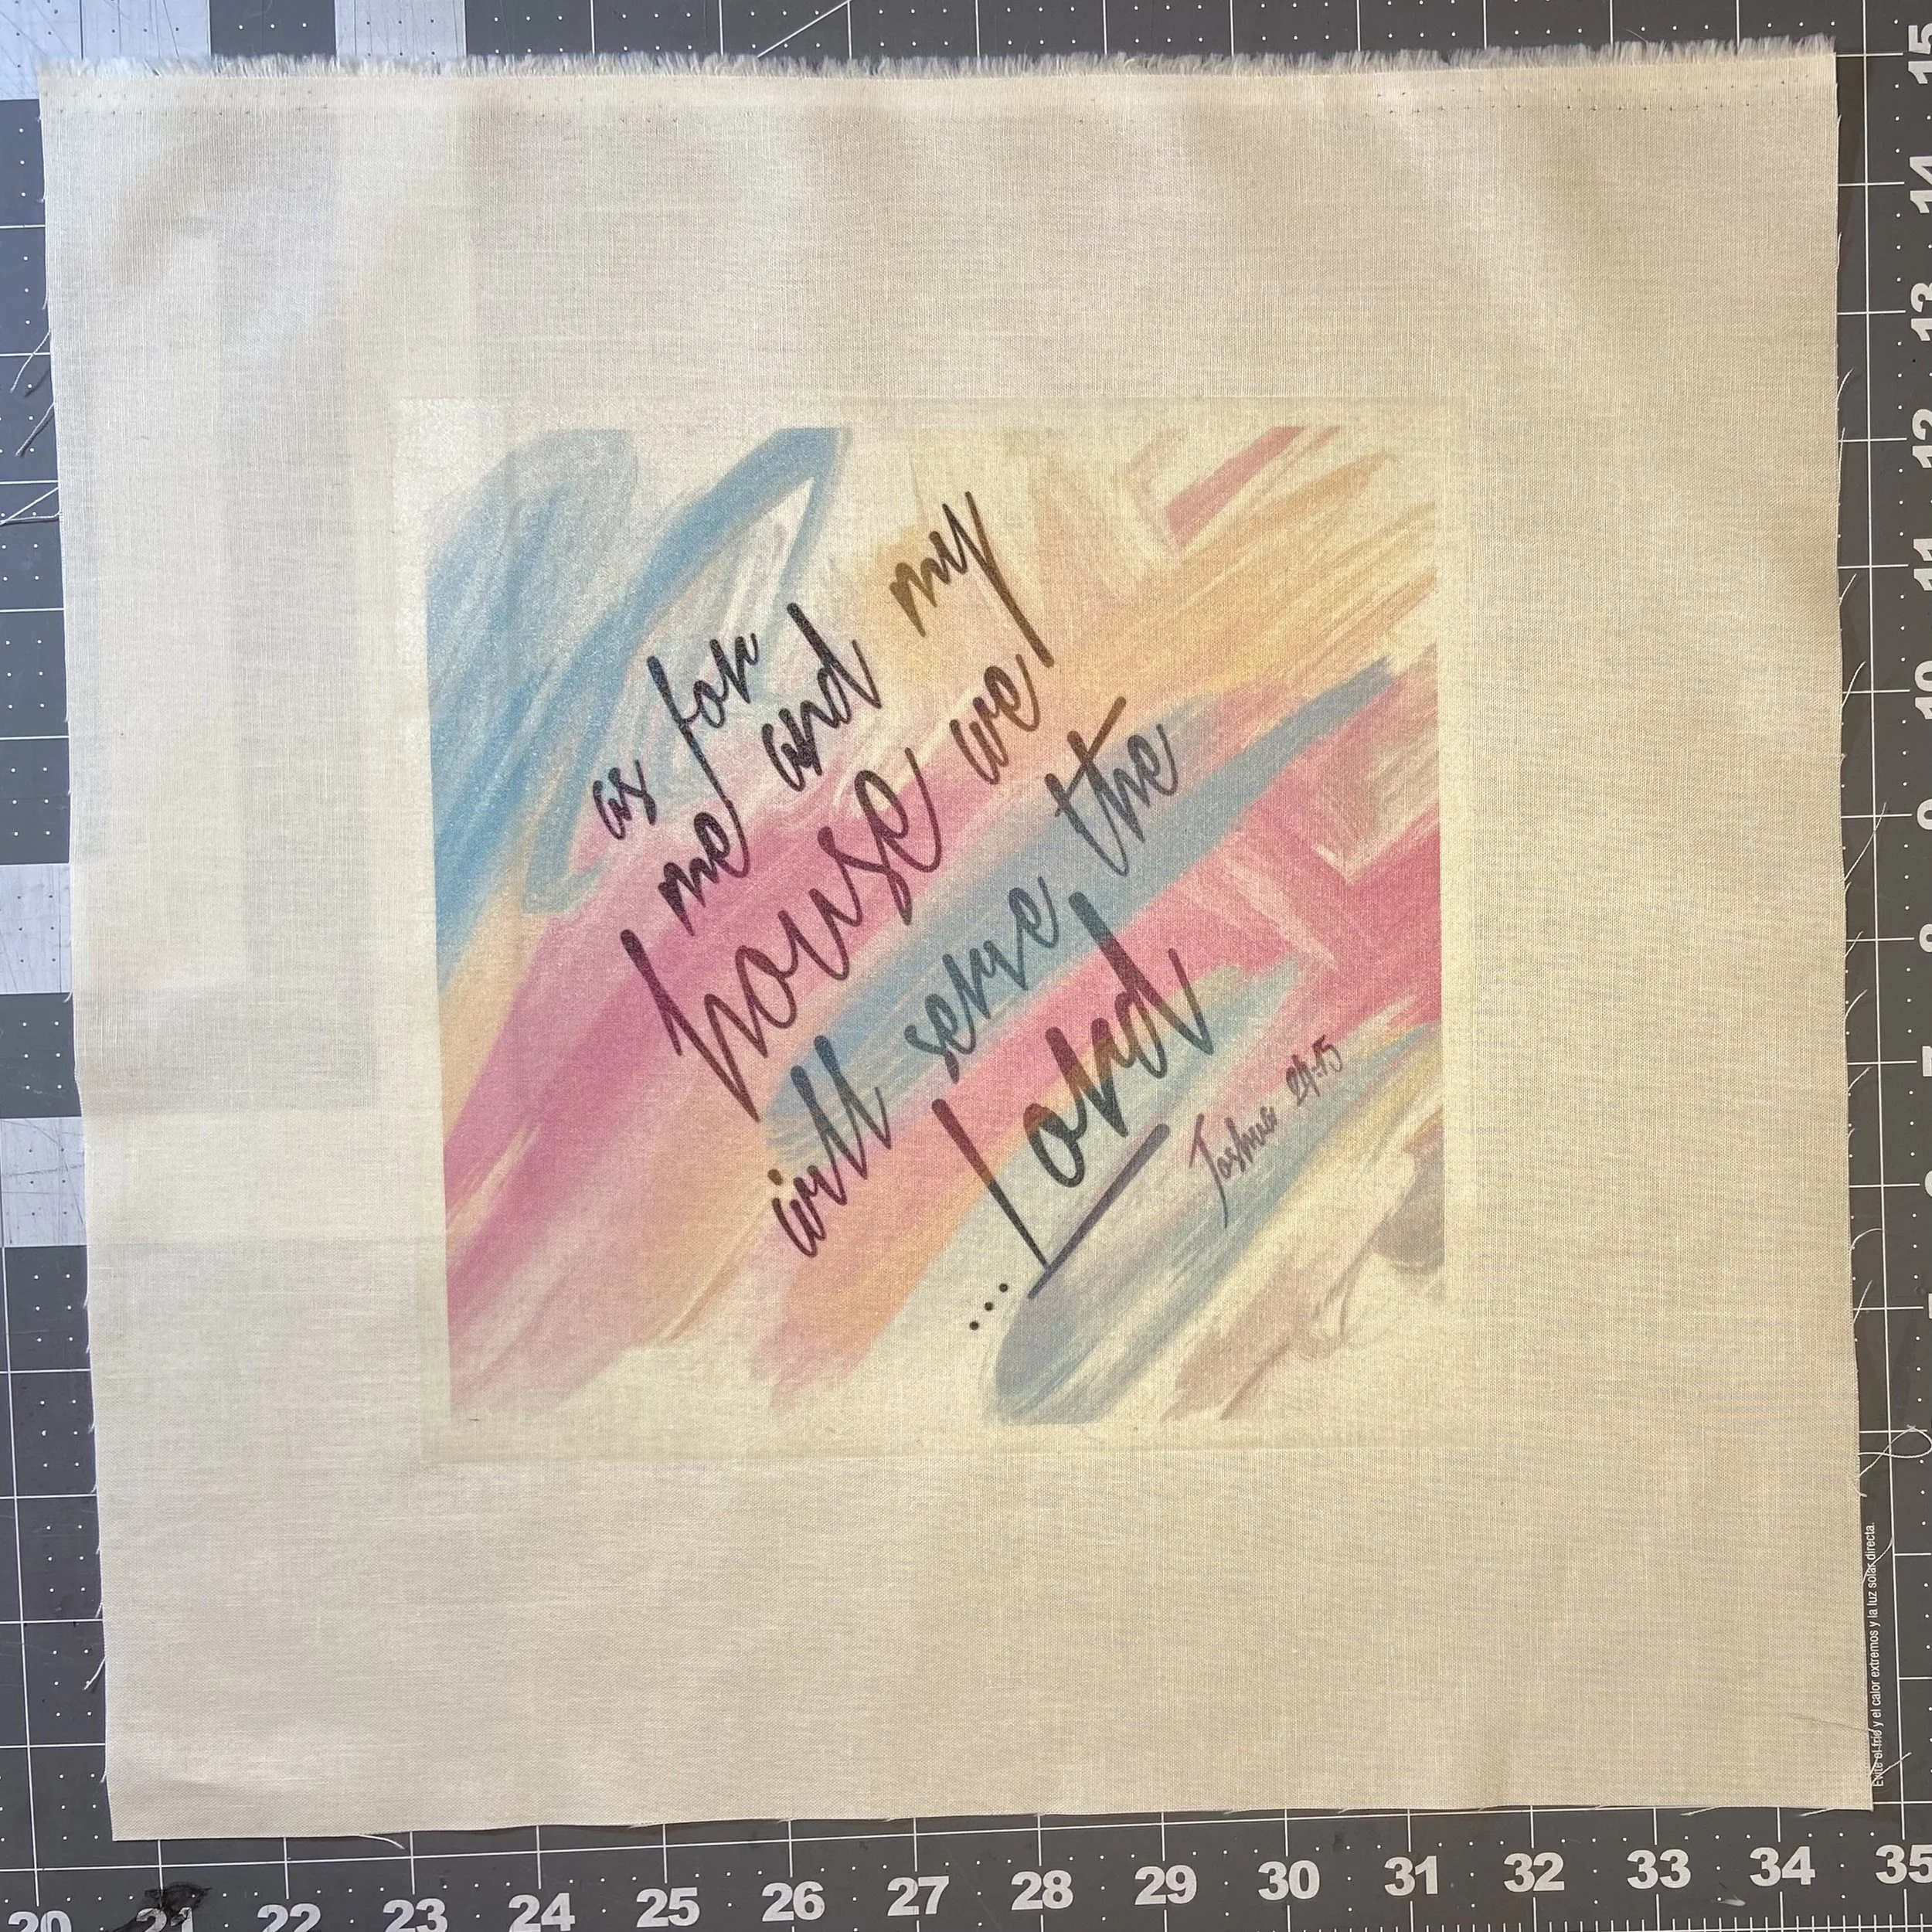
In order to make the custom squares, I bought a packet of Avery Iron-On Transfer paper, and then used Canva and the Avery website to create my various pictures, which I then ironed onto a square of cream colored cotton and treated in different ways. In the Class of 2024 square, I did some crazy-quilting-style piecework as a border. In the Bible verse, I just did a colorful border. And in the 2 squares that had the notes, I quilted around each of the 8 notes in various styles and then attached them to a 12” cream-colored cotton square. I’m not 100% thrilled with how it all turned out, but it’s done now and I’m going to learn to live with it. It will be good practice in the much-needed skill of ignoring my OCD-driven need for perfection.

For the T-shirt squares, before I did anything else, I attached a very light woven fusible interfacing on the back of each area where I was considering cutting something out. Then for most of the squares, I used my 12.5” quilting square to cut out the desired area.


On a few of the shirts, there wasn’t enough design or insignia to make a balanced looking square, so for some of the squares, I cut out smaller insignias or designs and did my best to appliqué them on. My main sewing machine had stopped doing anything I asked of it by this time, so I had to move to the old Singer for this. The Singer did an okay job of the zigzag stitch for the appliqué but it wasn’t awesome. Oh well, it’s done now. (My new mantra, apparently.)


Let’s take a brief side trip to discuss the state of my iron. I have the beautiful Rowenta SteamPro, an 1800-watt marvel of German engineering. I love her. However. During the making of this project, I used my iron on the woven fusible interfacing multiple times without using a pressing cloth. And you see the tragic result. For those readers who are wondering how to remove this baked-on glue from the sole plate of the iron, I will tell you that it involved about 3 hours of the iron sitting on a paper towel soaked in distilled white vinegar, while every 30 minutes or so, I’d take up the iron and scrub the sole plate with Mr. Clean’s Magic Eraser. This took some serious elbow grease, but I did finally manage to get the bottom of the iron cleaner and shinier than it’s been in some time. I don’t ever want to have to do that again. I will be using the pressing cloth in future.


Once the squares were all cut out, I carefully vacuumed a back bedroom 3 times, and then shut the dogs out (they were not gracious about this, but it’s their own fault for shedding all over everything). I laid the squares out in my new dog-hair-free zone and moved them around a bit, trying to decide on the right placement. Once I was happy with the arrangement, I moved on to cutting the sashing and capstones. I wanted black sashing, so I cut enough 12” strips at 2.5” wide to go around all the squares and then cut my 2.5” square capstone pieces for the intersections.
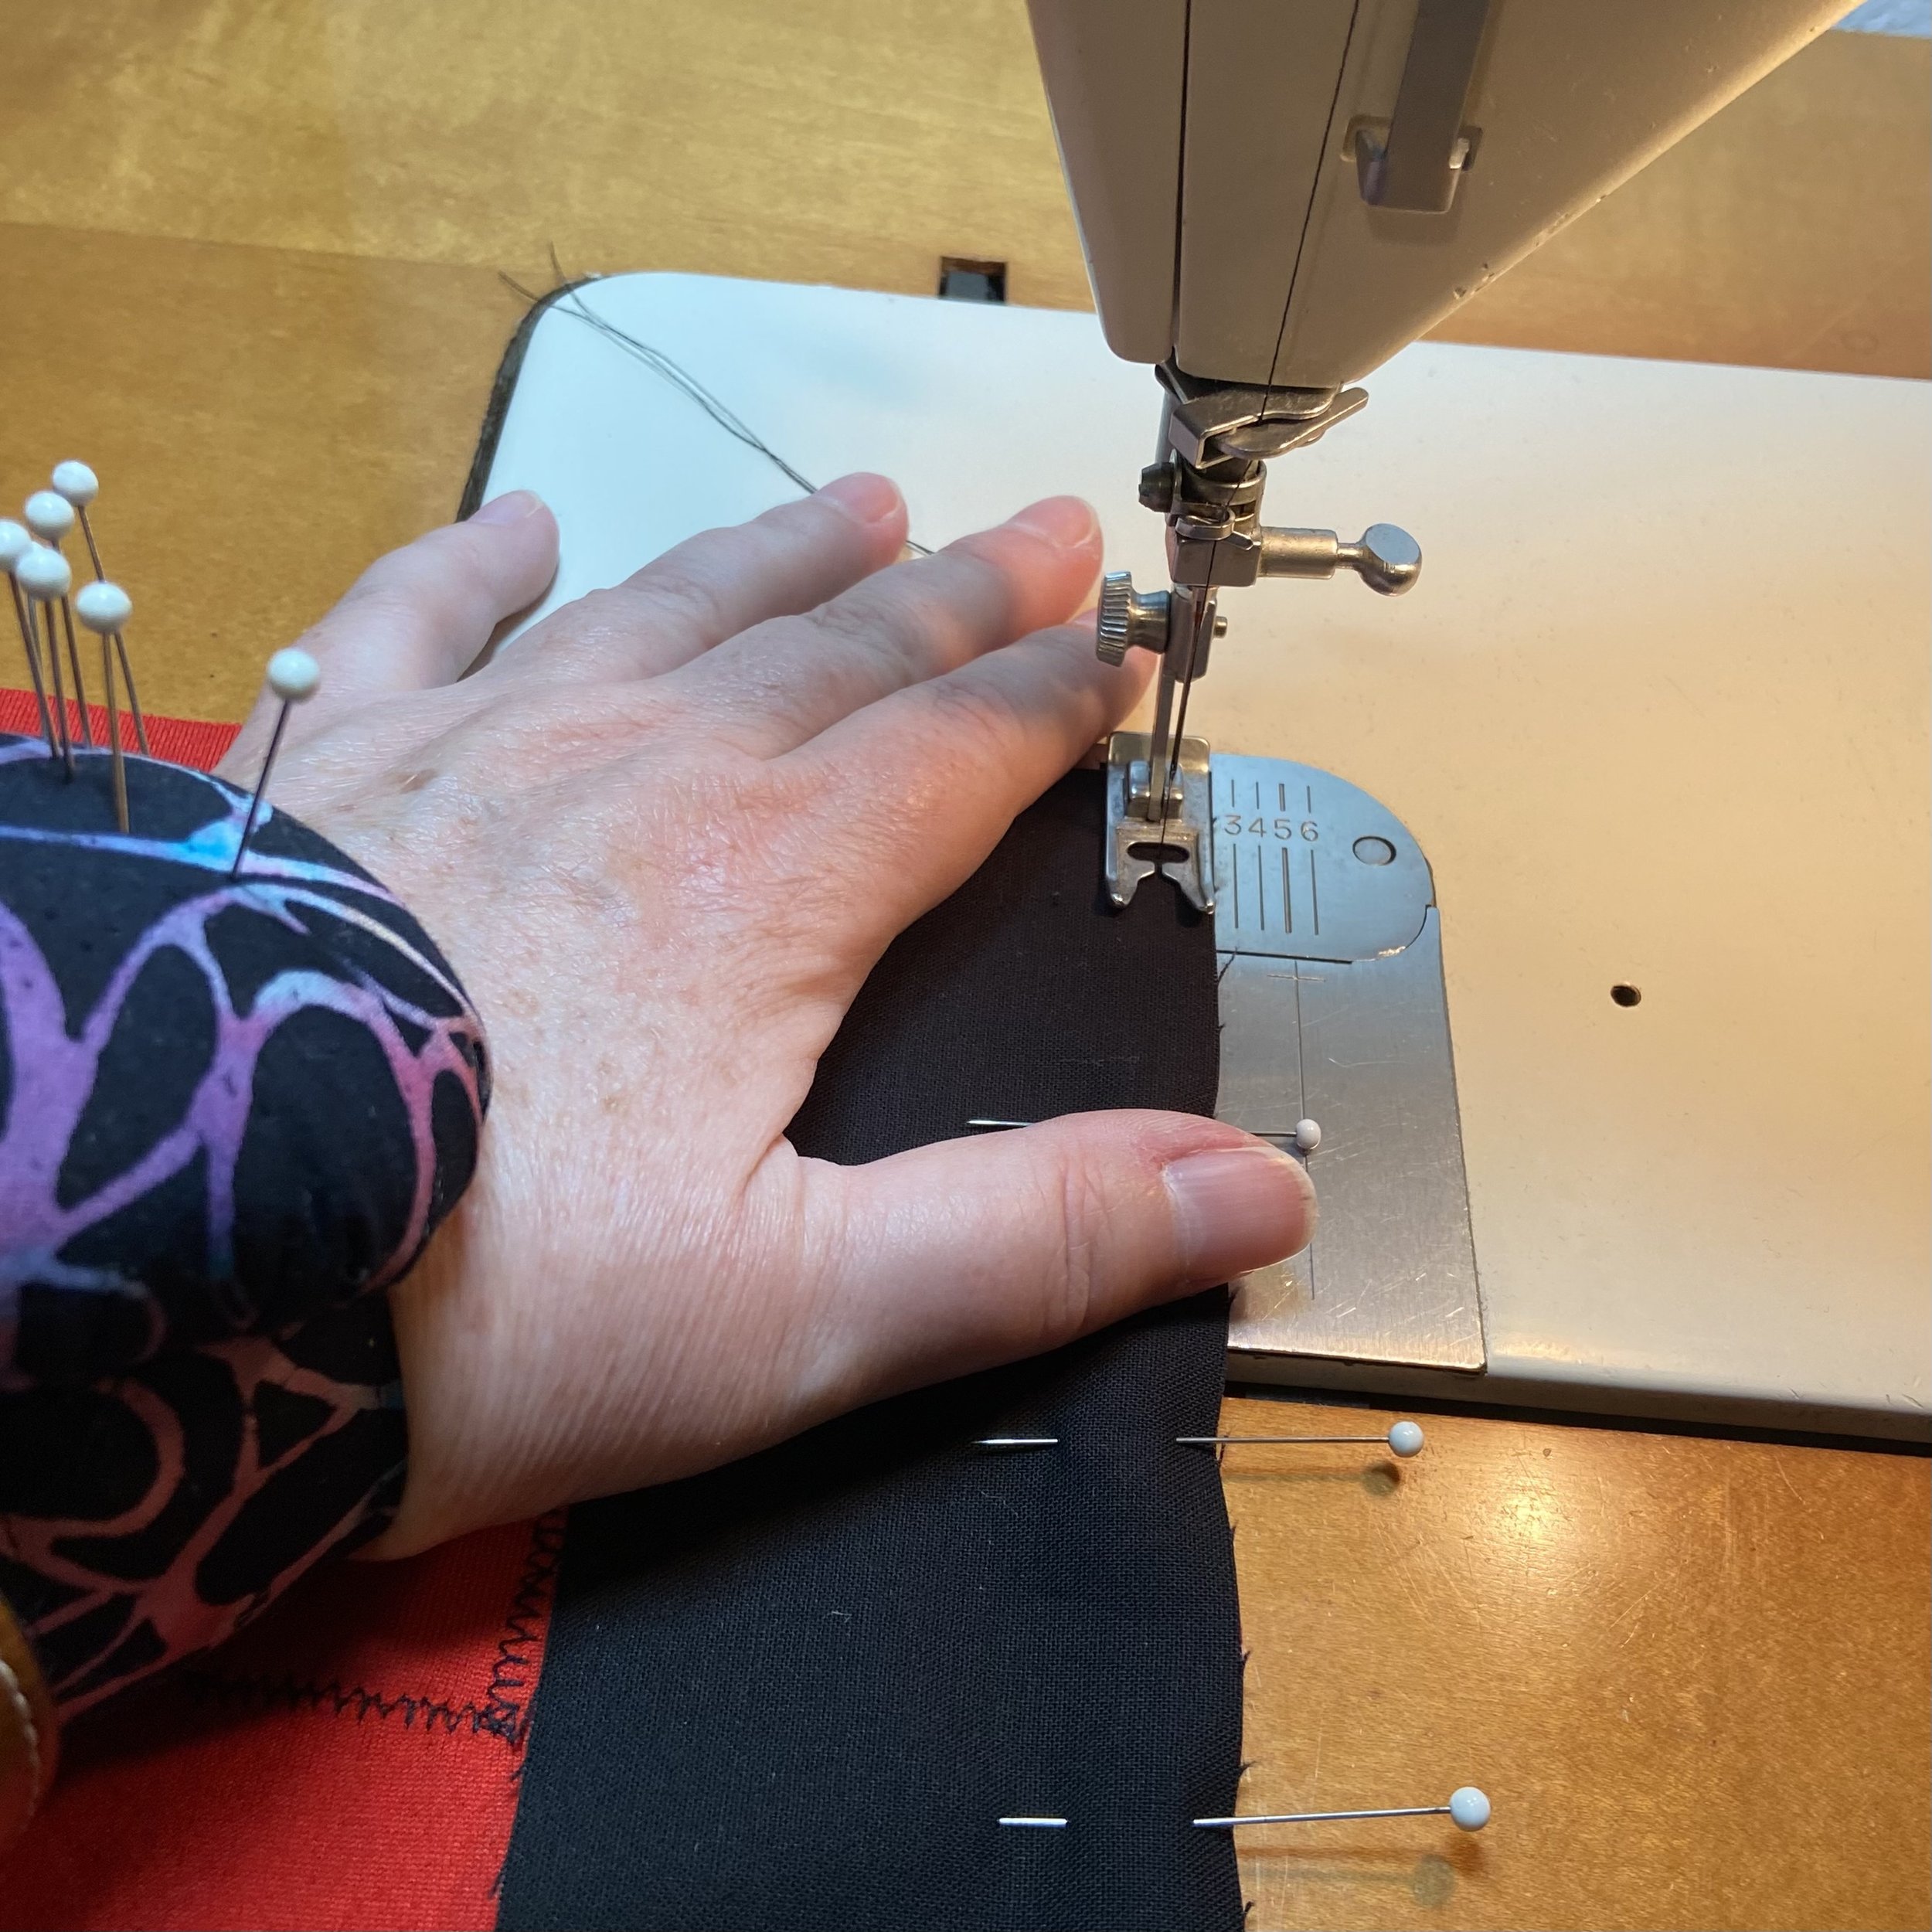
Now, to sew! I decided to sew in rows, so I started with a sashing/capstone row, and then a row of my T-shirt squares with sashing in between. After all rows were sewn, it was time to sew the rows themselves together. I admit to doing a LOT of pinning to make sure that all my seams lined up, but it went reasonably well (not perfect, but it’s done now) and it was very satisfying to have the whole quilt top sewn together.

After that, I needed to measure the whole thing and then cut batting and backing. The batting was easy…it comes on a VERY wide roll and I could cut out the size I needed in one piece. But the backing was regular fabric, only 45” wide. I’d have to seam it. So I seamed 2 3-yard lengths along the selvage edge, giving myself a generous 1” seam so that it would be solid and secure. And once I pressed it, the seam was darn near invisible, due in part to the blotchy black print.


Now I needed to do some quilting. My sister-in-law and I discussed having a professional do it on a long arm quilting machine, but that’s somewhat expensive, and I didn’t think the T-shirts would look better for having quilting stitched all over them. So I decided to do a more limited quilting on my own sewing machine. Initially, I thought about just quilting a rectangle on each sashing piece, like you see in the picture here. But then I remembered the size and weight of the entire quilt and that this plan would require me to turn the bulk of the quilt through the narrow aperture of the machine multiple times for each rectangle. And that was the end of that idea. I did briefly consider hand-quilting (Sashiko style, perhaps) and then I remembered that, while I’m crazy, I’m not that crazy.
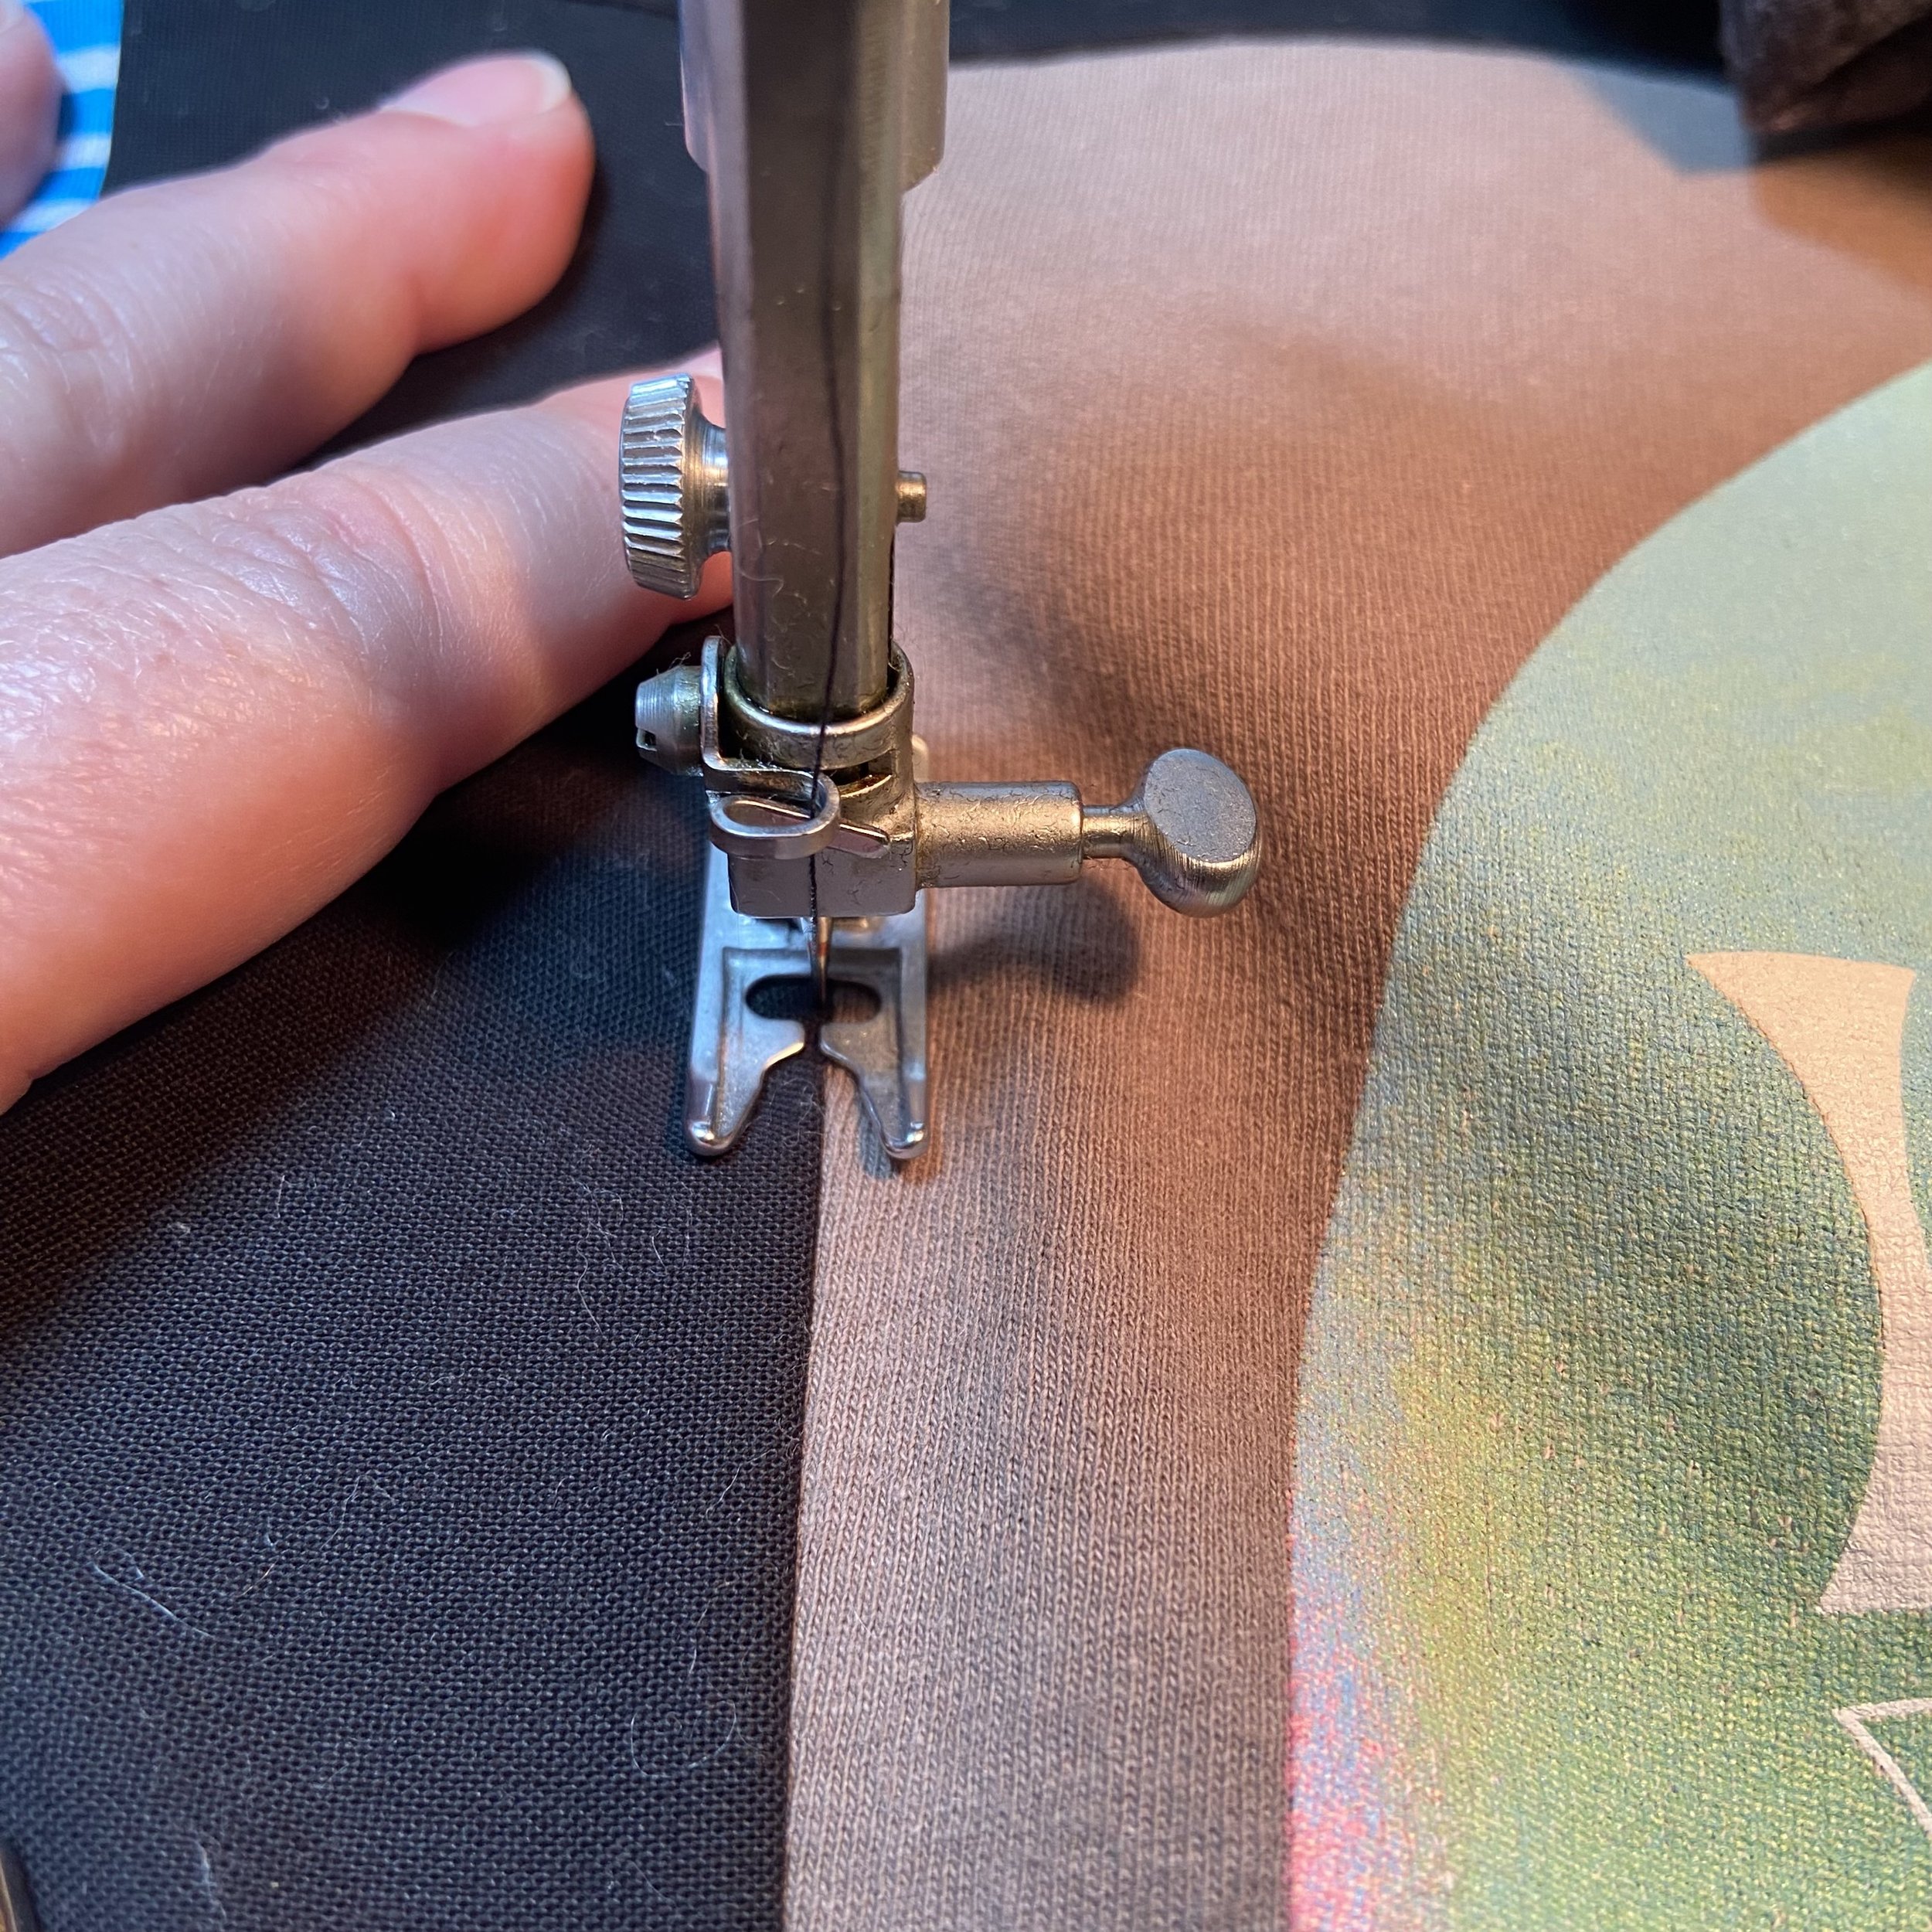
Eventually, I just decided to do long lines of stitch-in-the-ditch seams that would run along the outer edge of all the sashing pieces. Now, I’m sure experienced quilters will be able to tell me what I was doing wrong, but even though I used quilting pins to pin the heck out of the whole thing, the pieces just stretched out as I stitched. Not a huge amount, but enough that I noticed and that occasionally, I’d get a visible little pucker along the edge I was seaming. Perhaps I needed a fancy quilter’s walking foot for my sewing machine. But I didn’t have one of those; and besides, quilters were making quilts long before anyone invented the walking foot, so I still think that somehow my technique was wrong. I did the vertical seams first and then took stock. It was clear after attempting 2 horizontal seams that the puckering situation was getting worse, not better. Also, about this time, my old Singer stopped sewing entirely and I had to go to a new machine. More about that a little later. I tore out the horizontal seams and put the quilt in a time out, so it could think about what it had done (to my nerves, mostly). I called my long-suffering mother, who listened to my complaining with a patient ear but who didn’t have any useful suggestions because, “I’ve never quilted anything myself.” Fair enough.
Eventually, I came up with the idea to just do 8” long seams along each horizontal sashing piece, which would leave 2” unquilted (my spell check says that’s not a word but English is a living language which shall catch up with my innovations eventually) on either end of each piece. The extra fabric would still be there, but it would be much less visible if I hadn’t stitched it down into unintentional pleats. Initially, once I’d figured out my game plan, I thought I would need to get out my heat-erasable pens to mark my start/stop points for each seam. Then I realized all I needed was to put something wide enough (like the plastic ruler that came with my book nook kit) against the edge of the sashing and put my needle down in front of it, then move the ruler down to its place on the other end of the sashing and sew down toward it, stopping when I came to the edge. Then I remembered that I have a long history of recklessly sewing right over things I didn’t mean to sew over (including on one occasion, horribly and memorably, my thumb when I was hemming some jeans), and decided that something softer than a plastic ruler would be a safer choice. So I cut a 2” wide piece of scrap mat board and used that to mark my start/stop points.


This was not elegant quilting work but it was sufficient. And I’ve decided that in future, if I make a big quilt like this again, I will either pay to have it professionally quilted or else I’ll do some quilt-as-you-go variation. We shall see…at this point, I rather feel like if I don’t look at a quilt again until I’m 95, it will still be too soon.
You can read Part 2 here.