Adventures In Amateur Quilting-Part 2
Part 2 won’t make much sense if you haven’t read Part 1, which you can find here.
Once all the quilting was done, I cut off the excess batting and backing, so that I had an even edge all around onto which to attach the binding. Then on to making the binding…I had some long lengths of my backing fabric trimmed from the edges that were enough to make several 2.5” strips, each about 3 yards long. I joined these together with a bias seam (it’s slightly trickier than a straight seam but it really reduces the bulk in the binding, making the seams almost invisible). I think I ended up with close to 15 yards of continuous binding once I got it all sewn; then I pressed it in half lengthwise with wrong sides together and I was ready to sew.


The binding was easy to sew on. I just held the raw edge of the binding against the raw edge of the quilt and sewed with a .25” seam onto the back of the quilt. I did leave about 12” of binding unsewn at the beginning (and at the end) so that I could more easily join the ends together when I made it all the way around. There are lots of YouTube videos on sewing on binding with mitered corners, so I won’t go into it here. But it’s not hard at all and I was happy with the result.
Once I’d sewn most of the way around attaching the binding, it was time to join the ends before I finished sewing it down. For that technique, I watched this useful YouTube video on attaching binding (the relevant bit starts at about 5:30 into the video). I’d watched this several times, and I really thought I had it down. But certain tricks of sewing are non-intuitive until you’ve been sewing for a really long time, which is to say that first, I sewed together the ends without the right sides facing together. I said a bad word and ripped out the seam. Then I got the right sides facing together and sewed my seam, only to realize that I’d let one of my ends become twisted and now it looked more Mobius strip than flat binding. A couple bad words and more ripping out. Then twist removed, but again, right sides not facing. Okay, that time I scared the dogs with my shouting. More ripping out and I started to pin the ends together again and then realized that I needed to stop being an idiot and just re-watch the video. I’m glad I did (although unhappy I didn’t do it sooner) because I was taking completely the wrong approach for laying out the fabric for the seam.


Once I’d watched the video and followed her instructions carefully, it came out right. And I mean, it came out RIGHT! I can’t even tell now where I joined the ends. It looks like every other seam where I had to piece together fabric to get a sufficiently lengthy binding strip.


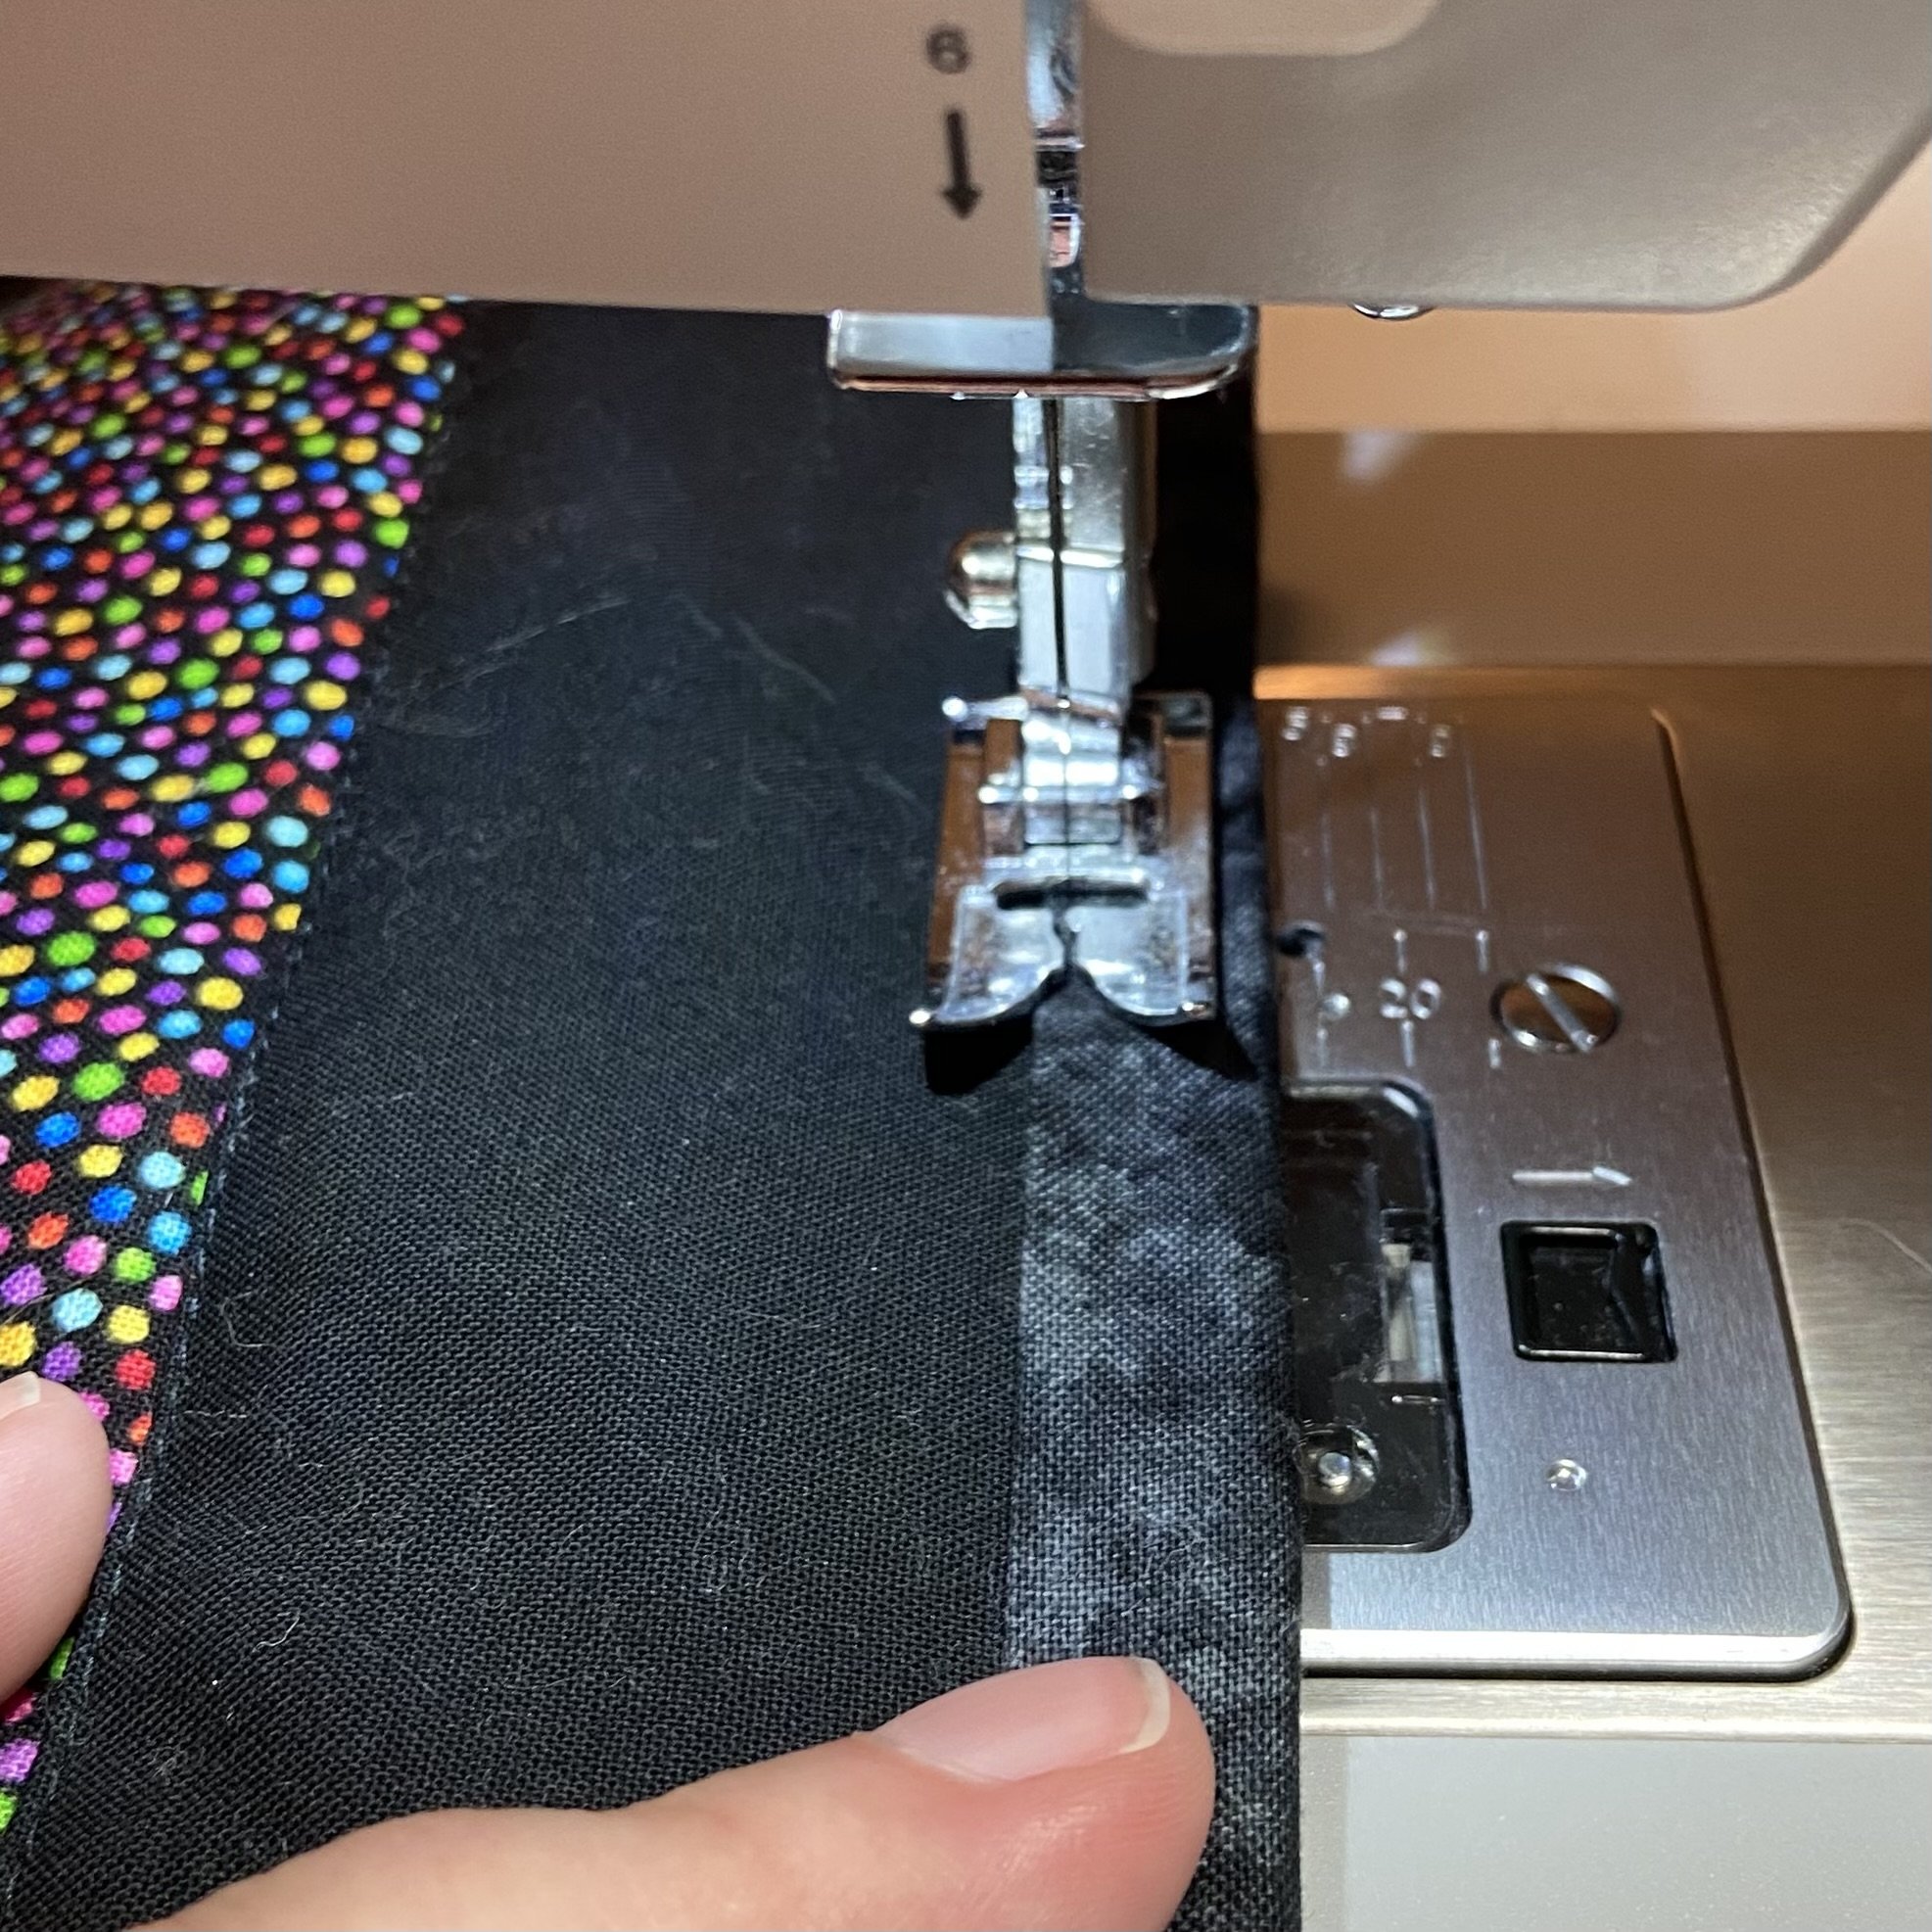
Finally, sewing the binding down on the front of the quilt. The method I chose would leave a visible seam on the back, but since I was sewing with black thread on black fabric, I didn’t worry about it. There are more sophisticated ways to do this, but I was just focusing on getting the binding securely stitched down and my mitered corners looking…well, mitered. And I did it!


Then I had to take a clothing roller to every inch of the quilt to get rid of the pernicious dog hair (and possibly some of my own) as well as fuzz from the batting. I think I got most of it…
During this quilting adventure, I went through two sewing machines. My original machine was a relatively cheap plastic (off-brand) machine that nonetheless lasted me the better part of 30 years. But eventually, even servicing it regularly wouldn’t keep it working properly. When it stopped maintaining the stitch I’d selected and instead started improvising, that was the final straw. It’s very disturbing when you set your machine to straight stitch but the needle wanders off to the right instead of staying in the center; or when you ask for a zigzag but the machine offers up some drunken variation of the blind hem stitch. I put it away and moved to the ancient Singer I bought a few years ago. That machine is solid but…ummm…quirky. It worked okay for most of the project but then toward the end, it would not wind a regular bobbin. And when I tried a newer bobbin, it did wind that but then wouldn’t sew with it, instead making a horrid crunching noise and a bird’s nest of tangled thread on my project. This was happening while I was trying to do my machine quilting. It was extremely irritating. I might have said some more bad words.
I finally gave up on both machines and went to JoAnn’s and got a Singer Heavy Duty 4411. This was the machine I’d considered buying several years ago, when I foolishly bought the old Singer instead. It’s a very basic machine but it works like a dream. I mean, the stitches are straight when sewing a straight seam! Maybe that seems like a low bar, but I’d honestly forgotten what that was like. I love this new machine and I’ve named her Henrietta. The new machine helped me finish the machine quilting and handled the binding like a boss, which was no mean feat because when sewing down the binding, the machine was sewing through 4 layers of fabric plus a layer of batting, and occasionally an extra layer of fabric when I hit seam allowances.
The final result is far from perfect. VERY far from perfect. But it still looks relatively good, and it’s a quilt full of meaningful memories for my oldest nephew. I hope he takes it with him to college and makes good use of it. The quilt is in the general vicinity of 90” x 60”, so it is large and heavy. I had to have my brother and sister-in-law hold it up so I could get a picture of the whole thing. In this final picture, the notes from family and teachers have been blurred out because those are personal.
