Adventures In Anthropomorphic Gamers—Part 1

As an Amazon associate, I may earn a small commission if you navigate to Amazon from my site and buy something. This will not result in an extra cost to you.
When I was standing in the checkout line at a craft store a few months back, I was idly perusing all the items they showcase to tempt the customer into just one more purchase…and I totally fell for it.
It’s called The World’s Smallest Monopoly game. And it really is! It’s only a couple inches across but still has all the necessary components to play the game…all the little player tokens, houses, hotels, the little chance cards that go in the middle, the properties, and the money. All of it. I will say that I noticed (once I started trying to set up the gameboard) that not everything in is perfect proportion. All the paper components are slightly larger in scale than the gameboard or the plastic pieces. I can understand why they did that…it was just a little cumbersome later on.

I of course immediately purchased the little game and hauled it off home. It tickled my funny bone. And it made me immediately think of that old joke piece of art (often reproduced on velvet, of all things) “Dogs Playing Poker.”
Once home, I started thinking about what kind of joke-y art installation I could make with the tiny game, and started looking on Amazon for 3-4 little dog figurines that I could use in an art installation that I would call “Dogs Playing Monopoly.” But I couldn’t find a single thing I liked.

I don’t remember how I ended up on Etsy, but there, I found a maker who does 3-D printing and she was selling little articulated dragons. If I understand correctly how it works, the printer prints off the various segments separately, and then the maker has to wire them together.
I ordered three of them, one each in orange, purple, and green. When they finally arrived, I had a good time playing with them. I put them in a little project box while I pondered. I eventually decided that dragons gave a more fantasy-style feel to the gaming, and the background should reflect that. While I was pondering, I happened to glance at a geode that I own, and the idea took shape that I should set my whole installation inside a “geode cave.”


This large thunder egg which I found on someone’s porch would have been the perfect setting for my dragon monopoly. Given that it’s full of amethyst, it would have been a very expensive purchase, and anyway, I wanted to build something. Alas, when it comes to my artistic endeavors, there is usually a vast divide between aspiration and reality, as you will see.
I had to let this whole (vague) notion percolate for awhile, both to try to figure out what the piece would look like and also how to accomplish it. Eventually, I decided I had to “just start” or I’d be stuck thinking about it forever without ever doing anything with it. To that end, I got some items off Amazon and began.
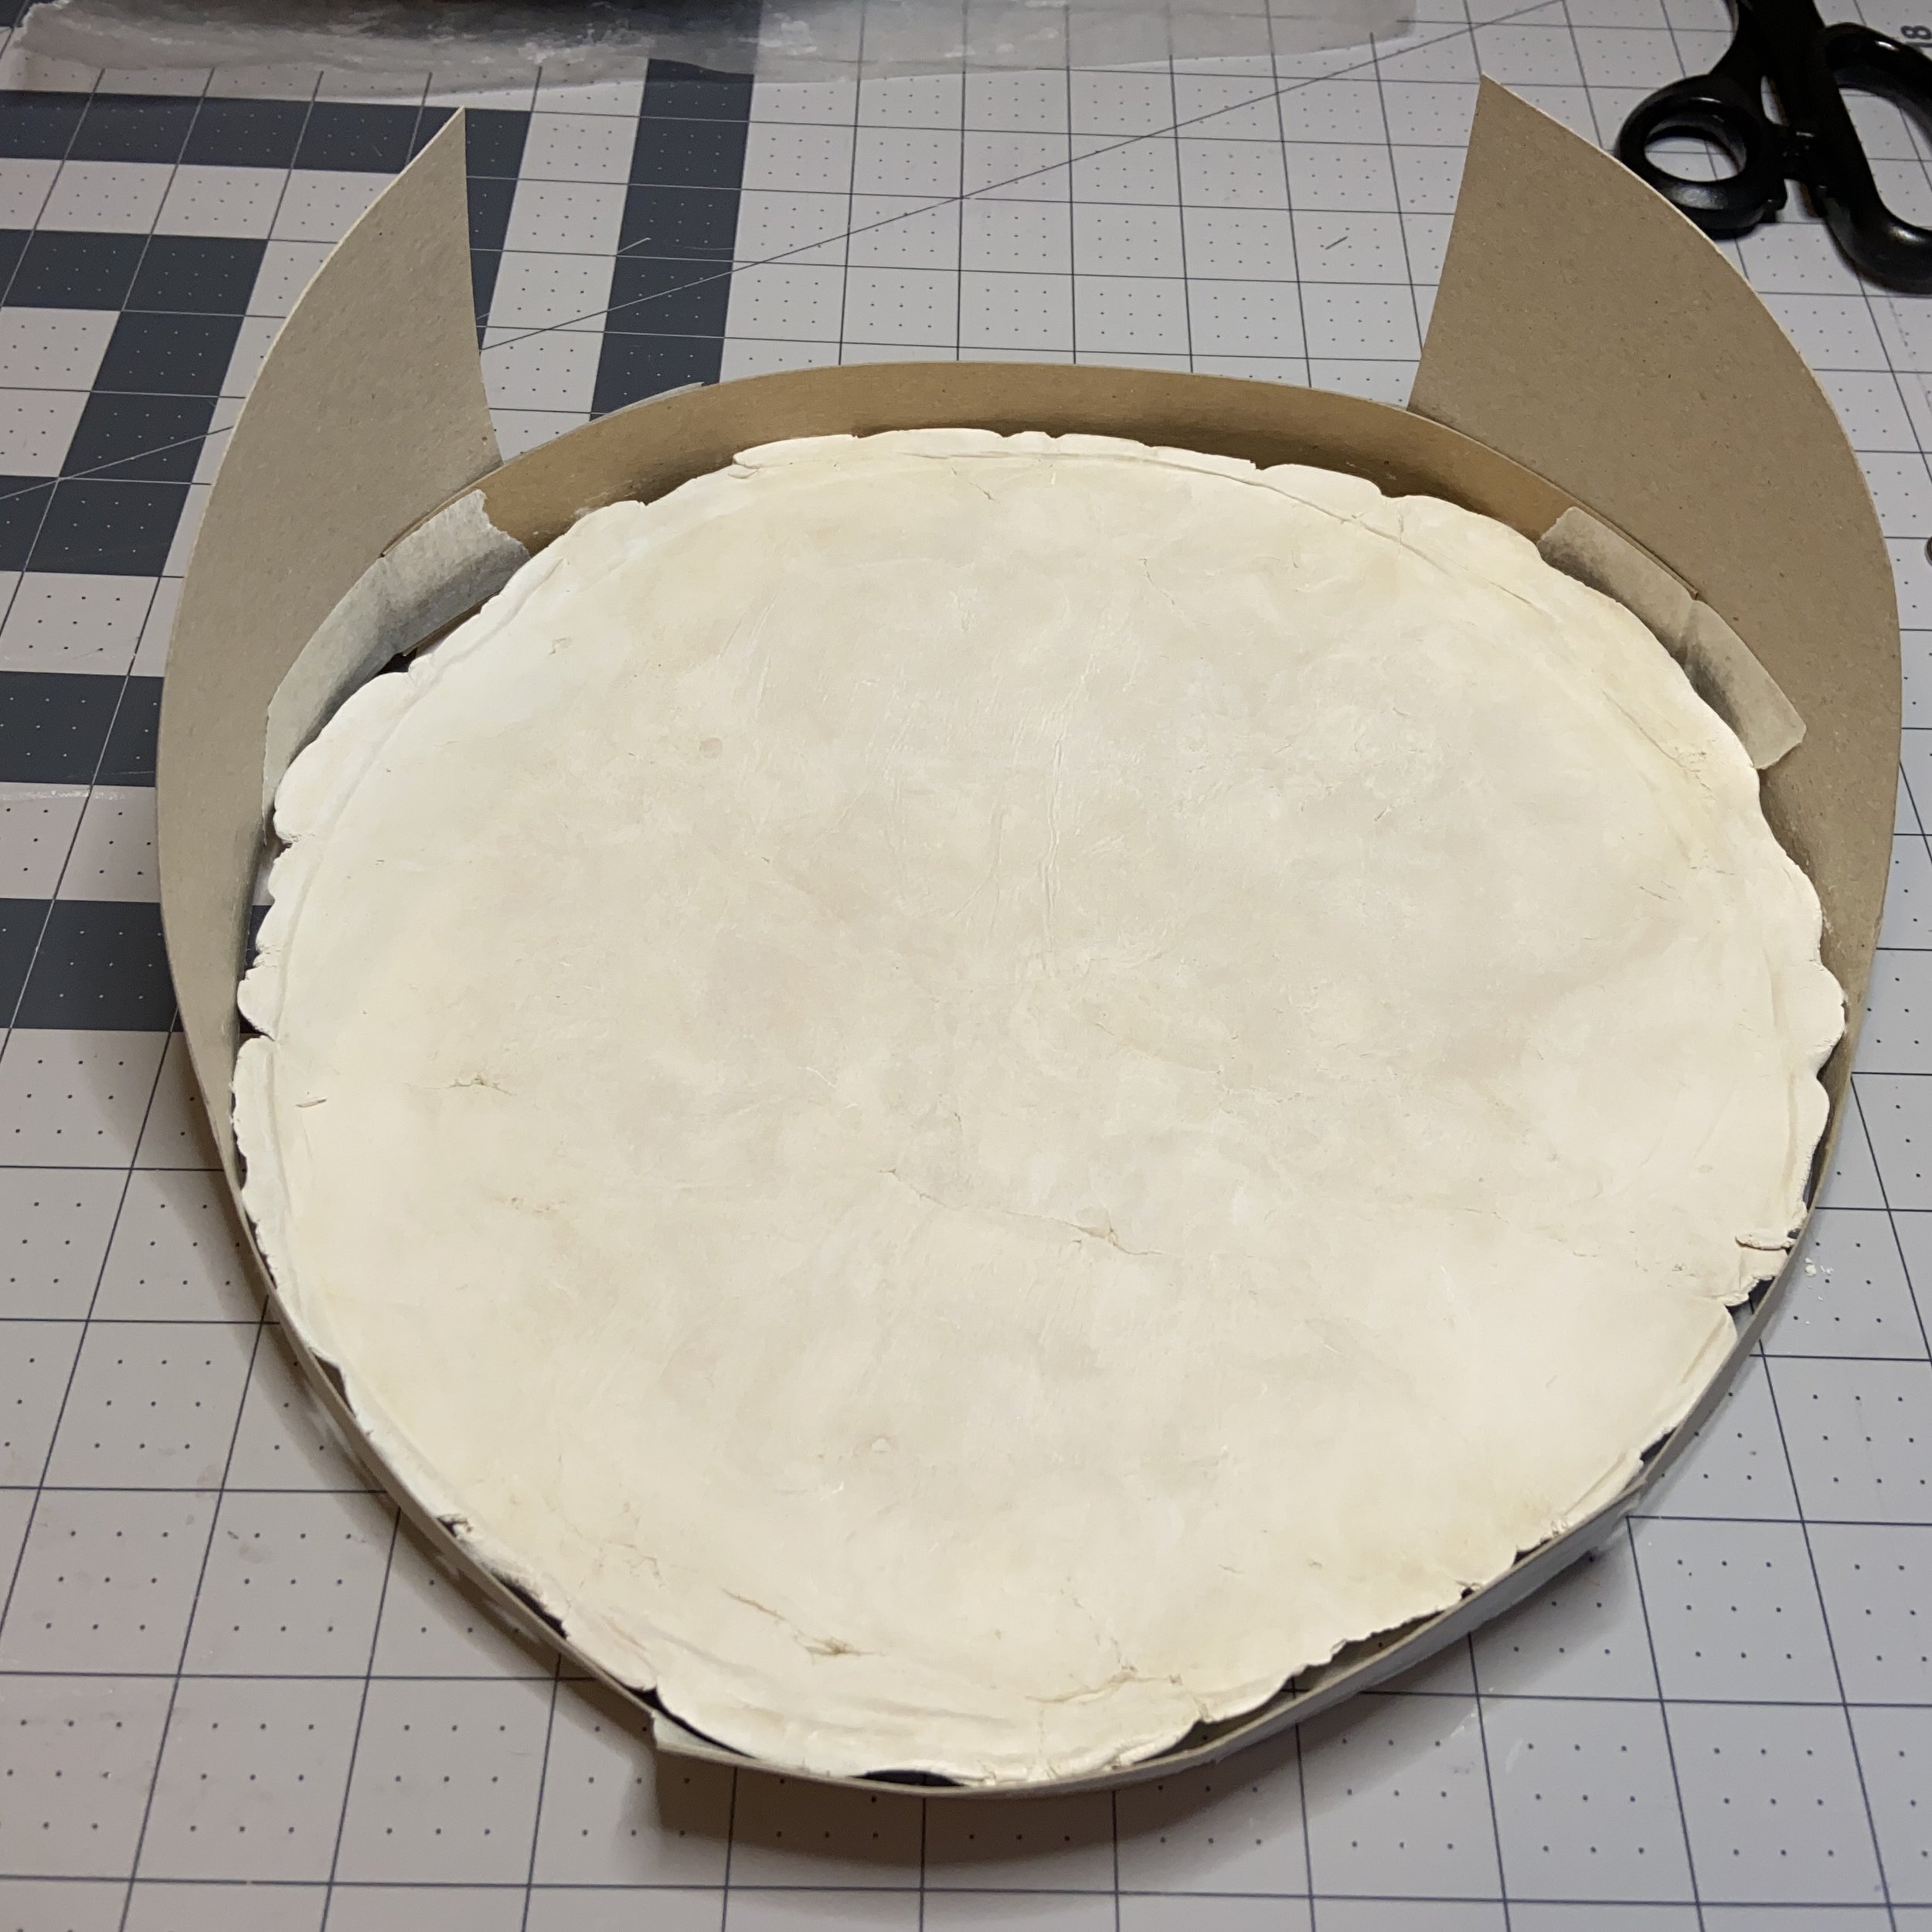
Step one was making the base, where the dragons would play their game. I decided to make this out of air-dry clay. In order to get (roughly) the shape I wanted, I took a piece of medium chipboard that just happened to be square, drew lines on it from corner to corner to find the center, and then used a compass to draw a circle, which I cut out. This would be my template for the clay base. I laid out my dragons and my game, just to check that I had the right size circle. Then I covered the chipboard circle with a piece of baking parchment paper, and built my base right over the top of it. Since I was molding the clay over the top of the chipboard, this would give me a very flat surface once I turned it over. The clay was probably 3/4” thick, so I left it to dry for approximately forever. I also forgot to take a picture of the actual shaping of the clay. I really need a photography assistant standing by, since I tend to get caught up in the moment while doing these art projects. While the base was drying, I moved on to other things.


I spent a little time with a watercolor notebook, trying out different paints and colors and glues and glitter and crystals, to see how they all interacted. I even laid out my dragons (who by this time, I was calling Athos, Porthos, and Aramis) to see what paints would go nicely with their colors.


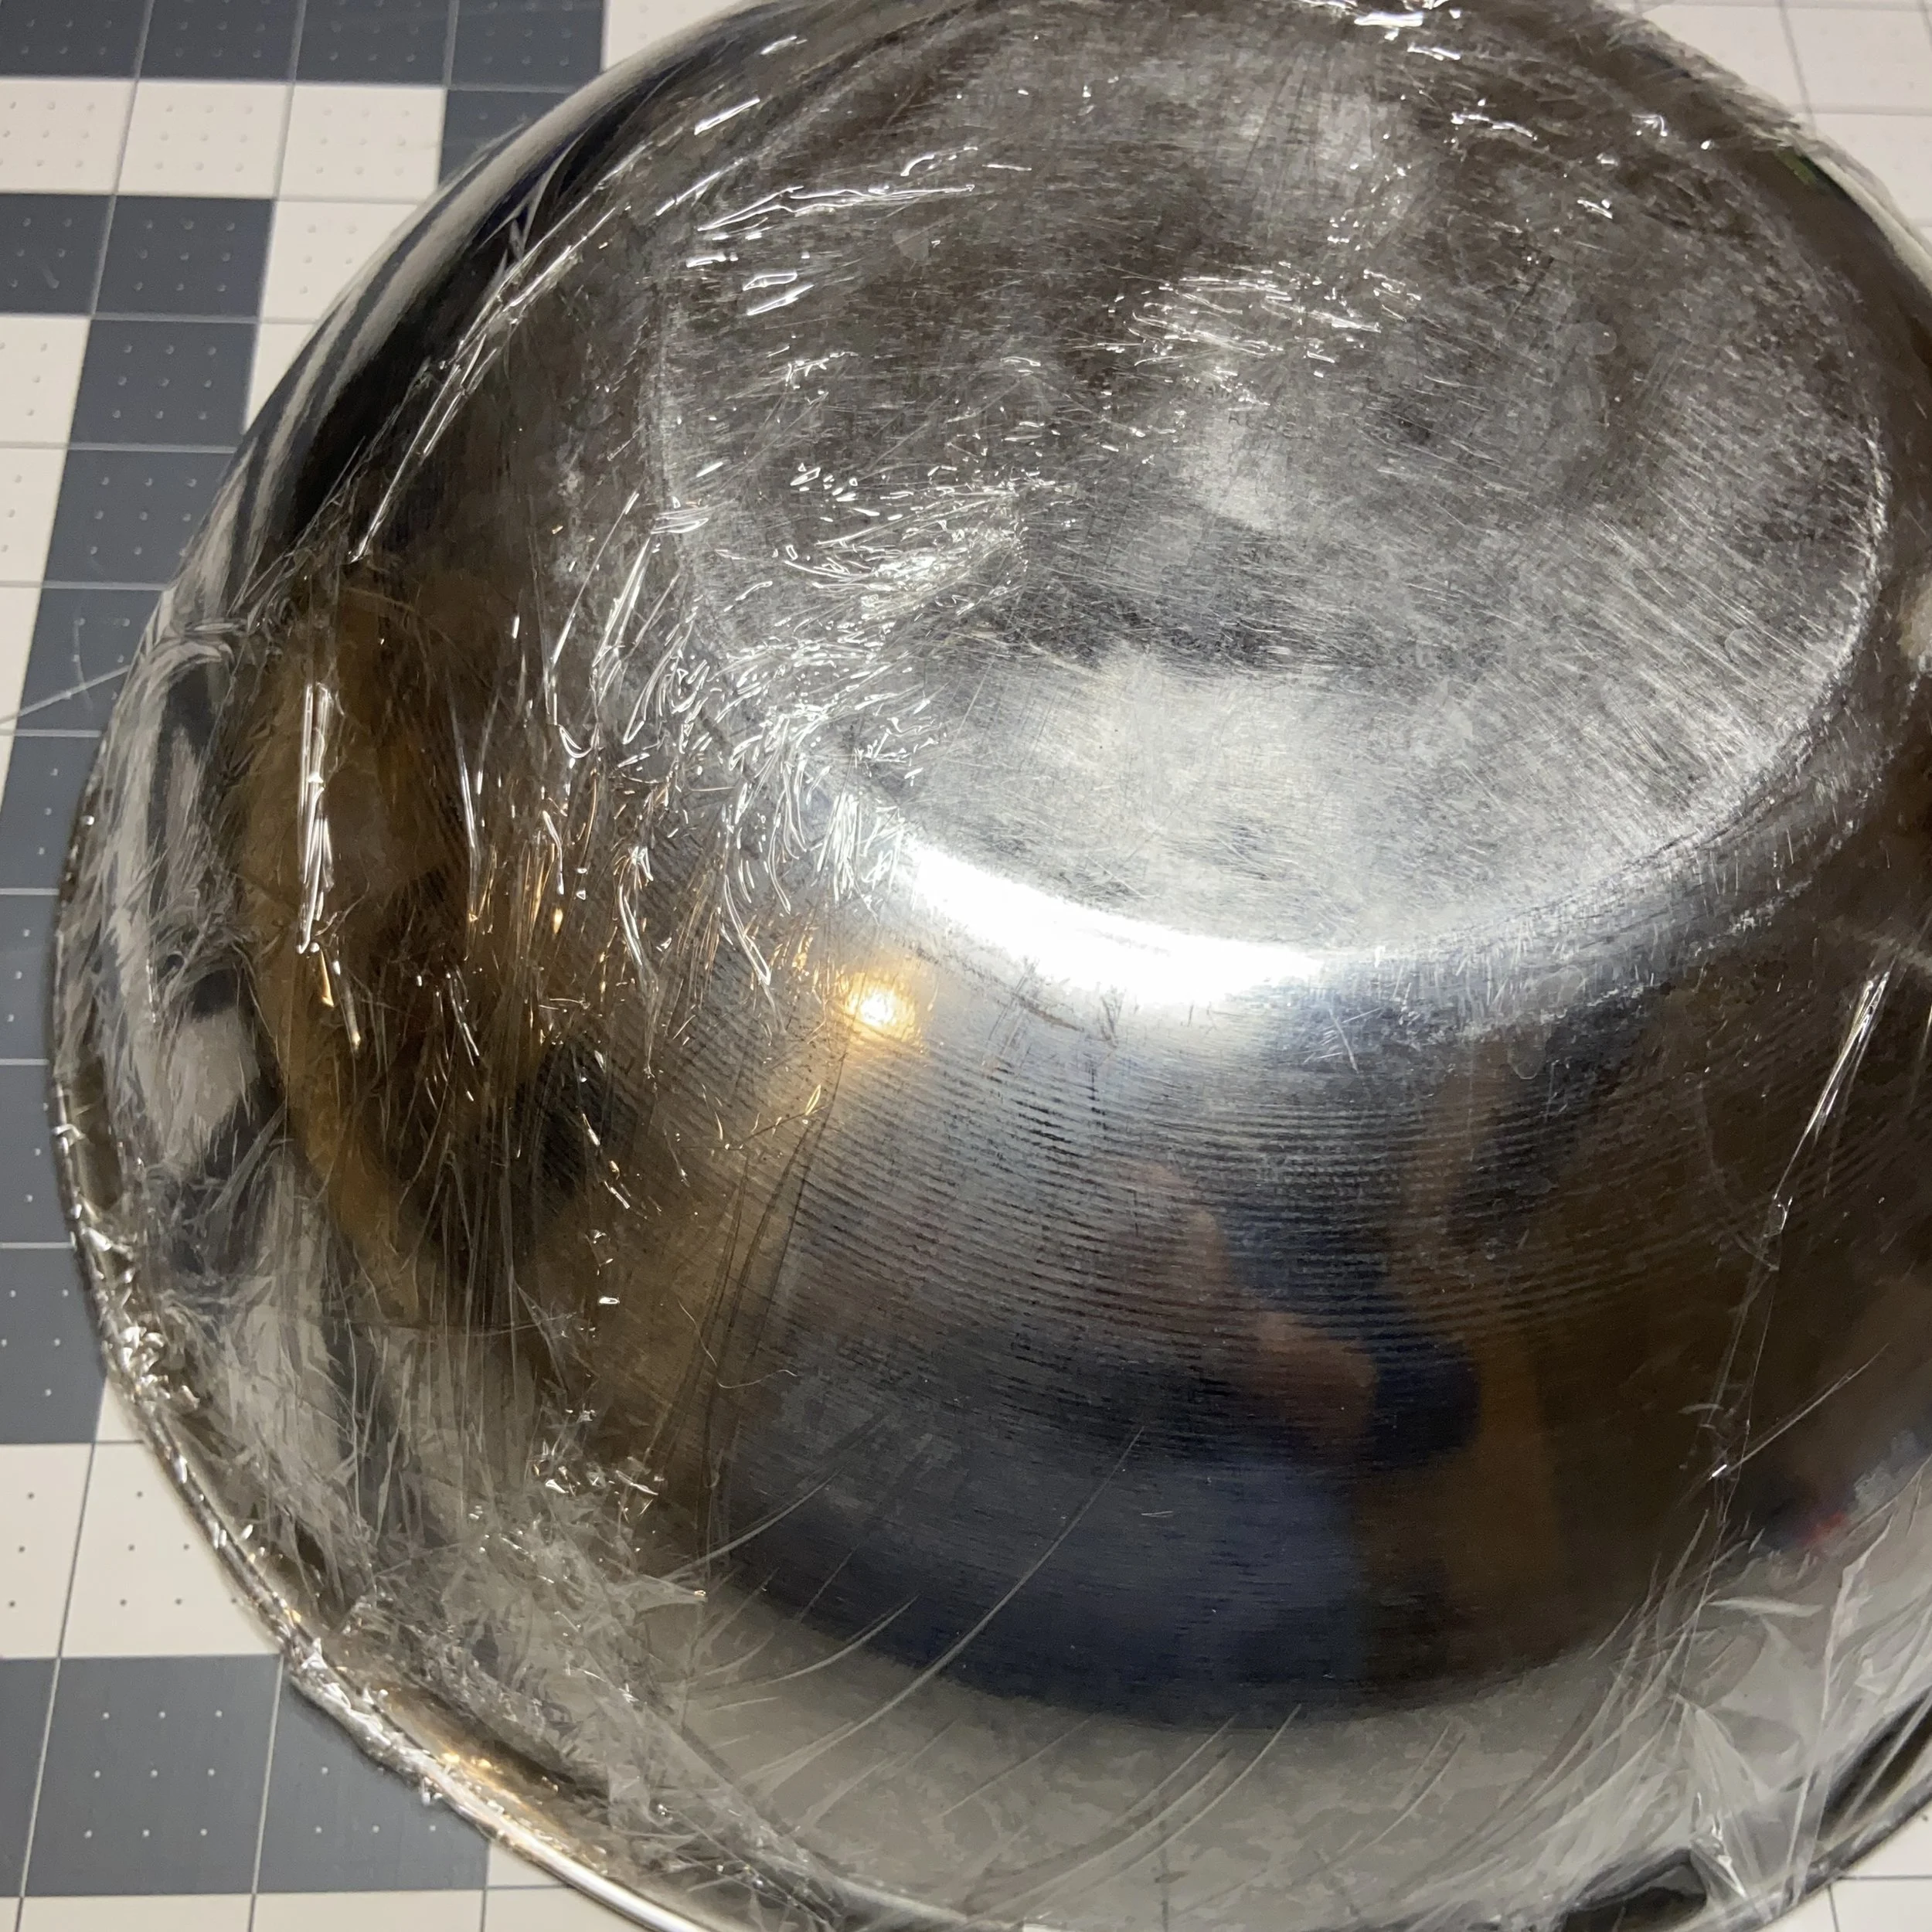
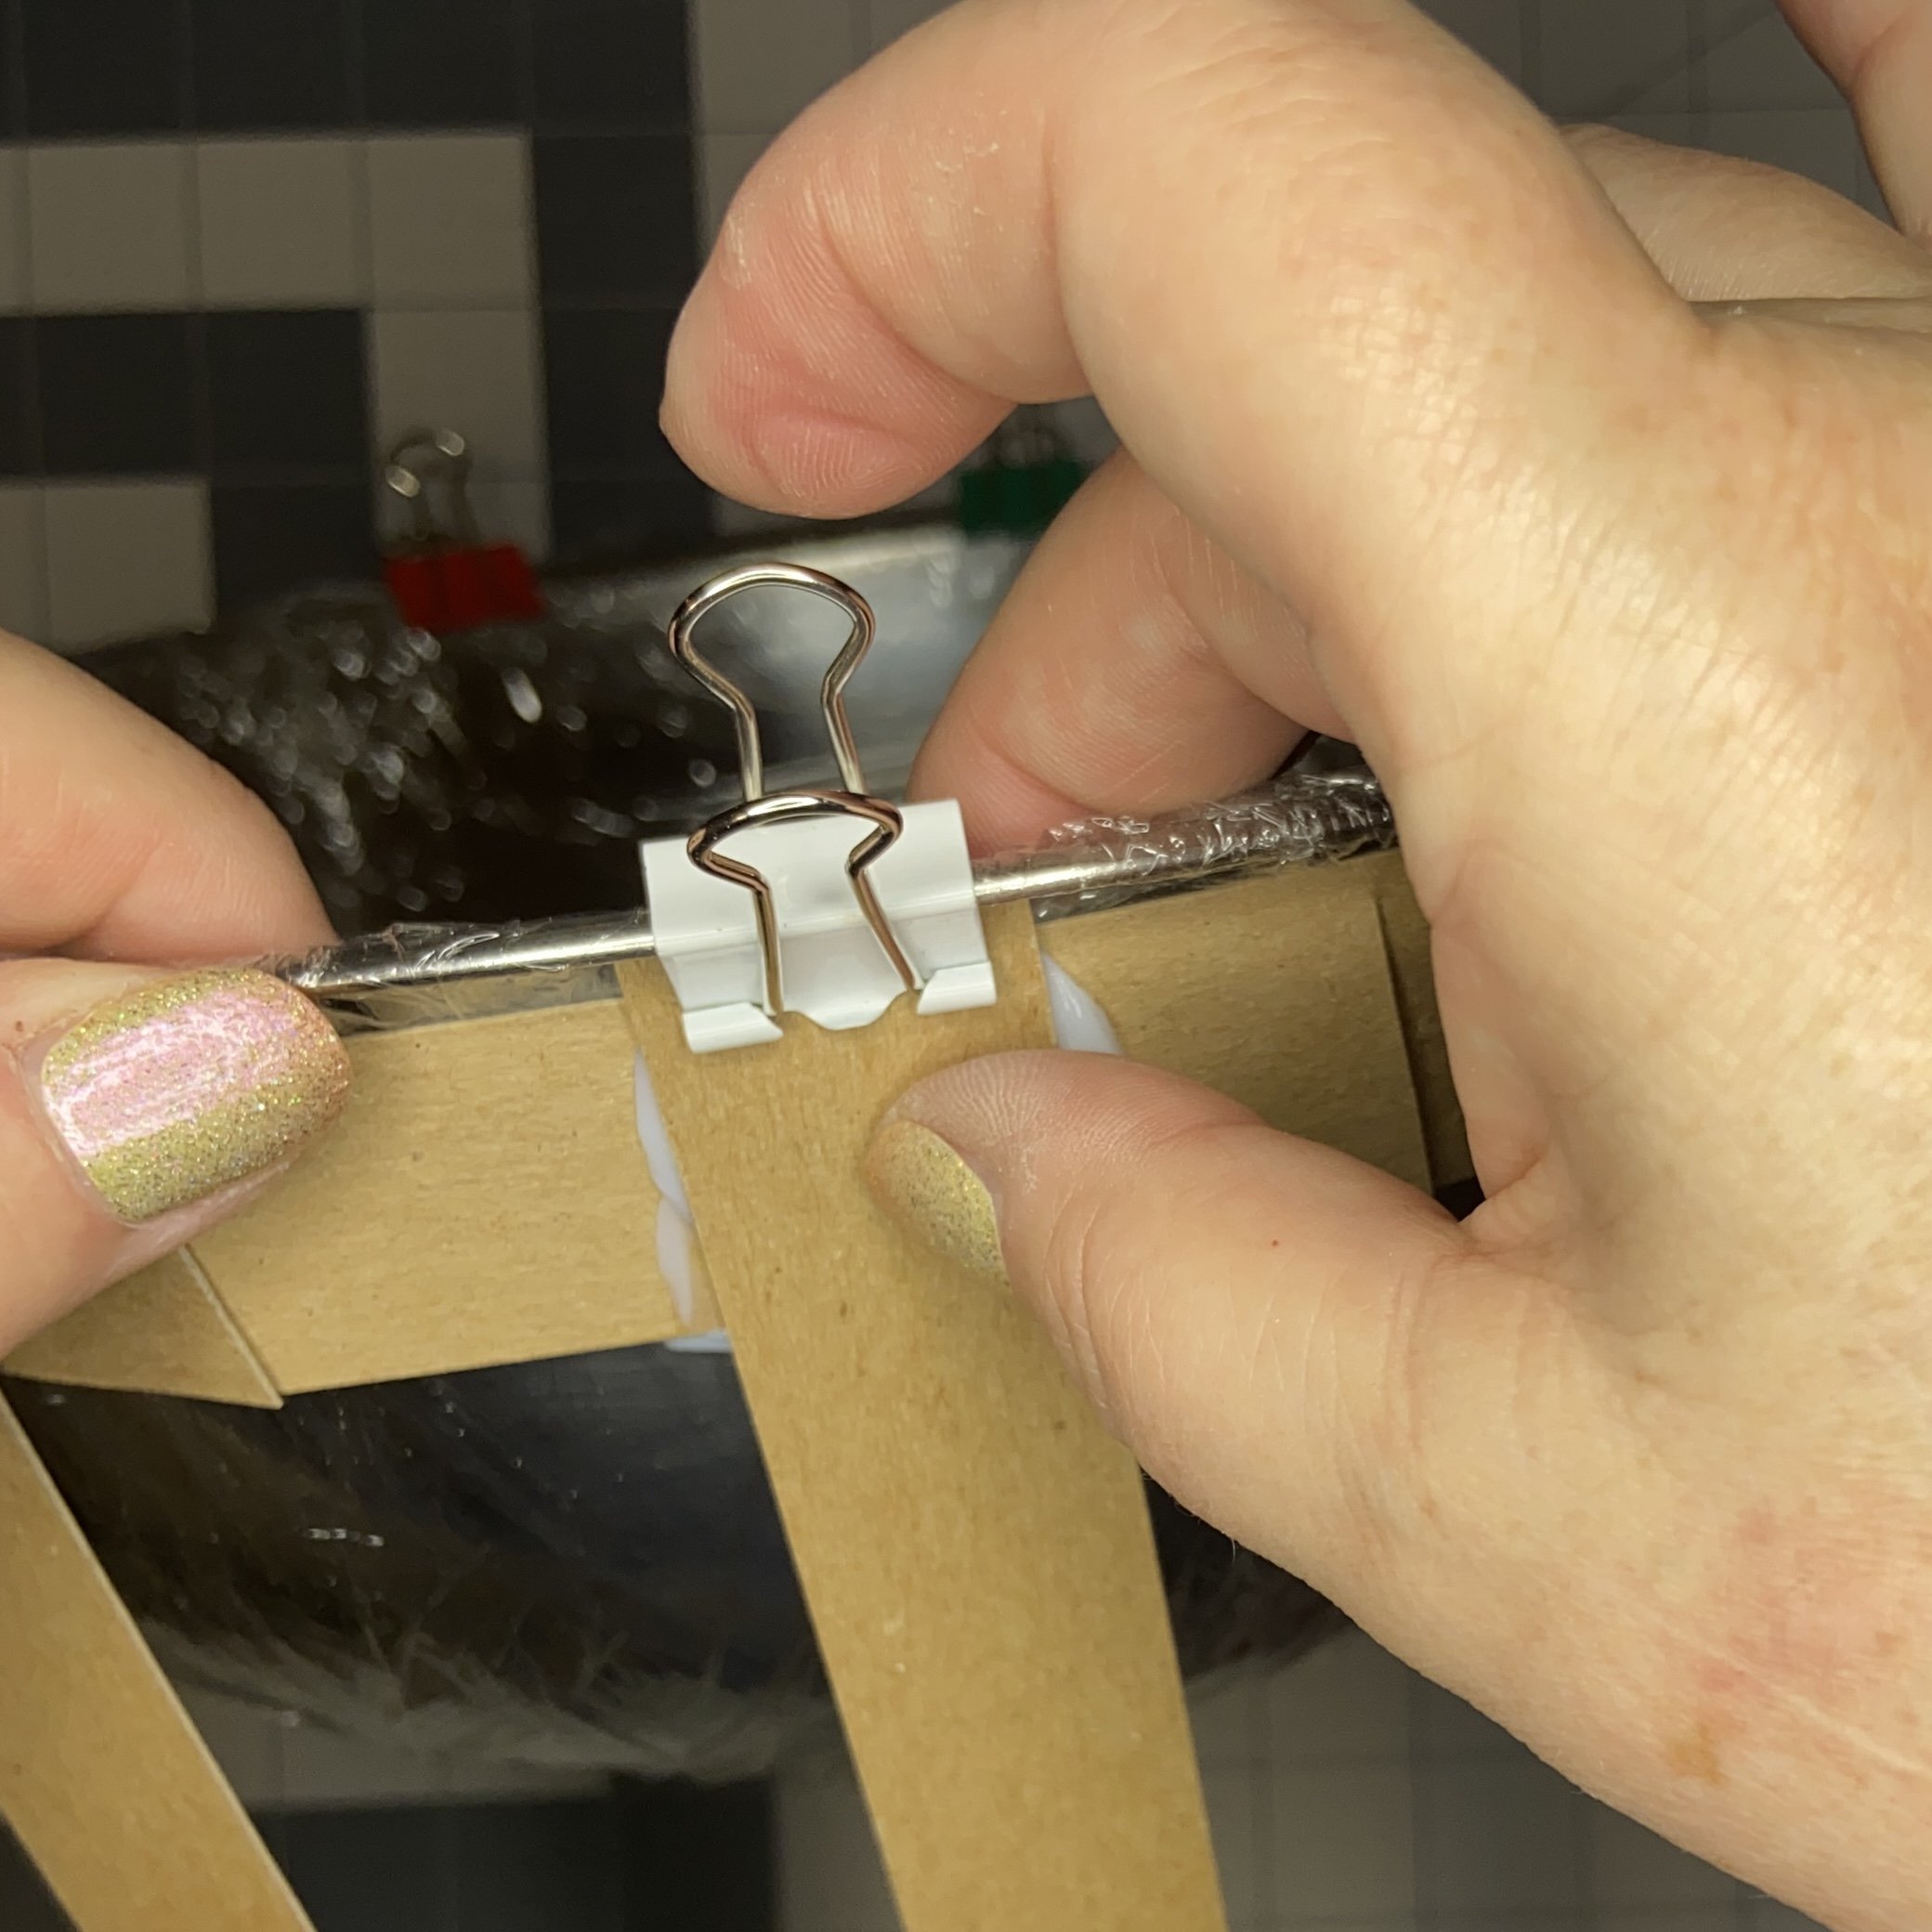
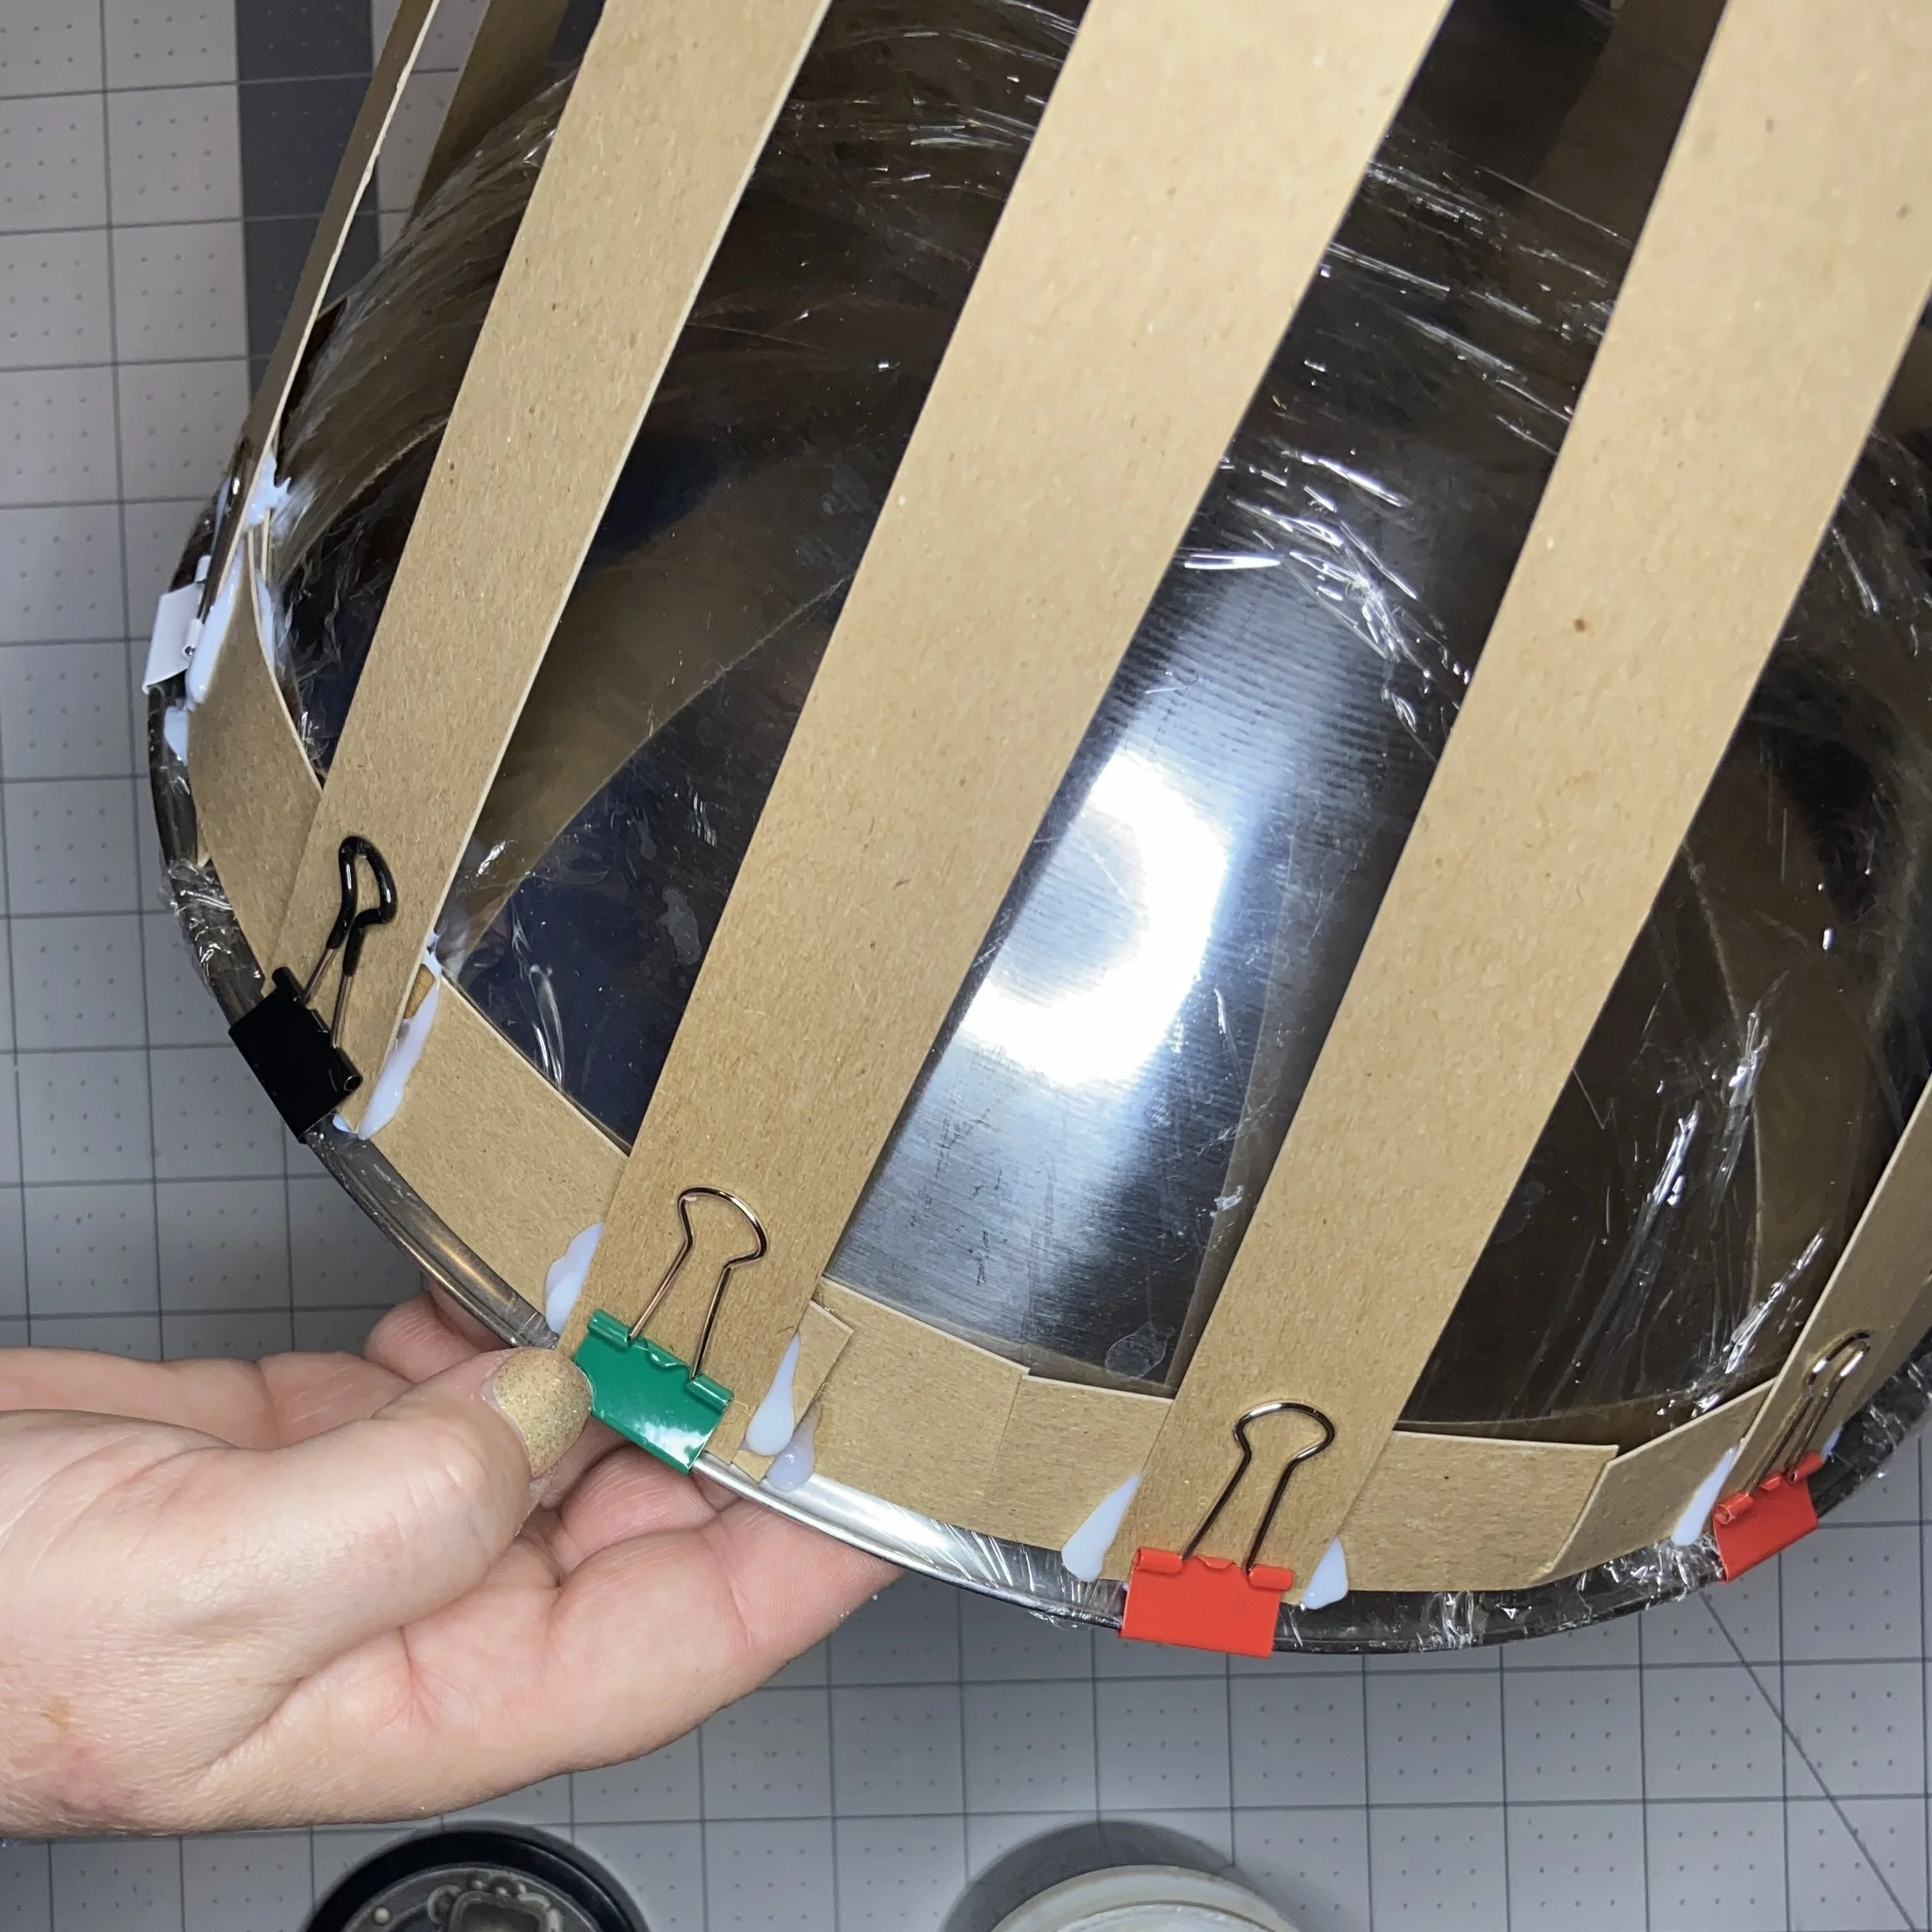
Then I decided I needed to start working on the “cave” portion of the geode. To that end, I grabbed a big stainless steel bowl from my kitchen, covered it in plastic wrap, and started glueing 1” wide strips of thin cardboard over it to build a framework. Or as I actually thought of it, a geode skeleton. I was using office binder clips to hold the original strips in place along the edge until the glue dried, but as I moved farther away from the edge, I had to use strips of masking tape to hold the pieces in place, along with the glue. Also (because anything worth doing is worth overdoing) I was initially using my (rather expensive) heavy body gel to glue down the strips, but I realized while working on the second layer that that was just completely unnecessary, so I reverted to simple Elmer’s glue. I could use more words to describe building the skeleton, but I think the pictures will illustrate the process more clearly.


I was left with a framework on which to build the sort of rock-face back/outside of the geode cave. When I’d decided to try for a geode build, I did some research (okay, I watched a lot of YouTube) on how to make a surface look “rocky.” I ended up making an attempt using torn up egg cartons. This did not go well. As I used Mod Podge to try to glue on the carton pieces, I realized they were too dimensional to easily lie against each other and too stiff for me to press into place. No worries, I’d just soak them in water for awhile. “Awhile” turned out to be about 2 hours. That was how long it took me to get tired of checking on them every 10 minutes, and just try again. And I was just as unsuccessful the second time, with the added benefit that I’d now introduced a lot of moisture to an already wet project and watery Mod Podge was running everywhere. What a waste of time, not to mention a dreadful mess. I pitched the whole pile of soggy egg cartons in the bin, and left my poor skeleton to dry out overnight while I tried to think of a different plan.


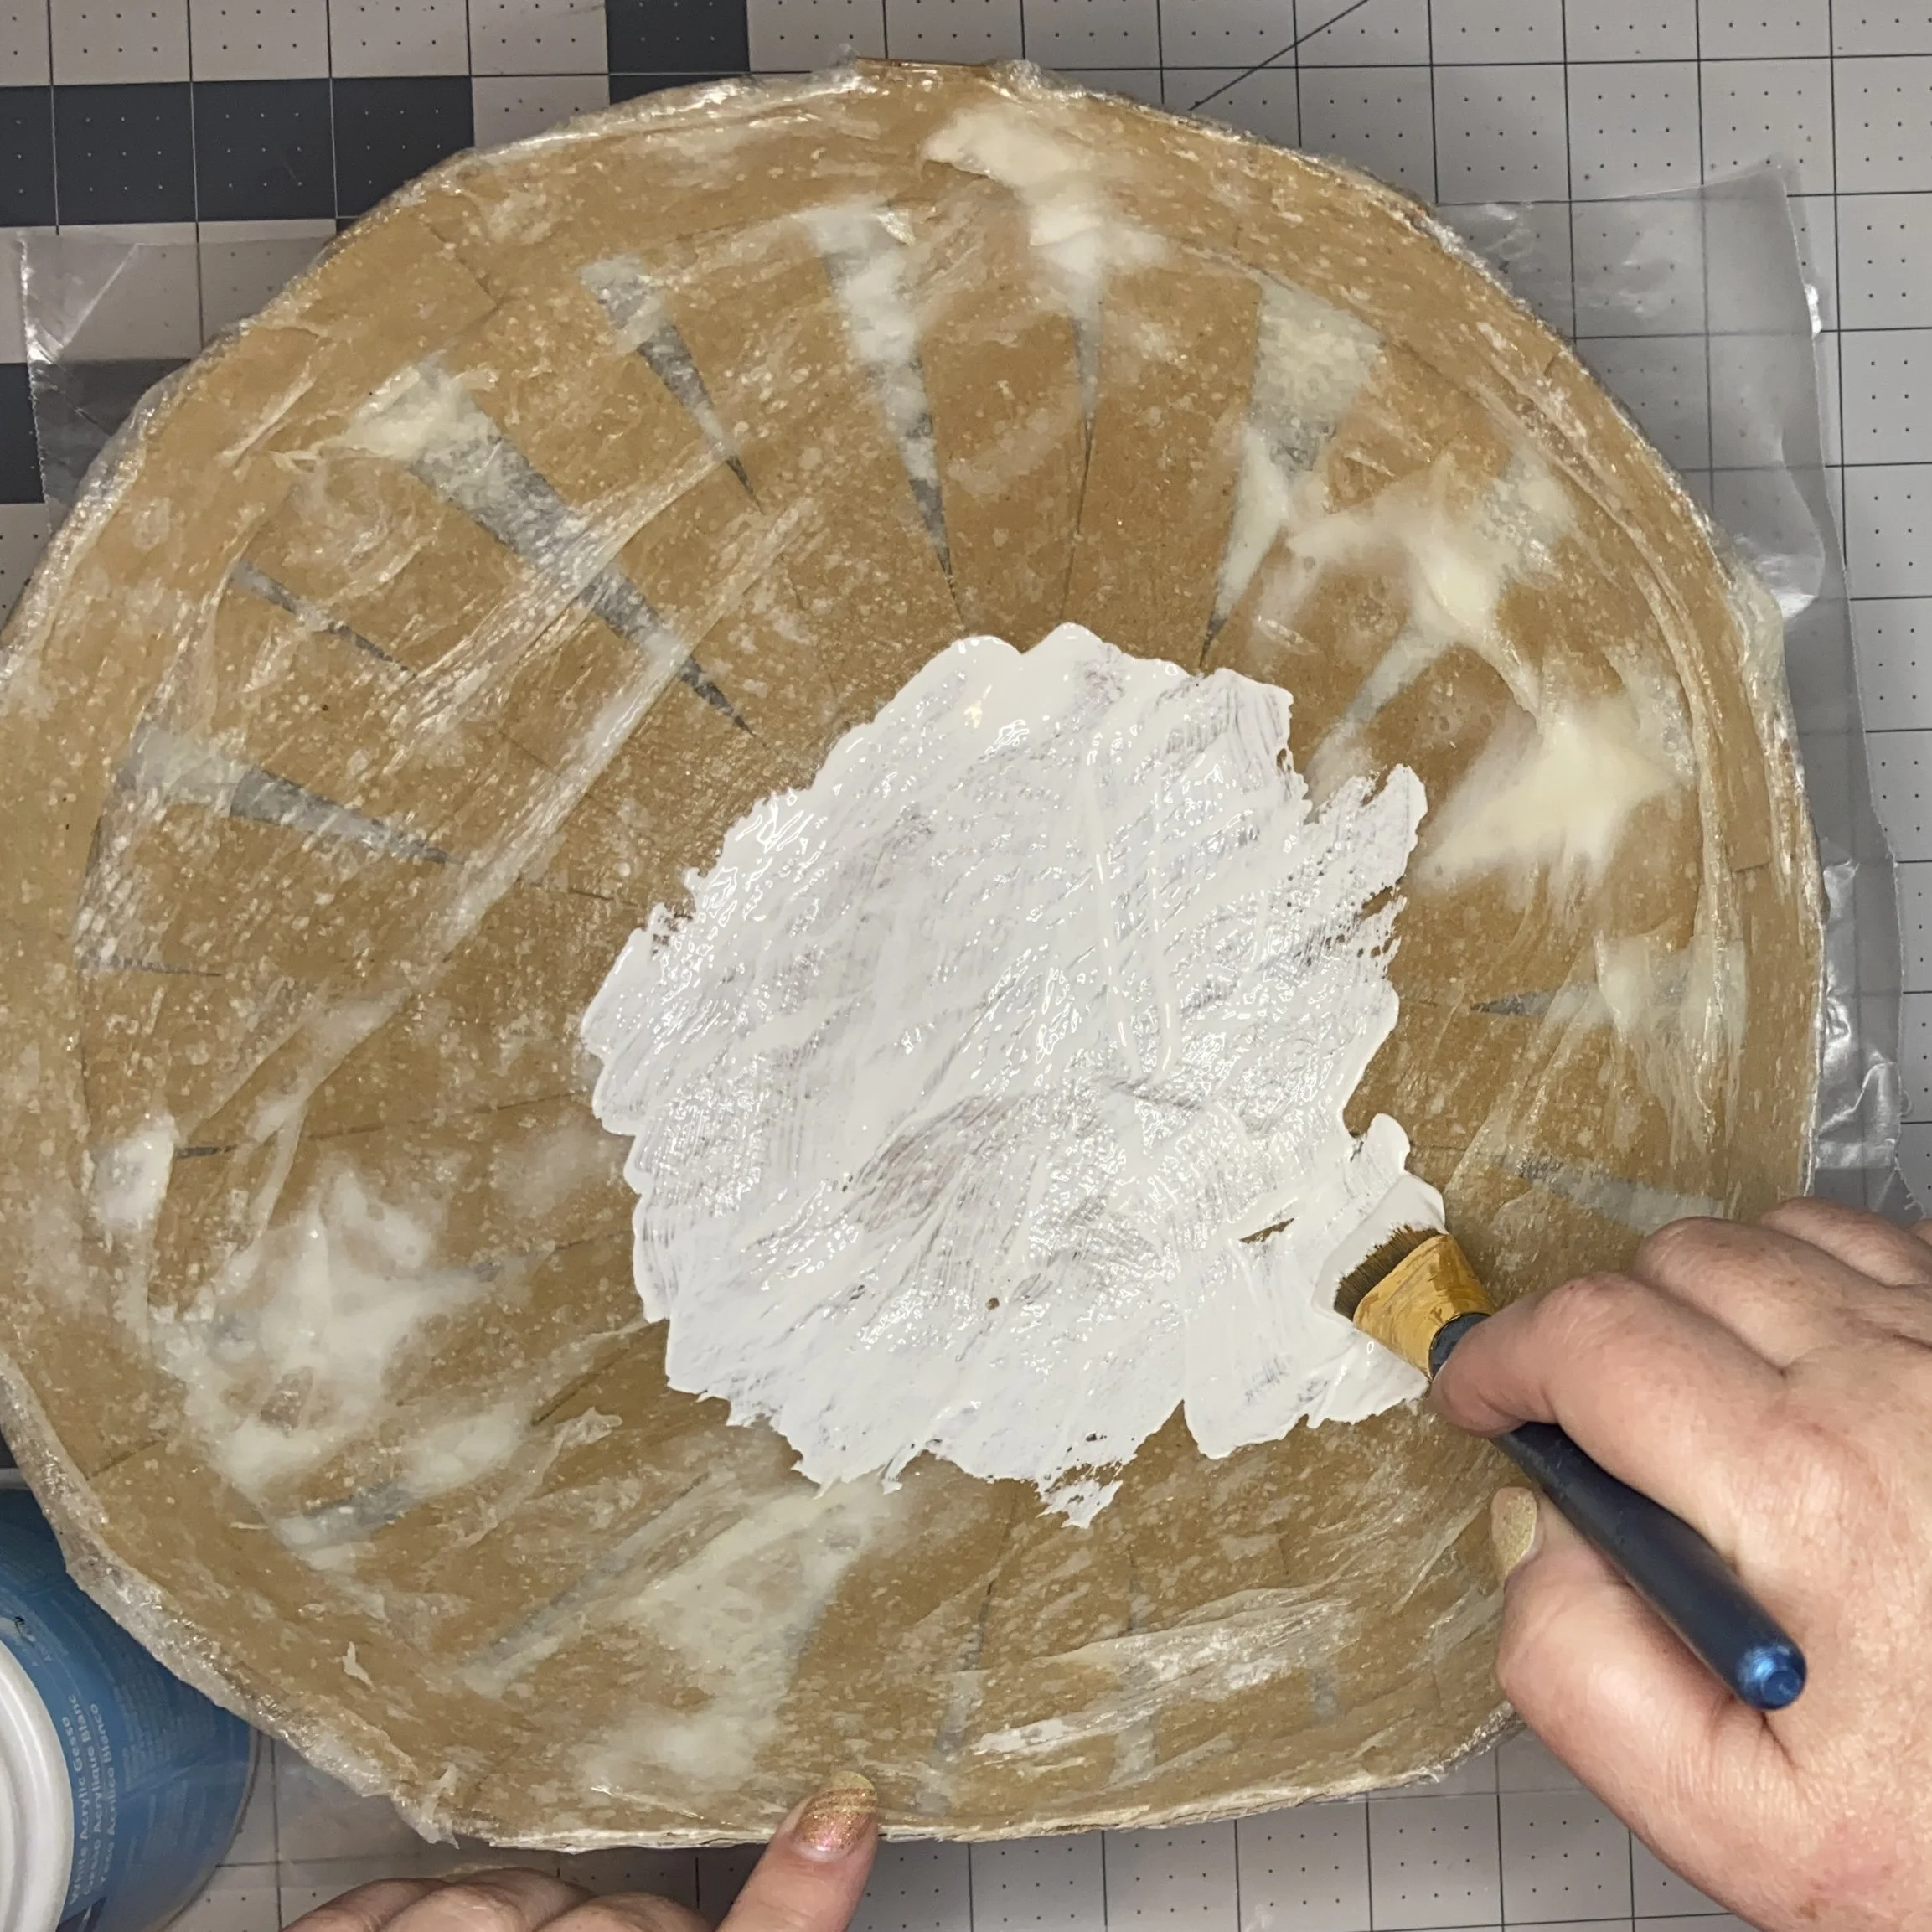
I decided to go with the simpler plan B, which was to slice paper towels into strips, and glue them over the skeleton with Mod Podge. My little silicon paint tray which I bought for my book-binding project came in very handy for this, as I could just dip the strips into the glue and then place them. Not all papier-mache has to have flour and water holding it together…this is the 21st century! I covered the skeleton outside, let it dry, and then did the same for the inside. Once it was all dry, I painted the whole thing with white gesso to make it opaque. It took four coats of gesso before the thing looked homogenous and white.


Then I spent a few days trying to figure out how I was going to attach my geode cave piece to the clay base piece. At one point, I decided to build up a section of clay to smooth the transition between the curved geode cave and the completely flat base. To that end, I cut some thin cardboard (the same stuff I’d used to make the strips for the skeleton) into the transitional shapes where I intended them to sit on the base and then glued them into a band which fit nicely around the base. I’d envisioned this as a sort of form to guide me in building up the clay. It looked quite funny, especially once I used Canva to doctor the picture. However, this turned out to be wasted effort, as I ended up taking a different approach to attaching the pieces together. Wasted time is annoying, of course, but it is rendered slightly less annoying by the addition of a cat face.

You can read Part 2 here!