Adventures In Avant Garde-ning
As an Amazon associate, I may earn a small commission if you navigate to Amazon from my site and buy something. This will not result in an extra cost to you.
I grew up in a rural area on a single acre of property. My family was not exactly poor, but we did have to watch our money carefully. One of the ways we managed to be frugal was by cultivating a large garden (about 8000 square feet) that the whole family worked to tend: weeding, tilling, planting, harvesting, watering, etc. We had so much food out of that garden that harvesting days were a whole family affair. My mother’s pantry was usually full of goods we had canned ourselves. (Also in the pantry were some store-bought cans of disgusting sauerkraut, which mysteriously went missing every time the Boy Scouts came to the door to ask for donations of canned goods.)
The garden took a lot of work to make it productive. At the beginning, it was just field grass which my parents had a neighbor plow with his big John Deere tractor. Then that same neighbor delivered a huge load of cow manure straight from the dairy barn, which was spread over the garden area. The smell was eye-watering and everywhere. After that, my father worked the soil repeatedly every year, tilling in our compost and the corn stalks and bean plants left over after harvest. And of course, we had to take out the rocks. I was too young to remember most of what was going on during the early days, but I do recall my father trudging wearily into the house after a long day of working in the garden, and grumbling to my mother, “There’s two rocks for every dirt.”
I’ve never forgotten that, first because at the time, I couldn’t figure out what he meant, and second, because later on in life when I was trying to till a patch of ground to make my own garden, I had to keep pulling fist-sized chunks of rock out of it. Which was taxing.
I no longer garden that way. I’ve tried the square foot gardening method in raised beds, which really does work well. But these days, it’s container gardening on my deck. For which I use Earthboxes.
I have five of the original Earthboxes (bought so long ago that I can’t even remember when I got them…maybe 20 years ago?) and one of the Junior Earthboxes. I’m a little embarrassed to admit this, but I bought the Junior a couple years ago because it was cute. Oh, and because it was on sale. But let’s be honest, mostly because it was cute. The particular genius of the Earthbox design is that it holds the plants in a constant state of being perfectly hydrated and perfectly fertilized. So they grow strongly and steadily and evenly, and you tend to get very impressive crops. You also tend to avoid problems like your tomatoes splitting on the vine, which happens when they are not watered evenly. And the mulch cover holds in moisture and keeps out weeds. It’s genius.

This year, I’ve planted two of the big boxes with my favorite Tristar strawberries (6 plants per box), purchased bare root from Stark Bros, just like every year. I also filled up my terra cotta strawberry planter, which holds another 12 plants. I got my 4 tomato plants and 9 sweet pepper plants from Territorial Seed, like I do every year. Theoretically, I suppose you could plant seeds in the Earthbox, but it’s really set up for sticking in little plants.
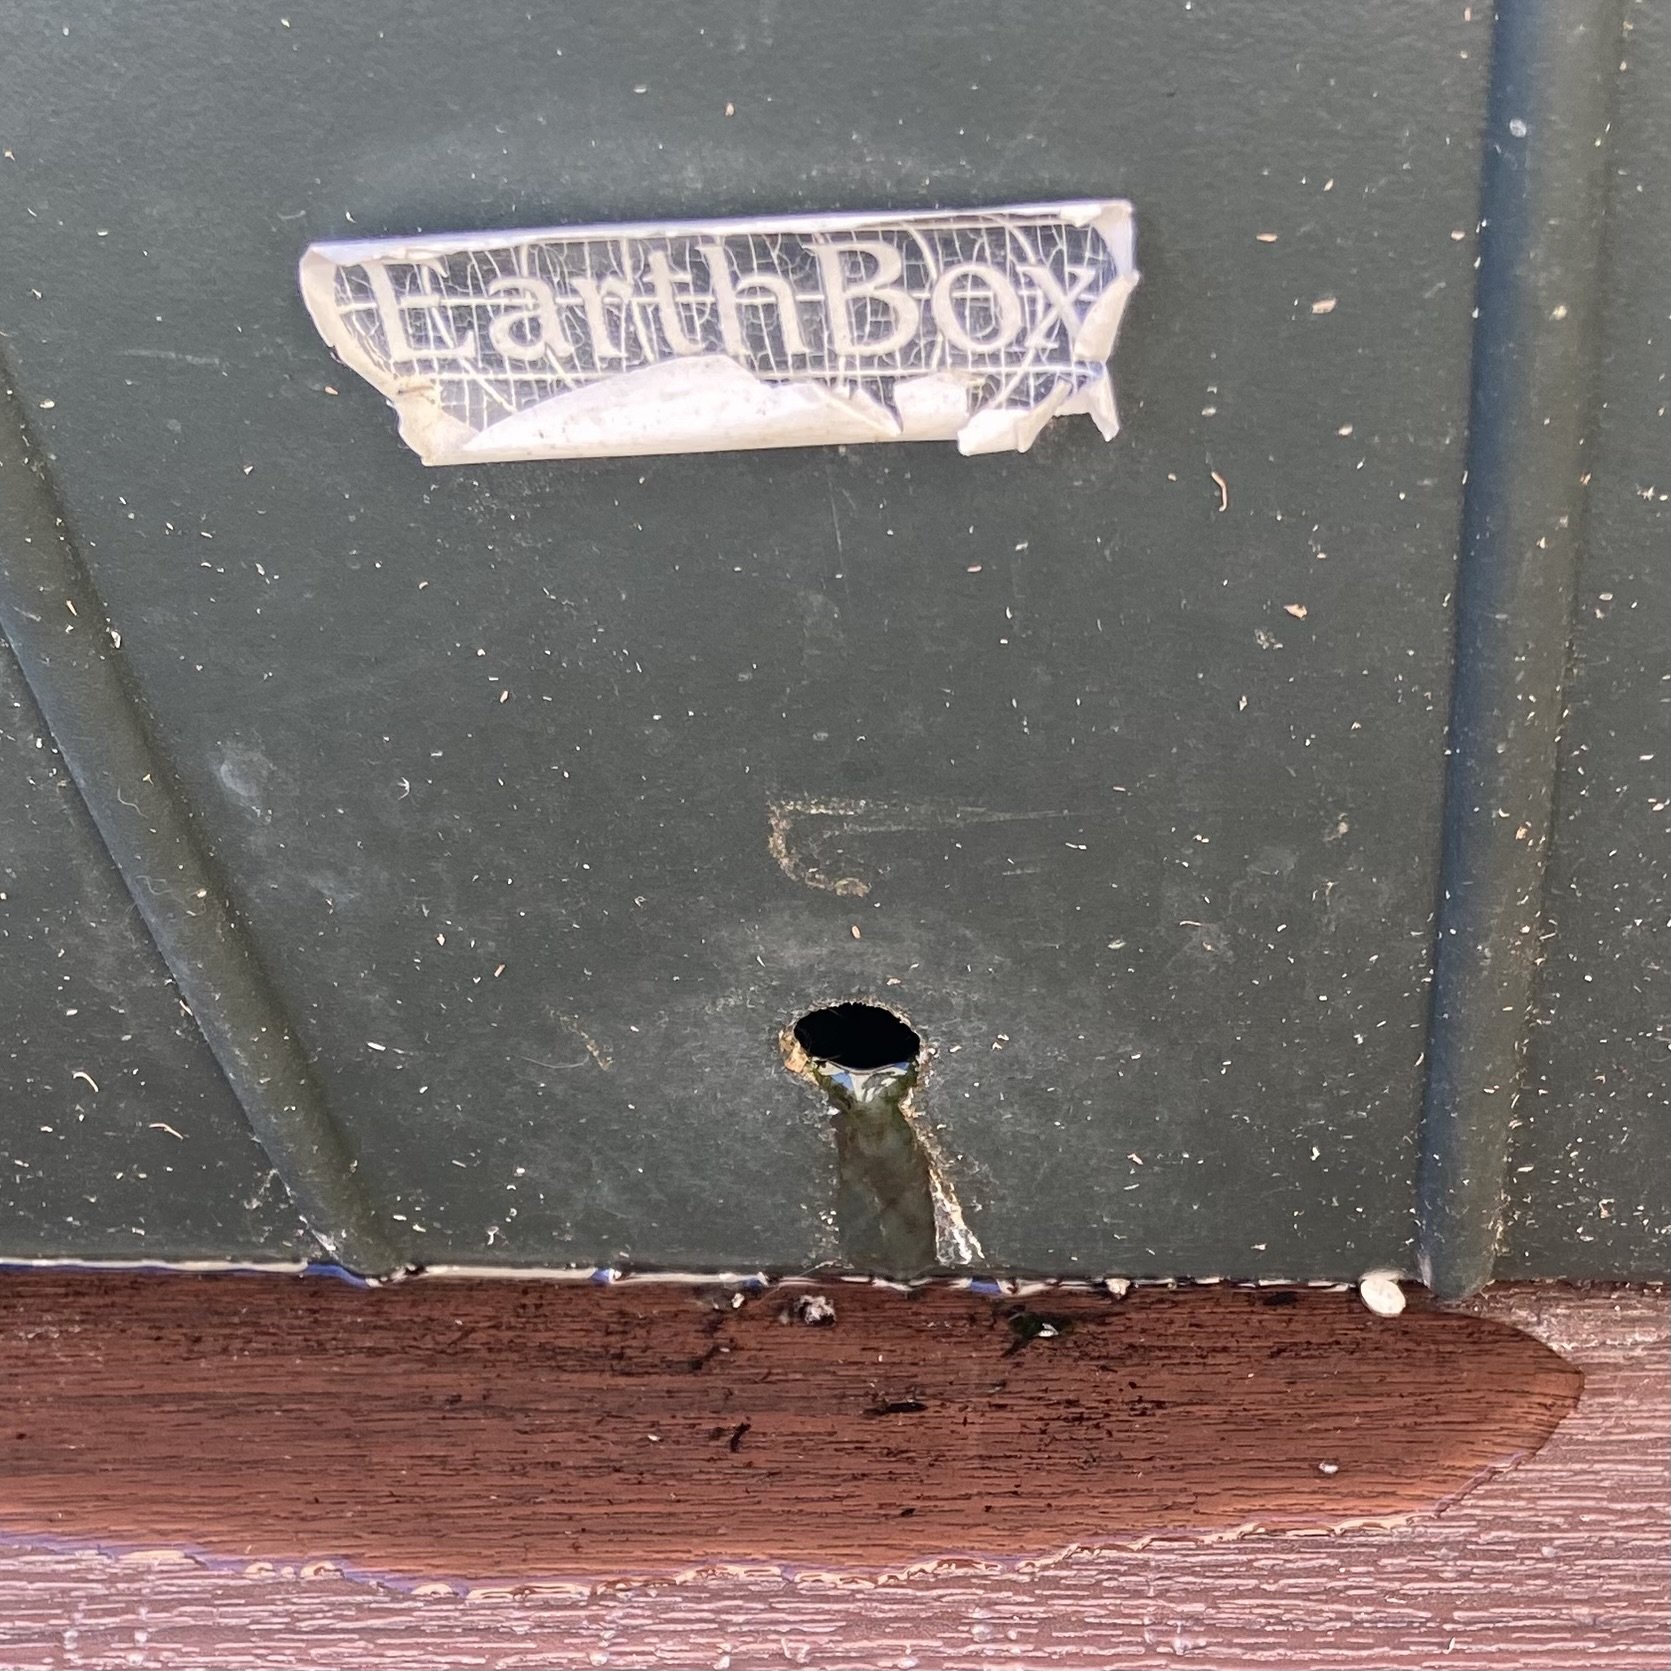
If you are setting up your Earthbox for the first time (or like me, you had one sitting empty in the garage for some reason), you’ll have four pieces. The box, the bottom brace, the platform, and the watering tube. The brace goes in first, then the platform. Pay attention to the orientation of the platform, specifically where the water tube will go. This is your chance to choose…once the dirt is in, you have to live with it. I chose to have the water overflow hole in the box facing front and the watering tube in the back right corner.


Next, you’ll start adding your dirt. I bought 20-quart bags of potting soil because they were on sale for a really good price. If you go that route, it will take 2-3 bags to fill up each Earthbox. Or you could just buy the big 2 cubic foot bags…it only takes one of those. Dump a bit of your potting soil into the Earthbox and take care to pack it down tightly into the corners indicated in the picture below. This is where the water will wick up to the rest of your soil, so pack it down very well to avoid air pockets. I’m not great with the science stuff, but I do know that air pockets will not wick any water.


Since the first box I planted (the one I was taking pictures of) was for tomato plants, when the box was about half full, I crumbled up some egg shells (the egg shells help prevent end rot in the tomatoes) and scattered them where the plants would be, and then finished filling up the Earthbox with soil. You will want to press the soil down gently. You’re not trying to pack it down hard, but you do want to press out any air pockets. (Again…wicking.) Fill the soil to the very top and then add a little more so you have a slight mound running down the middle.

Next, you’ll add your fertilizer. The Earthbox website does sell fertilizer if you want to buy it there, but any fertilizer that’s in the 5-15 range for all three elements will work just fine. A regular Earthbox takes 2 cups of fertilizer (double that, if it’s organic) and the Junior takes 1 cup. You will not be mixing the fertilizer into the soil, but rather laying it in a strip across the top of your potting soil. You want the strip of fertilizer to be as far away from your plants as possible. In the case of my tomatoes, I was planting both tomato plants in the front of the box, so the fertilizer went at the back of the box. The Earthbox website has planting guides for lots of different veggies that will show you how many of each you can put in each box, where they should be placed, and where the fertilizer strip should be placed. Once the fertilizer strip is placed, press down on it gently so that it is slightly packed, not just sliding around loose on the surface.


Now you’re ready to put on the mulch cover. When you’re buying your first Earthbox, one of these comes with it. But it’s only good for one year; you can replenish your supply off the website. They ship promptly and the price is quite low. Align the circular hole with the watering tube and slip it over the tube. Then stretch the cover over the entire top of the Earthbox.

Now you’re ready to plant. Oops, wait. First you need to cut a hole in the mulch cover for each plant you’re putting in. The easiest way is to take a pair of pointy scissors, set the points as wide as you want the opening to be, poke the points in, and then cut. Do the same in the other direction so you end up with an X cut. Now you can reach your fingers in, make a little space, and then stick your plant in and push the soil back around it. Done! Plants planted! Now, water. Just this one time, you’ll want to water the plants themselves a little bit, just to tide them over until the wicking does its work. So just a little water on the plants, and then fill up the reservoir via the watering tube. Make sure this reservoir never runs out of water. In the summer, when your plants are thriving and growing, you will likely need to do this every day. You will know the reservoir is full when a little water runs out the overflow hole.


Now, you don’t actually have to put fresh potting soil into the Earthboxes every year. If you have a box that you used last year, you will need to discard the old mulch cover, pull out the remains of any plants, and scrape away about 2” of the potting soil. Make sure that you get rid of all the old fertilizer strip. Then add in enough fresh soil to fill it up, and proceed as usual.
When the plants get a little larger, you’ll want to figure out some sort of staking system. For the peppers, I just stick a wooden stake in next to each one and tie the plant on with jute twine. For the tomatoes, I use some really excellent tomato towers that I got even longer ago than the Earthboxes but I can’t remember where I bought them and I can’t find them anywhere. Your local garden shop should have multiple options, or you could just use stakes for the tomatoes as well. When your tomato plants really start taking off, I recommend trimming them a little on the regular so that you have just one central stem. It cuts way down on the chaos and makes harvesting a lot easier.
The planting photos are from this spring, but do enjoy a couple pictures from last year’s bumper crop…

