Adventures In Comparative Book Nookery
As an Amazon associate, I may earn a small commission if you navigate to Amazon from my site and buy something. This will not result in an extra cost to you.
I mentioned in a recent post that I’d bought myself a book nook off Amazon and assembled it. Prior to this experience, I’ve never really understood the appeal of miniatures. But after putting this miniature library together and installing it in my actual library, I totally get it. I had a blast messing with all these tiny fake books, itty bitty scrolls and paintings, miniature furniture…it was fabulous from start to finish (my assembly mistakes notwithstanding) and now I get to look at it nestled amongst my real books. So of course I bought two more…


The first one I assembled was called Detective Famous Agency. No, seriously. It’s even printed decoratively on the side. I can only assume that in China, where it’s made, their word order is different from ours. Doesn’t matter…it was delightful and clearly made by the same company that made my first book nook.
The design was somewhat similar and the instructions were written out exactly the same way. I had learned from my mistakes on the first go round, and so I managed to get things glued onto the wall in the appropriate places, and I did not try to “improve” the lighting, but just followed the instructions as written. Okay, that’s not quite true. I am my father’s daughter; therefore, anything worth building is worth over-building. Where the lighting cords were meant to be held down with (what I consider to be wholly inadequate) little squares of scotch tape, I added a big blob of my bookmaker’s glue to really seal the deal. I don’t regret that one bit. In fact, I feel quite good about it.

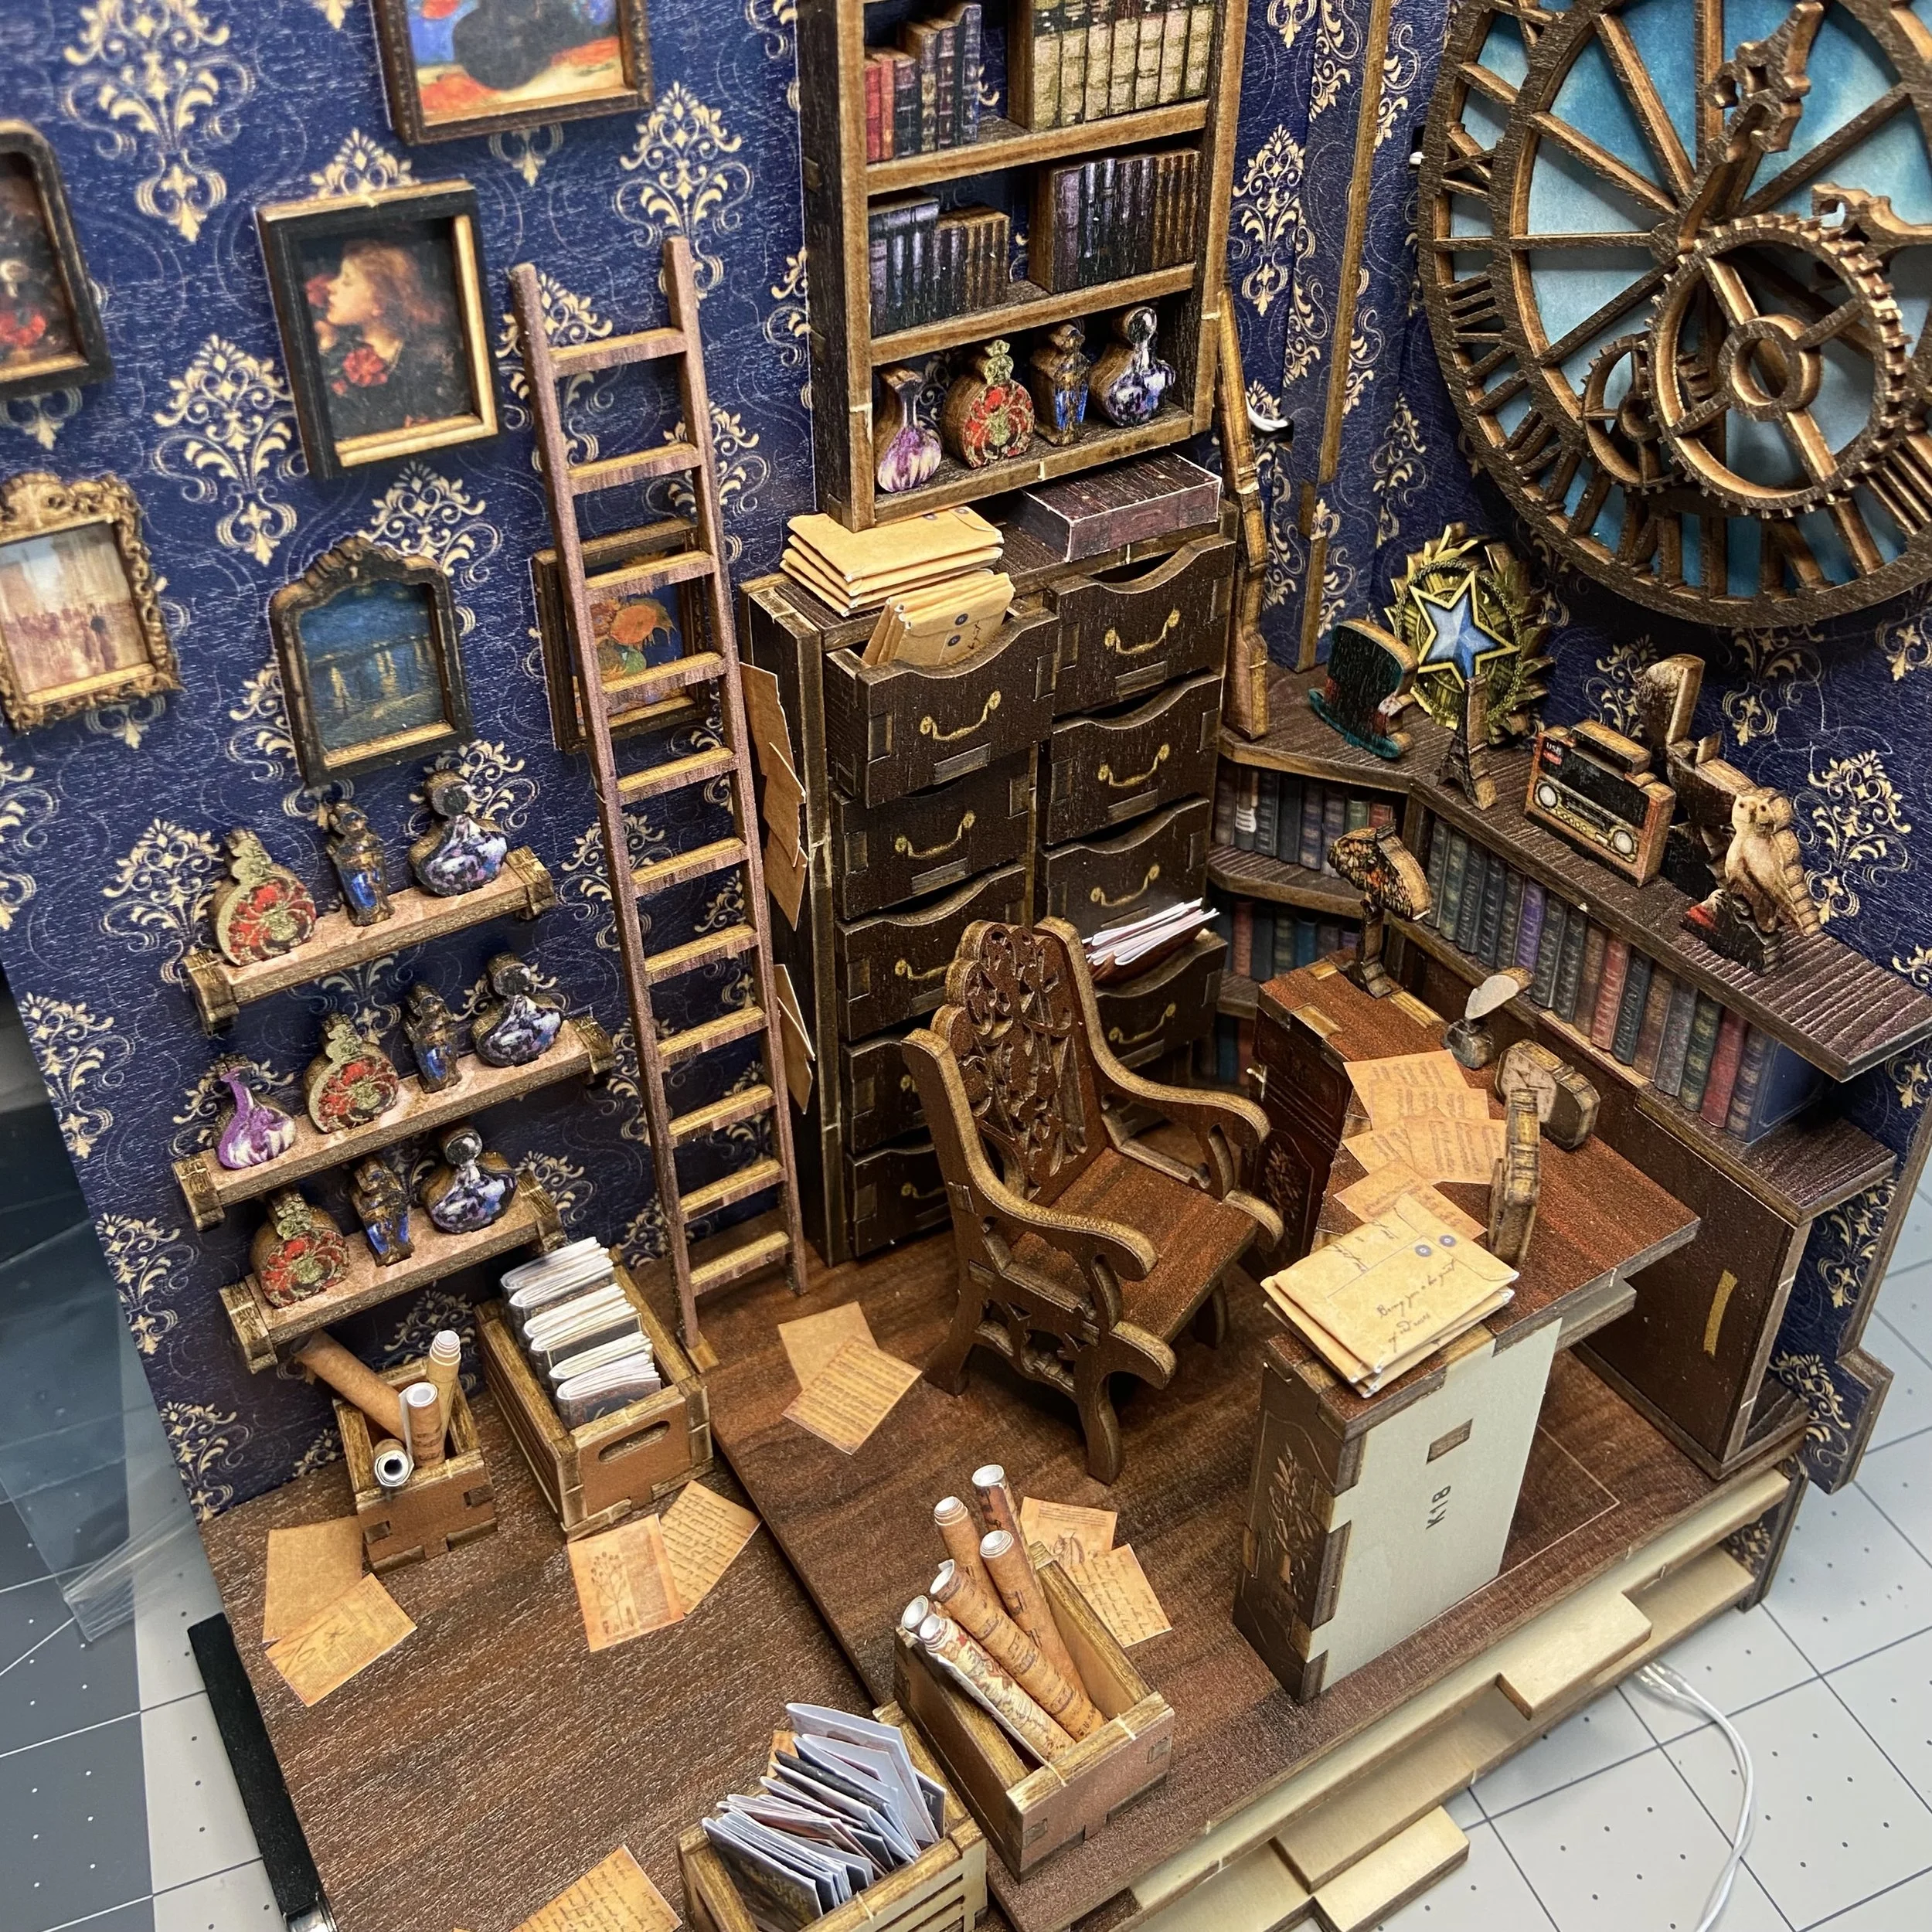
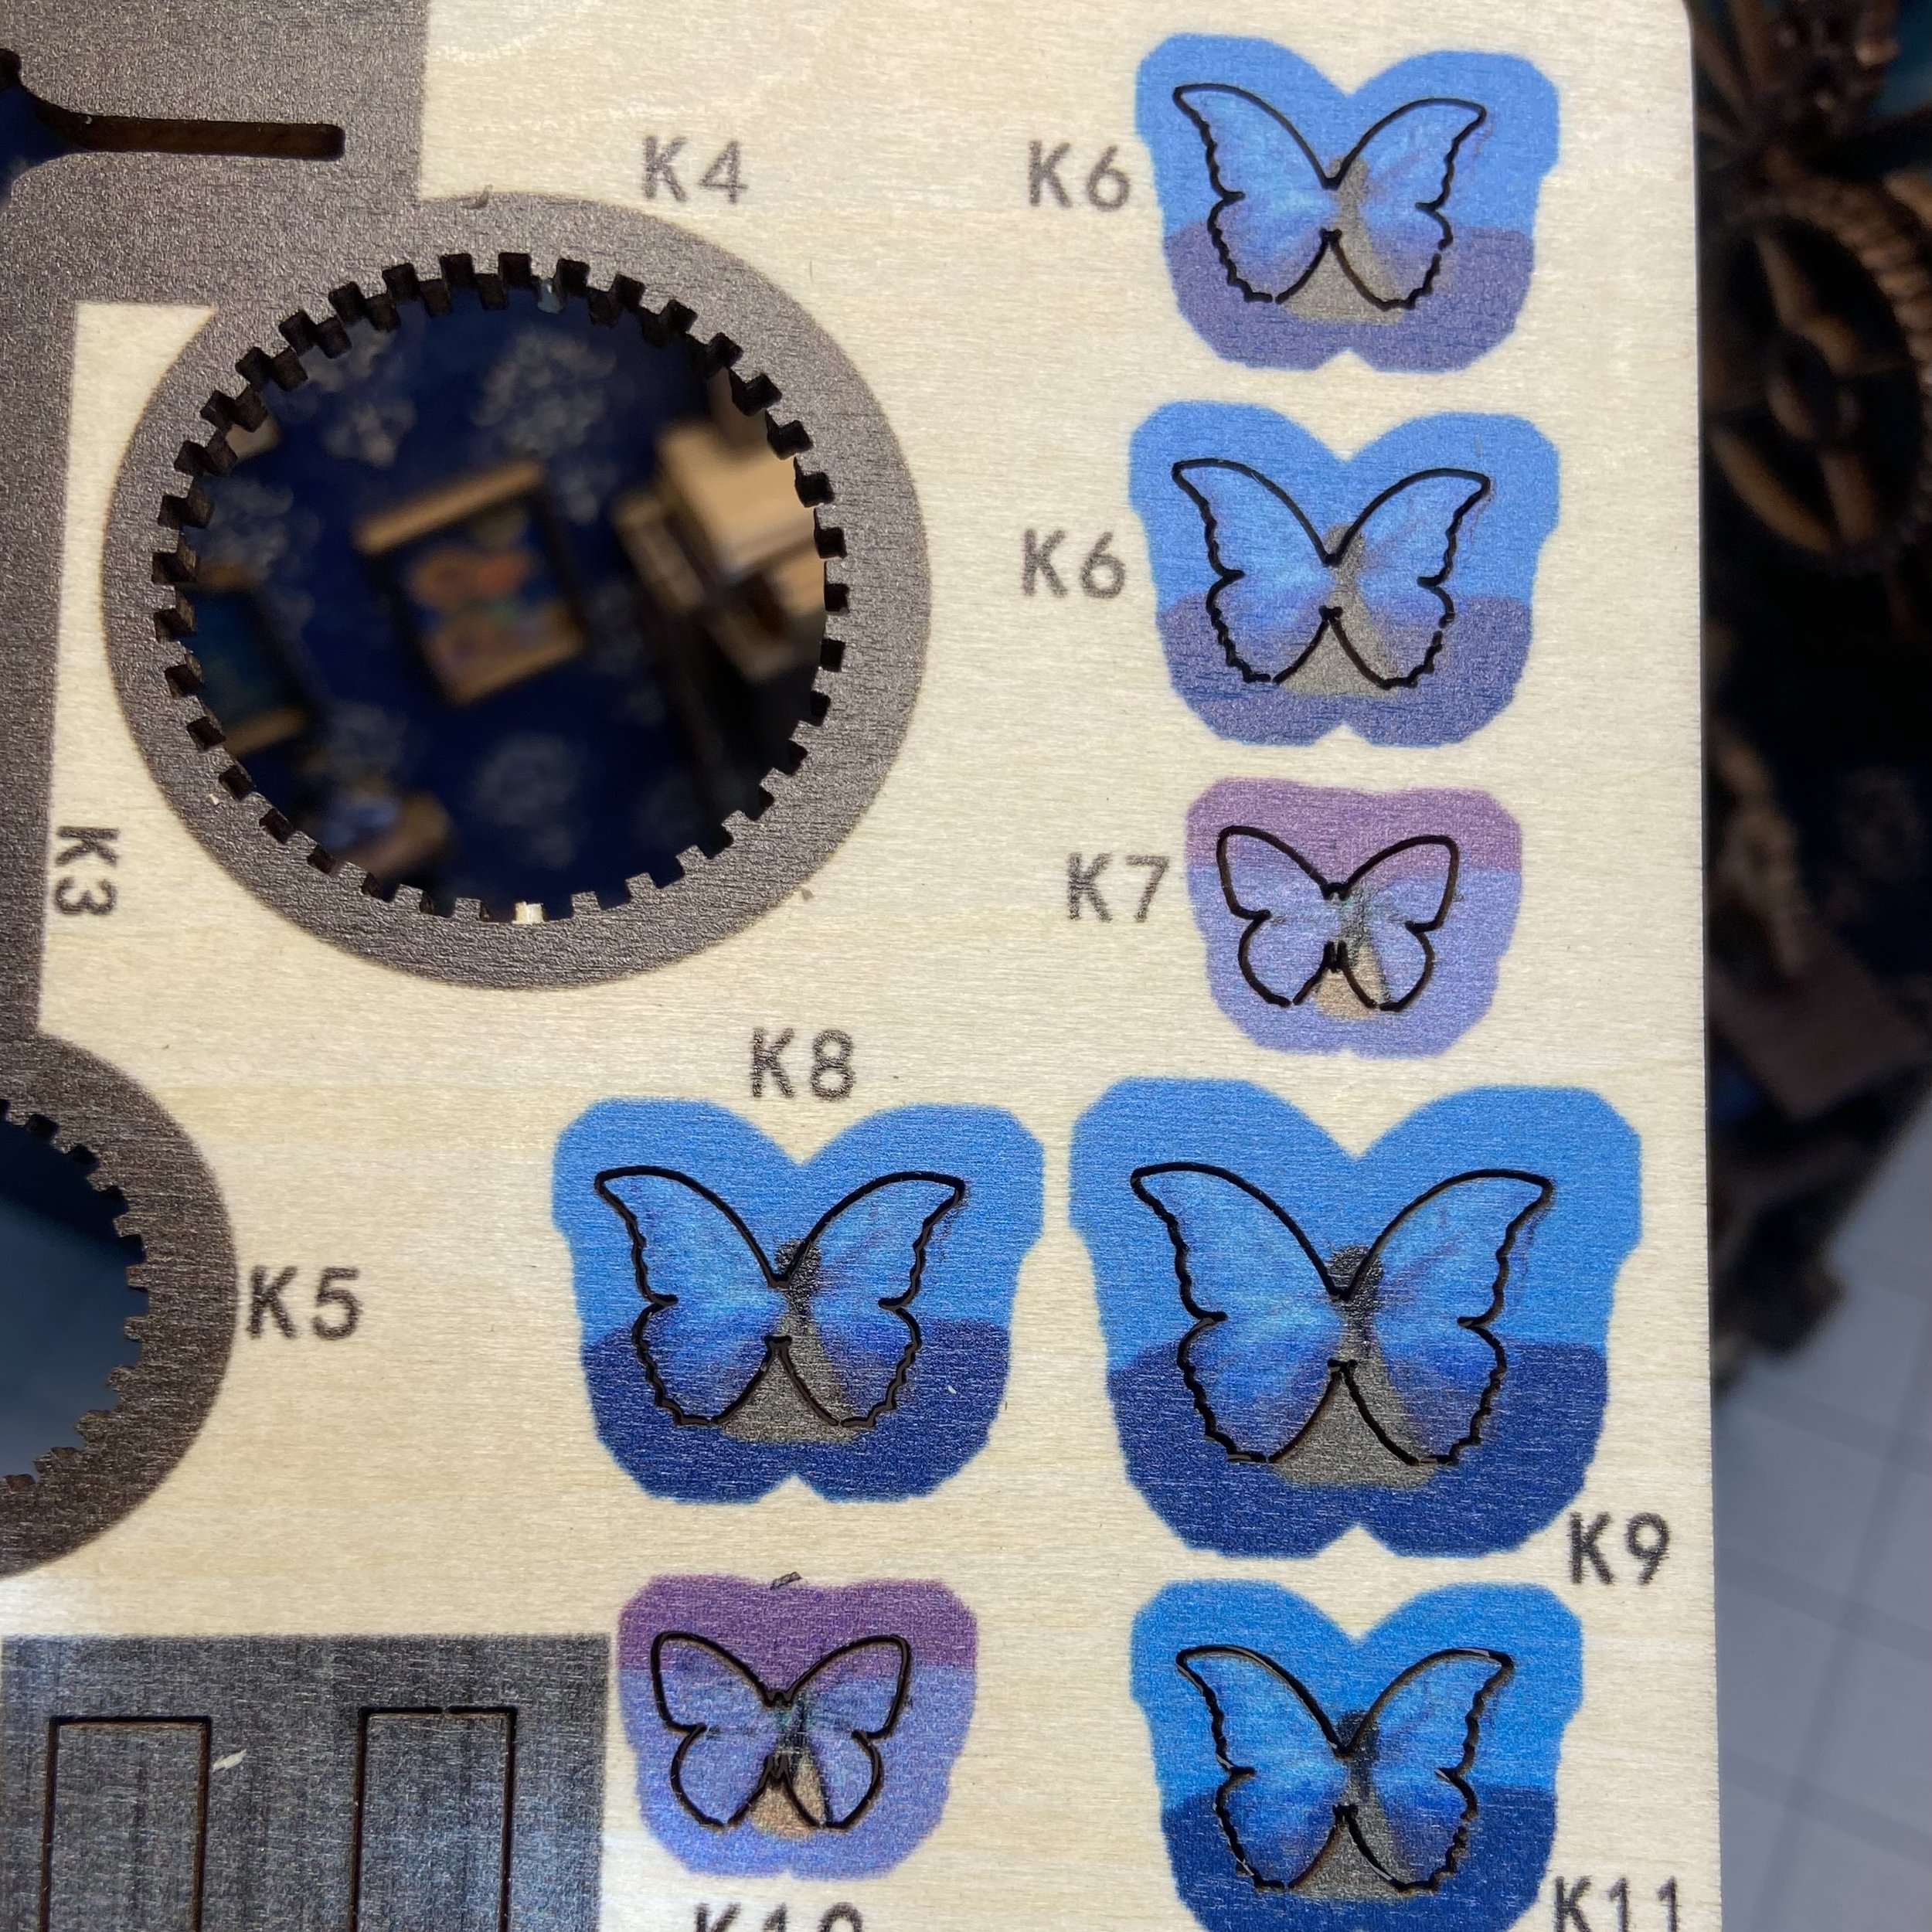
There was one element that I left out. On the back wall of the installation, there were supposed to be a series of blue butterflies. It was my considered opinion that butterflies had no place in this particular aesthetic, so I left them out entirely. I’m sure I’ll find something else to do with them, don’t you worry.
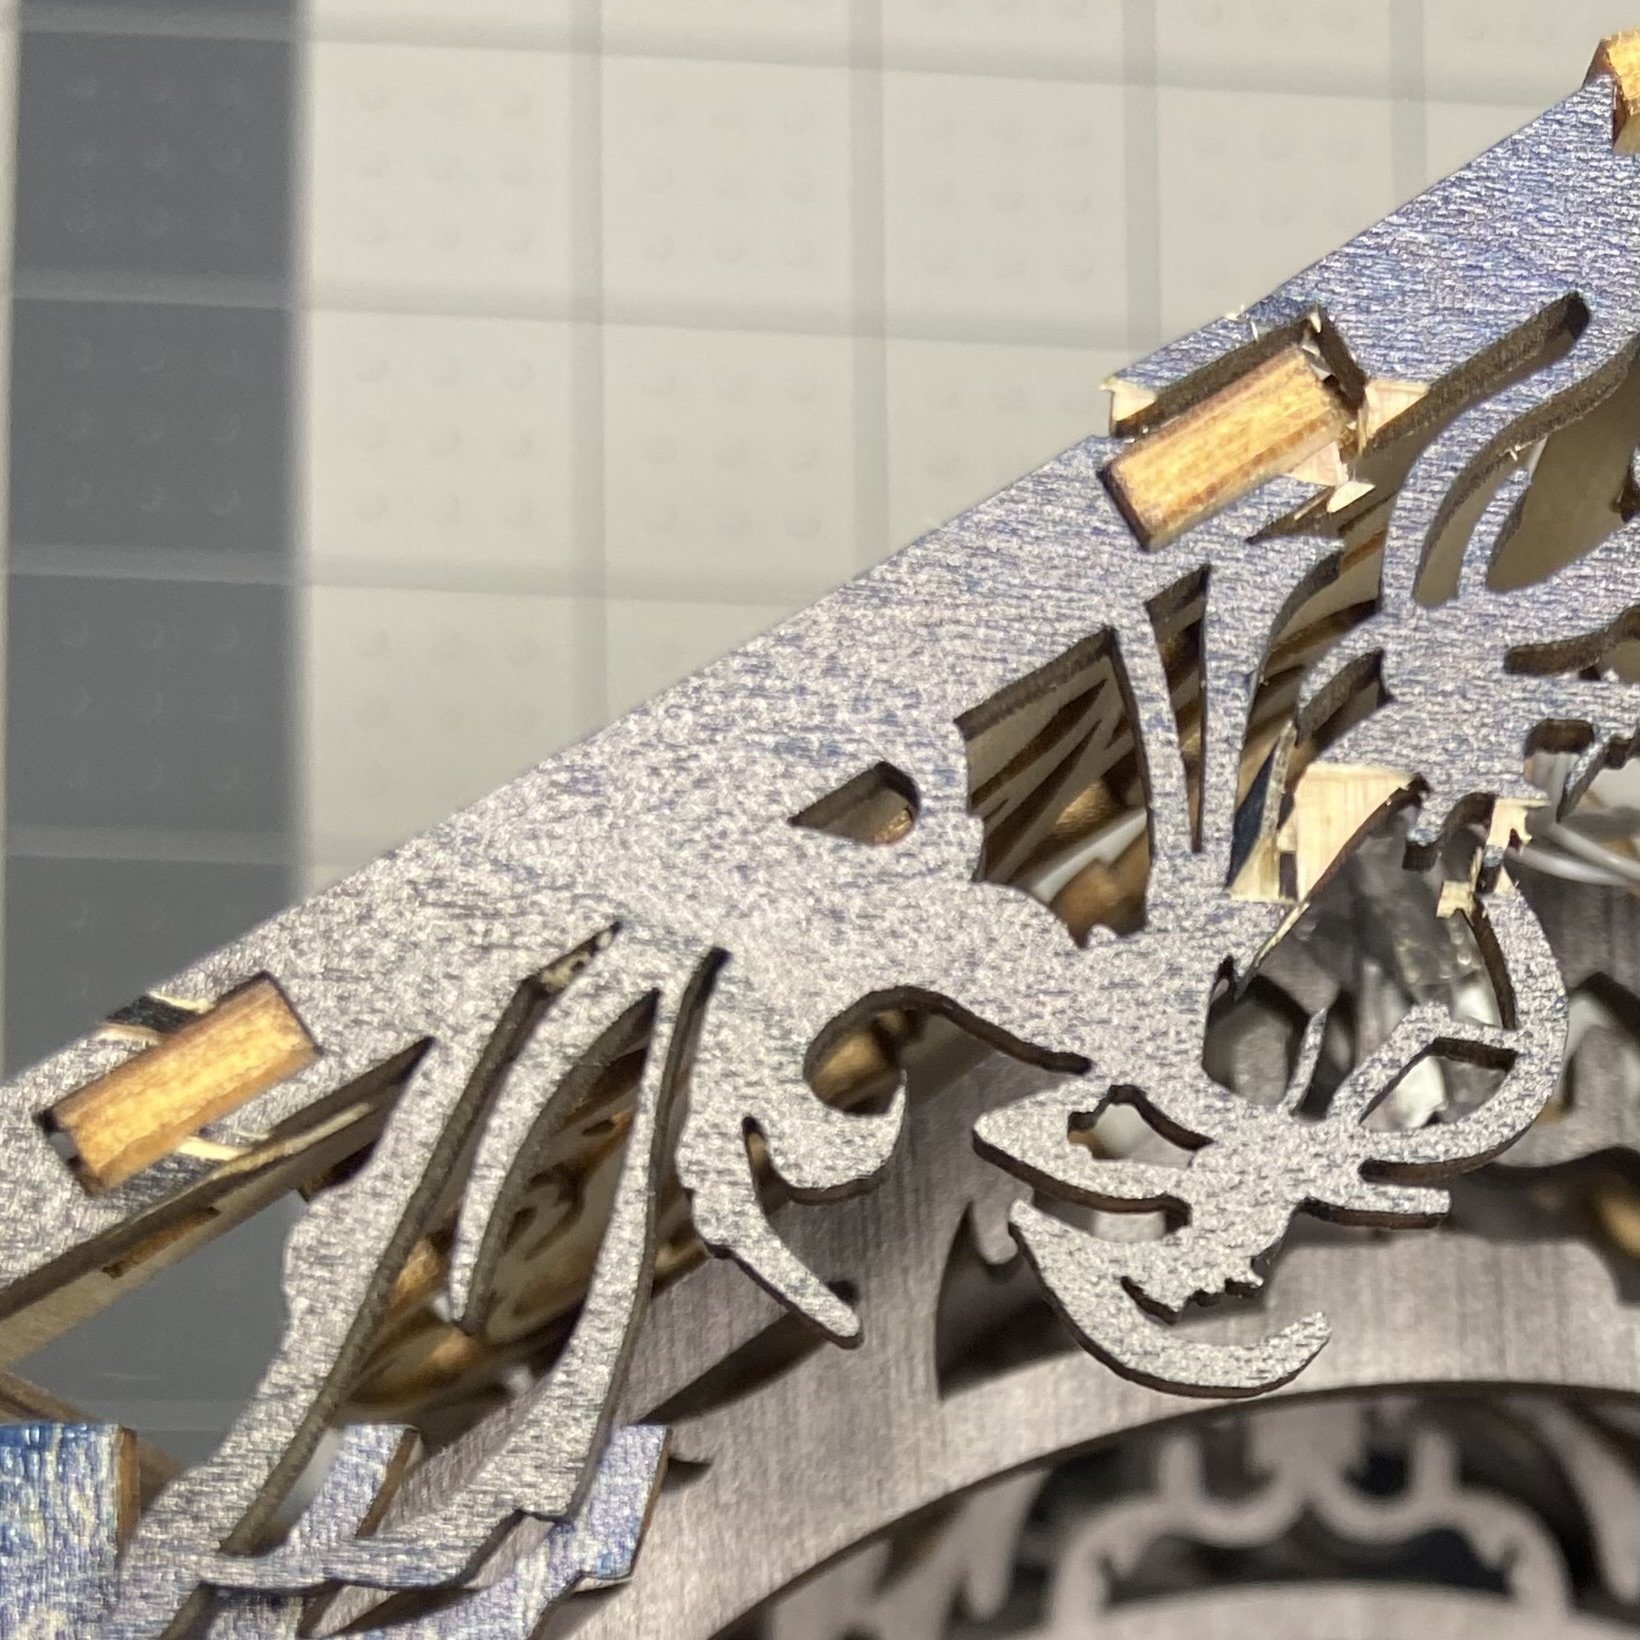
Things were going swimmingly right up until I got to the roof system. On this particular kit, the roof was held by several decorative trusses, and then the roof itself was comprised of two pieces of lacy latticework. Not the most solid pieces. But still, it was going okay until I put on the front piece, which was a sort of decorative truss itself. At least, it was in that shape. It was incredibly delicate, but I did manage to cut it free of its board without damaging it. But the instant I applied any pressure at all to get it to slide into place, little bits started breaking. I immediately stopped pushing, but the damage was done.
I set it aside for a day, so it could think about what it had done. And I thought about what I could do to salvage the project. In the end, I started by applying a generous amount of glue to the broken bits and the places where it should have locked in but didn’t. Once that dried, I used my liquid acrylic paint in ultramarine and painted over the whole piece. If you don’t look closely, you won’t notice the damage.
Aside from that little debacle, assembly went well, and I’m really quite pleased with how it looks on the shelf. As with my first project, there is a motion sensor in front. If you leave the lighting system turned on all the time, then it lights up for 60 seconds every time you walk past it. Delightful.


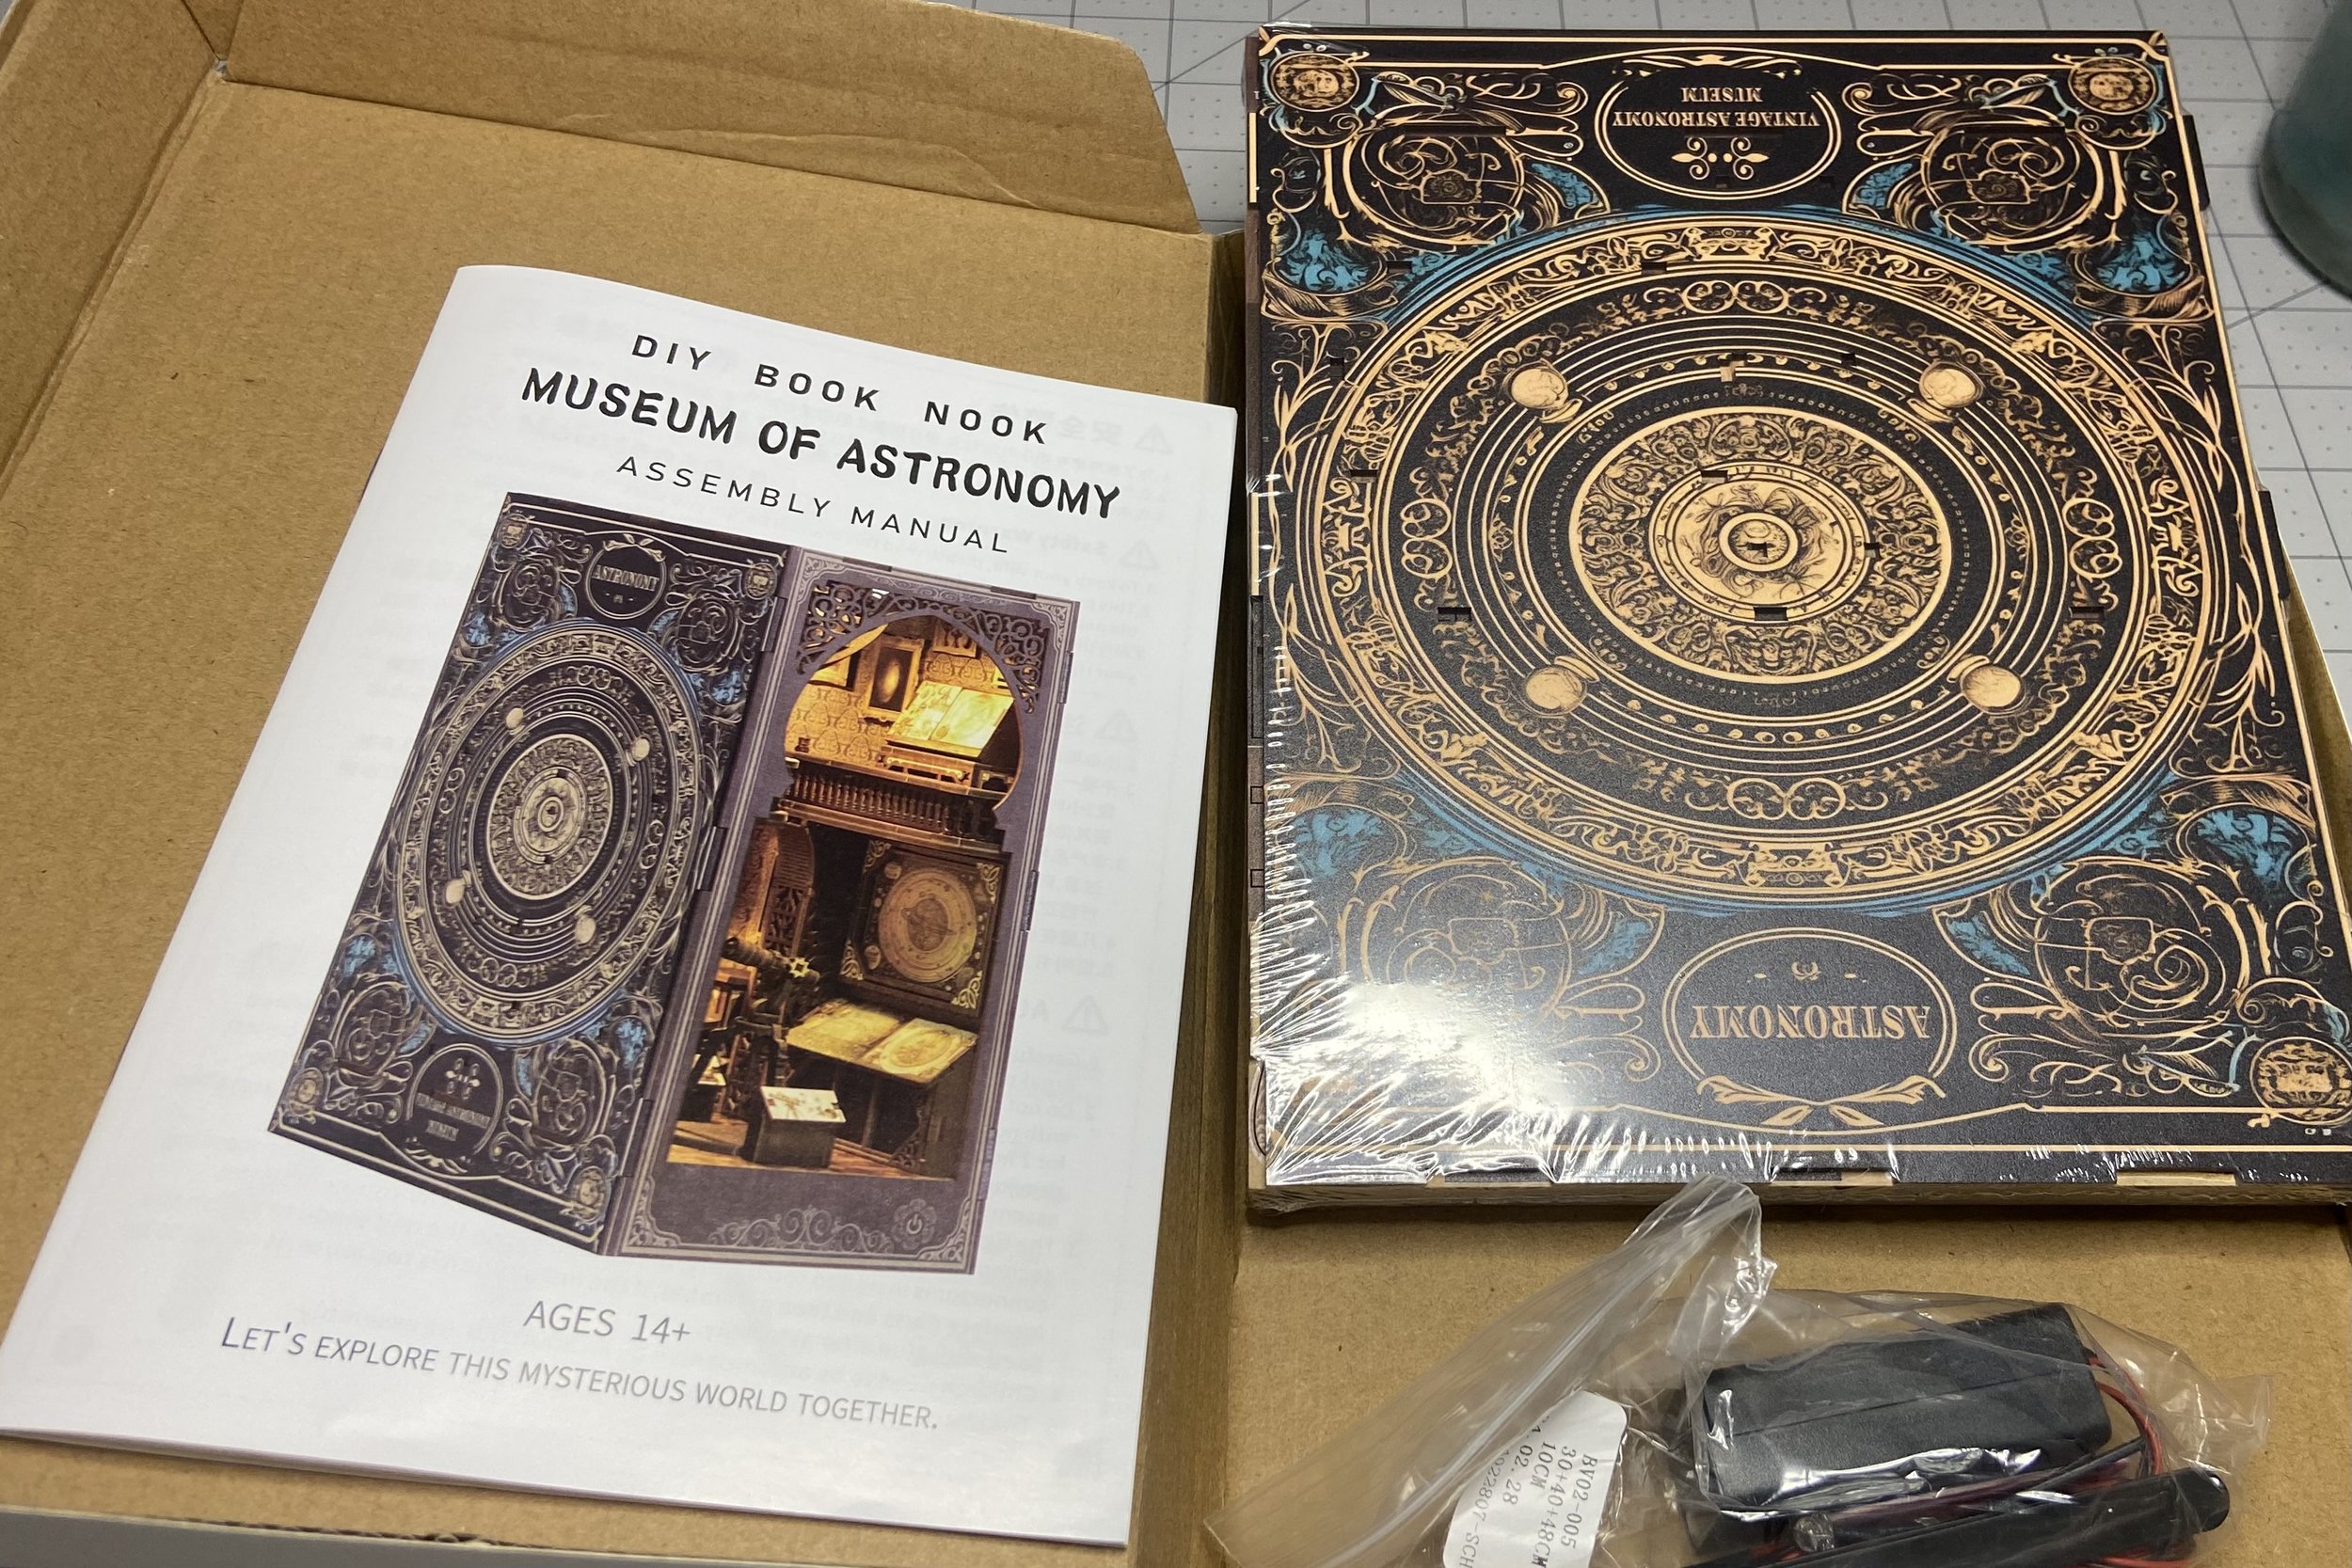
Then it was on to the next kit. This one was definitely from a different company. It’s called the Museum of Astronomy and it had no paper parts, only wood sheets from which all parts were assembled. So this was a bit of a different experience.

The instructions were laid out quite differently from the other two kits I’d assembled but were still easy enough to follow. Essentially, I was directed to work on the various sidewalls of the installation to start with. In this picture, you can see how easy it is to match up the instructions to the actual assembly work.
Once the floor and walls were assembled, it was time to start working on some of the more dimensional elements, like the telescope and the open dome hanging from the ceiling. It’s quite ingenious how they all came together from flat pieces. There were even a couple decorative support structures that curved in a way that couldn’t be managed from the flat sheets of pressed wood, but they were cut in such a way so that once they were removed from their sheet, they could be curved into place. It was really quite clever.


These instructions were significantly different in another way also. They had several steps where you were specifically directed to use glue. The other kits apparently assumed you’d use glue where you needed to and never mentioned it at all. This made me wonder if I wasn’t supposed to use glue for everything. Honestly, the way the pieces fit together was sufficiently precise that I probably didn’t need glue. However, being my father’s daughter, I glued almost everything. This almost bit me in the backside when I came close to glueing shut the little area where the battery pack for the lighting was kept. Had I glued this shut, I’d never have been able to change the batteries. I’m glad I figured that out before the point of no return…
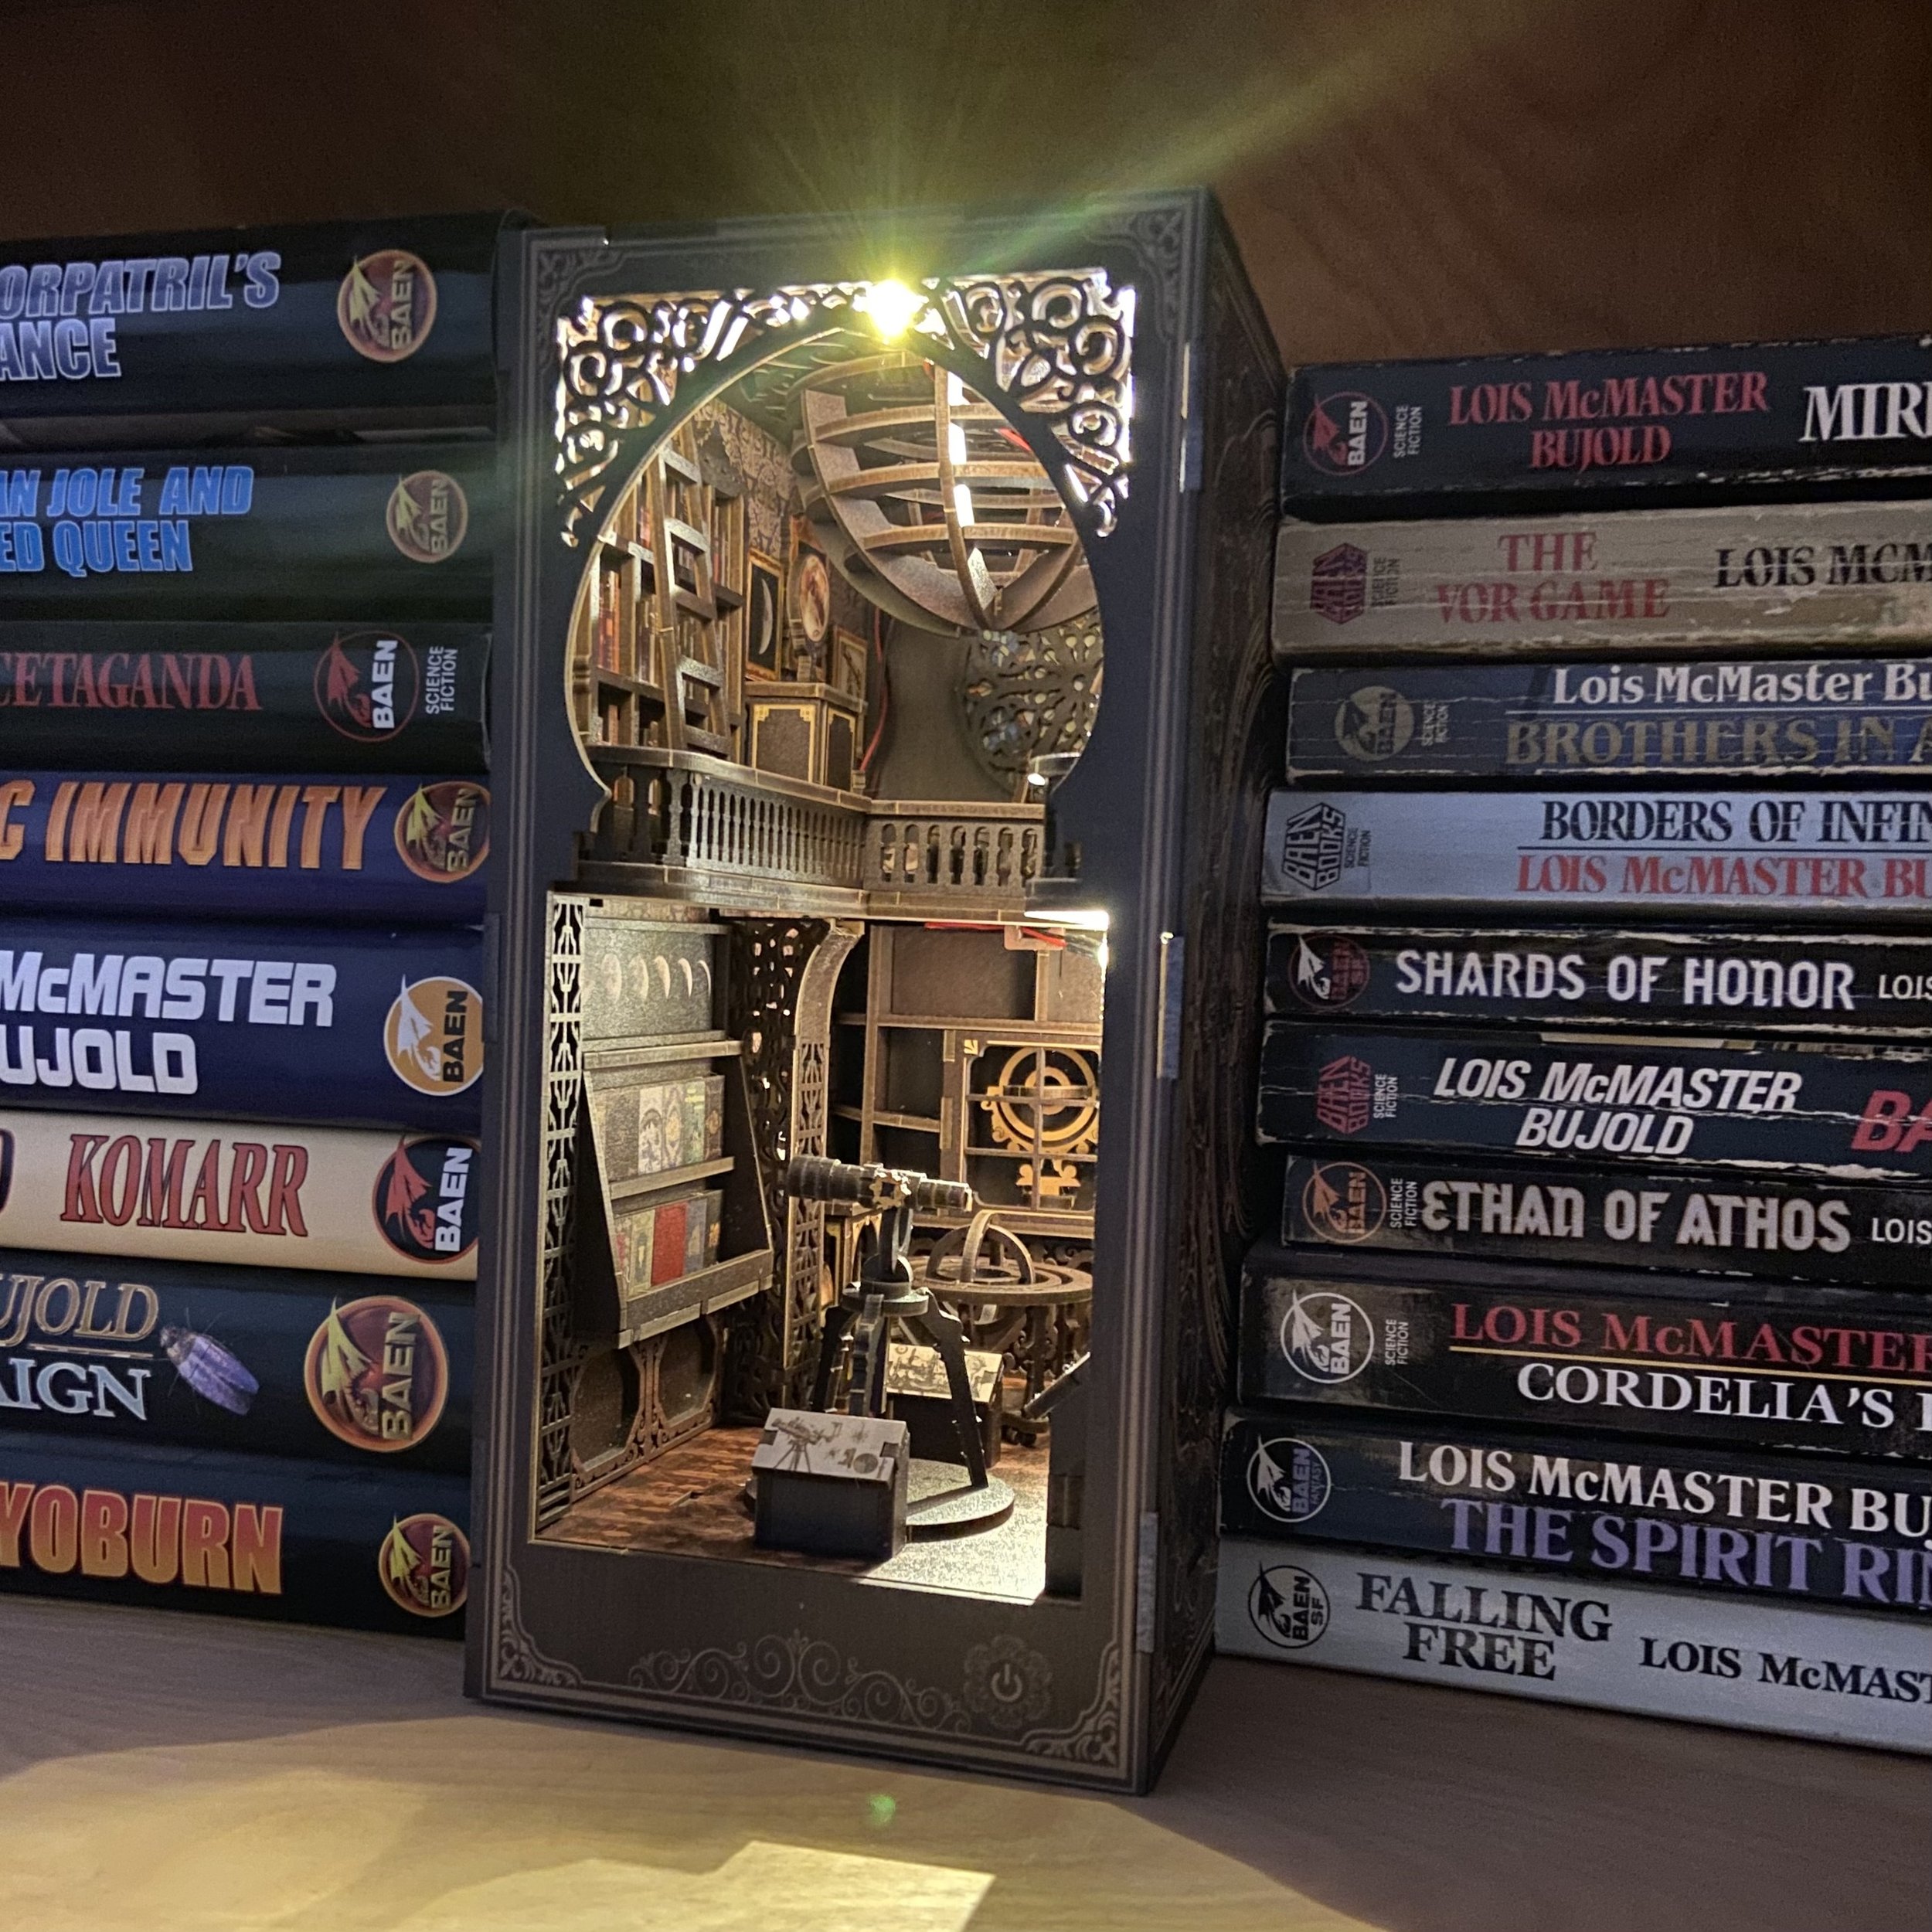
One of the other things that was different about this kit was the lighting array. The lights on the other two kits were bright enough. Not too much. I have to say, the lights on this astronomy kit are very bright, and if I’m honest, a little too bright. There’s enough glare on them that it’s a little harder than it should be to see and admire the interior. In fact, when I went to take pictures of it on the shelf, I couldn’t get any decent pictures because of the glare. I had to turn the lights off and take it back into the studio to get a couple decent pictures of the upper level. Another difference is that this book nook only has an on/off switch on the front, no motion sensor. So the lights are only on when you turn them on.


Differences and difficulties notwithstanding, I still enjoyed assembling both these kits immensely and I love having them on my bookshelves. I do have my eye on one more kit but I think I’ll wait a little while before doing another. One can have too much of a good thing…