Adventures In Game Systems
As an Amazon associate, I may earn a small commission if you navigate to Amazon from my site and buy something. This will not result in an extra cost to you.
My family loves to play Rummy-O. If you’ve never played, it’s similar to the card game Rummy, only played with tiles. Our game came with only the tiles, and the little platforms each player uses to hold their tiles. Nothing to hold the tiles still waiting to be drawn, which need to be either facedown on the playing table or otherwise opaque to the players. You have to draw tiles blindly.

What this meant in practice was that we just spread out the undrawn tiles facedown on one end of the table and hoped we had enough table left to lay out our pieces as we played them. This was messy, and also meant that you couldn’t really “shuffle” the tiles before you drew one. If you tried to move them around on the table to “faux-shuffle,” chances were excellent that you’d flip one or more tiles face up.
During a recent game, my mother tired of this situation, stalked off to the kitchen, and returned with one of her kitchen bowls, into which she dumped all the undrawn tiles. This was better, but not perfect, since we could all see into the bowl and at least half the tiles were now face up. This meant that a blind draw required you to close your eyes while you drew. I thought a better solution might be a little bag, like you get for the tiles of a Scrabble game.
Coincidentally, about this time, I had worn out a pair of jeans and was considering tossing them. Then I realized that the lower legs of the jeans were completely intact, and were a “straight cut” design. Perfect for a Rummy-O bag! I came up with a basic bag design with two possible closures.
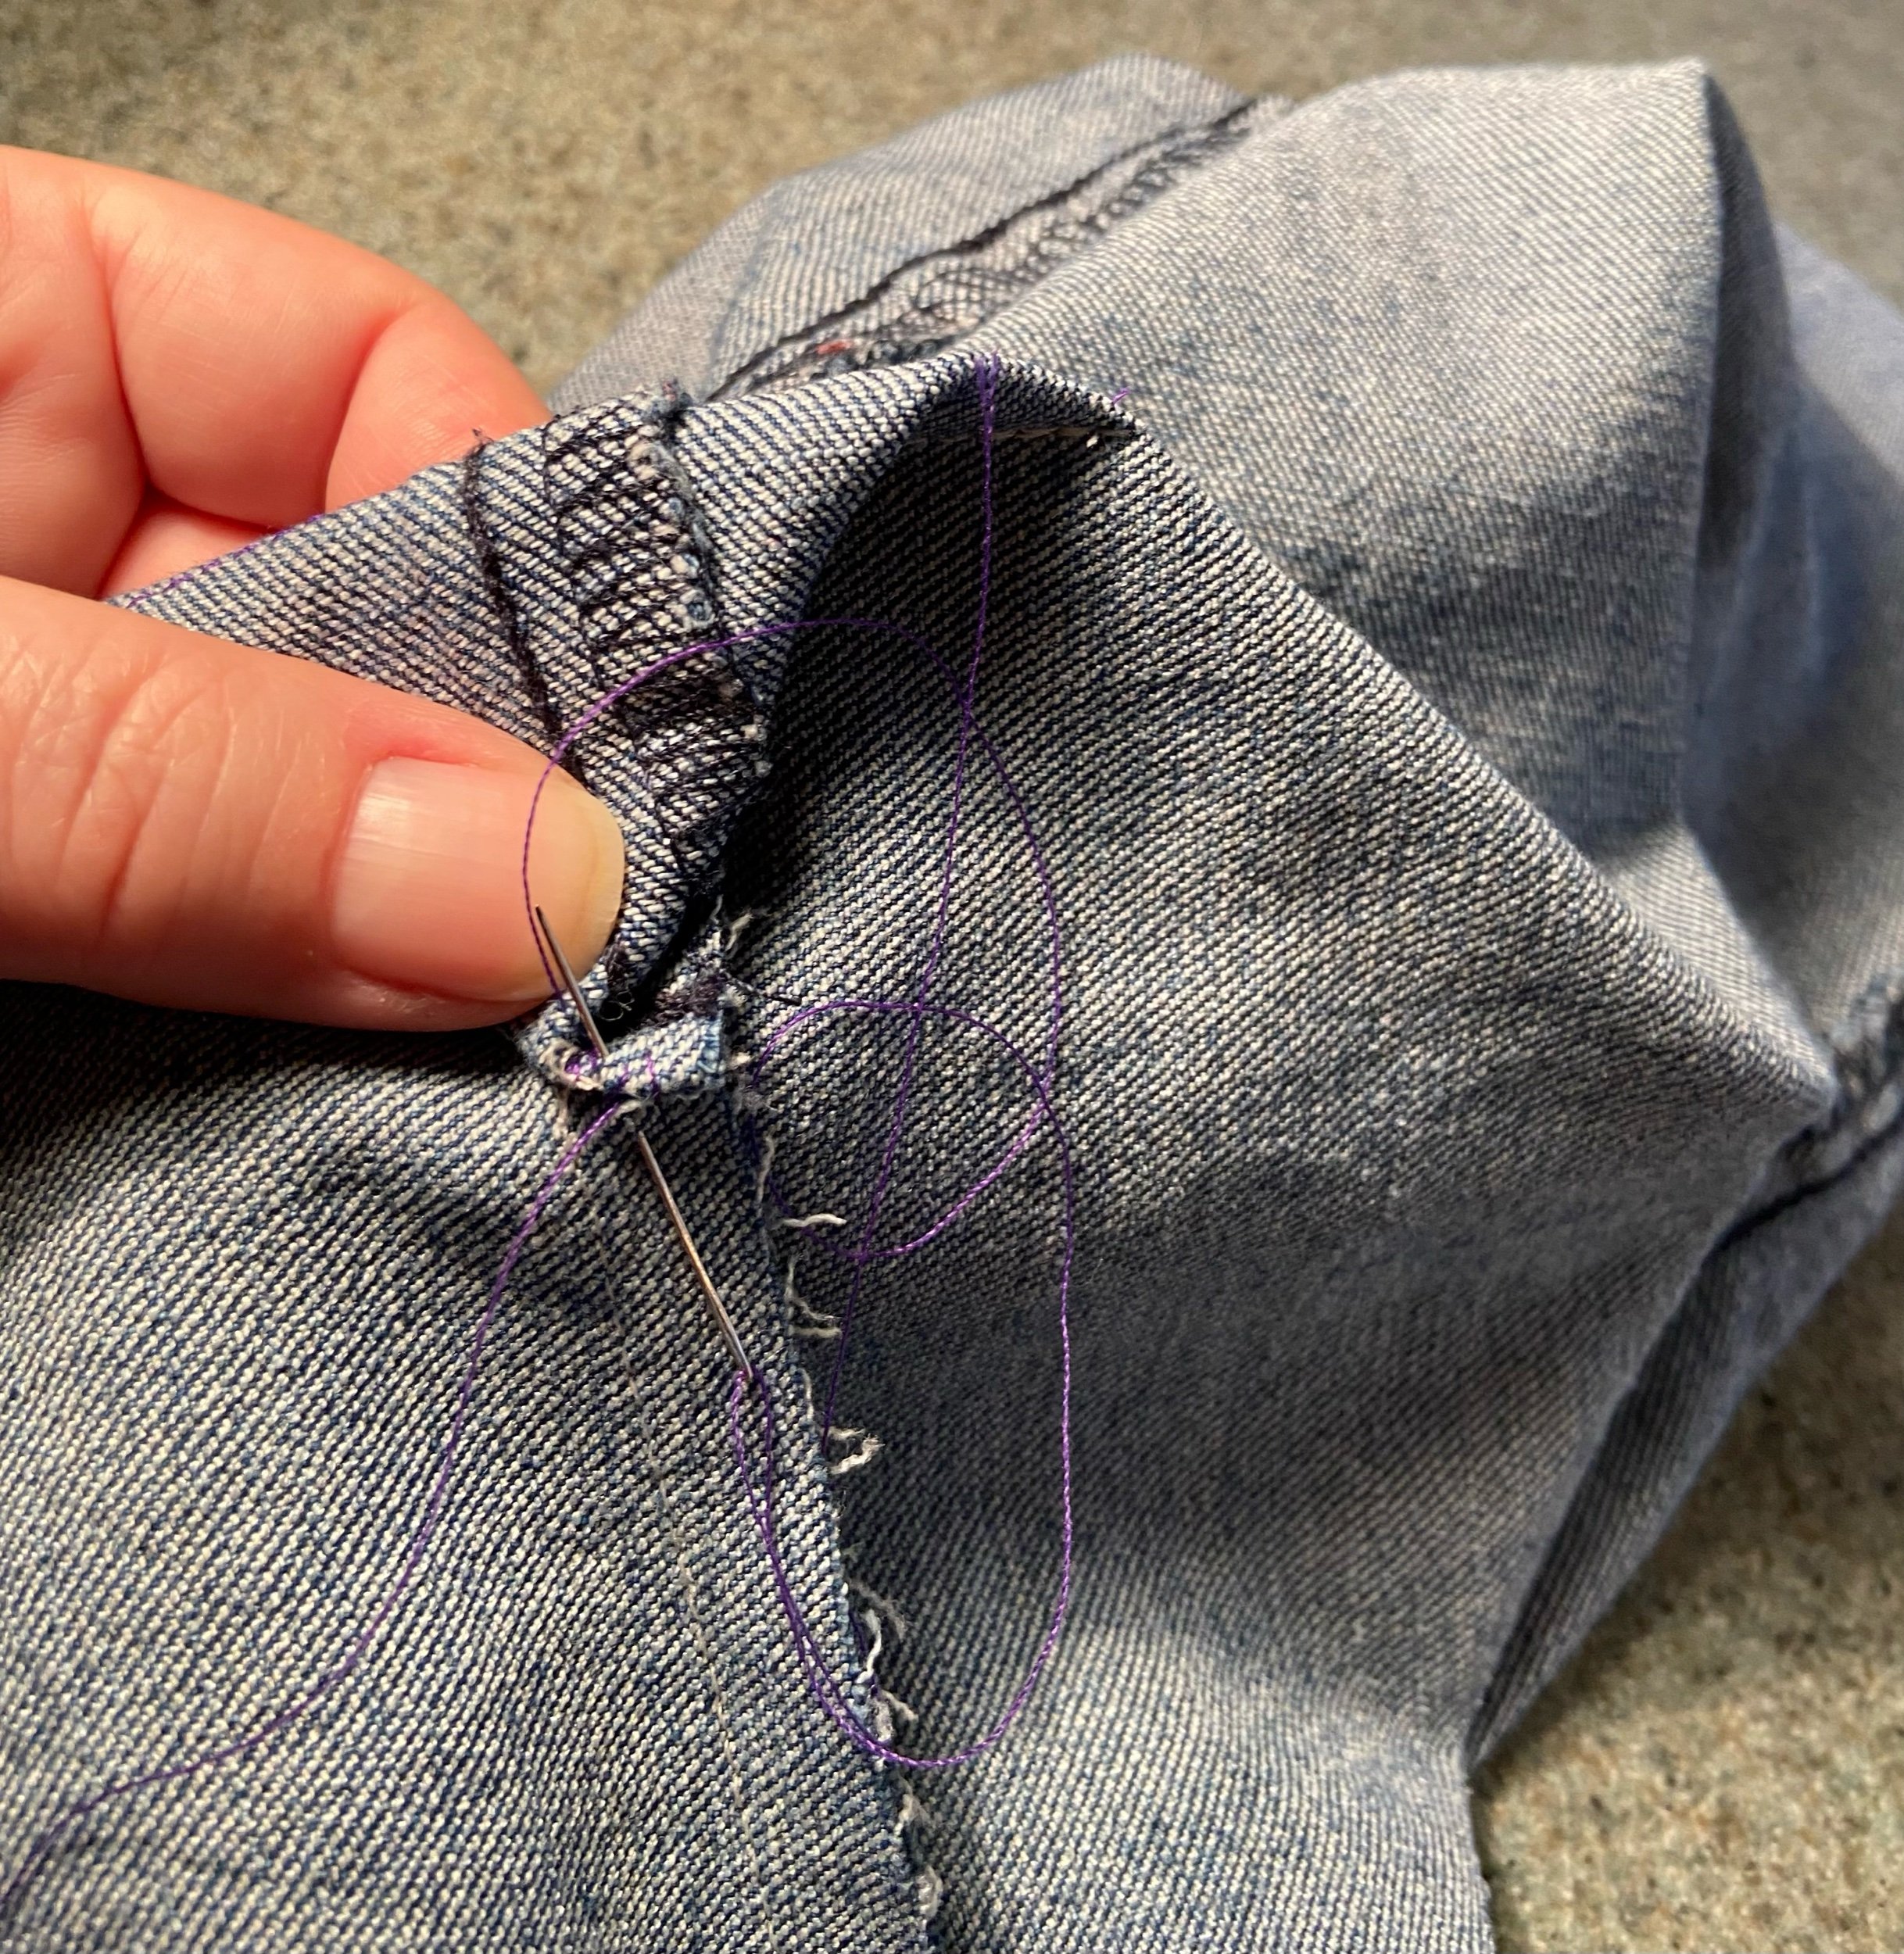
The bag construction itself is simple. Cut off as much of the jean leg as you want (I chose 12”, which was plenty), turn the denim inside out, and sew up the raw edge. This is now the bottom of your bag. The hem of the jeans is the top. Since I wanted my bag to stand up on its own, I opted to square off the bottom. That involves matching the bottom seam with the side seam at one corner, and sewing across, so you’ve sewn a triangle. Repeat the same on the other bottom corner, and consider tacking down the triangles to the bottom of the bag. This is optional, but a good idea, as it keeps that triangle piece out of the way and reinforces the bottom structure of the bag. Alternatively, you could trim off the triangle.


Now you need to decide how to close the top of the bag, so the game tiles don’t go walkabout when the game is being stored. You know how important this is…those little suckers can’t wait to abandon the field of (game) battle the moment you give them the chance. They must be securely contained!

The first option is the simplest and quickest. Install snaps that allow you to roll the top over and snap it closed. Secure, and quick ‘n’ easy to do. I like to use my KAM Snap system (I got mine here) but you could use any snaps you want. Or you could sew Velcro along the inside edge and close it that way. I made a bag with the snaps for my mother, so she could put away the kitchen bowl. Or use it to make cake. Whatever. (I vote for cake.)
The second option is a bit more laborious and time consuming, but I like the end result better. A drawstring is a more attractive closure. You could do a drawstring in a number of ways, but I opted to use some wide bias tape I had laying around, sew two casings (one on either side) on the outside top edge of the bag, and then thread two ribbons through all the way around. Be sure to thread the ribbons on opposite sides from each other so that the bag will close easily.


Not difficult and I’m very happy with the result. This bag is all mine!
