Adventures In Hat Design
In 2016, I decided for some reason that now escapes me that all three of the nephews needed handknit hats for Christmas. And I wanted to use down some of my (really ridiculous) stash of sock yarn, so I went looking for hat patterns using fingering weight yarn. And I didn’t find a single one that I liked. I just wanted a simple hat pattern, but I couldn’t find one. Most patterns called for worsted weight yarn. So…I wrote a pattern myself.

I started by knitting myself a stockinette gauge swatch in the round and came up with: 7.25 stitches per inch, using 2.5mm needles. Then I had only to measure the nephews’ heads in inches and multiply that by my stitches per inch. Whatever number of stitches needed to be cast on would need to be divisible by four, so I rounded down if necessary. On my original pattern, I knit 2x2 ribbing for awhile (thus the need for a stitch count divisible by four at the start of the hat), then stockinette for the hat (in a stitch count now divisible by six), then my fancy snowflake closure for the top. I even (I’m appalled to think about this now) put a matching pompom on each hat.

With age comes wisdom, and so I’ve laid off the pompoms and gone for a different, more sleek look in the hat brim. And bonus…I don’t have to do 3-6” of 2x2 ribbing (ugh, ribbing). If you want to follow along on a printed pattern, you can find a PDF copy here. For the hat I made for this article, I used my favorite online yarn store’s gorgeous Kashmir yarn in a color way the store owner called “Pandora” but which I’ve decided to call Peacock Blue. And yes, it came out of the stash. I’m still trying to be virtuous about the stash…
I started with my formula. I’m calling it a “formula” to sound fancy and sophisticated. It’s just gauge times head diameter. Nothing more complicated than that. Since I know that my knitting gauge in fingering weight yarn with 2.5mm needles is 7.25 stitches per inch, I measured my head and discovered that it’s still 22”. (I thought it might have changed with age, but apparently not.) So applying my formula, it goes:
22 (inches around head) x 7.25 (stitches per inch) = 159.5. Since I needed a number divisible by 6 (for the improved and updated pattern), I opted to round up (I usually recommend rounding down), yielding 162 as my number of stitches to cast on. This measurement gives you a hat that fits perfectly. If you want a hat that’s a little more snug in the brim, then just reduce your stitch count a little. Taking out an inch usually does the trick.
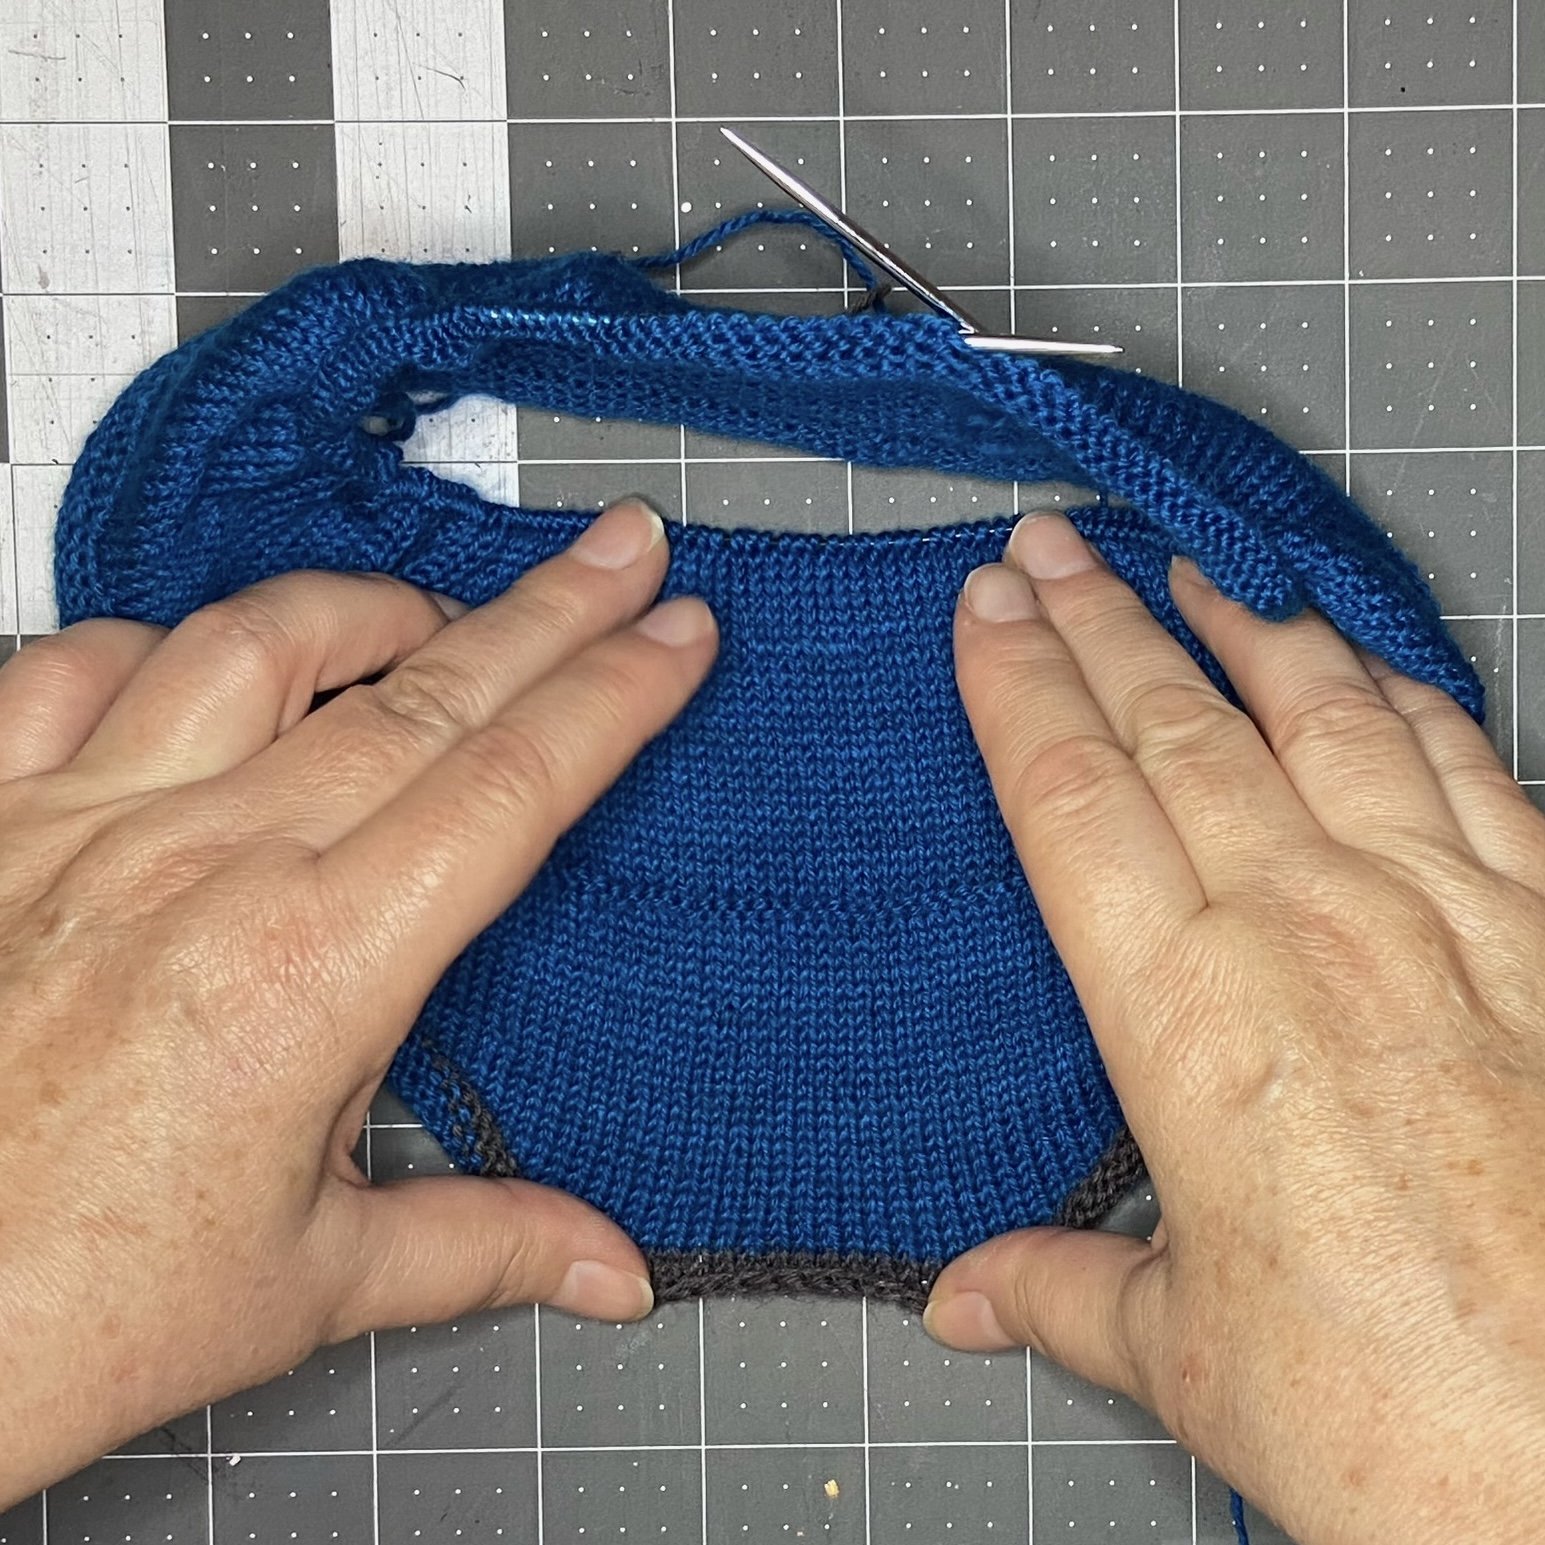
I cast on 162 stitches in a smooth waste yarn and made very, very (very!) sure not to twist the stitches as I joined to work in the round. I placed my marker for the beginning of the round and knit three rounds of stockinette before I joined in the yarn I was actually using for the hat (Peacock Blue, if you recall). At this point, I needed to count my rows as I knit until I had about 2 inches in my hat yarn. It took me 24 rows to get 2 inches, after which I did a purl round (to make the brim turn more crisply) and then knit another 24 rows of stockinette.

Then it was time to join the first row of hat yarn stitches to the row currently on the needles. This meant folding up the bottom of the knitting to the inside, slipping the first row stitches onto the left needle one at a time, and knitting each one together with the live stitch. Once the hem was folded, I just kept knitting in the round in stockinette. The waste yarn can be picked out at leisure. You can have a look at this YouTube video I made while working on a different hat to see how this looks in action.
At this point, just keep knitting until you have the hat as long as you want it to be (for adults, I suggest 7” from the bottom edge) and then get ready for your decrease. You have many choices for closing the top of the hat, but I generally stick with one of two methods.

Option 1: Place markers around the hat so that you have six sections, with an even number of stitches in each. Since I was knitting on 162 stitches, that meant that I had 27 stitches between the markers. Then you knit a round where you knit 2 together before every marker, and then knit a plain round. Do that for about 12 rounds and then stop knitting the plain rounds and just keep knitting the decrease rounds. When you have 6 stitches left, cut your yarn, draw it through all 6 stitches, and tighten it up. Then securely weave in the end. Since this end needs to hold tension on the closed top, I suggest putting in a few knots. Controversial, I know, but knots are secure. I am pro-knot. This closure gives you an elegant and symmetrical swirl pattern on the top of the hat.
Option 2: Place your markers as above but instead of just alternating 2 different knitting rows, you will follow this pattern:
Row 1: K2, P1, K to 2 stitches before marker, P2tog; continue around row.
Row 2, 4, 6, 8, 10, 12: Knit
Row 3: K3, P1, K to 2 stitches before marker, P2tog; continue around row.
Row 5: K4, P1, K to 2 stitches before marker, P2tog; continue around row.
Row 7: K5, P1, K to 2 stitches before marker, P2tog; continue around row.
Row 9: K6, P1, K to 2 stitches before marker, P2tog; continue around row.
Row 11: K7, P1, K to 2 stitches before marker, P2tog; continue around row.

After row 12, you will continue in sequence of pattern (K8, P1; then K9, P1 on next round, etc), and using the P2tog decrease before the markers but without knit rows in between. When the P1 stitches run up against the P2tog decreases, discontinue the P1 and just knit across till 2 stitches before the marker, then P2tog. Your last round will obviously be P2tog all the way around and you should end up with 6 stitches left on the needles. Cut yarn, thread end through all 6 stitches and tie off securely. Weave in the ends, wash, and block.
This yields you a sort of snowflake pattern on the top of the hat…it’s lovely but also unisex. In order to really make the top part of the hat show up properly, I like to block it over some kind of form. In this case, I used a 7” styrofoam ball.
I love this hat. It’s very simple, except for the fancy snowflake on the crown. The brim is super stretchy because it doesn’t actually have a cast on edge and it’s quite warm over the ears, since it’s double thickness. It does take a little longer to knit than hats knit with worsted weight yarn (like the Copycat C.C. Beanie) but it’s not difficult knitting. Just keep going round and round and round in stockinette until it’s long enough, then do your fancy closure.
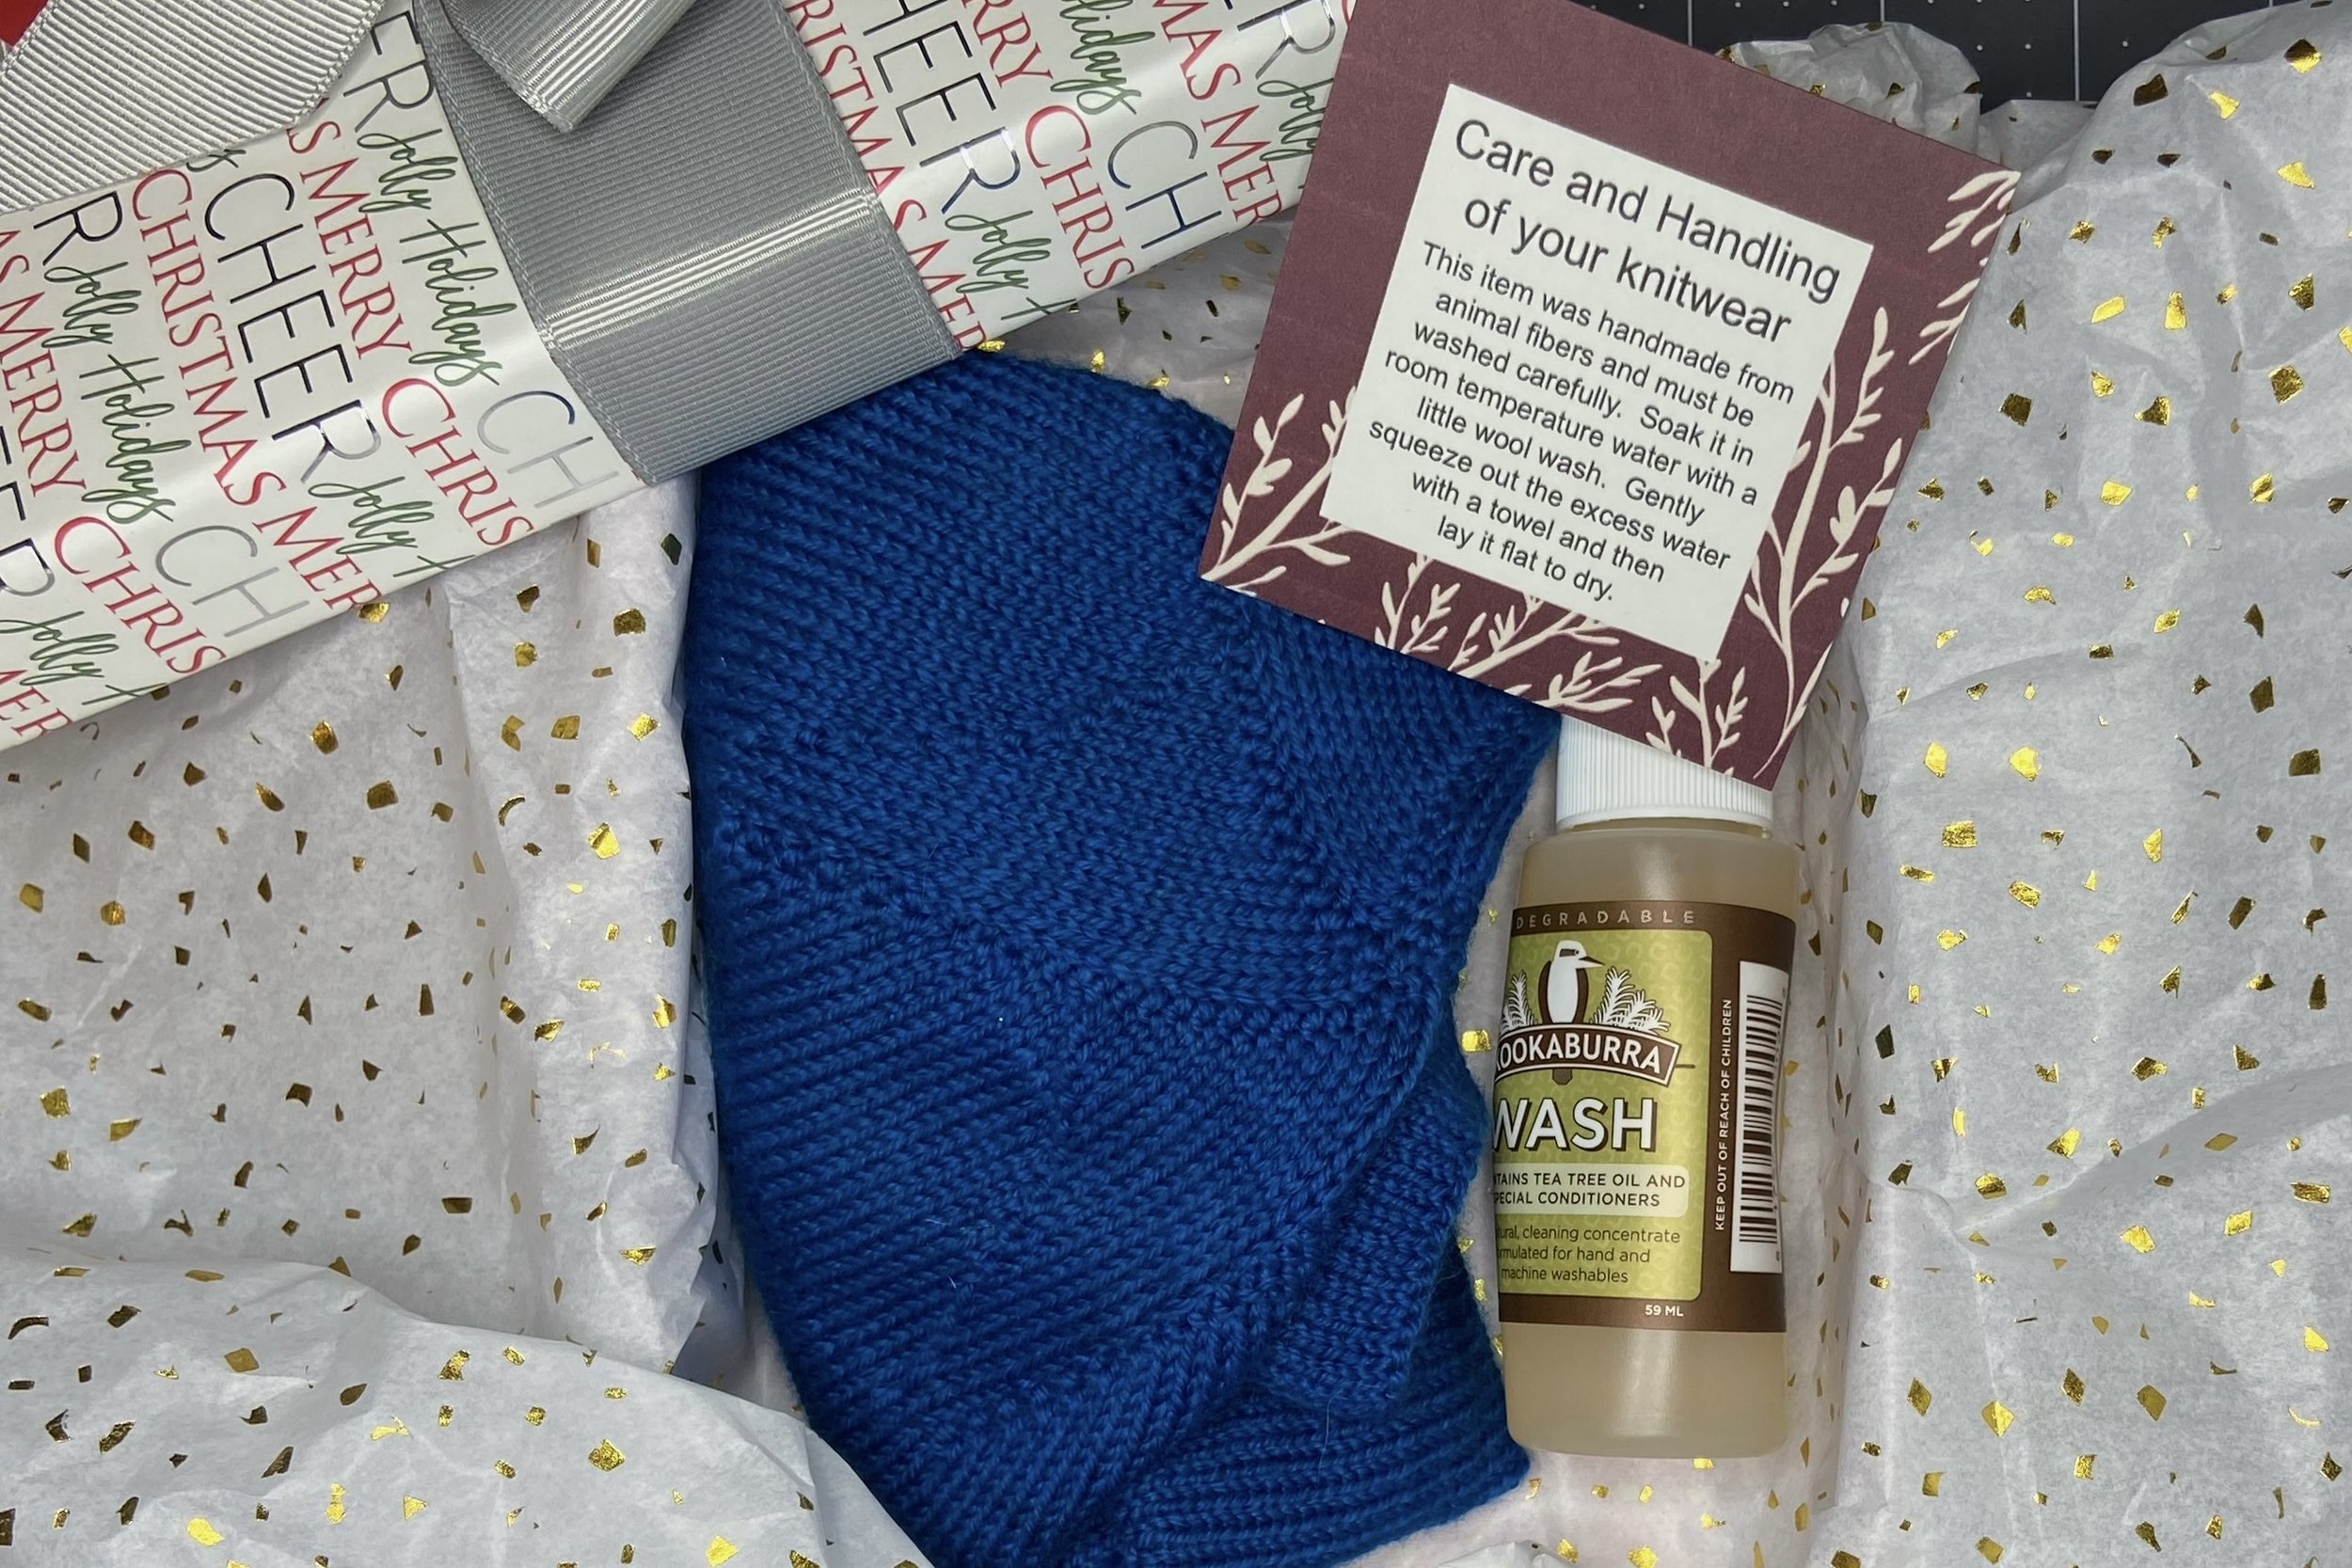
When I gift handknit items, in addition to including a small bottle of my favorite wool wash, I also like to include a little card with washing instructions. If you’d like to do the same, feel free to use my design. You can get it here.
