Adventures In Henrietta’s Hat
As an Amazon associate, I may earn a small commission if you navigate to Amazon from my site and buy something. This will not result in an extra cost to you.
When I finished my recent QAYG quilt, I had bits of the jelly roll strips left over. Enough, I thought (hoped), to make a cover for my new sewing machine (which I have named Henrietta). A hat for Henrietta, if you will. I cut down the remnants of the jelly roll strips into 2.5” squares, hoped I had enough, and began.
Before I describe how this went, I’d just like to say that I’d have done much better to start by making a paper pattern of all this. But I didn’t do that. I just leapt into the project with wild abandon and winged it. I started by measuring the machine. Using my measuring tape, I came up with 26.75” from the bottom of the front of the machine, over the top, and back down to the bottom on the back. And I came up with 16” for the width. I’d worry about the sides later. My initial plan was to make a cover that had a slot in the top so that the handle could poke through and the machine could be carried with the cover on it. With that in mind, I cut two pieces of fusible fleece, each 17” x 15”, so that I would have a seam right at the top to insert my opening.

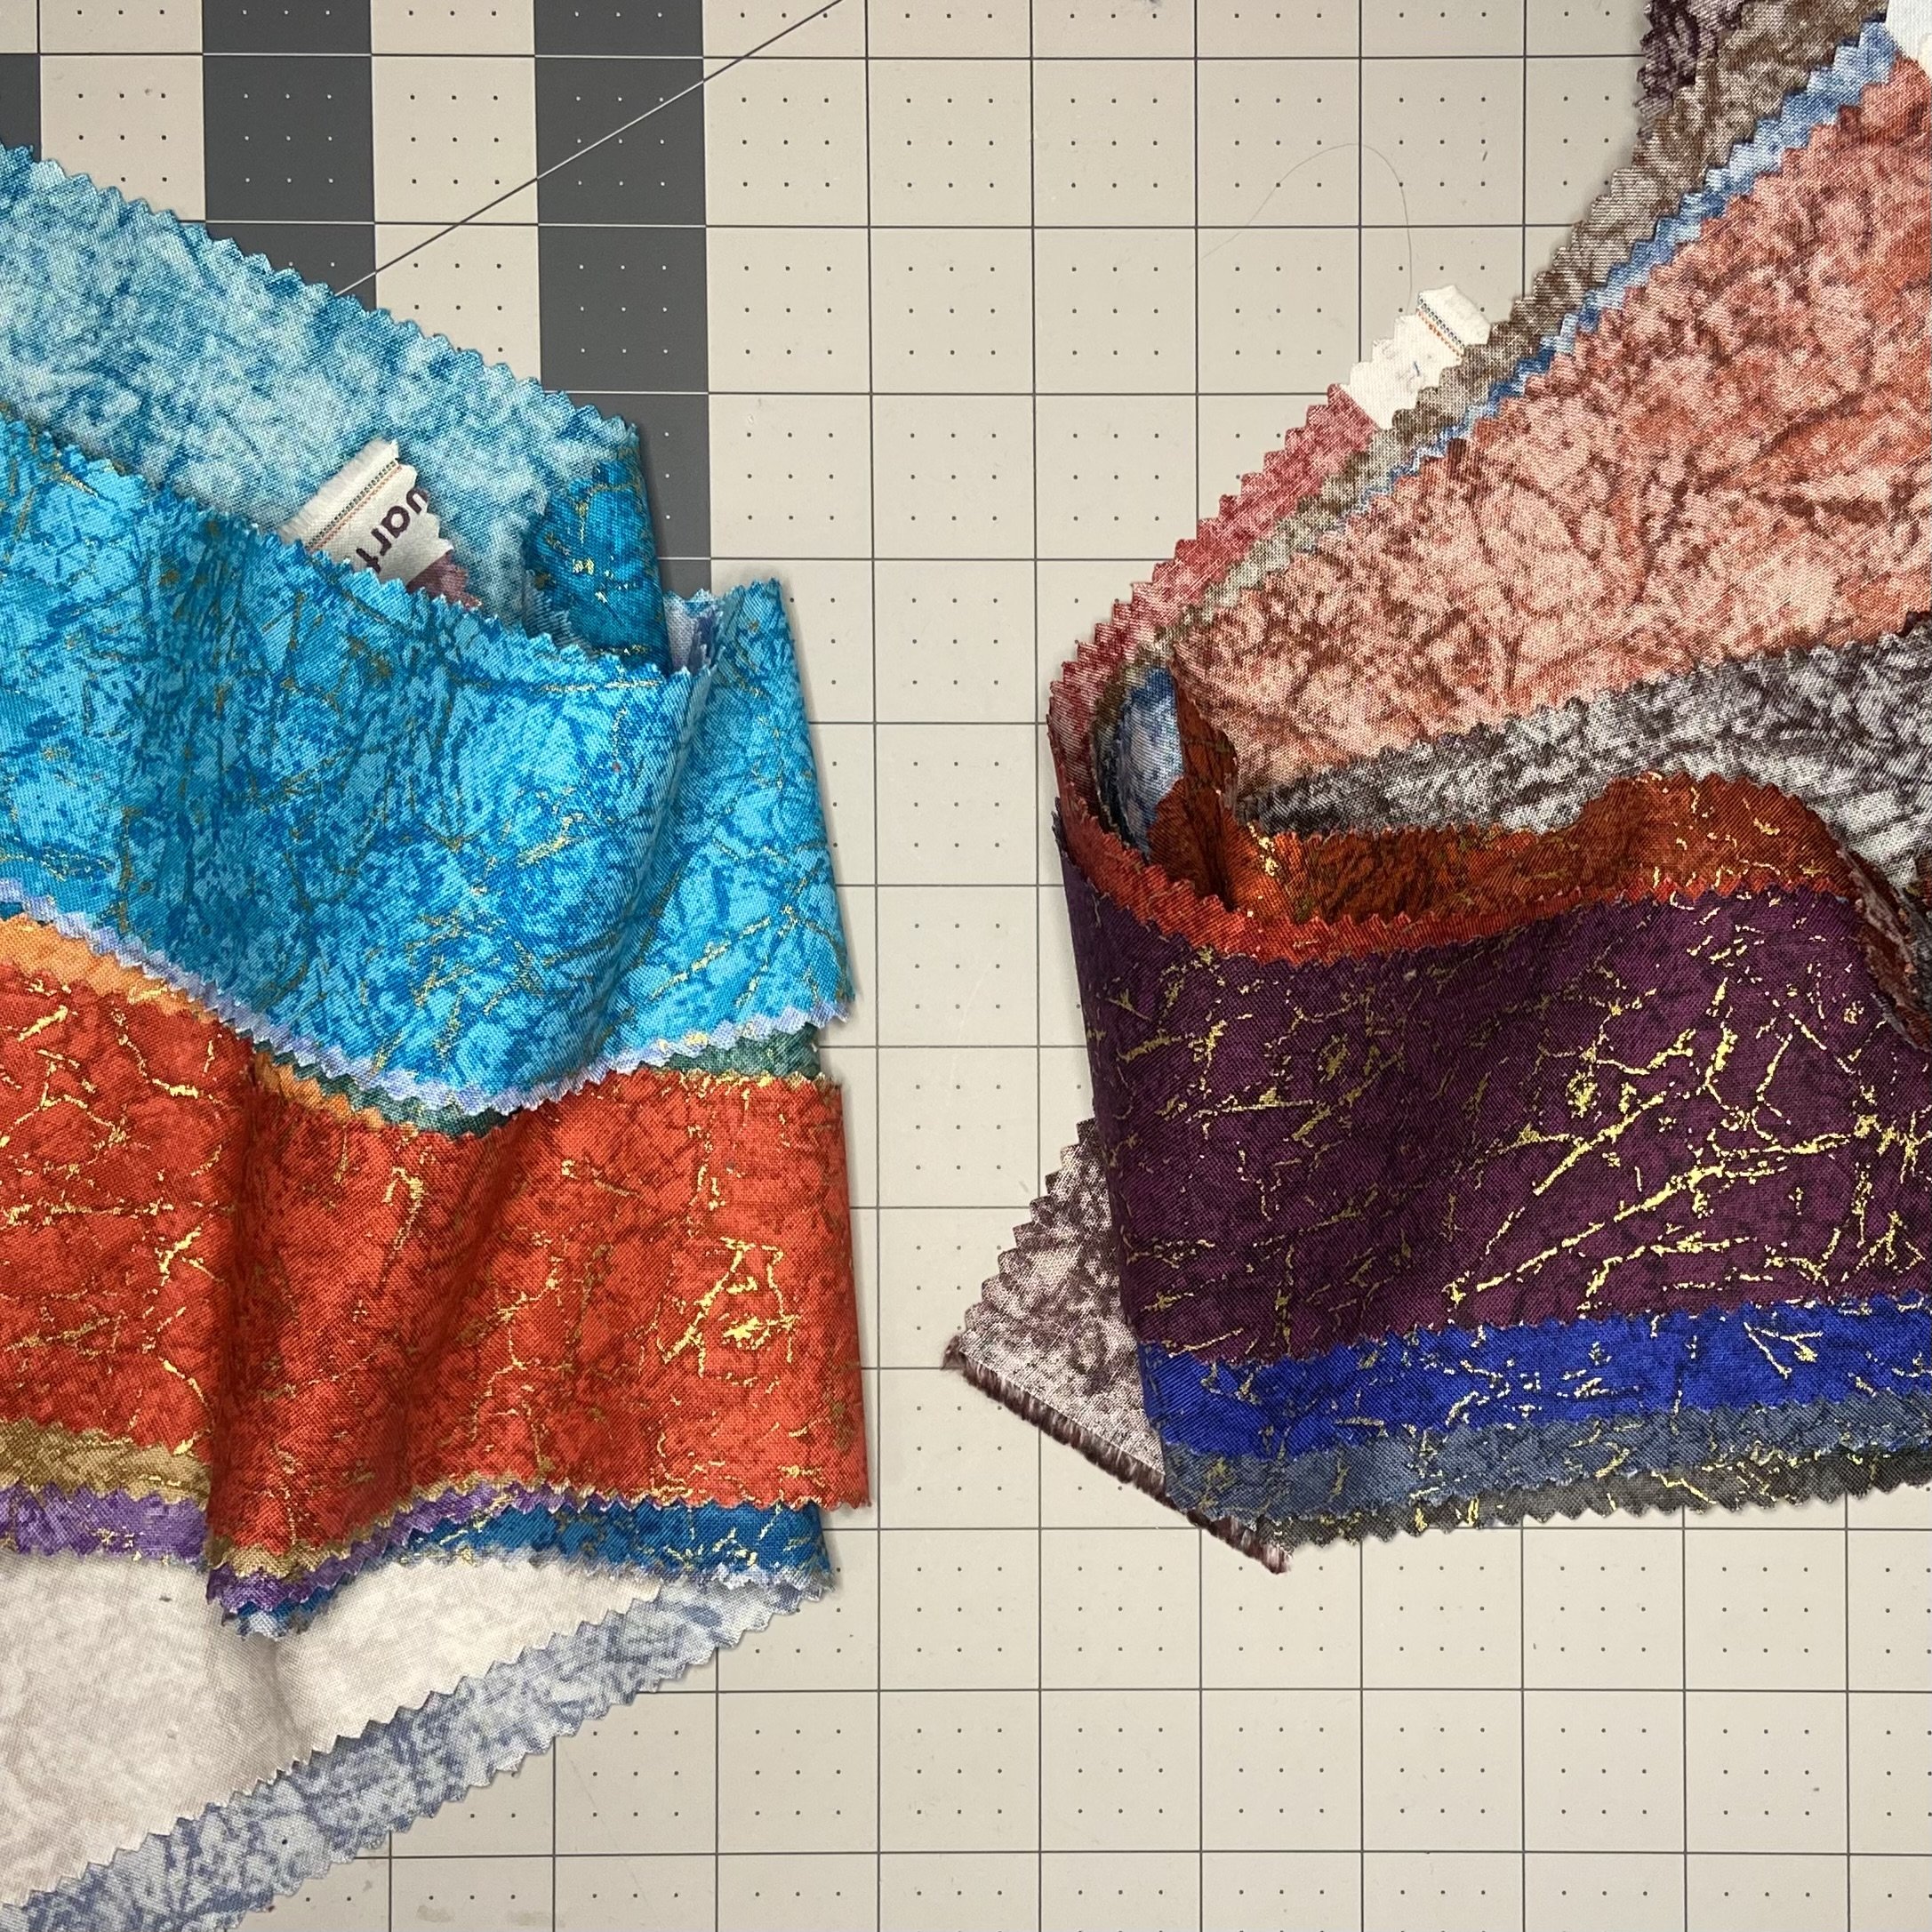
I started by laying the fleece out on my work surface so that the 17” side was horizontal, and marked the center of that edge. Then I started laying out my little 2.5” squares, working from the center point I’d marked. After I’d filled the surface area, I used my hot iron to fuse the pieces down. I didn’t have quite enough squares, so I dug through some discarded quilt squares (discarded because I’d made a mistake), cut the seams to get the jelly roll pieces apart, and cut them down into 2.5” squares. And I had just enough to finish the second panel. Once everything was fused down, I trimmed the excess fabric from the edges of the fleece.


Then came the part I was excited about…weaving! Okay, not really, but kind of. Ahem. I cut 1.5” strips of fabric and used my 3/8” bias tape maker to press them into strips that were .75” wide with the edges turned under. Then I placed these strips over the places where my jelly roll squares butted up against each other, covering the raw edges. I did weave these strips into place (you know, the usual over/under thing) and then pinned them into place.


I thought to use my stitch-in-the-ditch presser foot to make sure I had nice even edge stitching. And while this worked, the leading guide on the foot hooked underneath the perpendicular strips every time I got up close to one. It got quite tedious, so I switched to my 1/4” quilting foot, which made my life a little easier.


Once both the front and back panels were finished, I decided that I did not wish to fuss with a slot on the top of the cover, so I decided to seam the two panels together along the 17” edge. Once this was done, I made one more strip of fabric with the bias tape maker, and stitched it down over the top to cover the seam.


Now I needed to make some side panels. For this, I cut two pieces of fusible fleece that were12.5” tall and 7” wide. Then I cut some denim from an old pair of jeans and fused the fleece onto that. I used my heat erasable pen to draw lines from corner to corner and then parallel lines 1” apart. I trimmed the excess denim from the edges of the fleece, and then did quilting seams along the lines I had drawn. Once all the seams were in, a quick hit with a hot iron and all the ink lines were gone, as if by magic.


The next part was a bit fussy, mostly because I chose to do it the hard way. I folded the denim panel in half to find the center along the short edge, and marked that point. Then I marked a .25” seam line around the three sides that would be sewn. Yes, I have a .25” quilting foot on my machine, but this would help me at the corners, preventing me from sewing past my seam line by even one stitch. Then I matched the center point on the side piece to the center seam on the top piece, with right sides together, pinned, and sewed it down.


Joining the sides was even more fiddly. I worked on only one side at a time, carefully pinning the sides together and pinning the bulk of the top piece out of the way at a 45° angle. I tried to be very careful not to sew past my drawn stitching lines for this, but as you can see below, I wasn’t always successful. In the middle picture, I sewed only about a stitch past my corner marks, and on the right picture, I hit my corner marks exactly. I decided I could live with the slight error.


I trimmed to make sure that the bottom edges of the sides and the top were even, and then started on the lining. The lining went together the same way as the outer cover, except I made one long piece for the top instead of seaming together two pieces. And of course, I didn’t have to quilt anything. I also thought to try ripping the fabric instead of cutting it, to see if I got straighter lines. I did get perfectly straight lines right on the grain, but the tearing also pulled on the threads of the cheap fabric to either side of the rip, making visible little lines. As this was going to sit unseen inside the cover, I moved on with my life.


I sewed the pieces together in the same manner as the outer cover, except that on one long side seam, I left an opening so I could turn the whole thing right side out later.
Because I did not use a pattern and I had also trimmed down the outer cover somewhat so it was no longer the initial dimensions I used, I sort of had to guess at the size of the fabric panels for the lining. I ended up with a lining that was a bit bigger than the outer cover. This became very obvious when I went to sew the inner and outer cover together along the bottom edge. I turned the lining wrong side out, and stuffed the outer cover inside it, right side out. This left me with the outer cover nested inside the lining with the right sides together. Where there was excess fabric, I just folded and pinned it into a pleat, making sure I only had one pleat per side. I pinned the two pieces together, making sure that the side seams matched up, and then stitched it together.


Once it was all stitched together, I turned everything right side out through the hole I’d left and then stitched the hole closed on the machine.


Then I tucked the lining inside the outer cover and did some top stitching to hold everything in place.


And it’s done! No, it isn’t perfect, and there were lots of ways I could have done it better. If I try to do anything like this again, I won’t be joining the sides this way…it was a pain in the backside. I’ll just try boxing the bottom, like a normal person. And I’ll use a pattern. But Henrietta’s hat makes beautiful use of those gorgeous jelly roll remnants, the weaving of the fabric strips was fun, and I think it’s quite pretty. Oh, and it’s also functional. No dust is getting into that machine. So…I’m calling it a win.
