Adventures In Book Nook Addiction
As an Amazon associate, I may earn a small commission if you navigate to Amazon from my site and buy something. This will not result in an extra cost to you.
I am not addicted to building book nooks. I can quit anytime!
Okay, I might have a slight problem…I did buy and build two more, bringing my total to five. That’s probably a bit excessive.
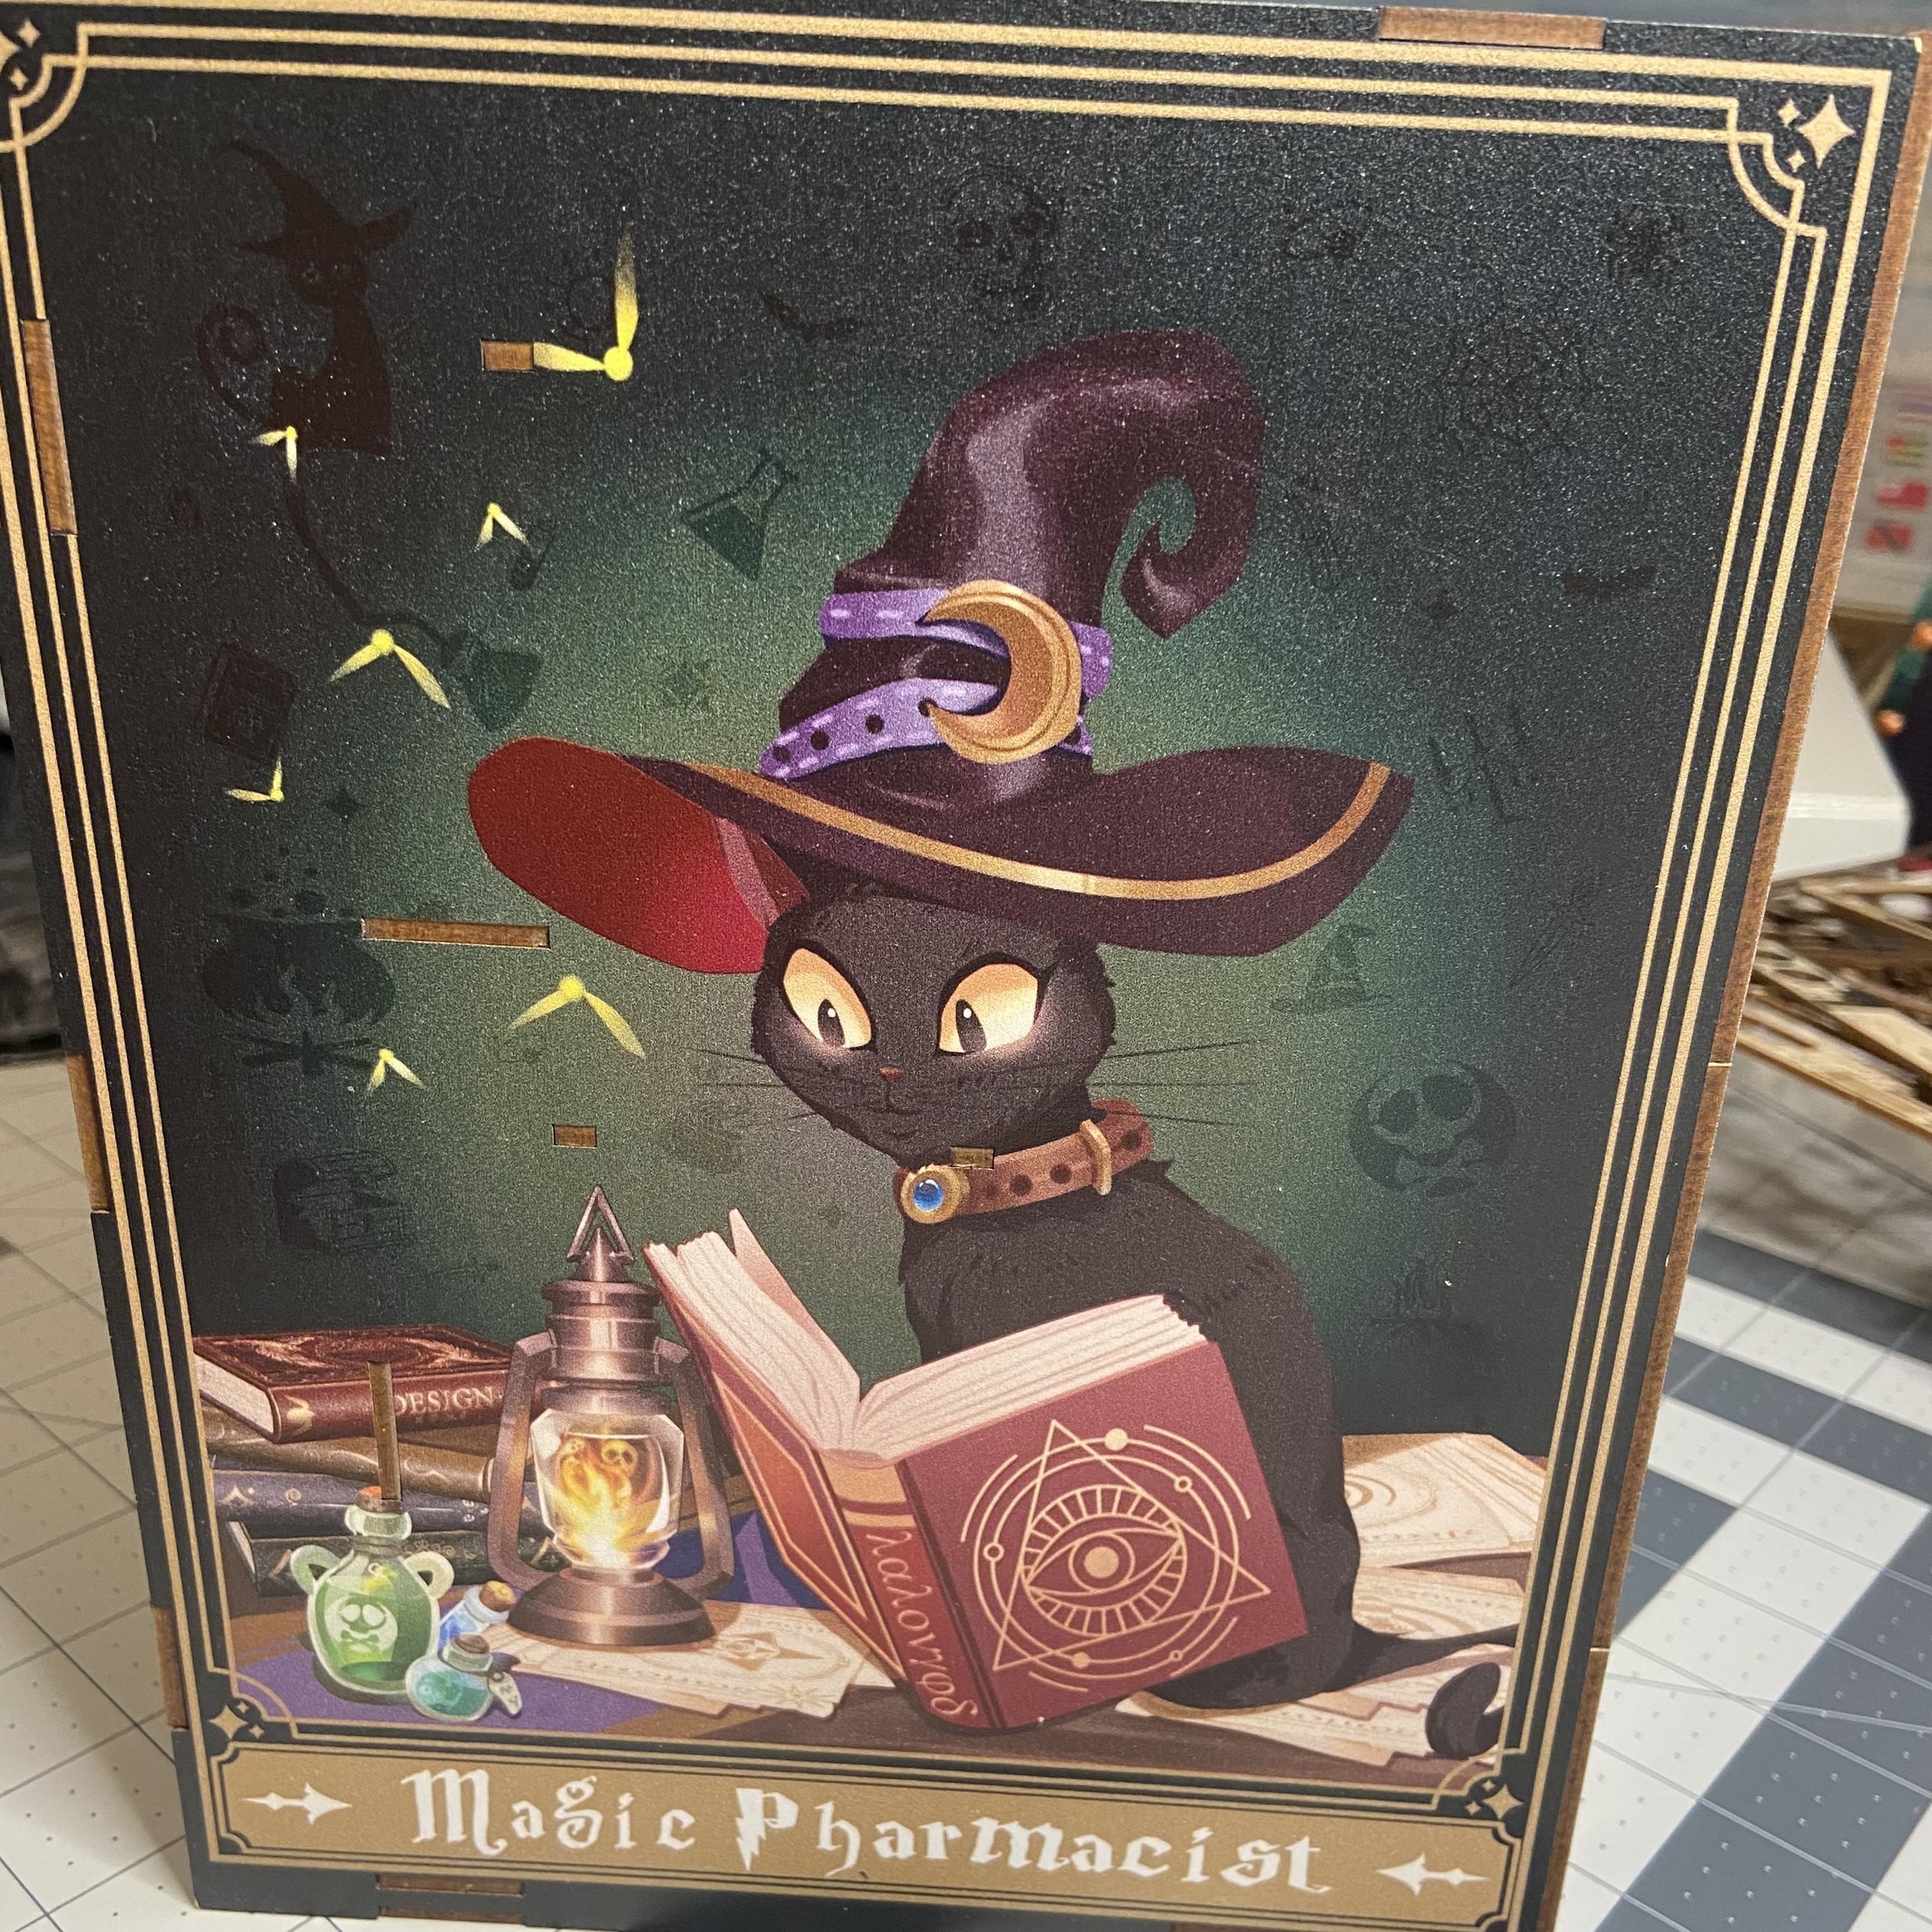
First up was this particular cutie called the Magic Pharmacist. I think it was supposed to have a sort of Harry Potter vibe without ever actually impinging on any trademarks. It’s well designed and very cute. And there were multiple YouTube videos of various people doing the build, which is one of the things I looked at before I decided to buy this kit.

Like my previous kits, this one was beautifully designed and went together with great precision. One of the really interesting things about this kit (as opposed to every other kit I’ve built) is that the paper components were done as stickers, which really cut down on the amount of glueing I needed to do and certainly speeded up construction. All the books, for example, went much faster.
Another cool feature of this kit is that the book covers looked like real covers. There’s the Jane Austen beauty Sense and Sensibility and there’s even The Tales of Beedle the Bard. I’m not sure how they’ve gotten away with that one…I can only assume that J.K. Rowling’s publishers and Warner Bros. Studios haven’t noticed yet.


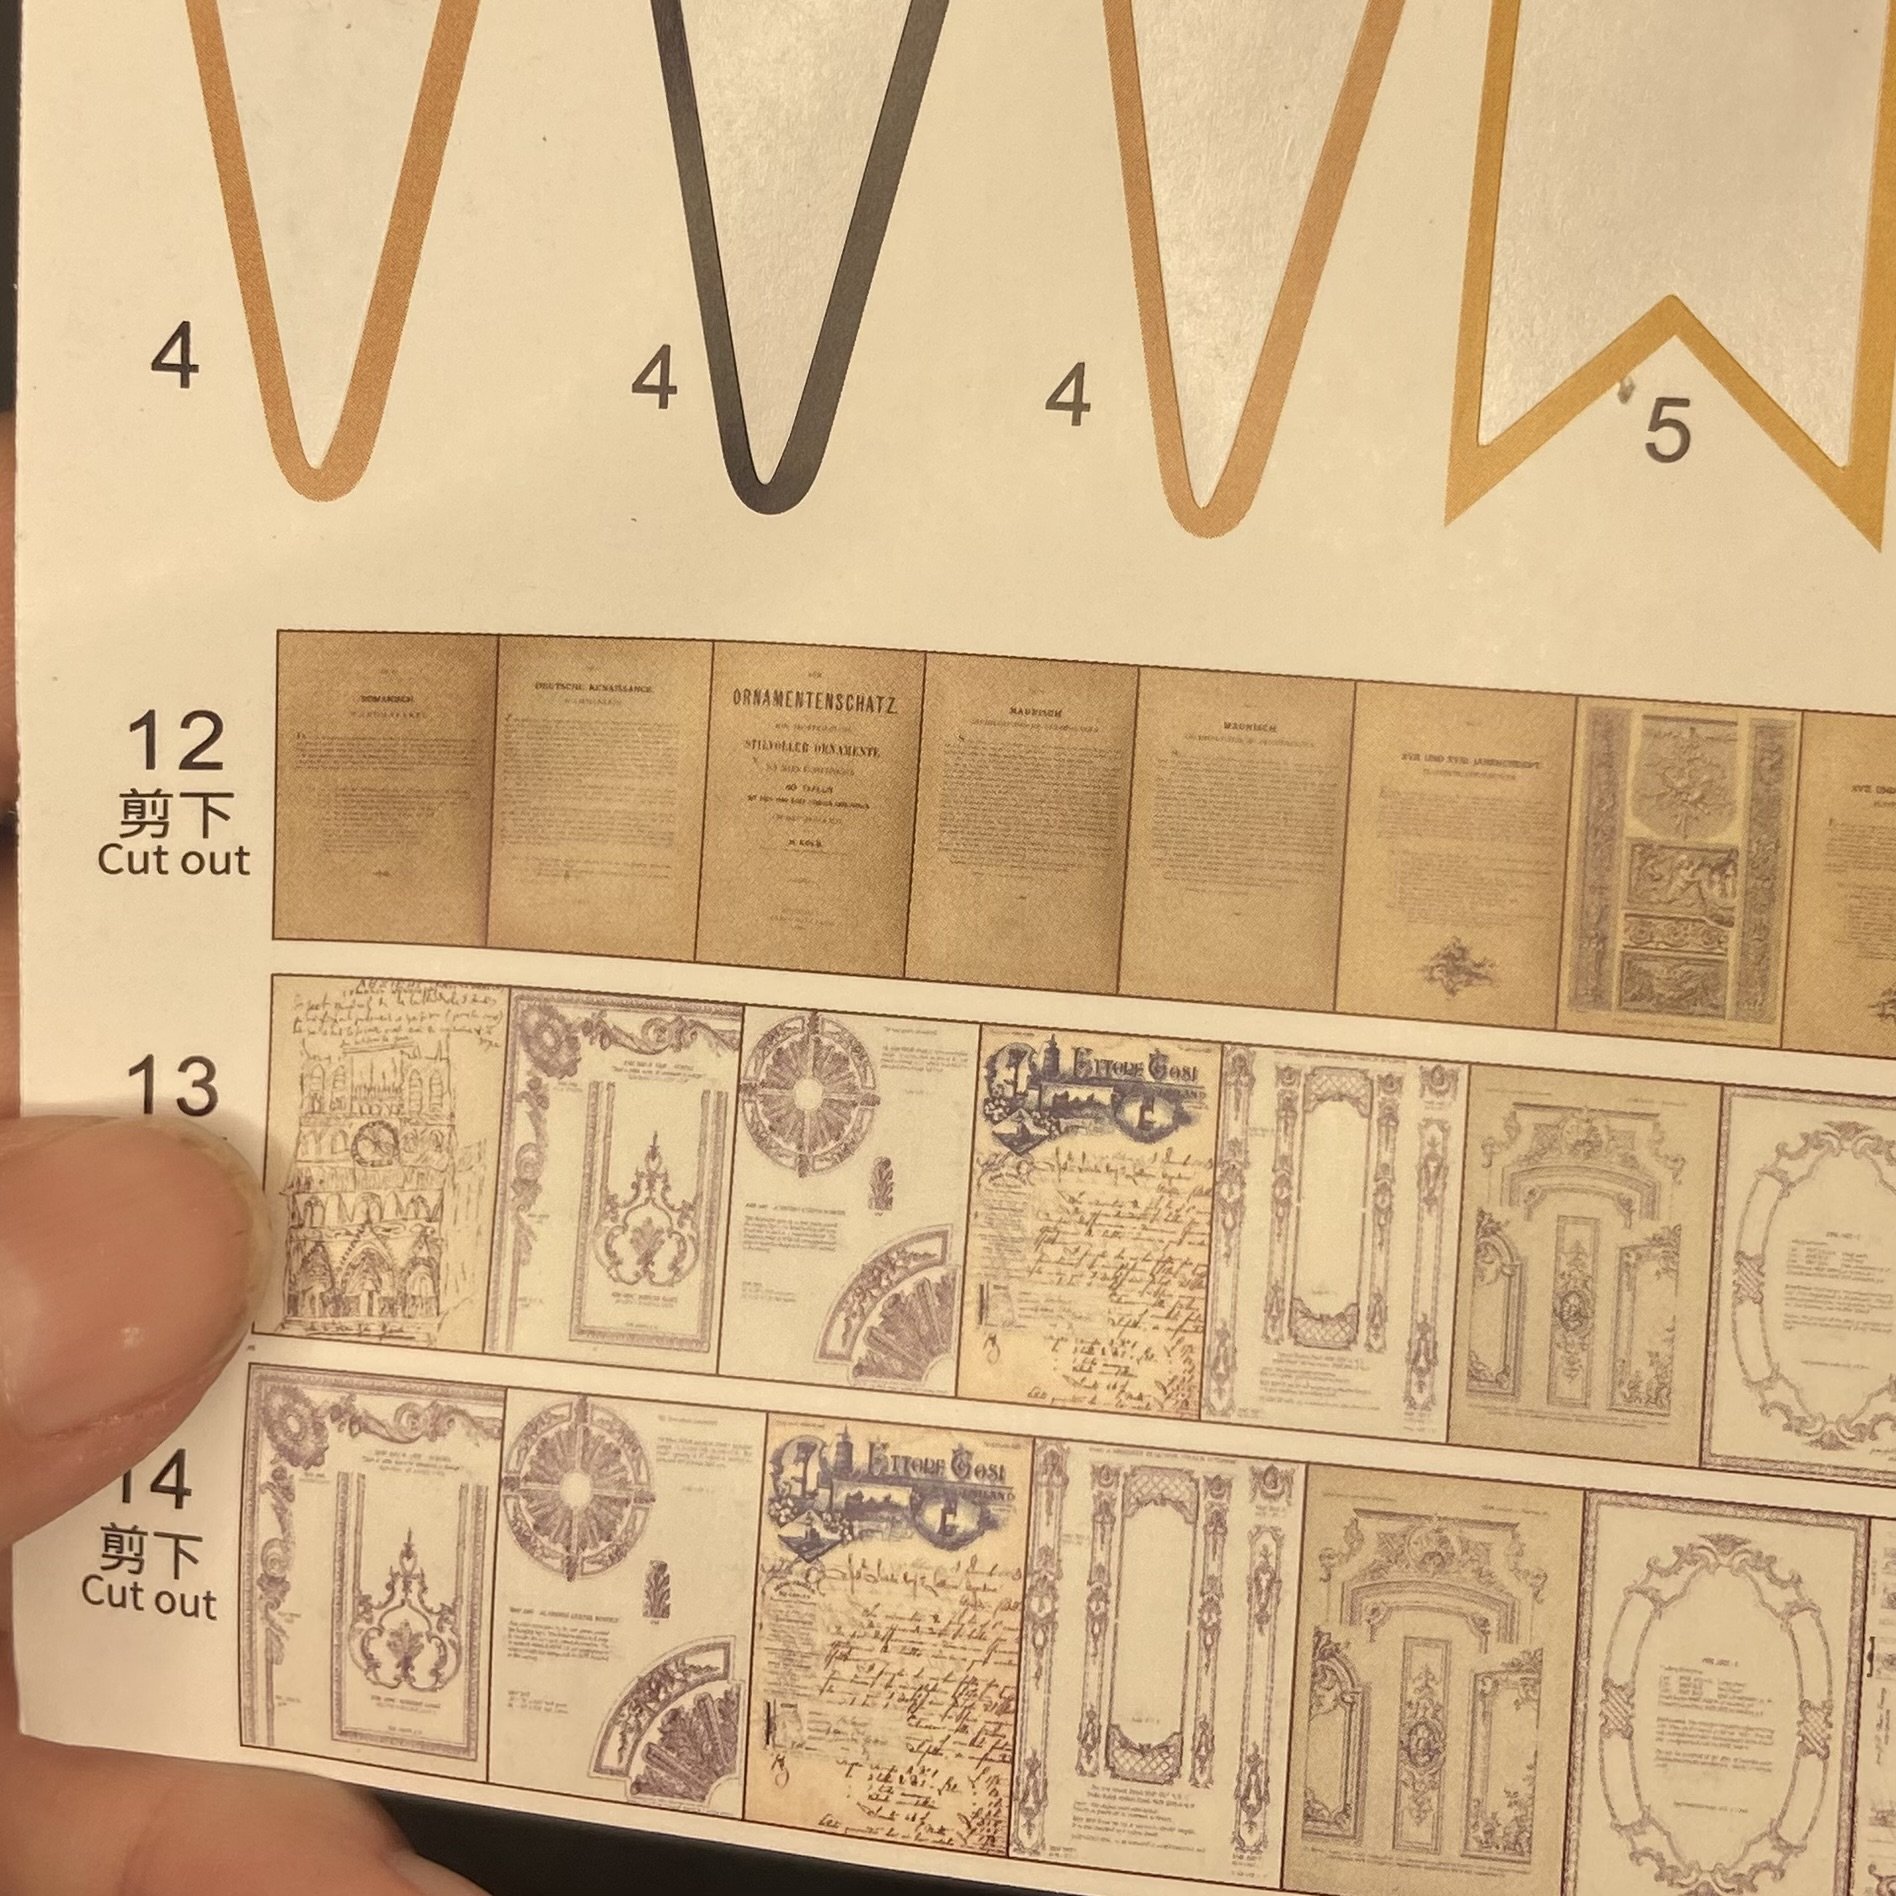
While all the paper components were done on sticker paper, there were still a few pieces that had to be cut out and glued down. For example, the books that would be open with the pages visible. Those had to be constructed in the usual way, with cutting out the paper (sticker) and folding it accordion-style, then wrapping its cover around it.
I followed the instructions and only glued what I was directed to glue (with the exception of the lighting array, which I believe always benefits from glue in addition to the crappy inadequate little tape strips provided with the kit). The rest of the kit was cut with sufficient precision that the pieces went together relatively easily but fit snugly, allowing friction to hold everything together.
I did have terrible trouble with the cauldron. I’d seen, from the YouTube videos I’d watched, that I was far from the only person to struggle with this and in fact, many makers simply left the cauldron out of the final product. But I was determined to try. I made all eight curved pieces and then started trying to slot them into their holding rings, which is where I came to grief. Each piece has to be held by both the top and bottom ring before you can let go and expect it to hold together. But it won’t hold together without some balancing pieces inserted on the opposite side. I think during my best effort, I managed to get four pieces in there before it all fell apart. Eventually, after some strong language failed to solve my problem, I discarded the cursed cauldron. In the picture, you can see the upper level where the cauldron was supposed to sit on the carpet. I just moved the desk over a little and said, “What cauldron?” and moved on with my life.


As with the other book nooks I put together, there’s a time near the beginning of the project where you are assembling a lot of smaller pieces and then setting them aside either to be placed in the nook later, or else to get assembled into a larger piece later, which will then be placed in the book nook. I confess, I just delight in looking at my “staging area” and admiring all the miniature bits that I’ve made. Miniatures are so fun! Who knew?


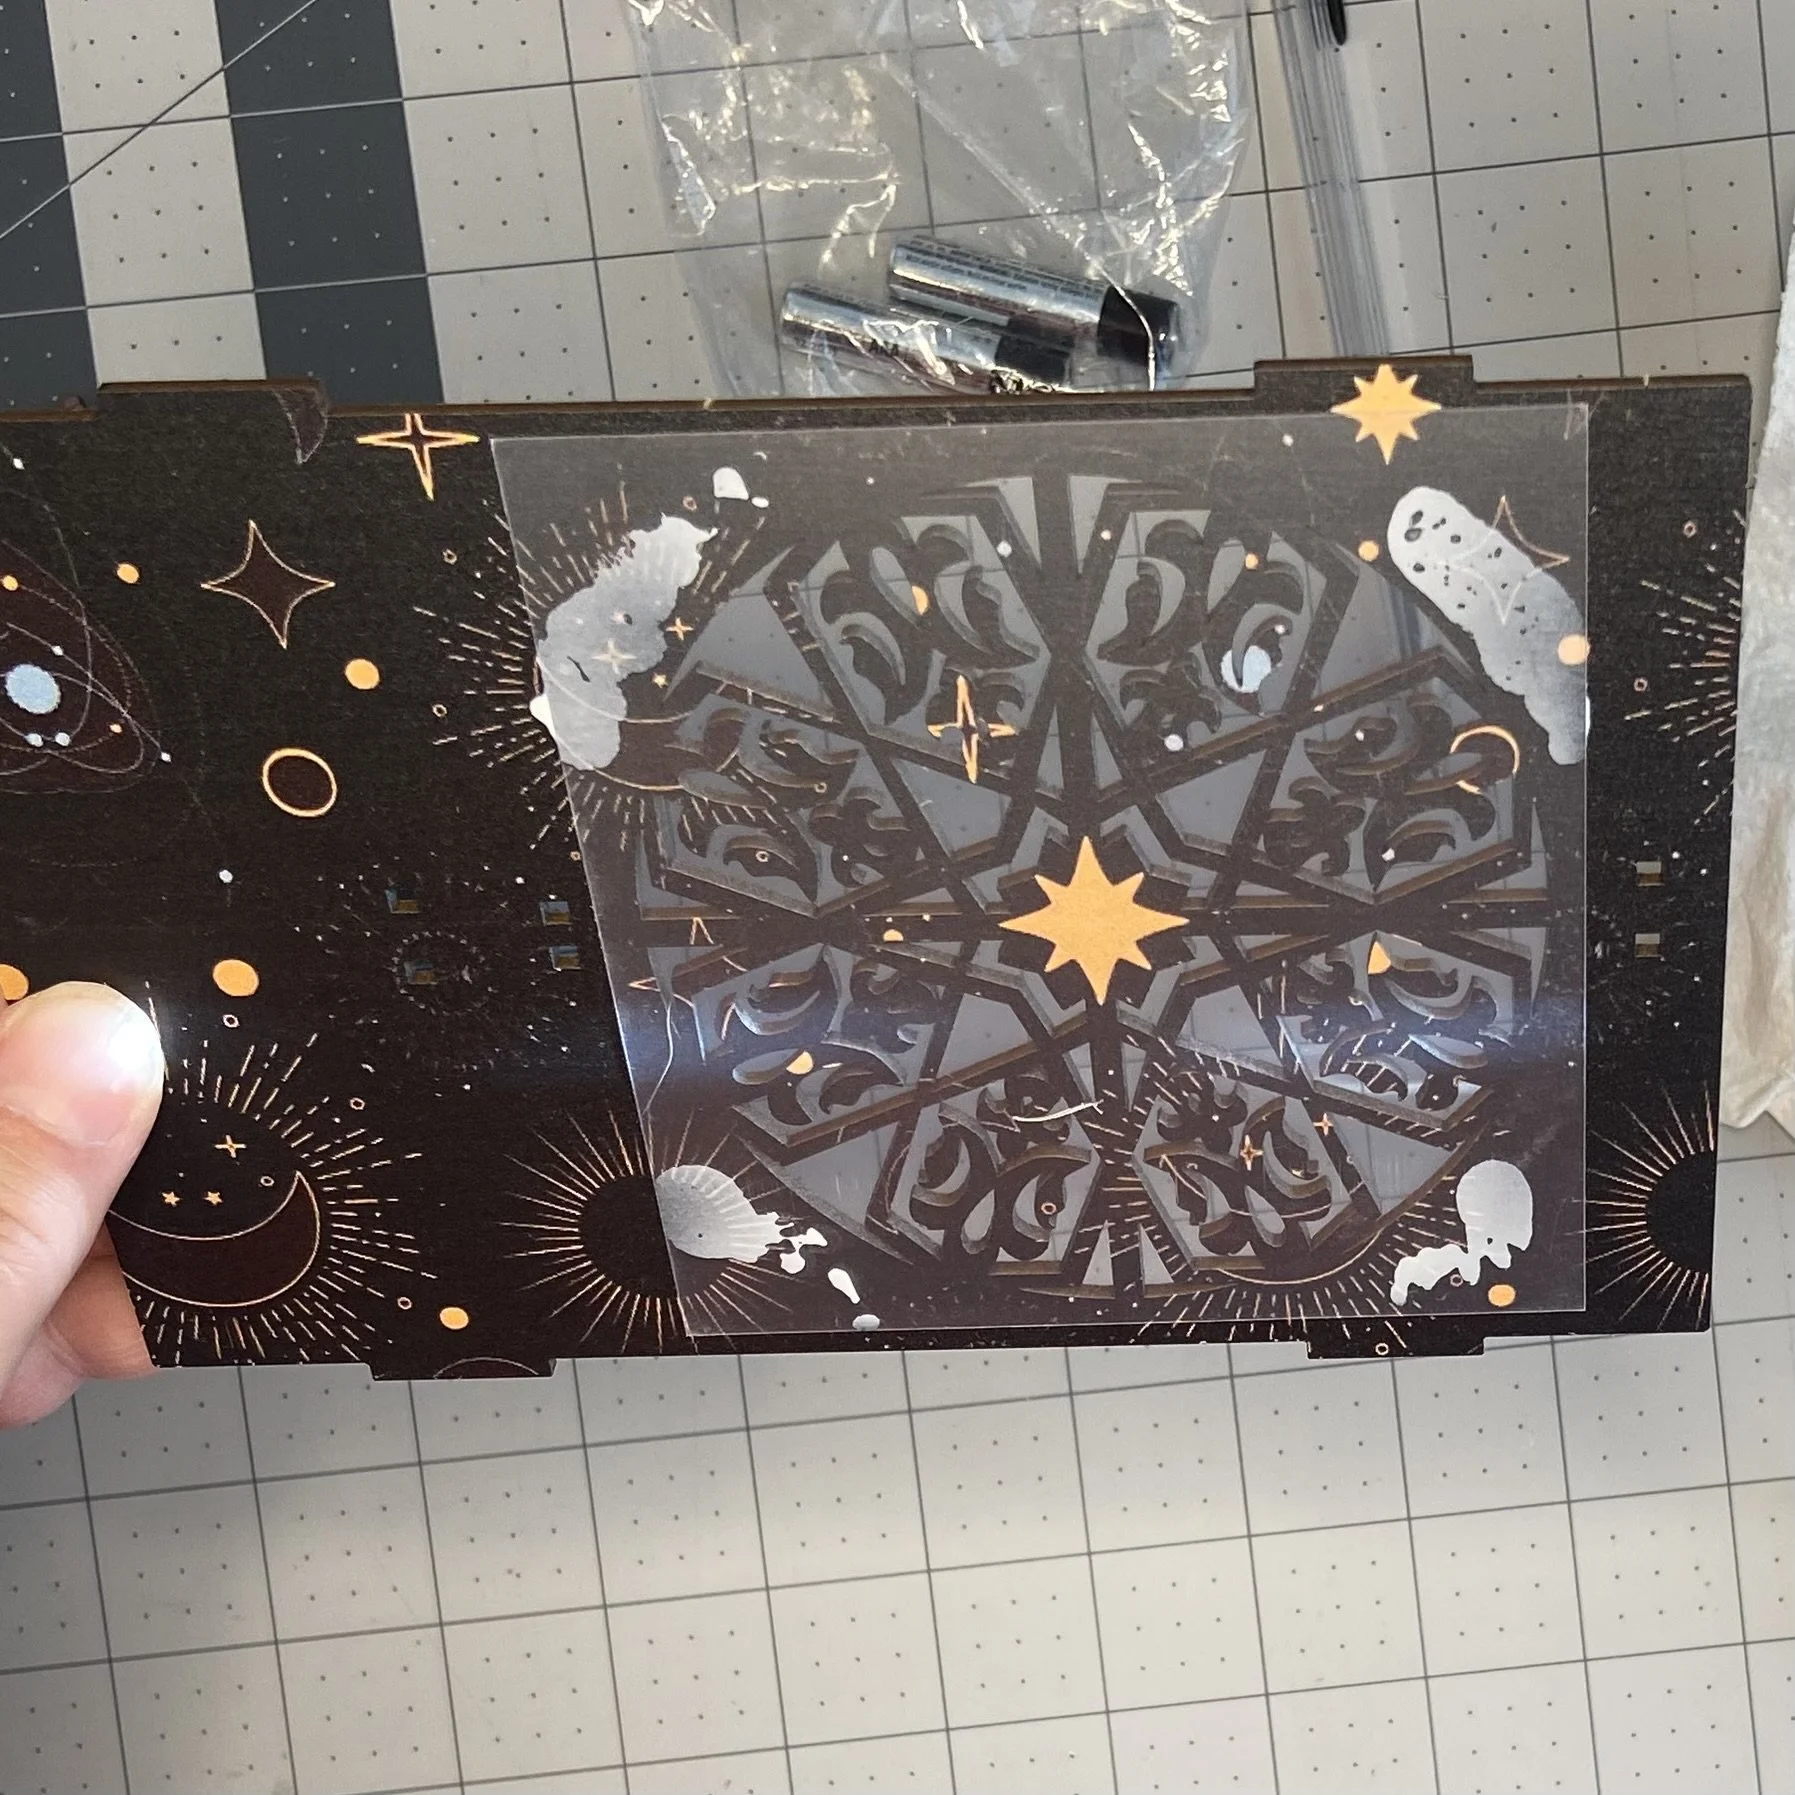
As I approached the end of this build, I noticed that the “roof” piece which would sit over the top of the nook had a circular open-work design, and that the kit had included a sheet of clear PVC to glue to the inside of the nook to keep the dust from entering via this space. So clever!
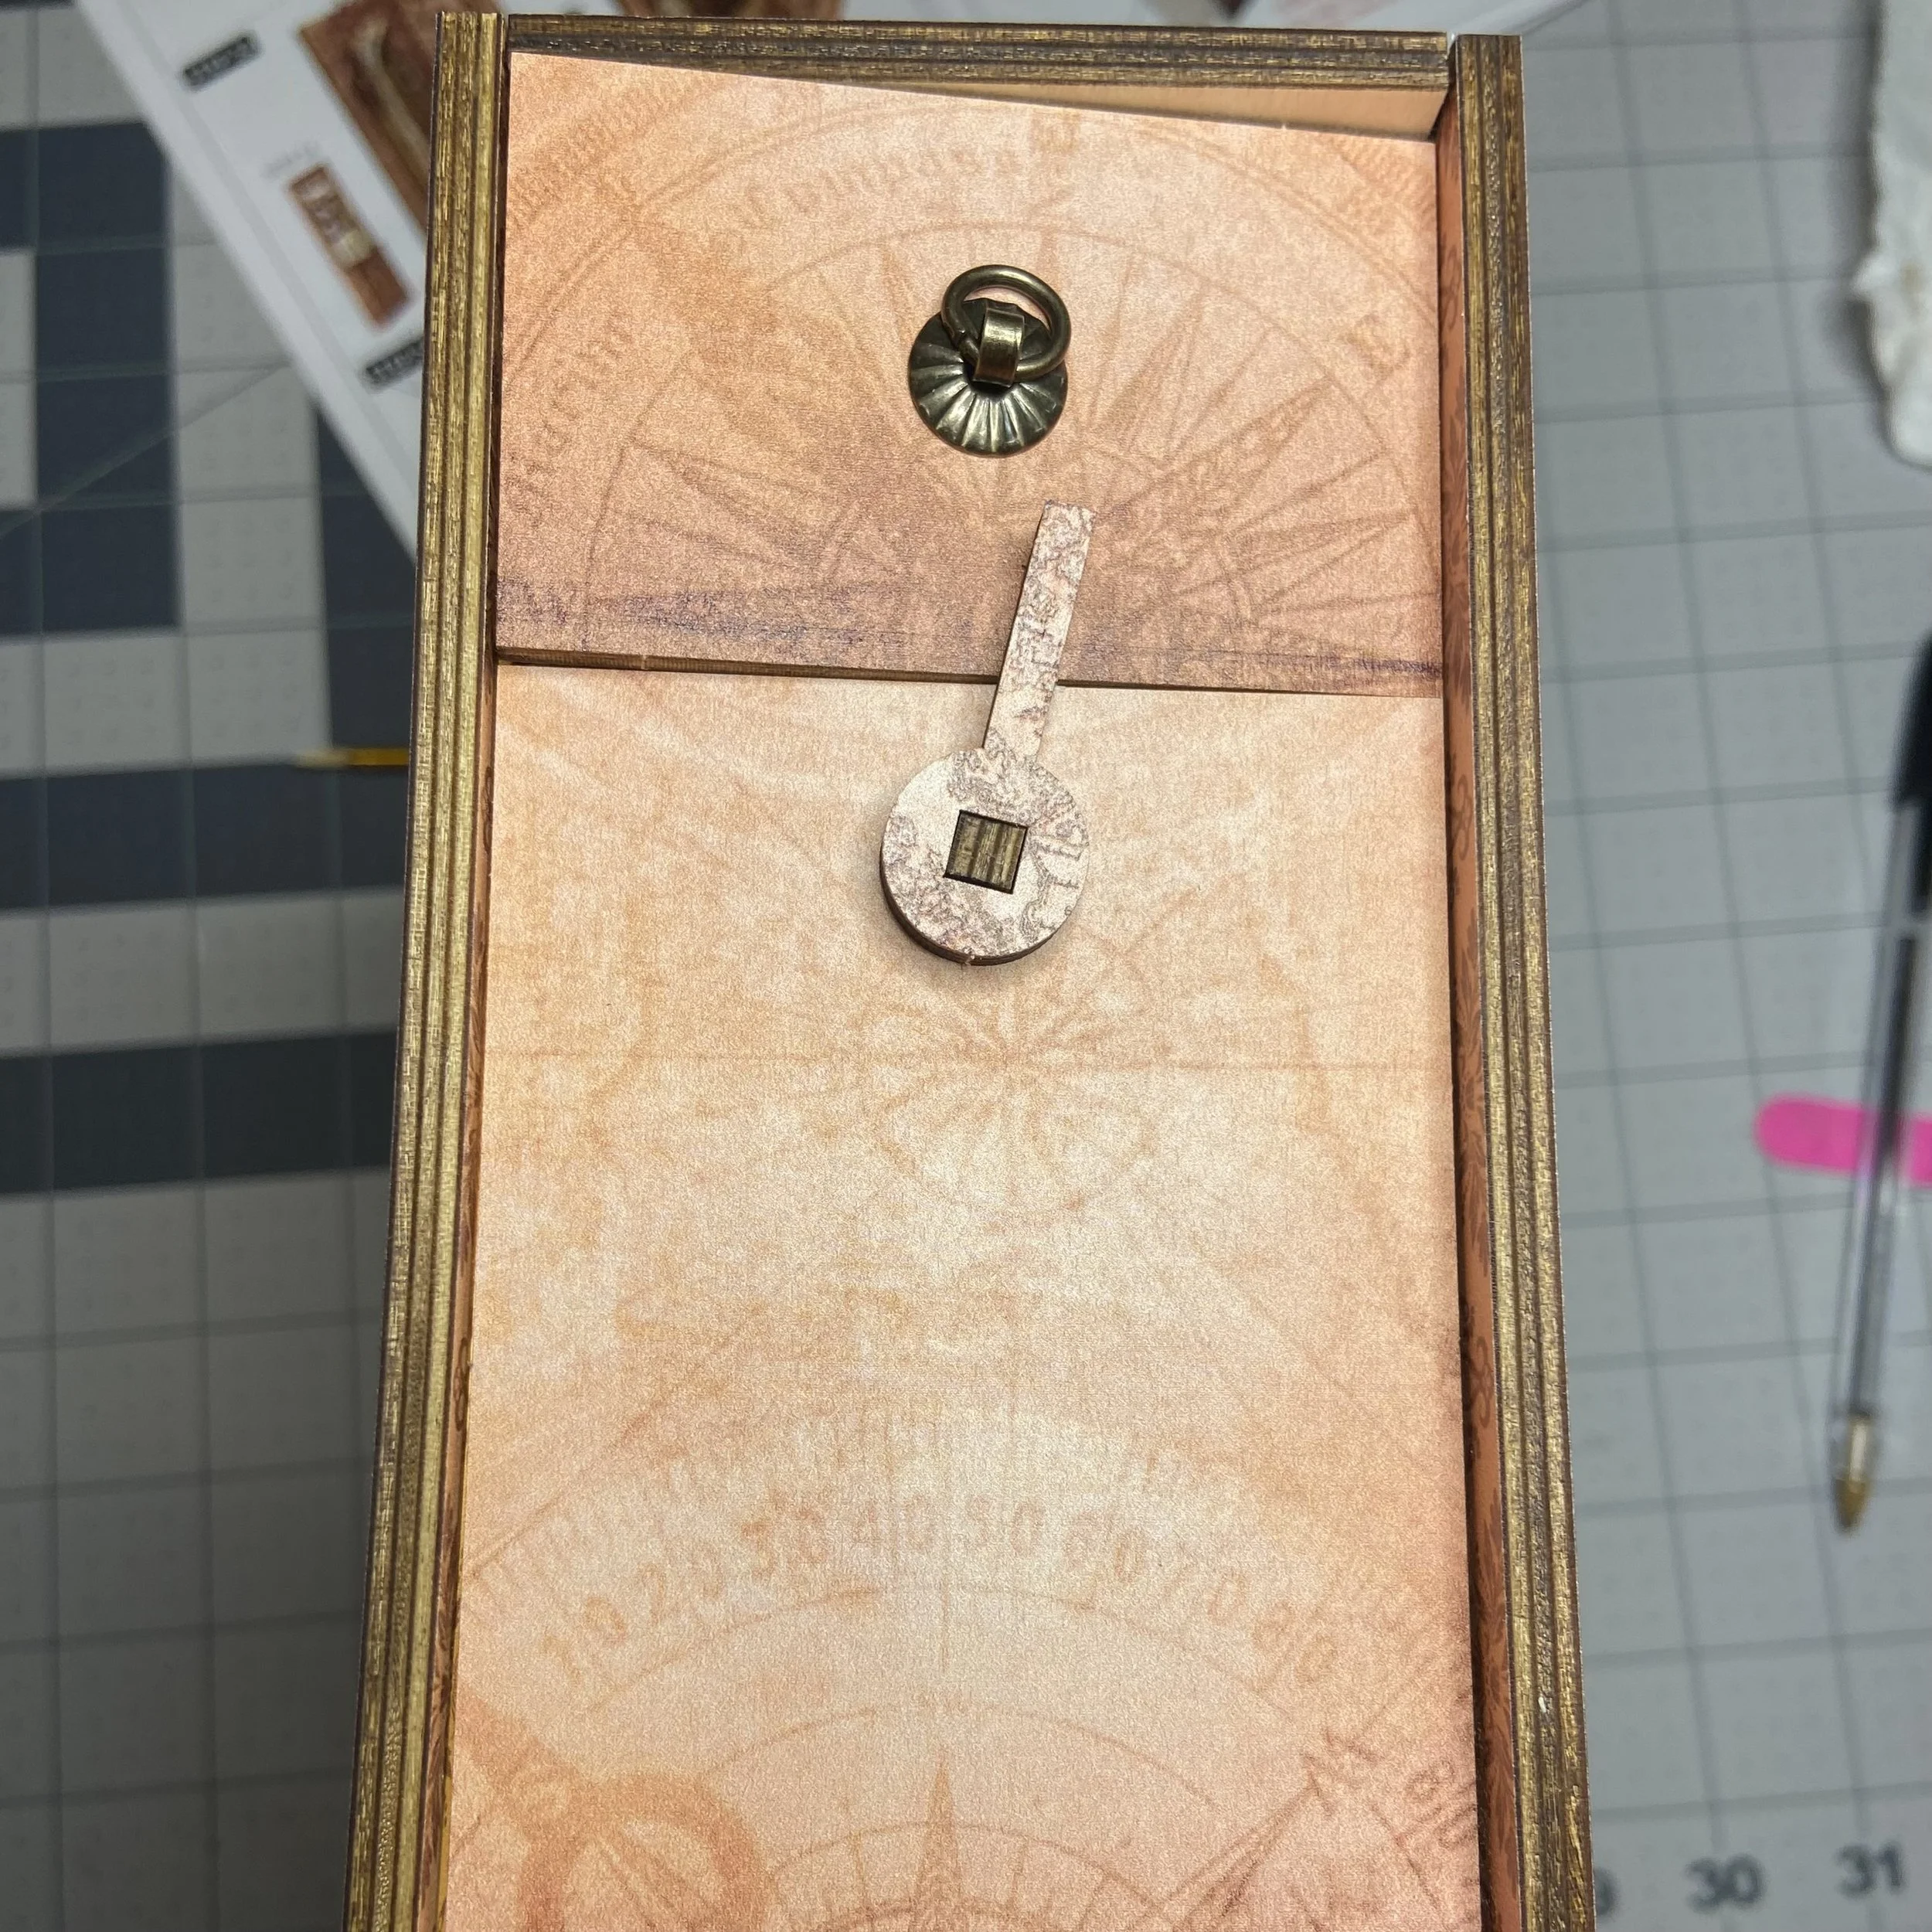
Once it was all put together, I was able to install the second clear PVC sheet that covers the front of the nook, keeping the dust out of the whole thing. It is necessary to raise the front shield slightly to reach the power button that sits just inside on the floor, but that’s easily done. The outside of the nook is cute enough, although the cat in a witch’s hat is less Harry Potter and more Halloween Dr. Seuss.


And the interior:


Now, on to the second book nook I ordered, which was this Sailing Memory nook. And just FYI, it was advertised on Amazon as having a dust cover, like the other nook reviewed in this post, but there was absolutely no dust cover included.
Now, first I’d like to say that this book nook was quite beautiful in most ways and had a couple unique features which were particularly lovely. And also, there were a number of folks doing this build in various YouTube videos, so I’d had a chance to see what I was getting into. But this was the most frustrating nook build I’ve done so far mostly because I felt there were some poor design decisions and there were also a few pieces that I had to cut down to fit into the installation. And for a change, the fact that they didn’t fit was absolutely not my fault. I lined up the pieces precisely with the marks on the walls and they just did not fit. Either I couldn’t insert them in between previously glued-in pieces, or else they fit where the lines indicated but it was clear that they were impinging on other structural elements that I wouldn’t be able to insert if I didn’t trim the pieces down. I’ll give a couple examples later, but this was extremely irritating.
First, let me show you one of the particularly lovely design elements. On the back wall of the nook is a “window” surrounded by a cabinet. The front face of the cabinet has a waxed paper insert that makes it look like the sort of thing you’d see in the walls of traditional Japanese houses. And the window itself is backed by a piece of waxed paper printed with a seascape design in grays and blues. As you’ll see in pictures of the finished project, this piece has a light behind it illuminating the design and making it really look like a window overlooking the sea. Gorgeous.


I also wanted to show the most egregious section where I had to trim multiple pieces to make them fit properly. Again, unlike with every previous project, this trimming necessity was not my fault. The kit came this way. As you can see in the photo, I had to trim the top and bottom of the picture to make it fit on the wall between other elements. And I had to trim the front ends of both the shelves, in order to make them short enough to allow the front piece to sit in its grooves. Very annoying.
I also thought the way the top piece sat (akimbo) on its braces, and the cover to the battery compartment also didn’t sit flat was unnecessarily irritating. Really, I paid between $40 and $50 for each of these kits. And up until this last one, they have all been extremely well-made, with any mistakes and fitting problems being almost entirely my fault. However, all my griping aside, the finished book nook is genuinely lovely to look at, so I’m still glad I built it.

And the finished project:


Here they are together for comparison. They are both still sitting in my studio because I’m going to have to think about where to place them. Maybe one of my family members will express a desire to have one of these for a gift-giving occasion. Now that I have five of these installations, I think I’m done, at least for now. I’m going cold turkey! Told you I could quit anytime…