Adventures In Pincushion Bracers

As an Amazon associate, I may earn a small commission if you navigate to Amazon from my site and buy something. This will not result in an extra cost to you.
In a previous post, I mentioned one of the pincushions I use on the regular. It’s this one, which I made a number of years ago. One of the big requirements for a wrist pincushion is that there is something present which prevents the wearer from jabbing a pin all the way through the pincushion and into their wrist. In the case of this one, I cut two layers of plastic from some disposable plastic dinner plates, and sewed them into the wristband directly under the pincushion. And it works like a charm. So I thought I’d try another couple methods for making wrist pincushions that prevent the wearer from being stabbed by their own pins.
First up, backing the pincushion with leather instead of fabric. Since this needed to be run through my sewing machine, I needed flexible leather which was nevertheless tough enough that quite a lot of force would be required to pierce it with a pointy piece of metal. My mother to the rescue again…I’m still using up the leather from a coat she bought me at a second hand store a million years ago.

For this pincushion, you will need a piece of fabric that is 10” x 6” for the wristband, a piece of fabric that is 3.5” square for the pincushion, and a piece of leather that is 3” square for the pincushion. You will also need some Velcro and a nice button, but we’ll get to that later.
First, make the wristband. Fold the bigger piece of fabric in half along the long edge with wrong sides together, and press. Then open it out and with the wrong side facing up, fold each long edge toward the center crease you just made and press again.


When you have four layers of fabric all pressed (like double-fold bias tape), you will want to press a 1/4” hem on the two short edges, pressing to the wrong side, of course. Fold your wristband back together in the double-fold bias formation, and press again.


Then top stitch all four sides about 1/8” away from the edge. Cut 1 1/2” of Velcro and pin in place on the wristband. Remember that the pieces of Velcro need to go on opposing sides of the fabric; as I read that sentence, I think perhaps it’s a little vague. On one side of the wristband (call it the outside), place your Velcro at one end. And on the other side of the fabric (the inside that faces your wrist), place the other piece of Velcro at the other end. Stitch in place. Your wristband is done, so set it aside to work on the pincushion.


For the pincushion, we need to press a hem into the fabric before we sew it to the leather. So press a 1/4” hem around all four sides. Then on the right side, look at where the pressed lines come together on the corners and press in a 45° angle there that only goes as deep as the point where the lines intersect. Trim away about half of that little triangle that you made, and then fold your triangles in and fold the 1/4” hem in also. Then press the whole thing again, giving you a neat mitered corner.


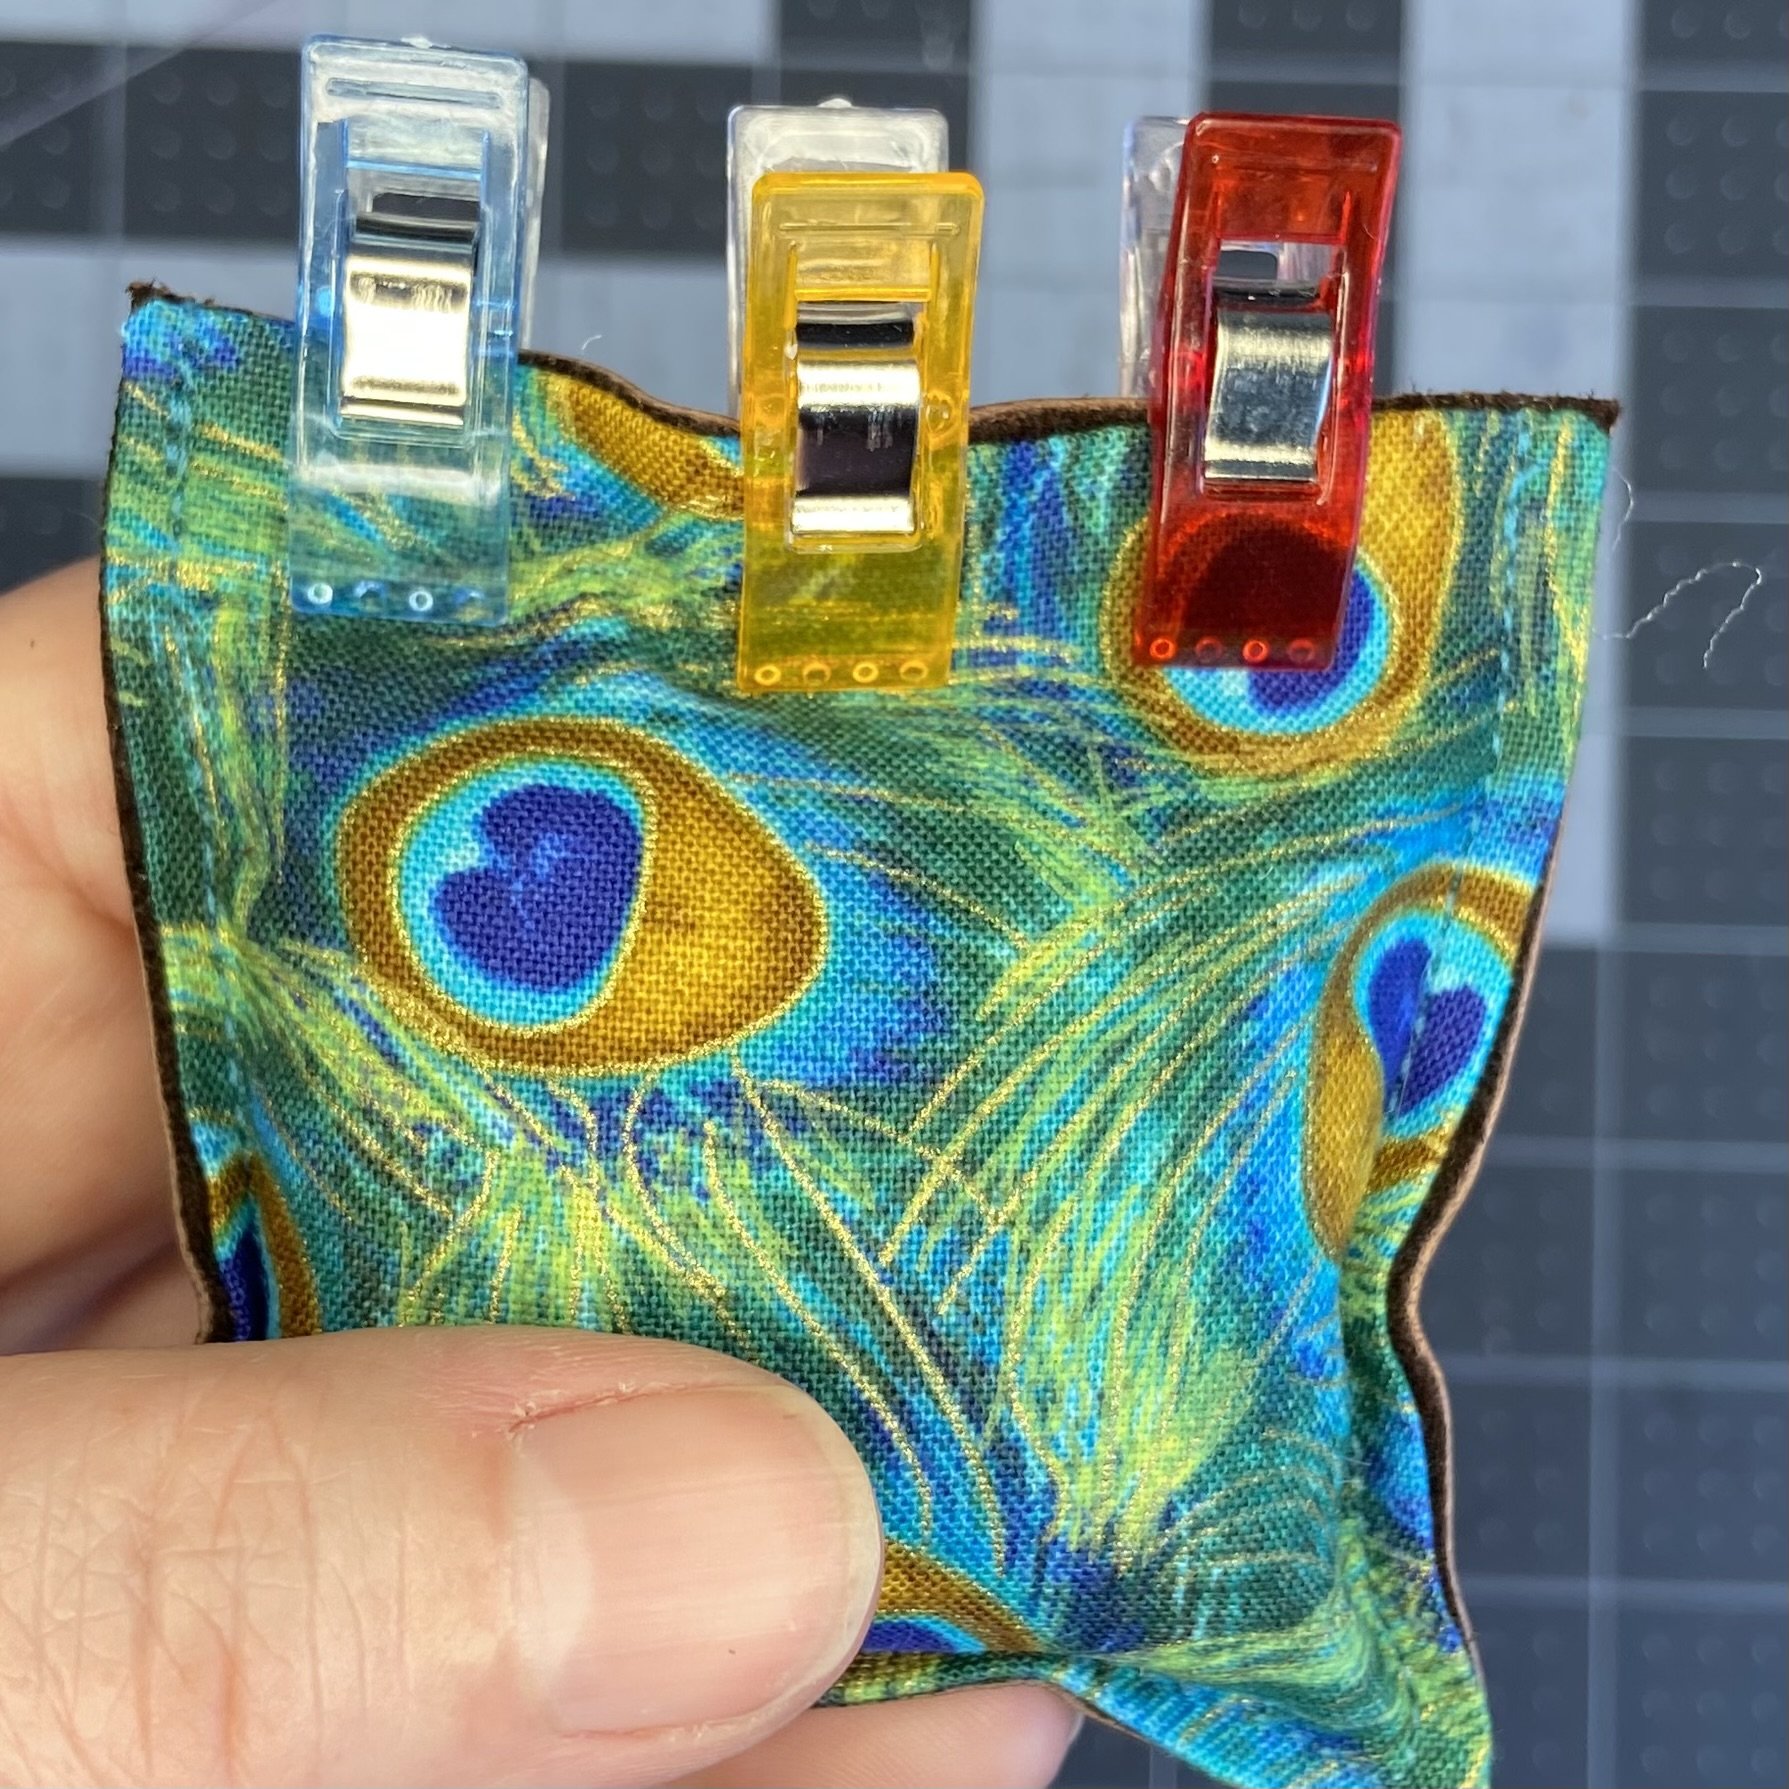
Lay the wrong side of your fabric down on the wrong side of the leather and clip together. DO NOT pin the leather. Unlike fabric, any holes you make in leather will stay there forever or until the leather rots away, whichever comes first. I like to use my sewing clips but if you don’t have any, you could certainly use something like office binder clips. Sew around three sides of your leather/fabric piece. For this, you can sew fairly close to the edge…I used about a 1/8” seam.


Fill the pocket you just made with fiberfill and then mash it down to make a little space along the open end; your goal is to make enough space for you to slide that end into your sewing machine to sew the final seam. Clip the end closed with sewing clips and then stitch the final seam closed.


Now, whip out your button box (What? You don’t have a box full of buttons left over from various projects or handed down from your grandmother or both? Well, you should get on that!) and have a look for a button that looks nice on your fabric. It cannot have a shank; it needs to be a regular button with holes in the surface, preferably four holes. I found a plain brass button in a tiny envelope that suggests it was an extra button that came with an article of clothing, but darned if I can remember which bit of clothing it was…


Now thread a needle with a thread that matches your fabric and double the thread. Working from the back of your wristband, push the needle through the wristband, through the leather, through the poly fill, and through your button on the front. This is difficult, so you might need a thimble to help you push the needle through these layers. Yes, you will be making holes in your leather, but the holes will sit directly under the button, so you shouldn’t be in too much danger of a pin finding its way through to your wrist later. Sew that button on very well indeed and tighten the thread enough that the button dips down a little bit into the top of your pincushion. If you can manage to have the beginning and ending knots of your thread land between the wristband and the leather of your pincushion, so much the better. Wear with pride because you have made a beautiful and useful thing.


The other method for making this sort of pincushion is to make a backing for the pincushion out of some hard material, like plastic (use what you have around the house; almost everyone has some plastic tubs of lettuce or something similar) or, in my case, some of my scraps of mat board. A thick chipboard would also work. Make the wristband in the same way as described above, and then move on to the pincushion. For the pincushion, you will want to cut a 2.5” circle of your backing material; I love my helix circle maker for marking circles (although an old-fashioned compass would work just as well) and I used the outside circumference to cut a 6” circle of my fabric.


Next, thread a needle with any thread you have laying about and double the thread, knotting it at the end. Make a running stitch around the outside edge of your fabric circle, about 1/4” from the edge. Pull on the thread to gather your fabric into a little pouch. Stuff the pouch with fiberfill, and then put the backing material over that and gather up the fabric further, so that it encloses both the fiberfill and the backing material.


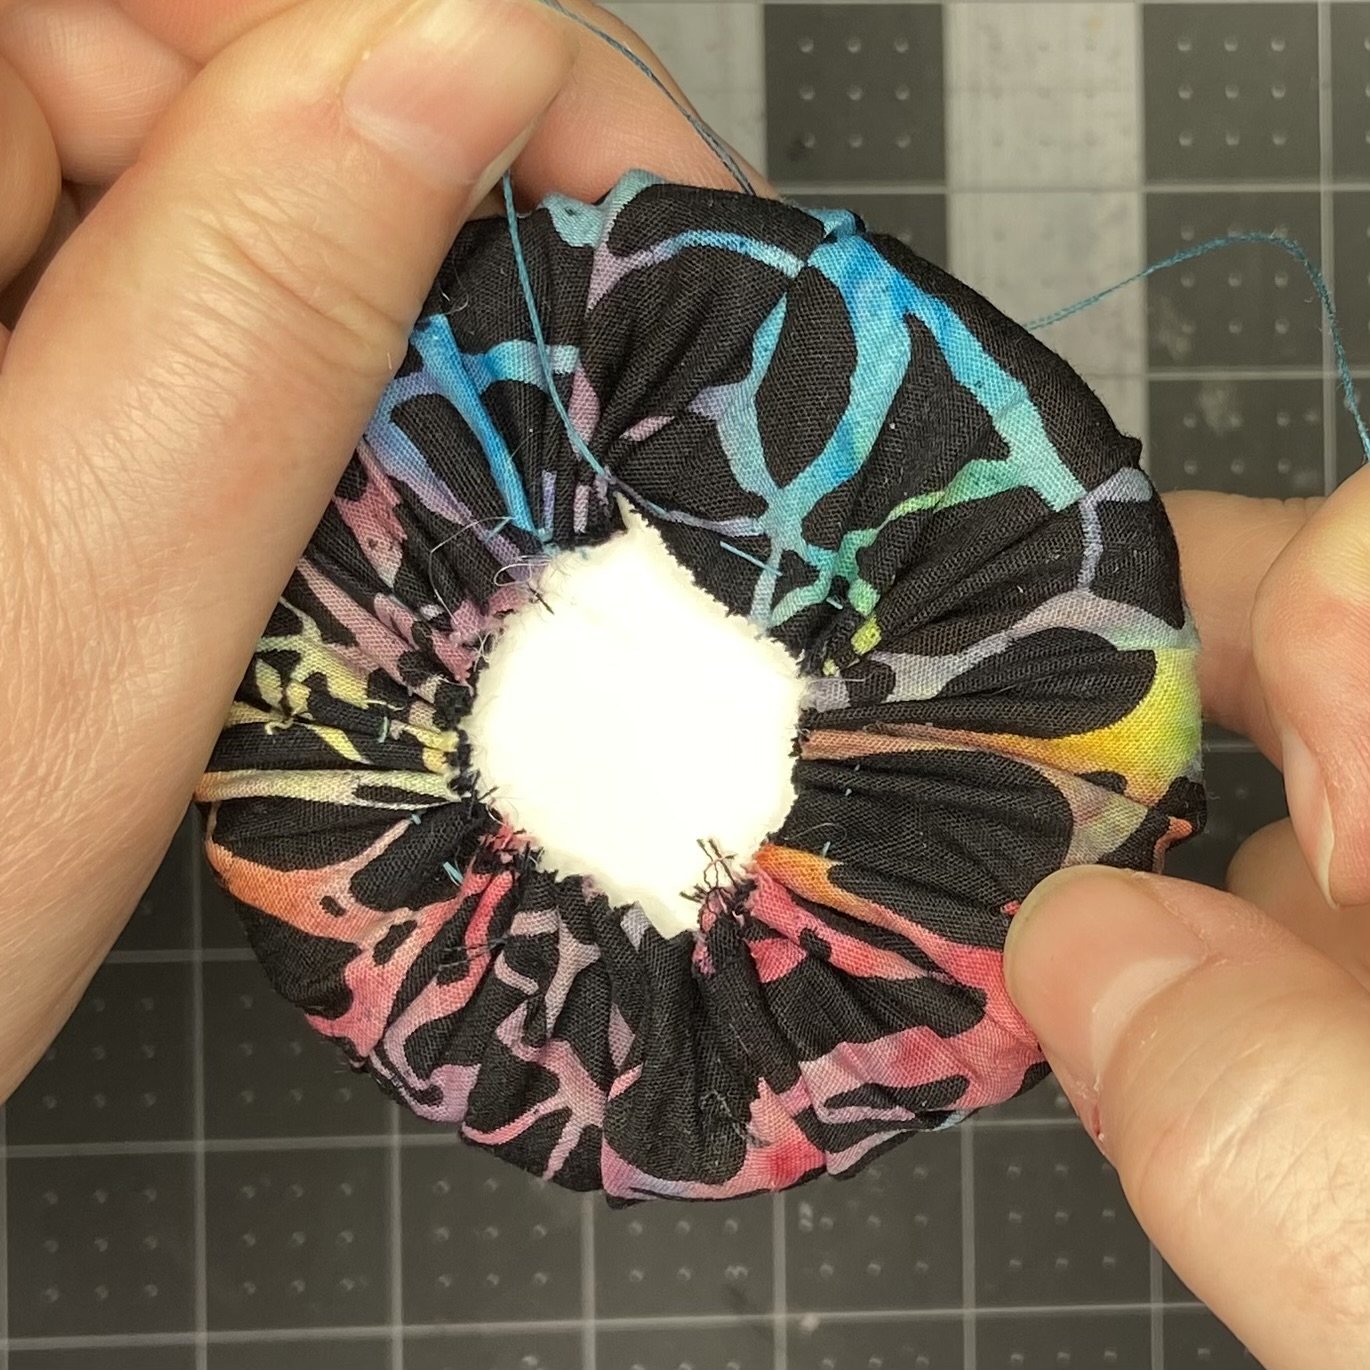
You will want to tighten the fabric snugly around the fiberfill and backing material, so that most of the backing material is covered. Once that’s done, use your needle and thread to stitch back and forth across the gathered material to make sure it stays in place. I kept sewing back and forth until I ran out of thread, and then knotted it off securely.

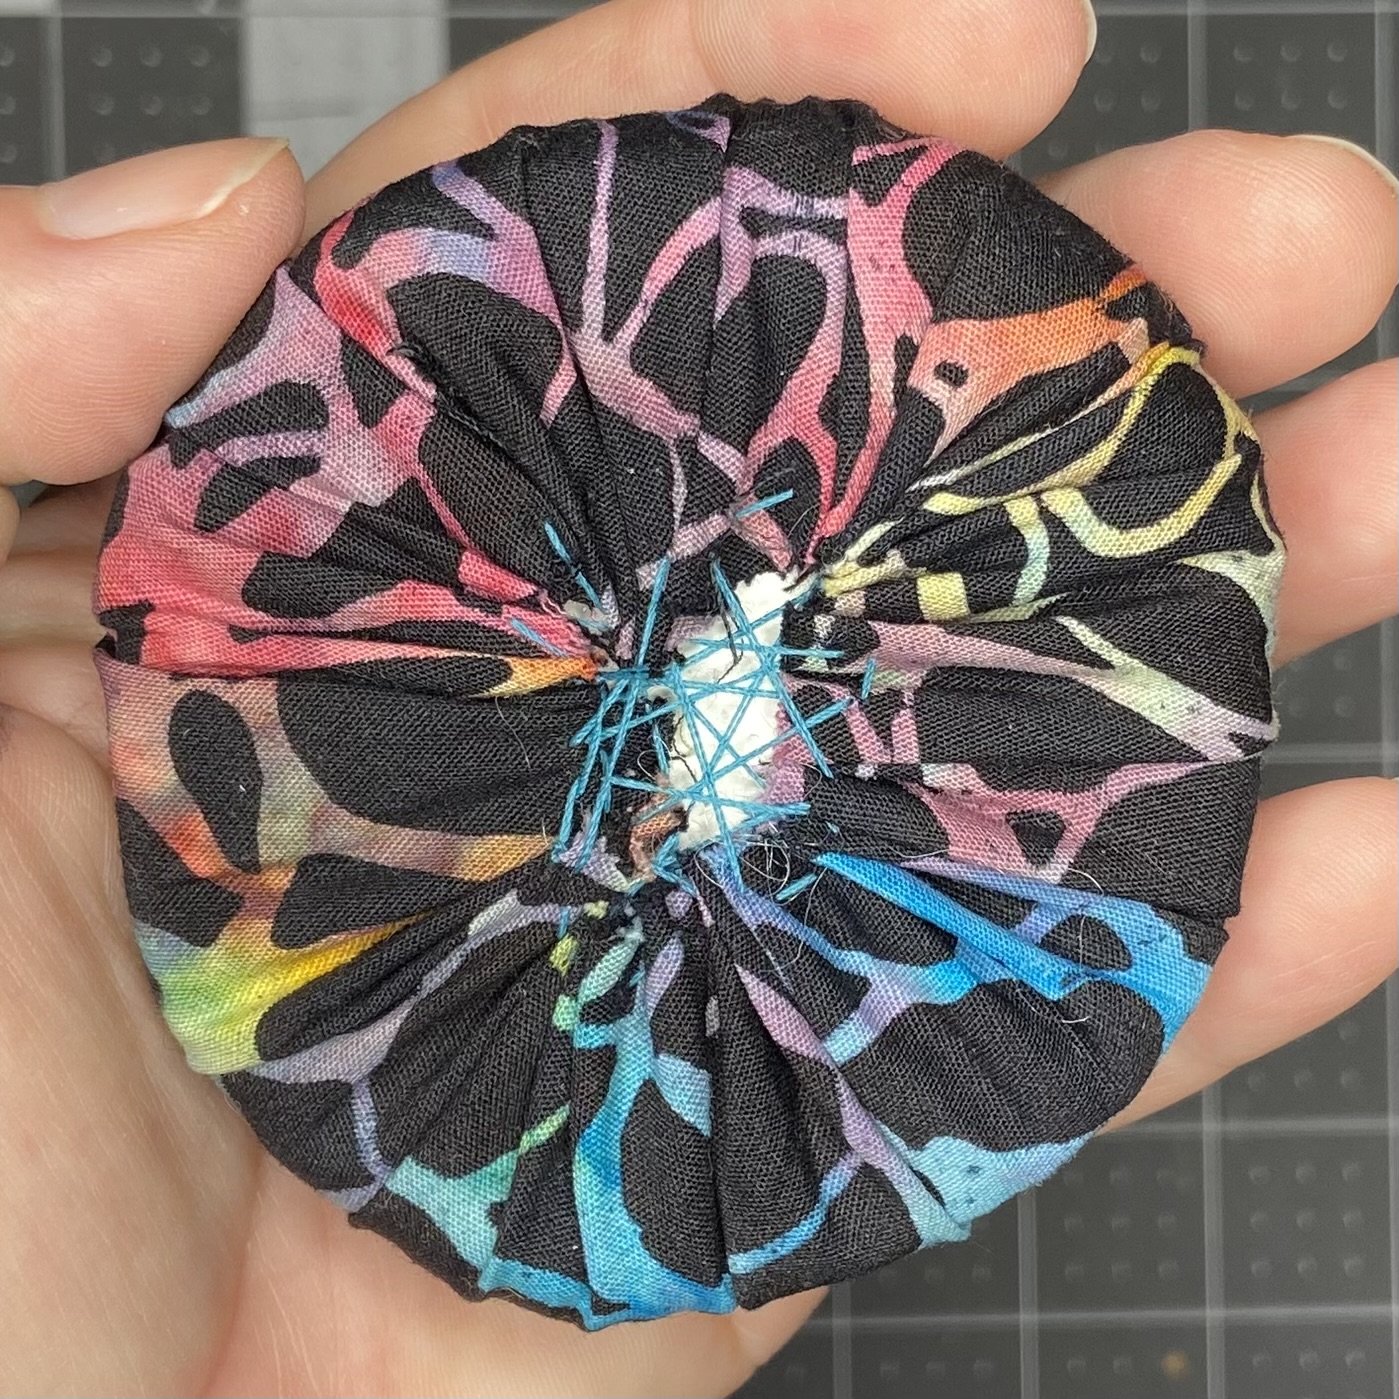
Thread your needle again with a matching thread, and then stitch your pincushion to the wristband along either side of the wristband. You should wear this one with pride too. It’s just as beautiful and useful as the other version.


I have to say, as I took the pictures of the finished product, I was just tickled pink with how pretty they are. They just make me happy! Perhaps they’ll feature in my next favorite things blog post.