Adventures In Pretty Pouches
As an Amazon associate, I may earn a small commission if you navigate to Amazon from my site and buy something. This will not result in an extra cost to you.
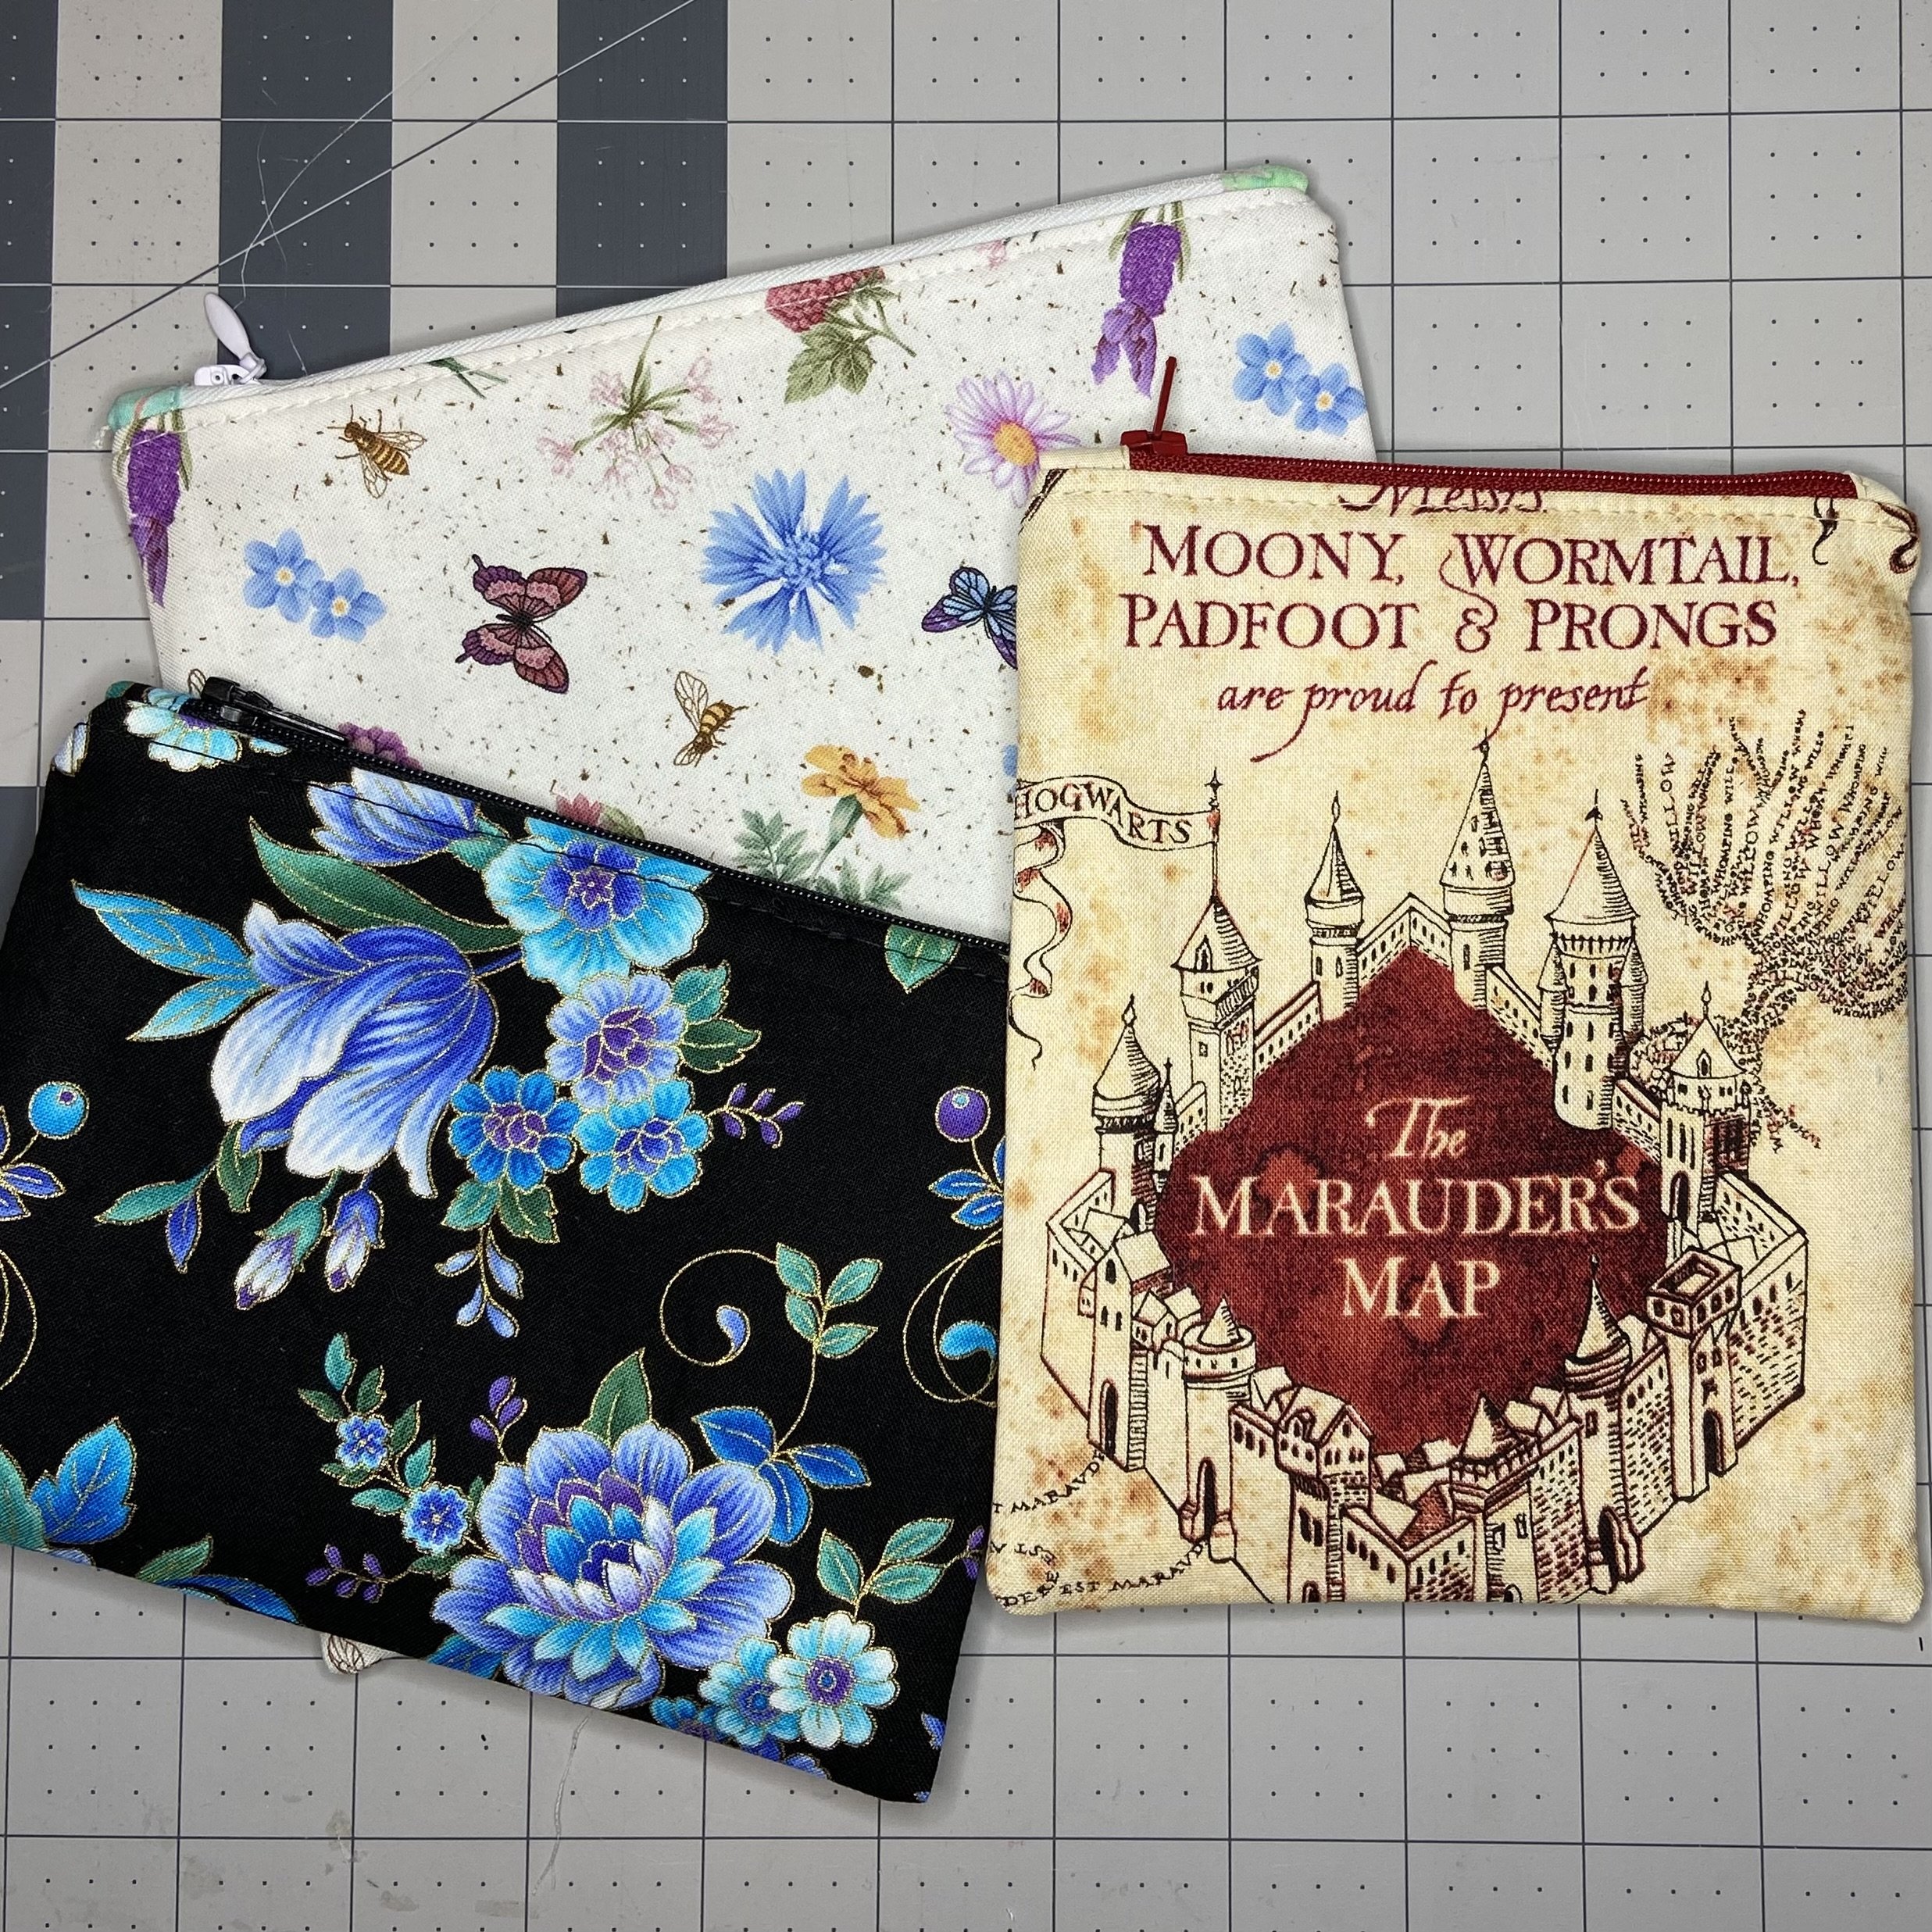
In my ongoing quest for organization, I’ve made some more pouches. Unlike the packing cubes, these are just flat little zippered pouches good for anything you like. When deciding on your size, remember that the zippered opening will be 1” narrower than the width of your pouch. I mention this because I actually made one pouch with an opening so narrow that I can barely get my hand inside, which isn’t terribly functional.

You’ll need 4 pieces of fabric, 2 for the exterior and 2 for the interior. Whatever dimensions you decide on, understand that your finished pouch will be 3/4”-1” smaller (what with seam allowances and such), so figure that in. You’ll need some light or medium weight interfacing for the backs of the two exterior pieces of fabric. You’ll need two little tabs (interior or exterior fabric works well) of fabric that are 2”x 2”. And you’ll need a nylon zipper that’s at least 2” larger than the width of the top of your pouch.
As I work through this tutorial, understand that I made three pouches in different sizes and just used the best pictures for each as I went along, so don’t be put off by the changing material.
To start, fuse the interfacing on the backs of the two pieces of exterior fabric. Then make your little tabs by folding each of the little squares in half with wrong sides together, then opening them back up and folding each side in to meet the middle line you just made. Fold it in half again and press it. You should end up with a strip that is 2” long and folded like double-fold bias tape.


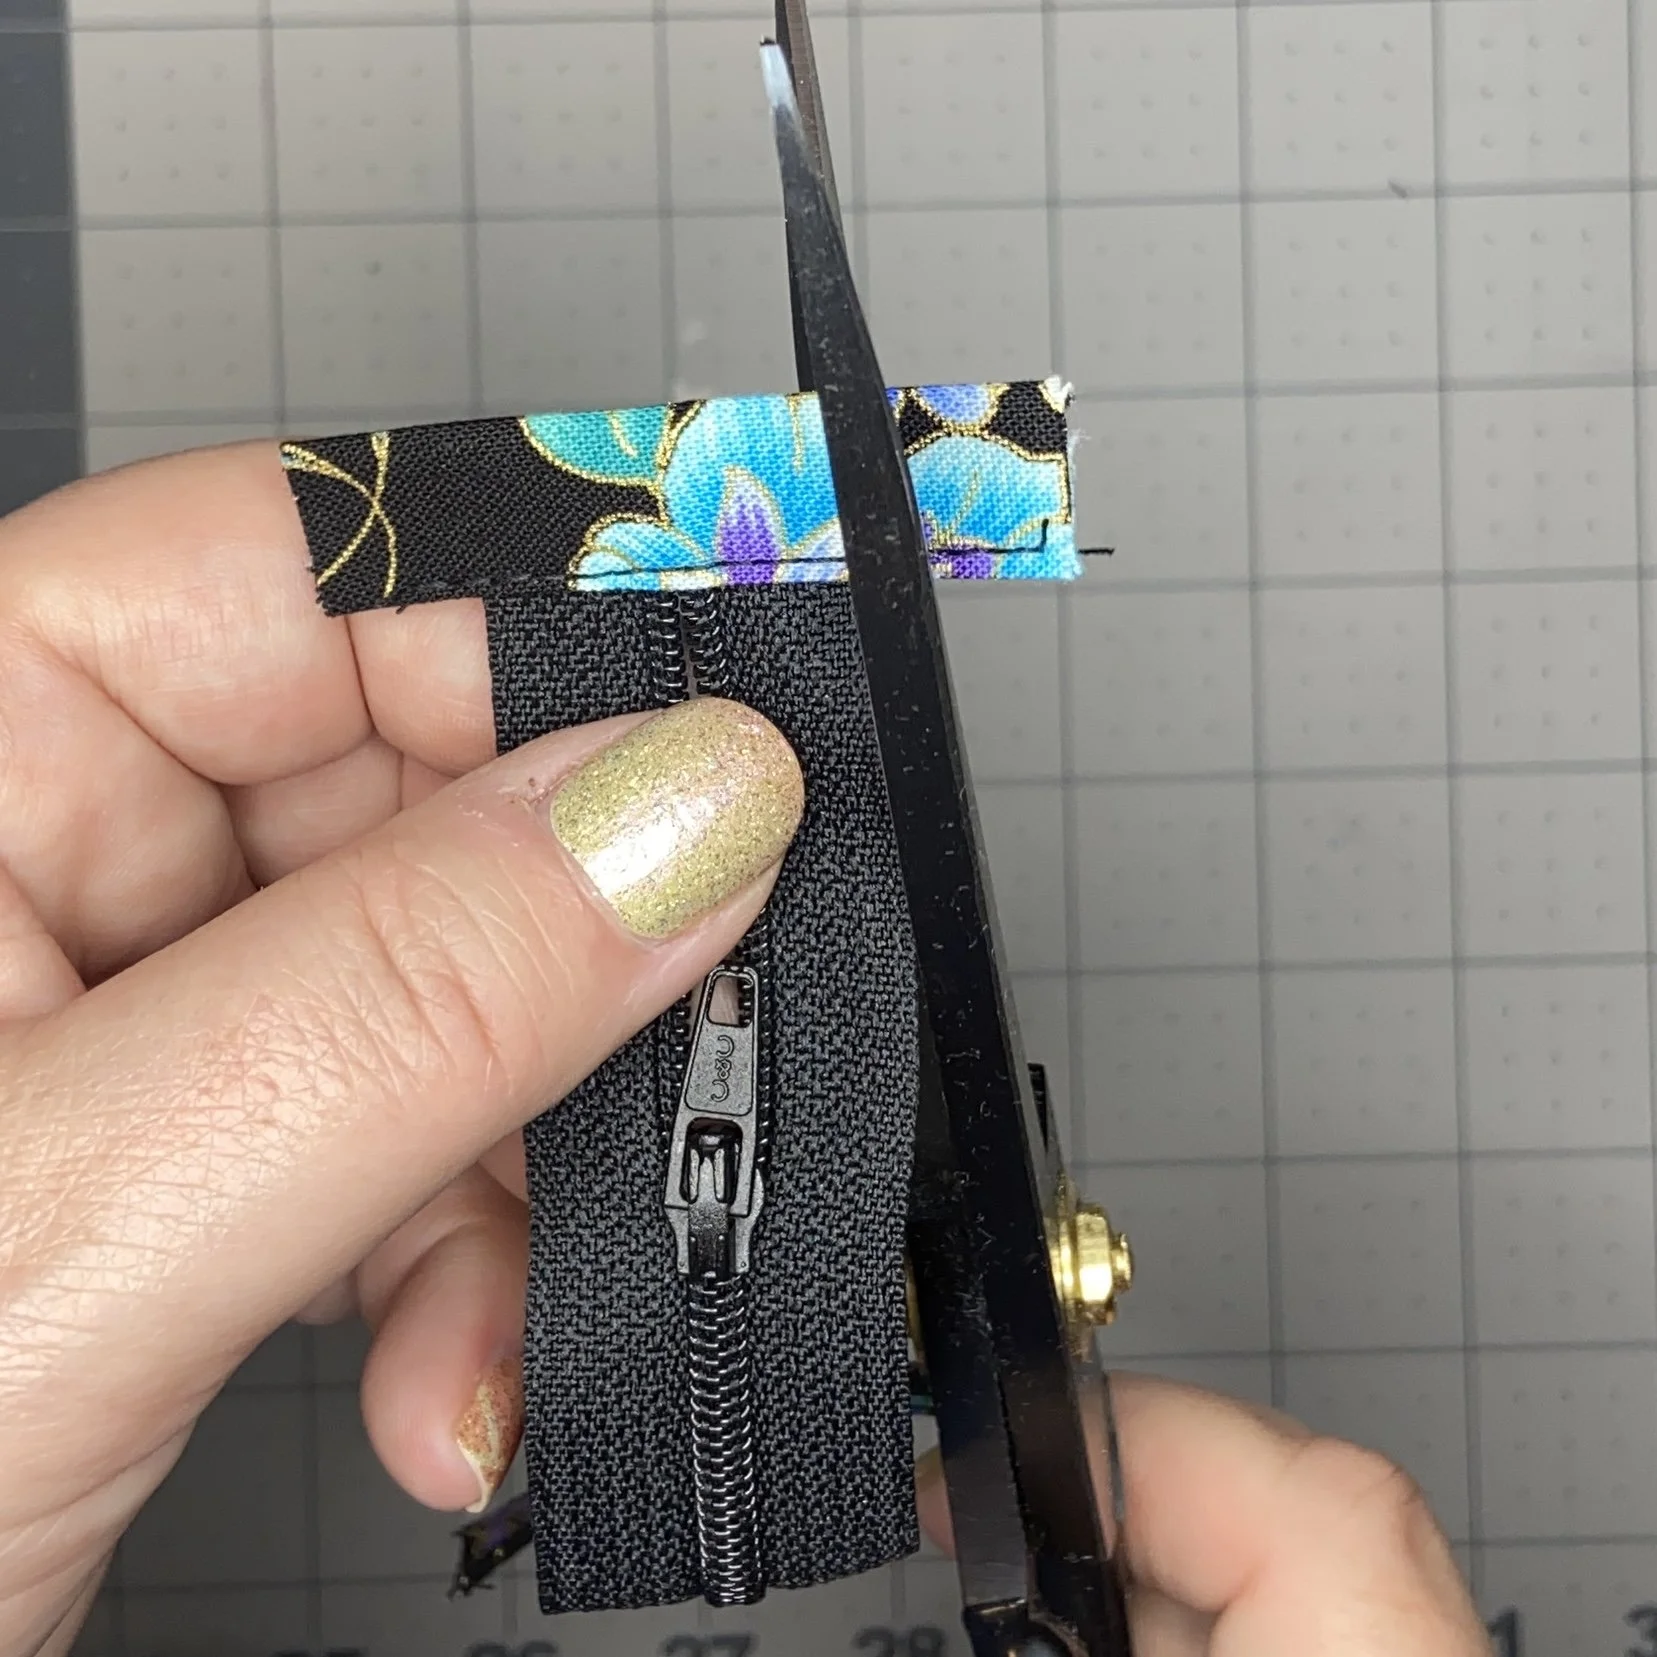
Now you’ll need to prep your zipper. You’re essentially going to cut both ends off, but before you do, you need to measure and mark it. It needs to be 1” shorter than the top of your pouch. Mark it with a pen and then go to the sewing machine and stitch across it about 1/8” inside the lines you marked. You’ll need to make sure the zipper pull is within your marked area before you sew this closed. Then use some (non-fabric) scissors to cut the zipper to the right length at the lines you marked.


If you foolishly forget to move the zipper pull before you sew that end closed, then you’ll have to take the stitching out, move the zipper pull, and then sew the zipper closed again. It’s not really that hard to fix. I should know.
Now you’re going to take a zipper tab and wrap it around the end of your zipper and sew it on. Do this to both ends of the zipper and then trim off the excess tab so that it is even with the zipper. This gives you a very tidy-looking zipper all ready to be inserted into your pouch.


Switch to a zipper foot on your sewing machine. Lay one exterior piece face up (and top up, if you have directional fabric) and lay the zipper face down along the top edge. “Face down” for a zipper means the side with the metal pull is facing down. Center the zipper along that top edge. You should have about 1/2” of space on either side of the zipper. Then lay an interior piece of fabric face down, matching the top edge to the zipper and the exterior piece. Clip this in place.


Stitch along this top edge until you get to the big lump where the zipper pull is sitting. Make sure the needle is down in your fabric, lift up the presser foot, and move the zipper pull past your needle and into the area you have already stitched. If (like me) you have stitched so closely to the zipper that you can’t pull the zipper pull past your needle, then take your fabric out of the sewing machine, move the zipper pull, put the fabric back, and continue sewing.


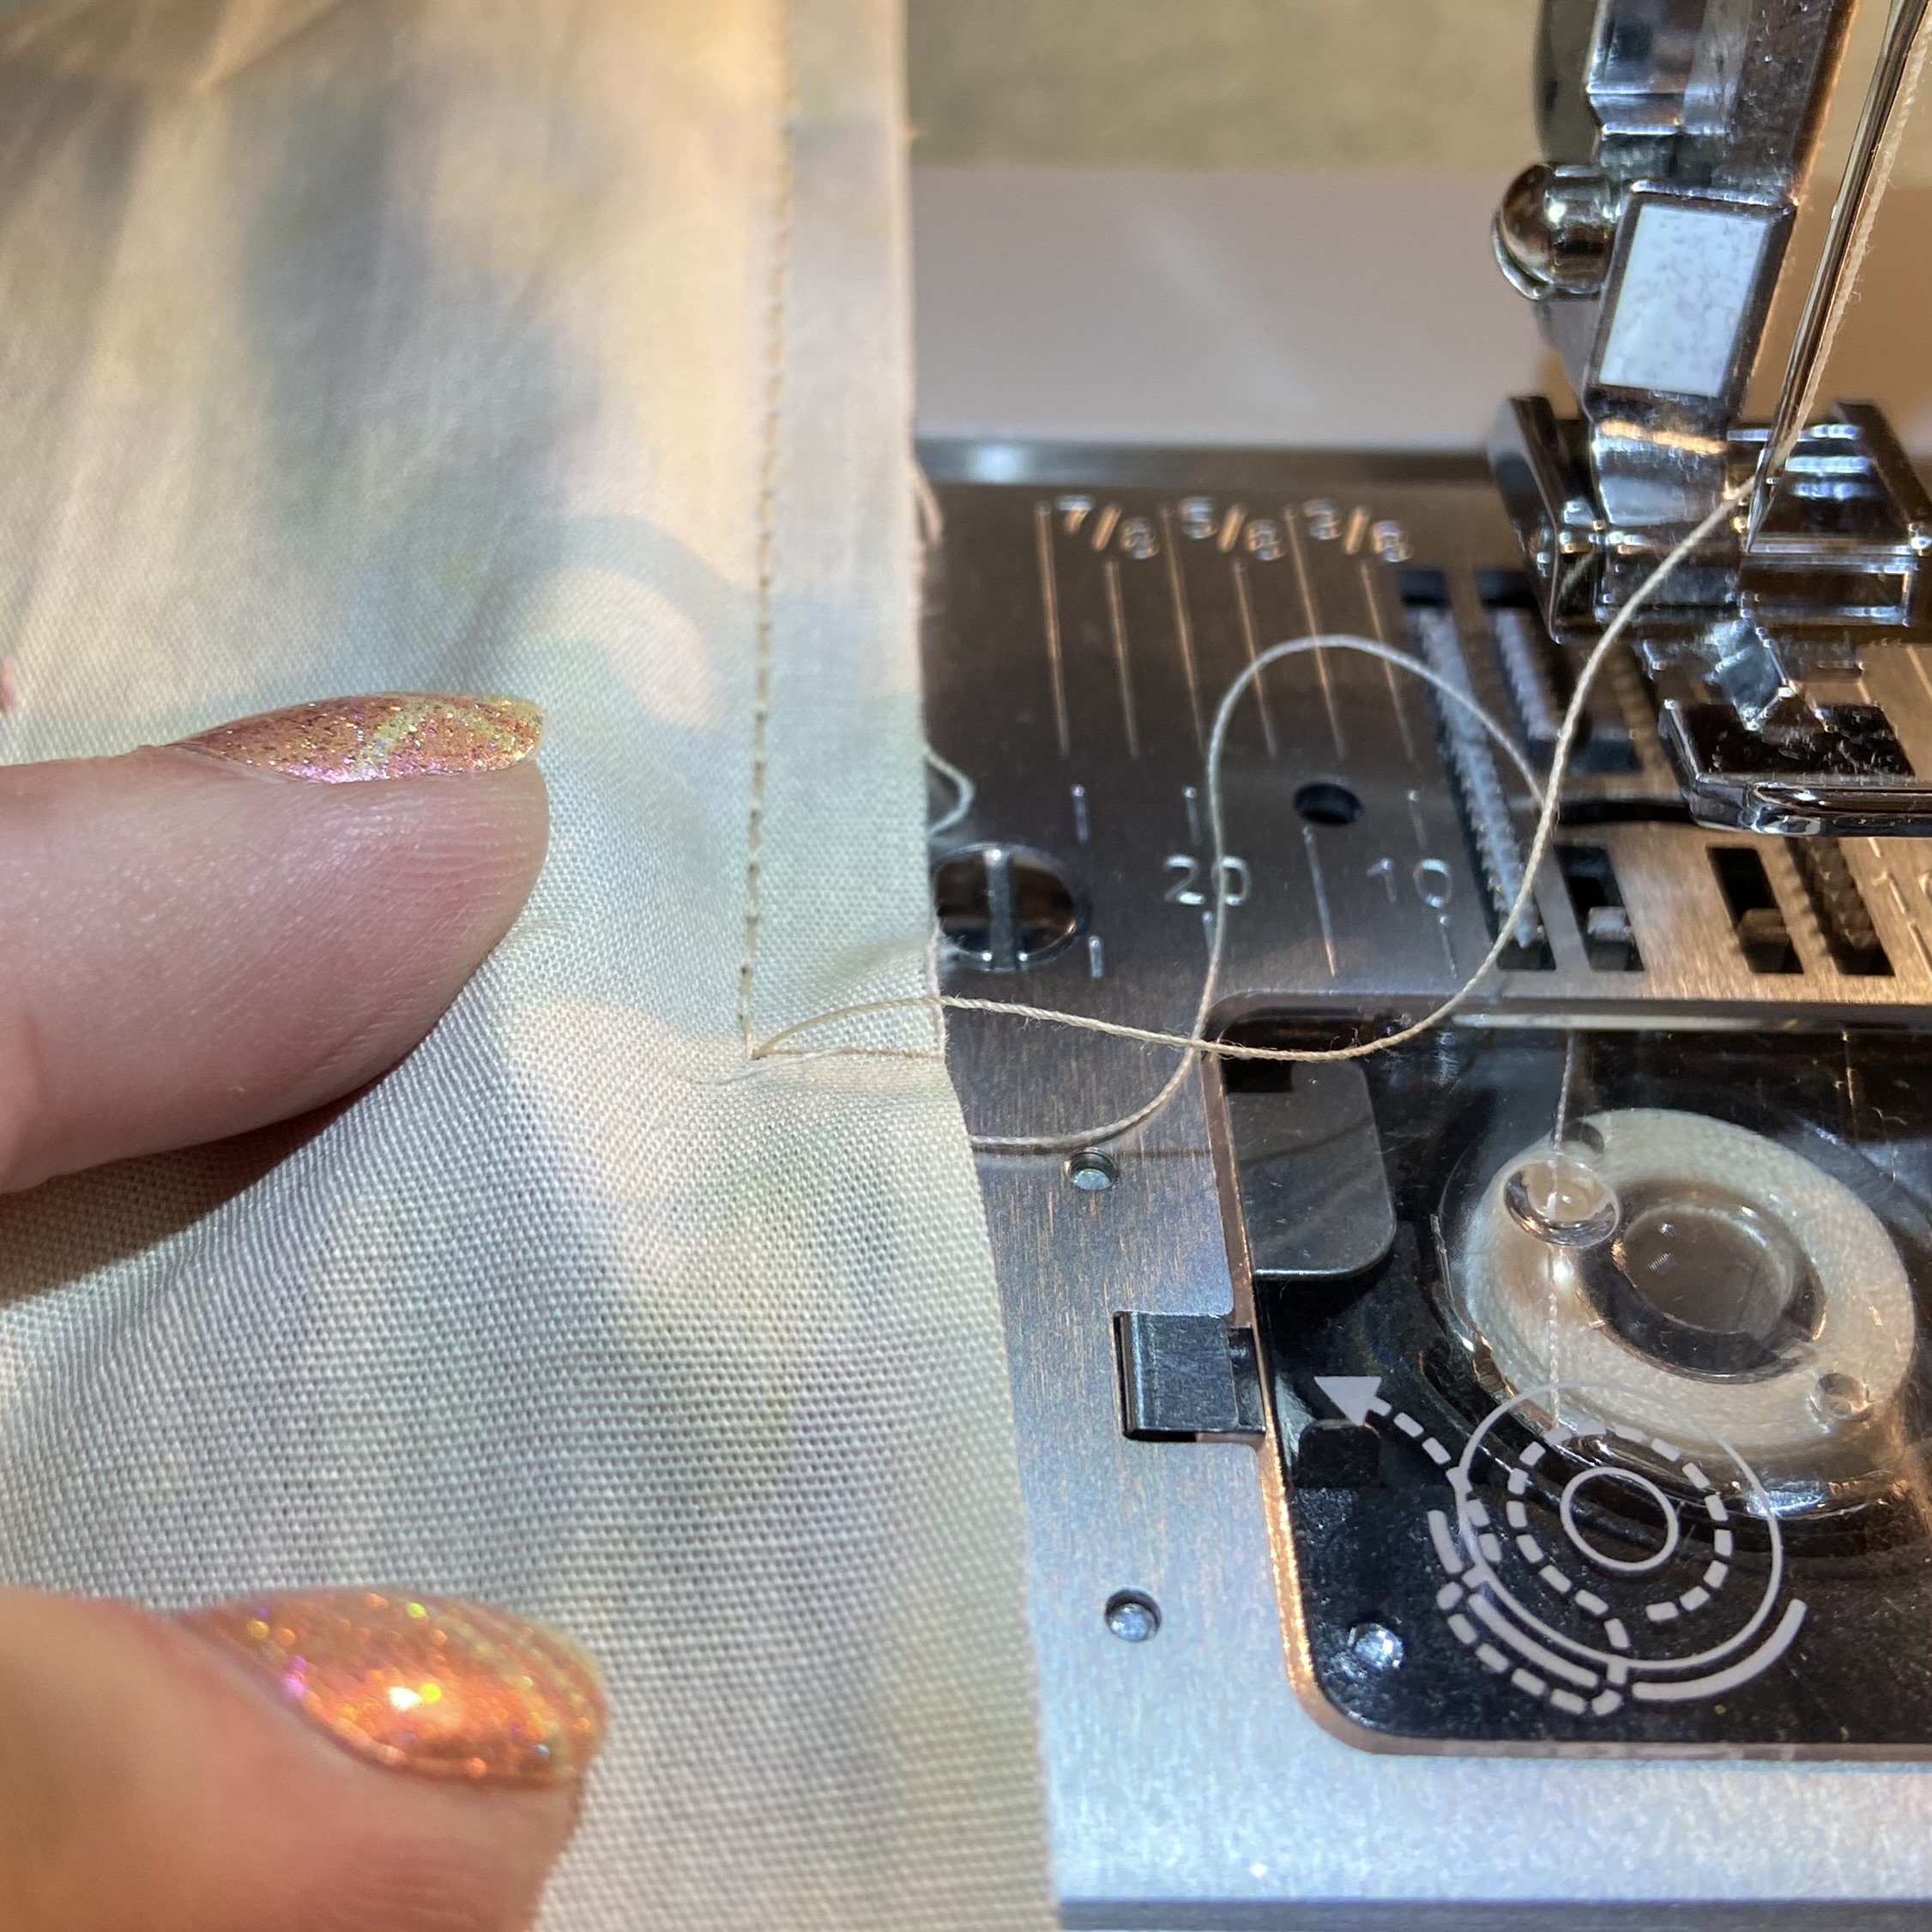

Pull both fabrics away from the zipper, press, and then top stitch so that the fabrics stay tidily out of the zipper teeth when the pouch is in use.
Repeat all this for the other two pieces of fabric and the other side of the zipper. Then you’re ready to start sewing the pouch closed. Start by pulling both exterior pieces of fabric toward each other with right sides together, then do the same for the two interior pieces.

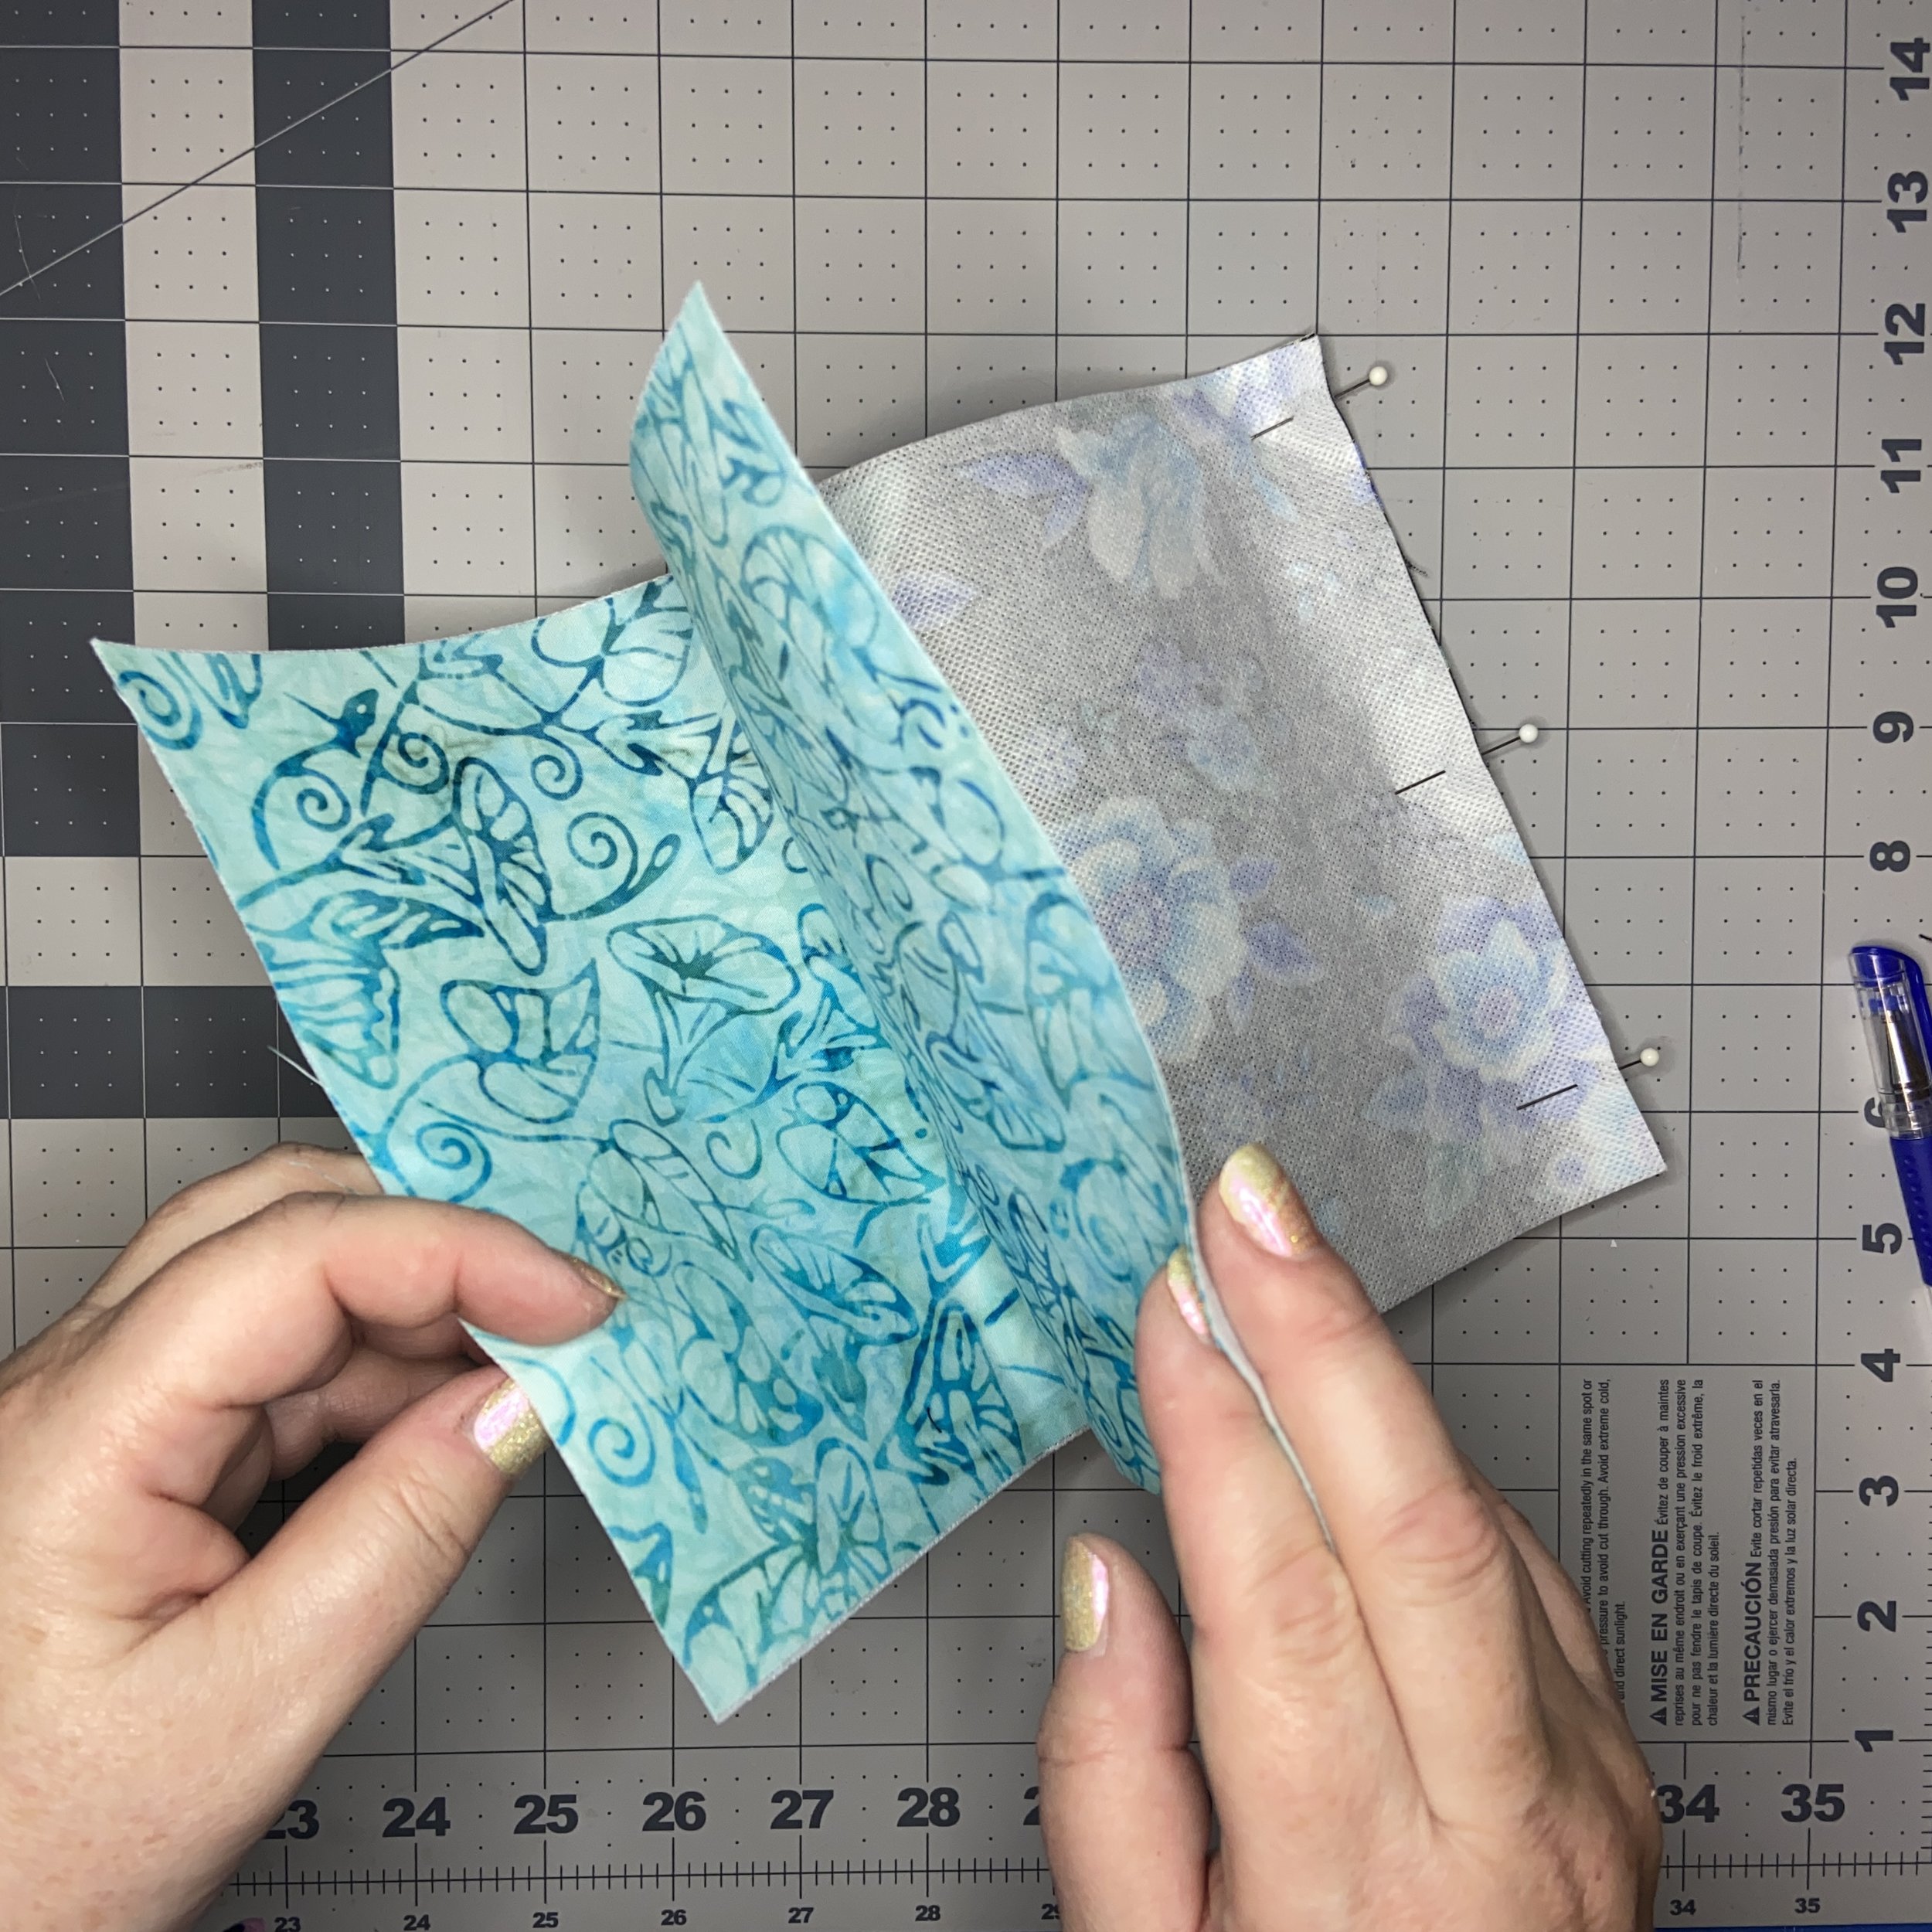
Next, you’re going to want to start pinning the pouch sides together at the zipper. Before you start this, make sure the zipper is mostly open! Use your finger to push the zipper/tab toward the interior fabric, and then match up the seams carefully and pin. Do this on both sides of the zipper before pinning around the outer edges. Mark about a 3” long area along the bottom of the interior fabric where you will leave an opening for turning the project right side out. Sew with a 1/4” seam, starting at the bottom. As you come along the sides, you will find the fabric is very thick where all the zipper seams are. You will not be catching the zipper/tab in this seam, but the bulk is still present, so you might consider a hump-jumper to help you get over it smoothly.


Once your seam is done, clip your corners (without cutting into your stitches!) and then press the seam to allow it to relax and flatten out. Then you can start turning your project right side out. Once it’s turned, take some time (and a nice bone folder or other poke-y device) and poke out your corners thoroughly. Take a little extra time to poke out the corners of the exterior fabric that are right up by the zipper tabs.


Now it’s time to close up that hole in the bottom of the interior fabric. Fold the raw edges under until they line up with the seam (more or less) and then stitch right along the folded edges. Or you could hand-sew this closed, if you want a more polished look, but I don’t generally bother with that.


Tuck the interior fabric into the pouch, poking all the corners and seams down inside. Take a moment (and your bone folder) to pull that zipper tab free of the side seam. Then give the finished pouch a nice press.


The finished product is really quite pretty and useful. I thought my brother (the other Potterphile in the family) might like the Marauder’s Map pouch, but since I can barely get my hand into that one, he definitely won’t be able to. Oh well, live and learn.