Adventures In Sockitecture-Part 1
Today, we’re talking about sock architecture. Thus, sockitecture. Don’t judge me. I haven’t had much sleep and have yet to take up drinking. I’m sure drinking would improve my writing and my jokes. Some folks (my non-knit-worthy brother, for example) might question why anyone would hand knit socks in this day and age “when you can buy six pairs for $10 at Walmart.” (Walmart! Walmart? Seriously?) All I can say is that a pair of socks custom knit to fit your feet is a sumptuous luxury. Try it and see for yourself.
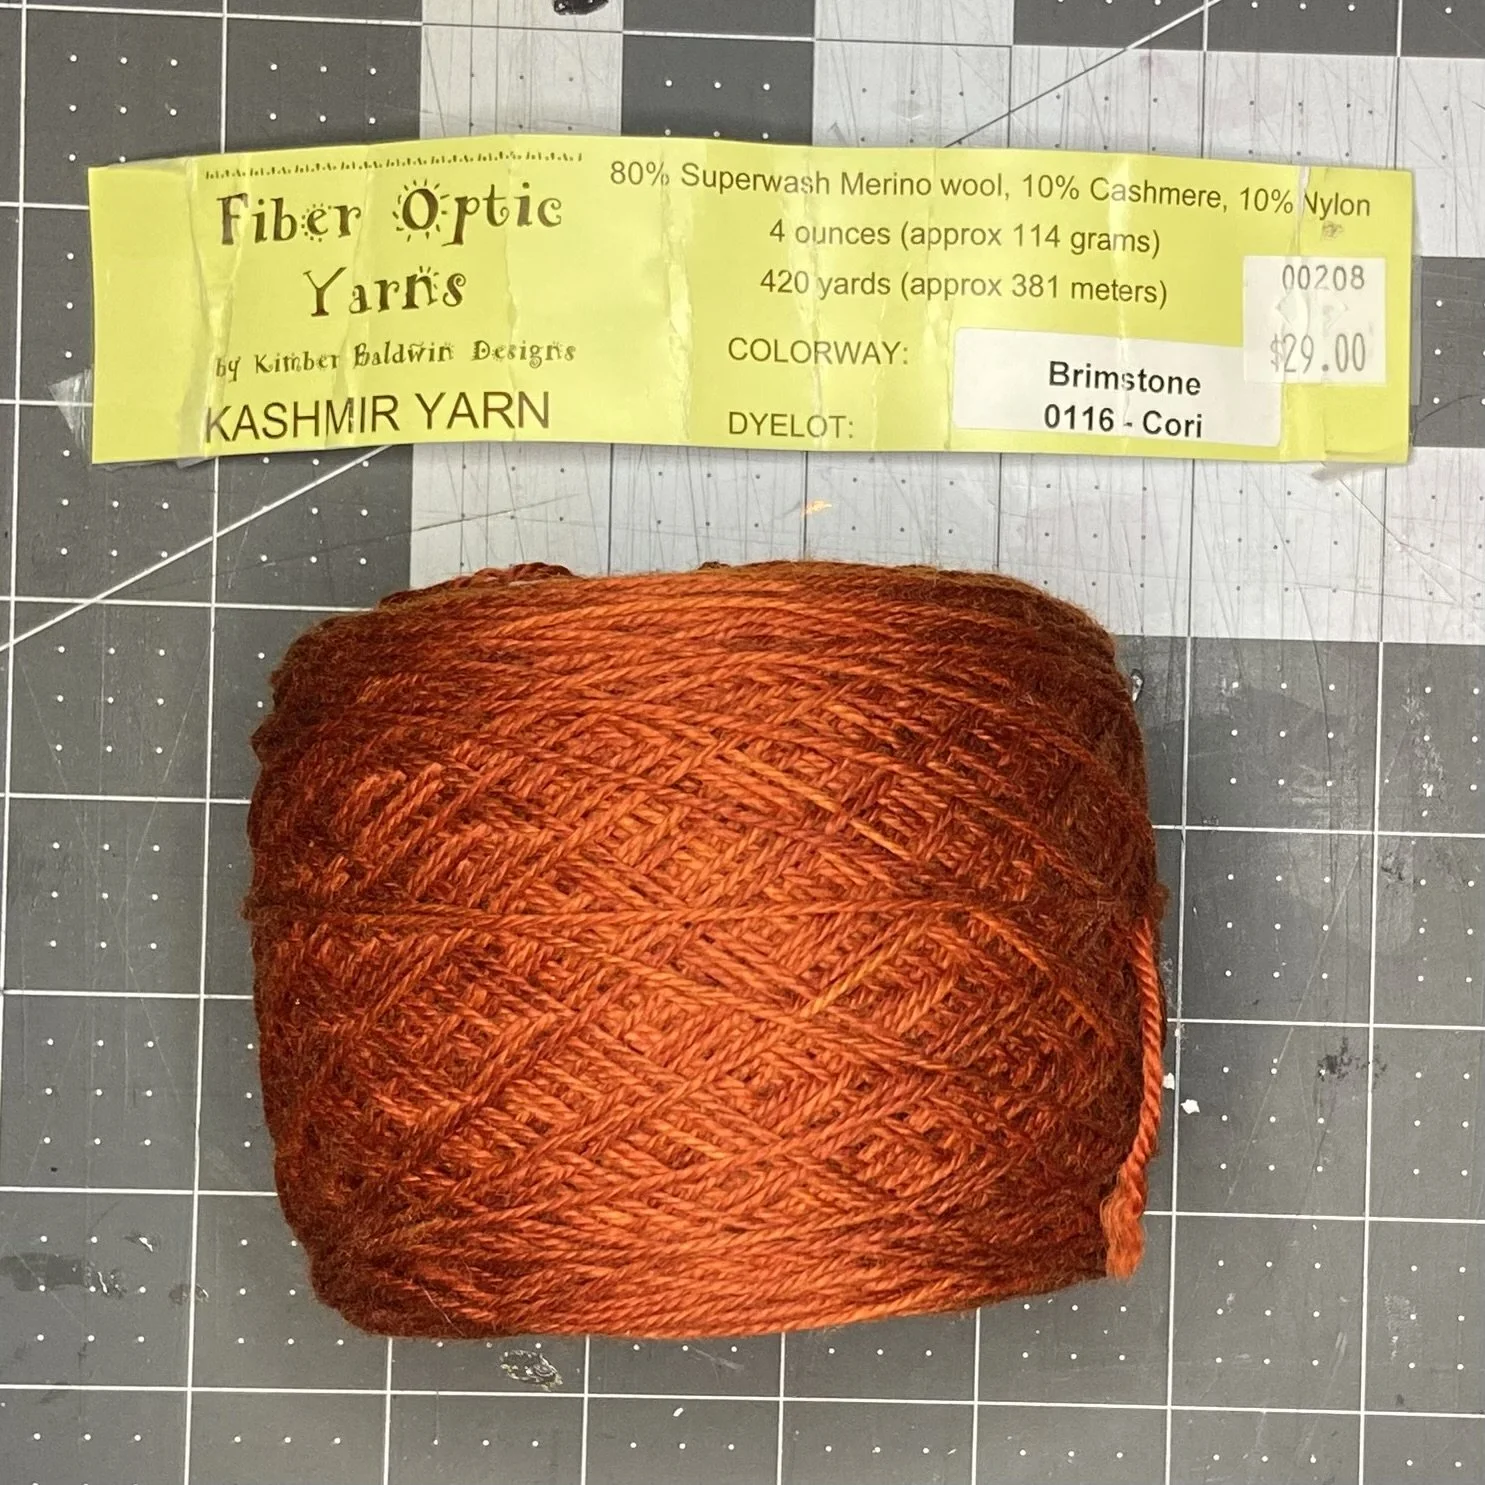
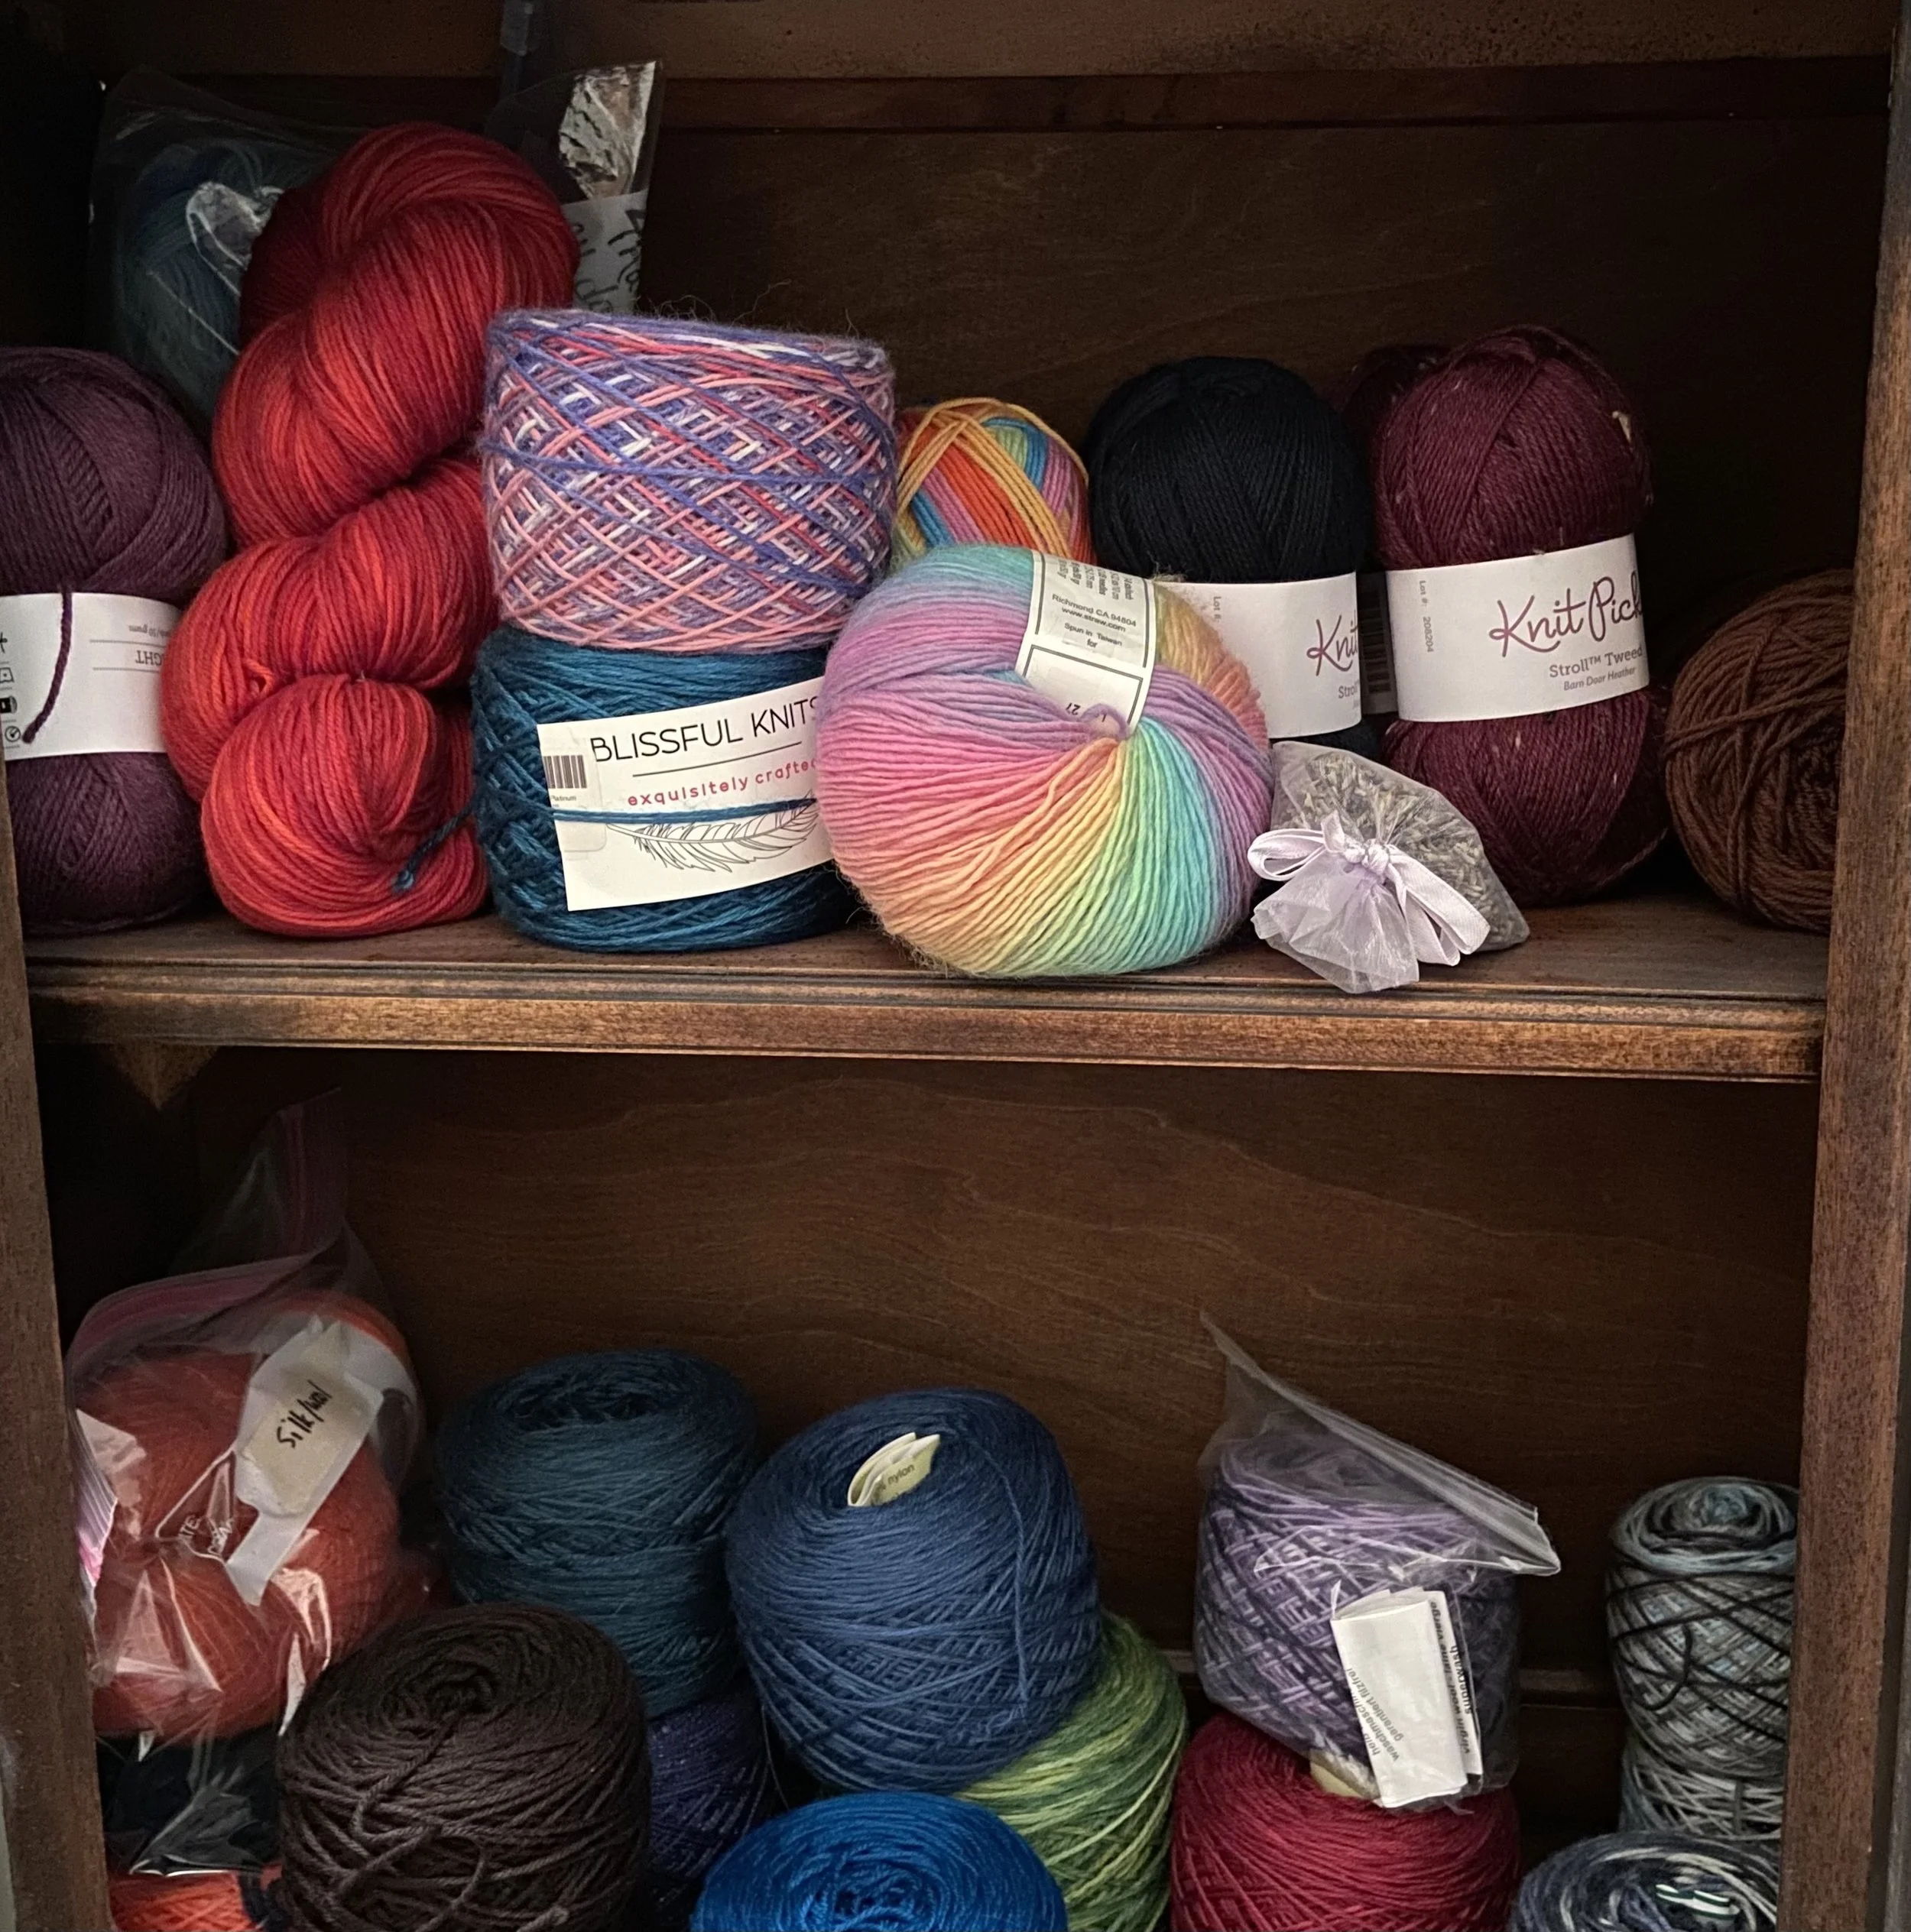
In an effort to (re)organize my yarn stash while writing my up SABLE article, I had segregated all my fingering weight sock yarn into my grandmother’s antique cabinet. So when I decided to write a post for beginning sock knitters (not beginning knitters…this is for knitters who have never knit socks), I only had to look in one place to select my yarn choice. One of my favorite sources for really beautiful sock yarn is Fibre Optic Yarns; the store owner dyes her own yarns and the result is deep, rich, beautiful color on luscious yarn bases. My favorite is her Kashmir yarn, which is 80% superwash Merino wool, 10% cashmere, and 10% nylon. It’s durable and feels lovely in my hands while I’m knitting it. I have a good amount of Kashmir yarn in the stash. The color I chose for this project is called Brimstone which is best described as a sort of bright rust color. My description doesn’t do it justice…it’s beautiful.
Having chosen my yarn, I thought I’d dive right in (if you want to follow along with my basic sock pattern, you can find it here). So here are the general instructions with a bit of commentary along the way. Oh, before I get started, I guess I should point out that these instructions are for Magic Loop knitting, although you could certainly get the same results using double-pointed needles, or two circular needles. I just prefer Magic Loop. If you’re not familiar with the method, here’s a good YouTube tutorial on the subject.

Start by casting on your stitches loosely. You do not want a tight top on your sock…it will cut off your circulation and then your foot will fall off. And that’s not a good look for anyone, not even if the now-detached foot is clad in a beautiful hand-knit sock. I personally just use the classic long-tail cast-on method, but space out my cast-on stitches, so the thread running between the cast-on stitches is longer than usual. This gives a reasonably stretchy edge to the sock. When you join your yarn to work in a circle, make sure you divide the stitches evenly; this will eventually be the sole of your foot and the instep of your foot, but for the start of the sock, you can think of it as the shin side of your leg (back needle) and the calf of your leg (front needle). Your starting point for the rounds is on the right side of the front needle, the calf side.

Then work on your cuff. K2 P2 ribbing is very common, and is what I usually do. K1 P1 ribbing is also common, although if I’m going to do that, I like to do a twisted rib with K1-tbl P1. On the example I made for the blog, I went for the classic K2 P2 ribbing. Knit the ribbing until you feel the cuff is long enough or you lose your will to live, whichever comes first. Personally, I usually do about 20 rows, which yields roughly 2” of ribbing. K2 P2 ribbing is not my favorite thing to knit, but I can manage 20 rows, which yields a generous cuff.
Next is the leg portion of the sock. This (along with the top of the foot or instep) is usually where you’d do patterned knitting, if you were going to do it at all. One of my favorite sock architects is a designer called Cookie A; she creates amazing designs and has written a couple fabulous books on the subject. I have knitted a number of her more elaborate patterns, some of my favorite being the BFF, the Pointelle, the Thelonius Sock, and a pattern called Stricken, which is so complicated that, in an effort to avoid madness, I had to resort to using multiple colors of highlighter pens on the printed pattern to keep track of where I was and what I was supposed to be doing.


These days, I don’t have the time or patience to knit complicated socks, so I mostly just knit ribbed socks (ugh, ribbing, but they fit beautifully) or stockinette socks. For the pictures for this blog post, I did the leg in stockinette and it took 45 rounds of stockinette stitch to bring the total length of the sock to 6”.
Now, on to the heel flap. You’re going to be doing slipped stitches every other row here, which will give you a thicker fabric on the back of the heel. This helps the sock stand up to wear in a spot where lots of wear occurs; in case you’ve never noticed, the back of your heel rubs against the back of your shoe with every step you take. You will work on only the front row of stitches…the rest of your stitches will sit on the cable of the needle, patiently waiting for you to be done with the heel. You will be working back and forth in rows instead of in rounds. On the right side of your work, you will slip 1, knit 1 all the way across the row. On the back side of the work, you will slip 1, purl across. You will repeat these two rows until your heel flap is square, which usually means as many rows as you have stitches on the needles. Since I cast on 72 stitches and am working on half, that means I’m working my heel flap across 36 stitches, so I did 18 of the knit rows and 18 of the purl rows. In order to set yourself up properly to turn your heel, you will need to make sure you finish with a purl row. The right side of your work will have vertical ridges where the slipped stitches line up, and the back of your work will have horizontal yarn bars across it.


Now…on to the heel turn. I have to pause for a moment to say that I’ve knit so many pairs of socks that I stopped counting at 50. And even so, every single heel turn is magic. Whoever figured this out is a genius. If you are the sort of knitter who likes to read ahead in the pattern and figure out how the knitted fabric is going to be shaped, then the heel turn instructions might be frustrating for you. The first time I did this, I read and re-read the instructions repeatedly over several days, hoping for enlightenment. And then I caved and decided to just follow the instructions row by row and see what happened. And behold…magic. Once you’ve done this yourself, you will understand.
So, the instructions for a classic heel turn: you are still going to be working back and forth on the heel flap, doing a version of short row knitting. Slip the first stitch and knit across until you have knit half the number of stitches you have on the needles, plus 2. This includes your slipped stitch. So since I’m working with 36 stitches, I’d need to knit 20 (including the slipped stitch). Once you have gotten to the halfway point (plus 2), you will SSK, then K1. Leave the rest of the stitches unworked and turn your work. Slip 1 stitch, purl 5 stitches, purl 2 together, then purl 1. Leave the rest of the stitches unworked and turn.
Right side of work: Slip 1, knit to 1 stitch before the gap you made with your SSK, then SSK over the gap. This means you will be knitting together your SSK stitch along with the last knit stitch from the previous row. K1 and turn the work.
Wrong side of work: slip 1, purl to 1 stitch before the gap, purl 2 together, purl 1, turn.


Repeat these two rows until you run out of stitches to SSK and P2tog. Gaze in amazement as your sock heel makes a 90° turn in preparation for knitting the sole of the foot. M A G I C !
Read part two here.