Adventures In Sparking Joy
As an Amazon associate, I may earn a small commission if you navigate to Amazon from my site and buy something. This will not result in an extra cost to you.
Odd and/or random things that make me happy: a list. With pictures.
In 2017, I decided to make one of the “magic hats” (see a longer post on the virtues of this genius design) for each of my three nephews for Christmas. I had made a bunch of them by this time. That pattern is like crack…I just couldn’t quit knitting it. For the Christmas hats, I decided on fingering weight yarn (from the stash, thank you!) with the base in black (I used KnitPicks Stroll sock yarn for this) and then accented with another fingering weight color from scraps left over from other projects. I also wanted the boys to pick their own colors, so I decided a garter stitch swatch was in order. I knit the swatch in black, with rows of the color options in between so that the boys could have a clear idea of what their chosen colors would look like together. Once the boys made their choices, I of course had no further use for the swatch. But I couldn’t make myself get rid of it. I just loved looking at it. To this day, it lives on a bulletin board in my studio, and it makes me smile every time I see it. Why? No idea. But it’s enough that it does.
One of my earliest projects for the blog was rebinding my paperback set of Narnia books. I had never done any bookbinding. Watching lots of YouTube videos on the subject is nothing like actually doing it (I know that’s obvious, but sometimes it’s still a surprise to me when I mess something up), which became evident when I made a number of mistakes. Those are documented in detail in the two-part blog post about the project but I will mention here that one of the details I wanted to do for the front of each of the books was to take a picture from inside the book and attach it to the front. I decided to inset each picture, so it would be (somewhat) protected from rubbing up against other books. That meant when I made the board for the front cover, I cut an extra board piece of thin chipboard, with a hole cut in it the same size/shape of the picture I wanted to inset. I also printed two of every picture so that I’d have one as a template (for the chipboard, among other things) and also as a buffer against mistakes, and then one pristine picture to actually use on the new book cover. When the project was over, in a little pile on my work surface were the pieces of chipboard I’d cut out and also the extra set of pictures. I meant to throw them away, but, you know…later. When I was cleaning up.
Well, I cleaned up and didn’t throw them away. I looked at them again, laid them out to appreciate them properly, and then set them aside again. I did this multiple times until I finally realized they just plain made me happy (No! I still don’t know why!) and decided to keep them. I made a little sort of “shelf” for them on the bulletin board next to my knitted swatch and that’s where they still are. They cannot be properly appreciated on the board, so from time to time, I take them down, lay them out, and smile. Then I put them safely away again.
My former place of employment offered on more than one occasion to host Financial Peace University, so I took the class and it changed my life. I’d already started down the debt-free-life path when my mother gifted me The Total Money Makeover several years earlier but the class really got me into the right place. These classes are generally hosted by someone who has gone through the course previously. And at my job, the hosts were Rob Liebertz (my author friend) and his lovely wife. Rob navigated us through the course and at the end, he gave each of us a tiny gift. Just a little keepsake. But I still have mine. And it sits on a shelf in my dining room where I see it every day. It’s a dollar bill origamied (if that’s not a real word, it should be) into the shape of a sailboat. And on a tiny thread hanging off it is a Visa credit card. You know, the anchor of debt that holds you back from sailing into the life that you want. Not only is it a great metaphor, it’s a gift that was made by hand with great thought and care and it means a lot to me. And so it makes me happy just to look at it. (Yes, this time I know why it makes me happy.)
When I was a kid learning to sew in my mother’s sewing room, I loved to rummage through her old fashioned sewing box which was full of, among other things, spools of thread. This was in the “olden days” when many of the spools were made of wood, although the newer spools were plastic, like they are today. And every time my mother emptied a wooden spool, she’d hand it to me and say, “Save that. Someday wooden spools will be worth something because they don’t make them anymore.” I had OCD even as a child, so I went to great lengths to scrape off any remnant of the paper labels, leaving only the “pristine” wood behind. I regret that now, of course. The spools are much more interesting with labels (or label remnants) on them. At this point in my life, I have come to the end of my own wooden spools that still had thread. All the thread is used up, and there aren’t any more wooden spools to be had. So I had a pile of them taking up space in a drawer and I thought that while I waited for them to become valuable (I think I might have to wait for 100 years or so), why not display them? The stash I have fits perfectly into a wide-mouth quart canning jar which now sits on a bookshelf in my dining room where I can see it every day. I suppose it makes me happy not only because it’s interesting to look at but also because it reminds me of sewing with my mother.
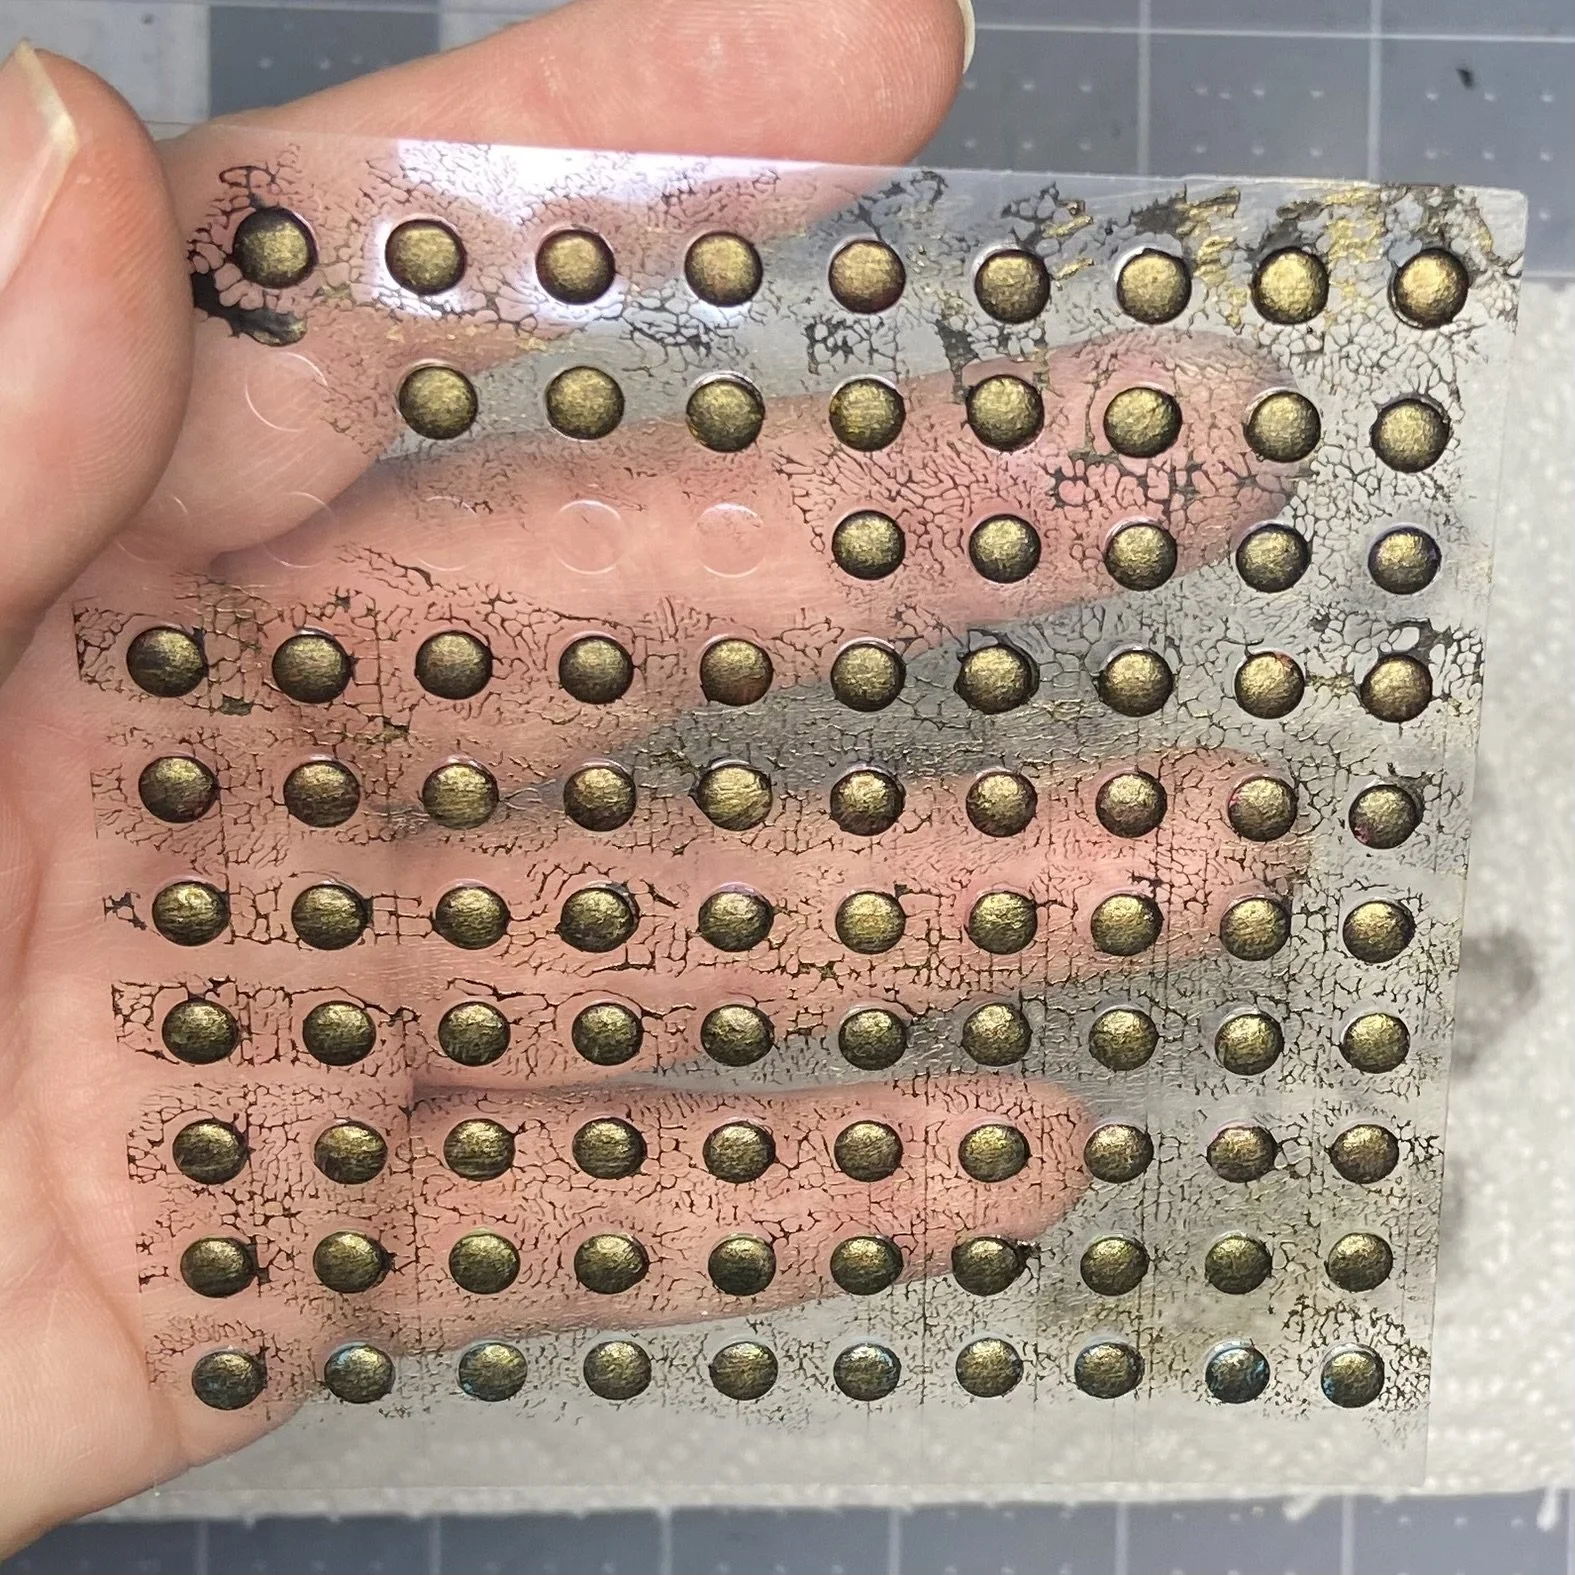
I haven’t done very many mixed media projects, but what I have done, I’ve really enjoyed. And one of the extra fun things for some of these projects is making things that aren’t metal look like metal. Case in point, my most recent art piece “All The Time In The World.” For this piece, I made faux metal rivets and faux metal corners. It’s not hard…I usually start by painting the not-metal thing black, and then dry-brushing some metallic paint of some kind onto it. For the rivets, it was just some Stampin’ Up Candy dots (sadly no longer available) that I painted with black gesso and then dry-brushed with metallic bronze paint. They really do look like metal! And you can make a bunch at the same time, and hold onto them for future projects.
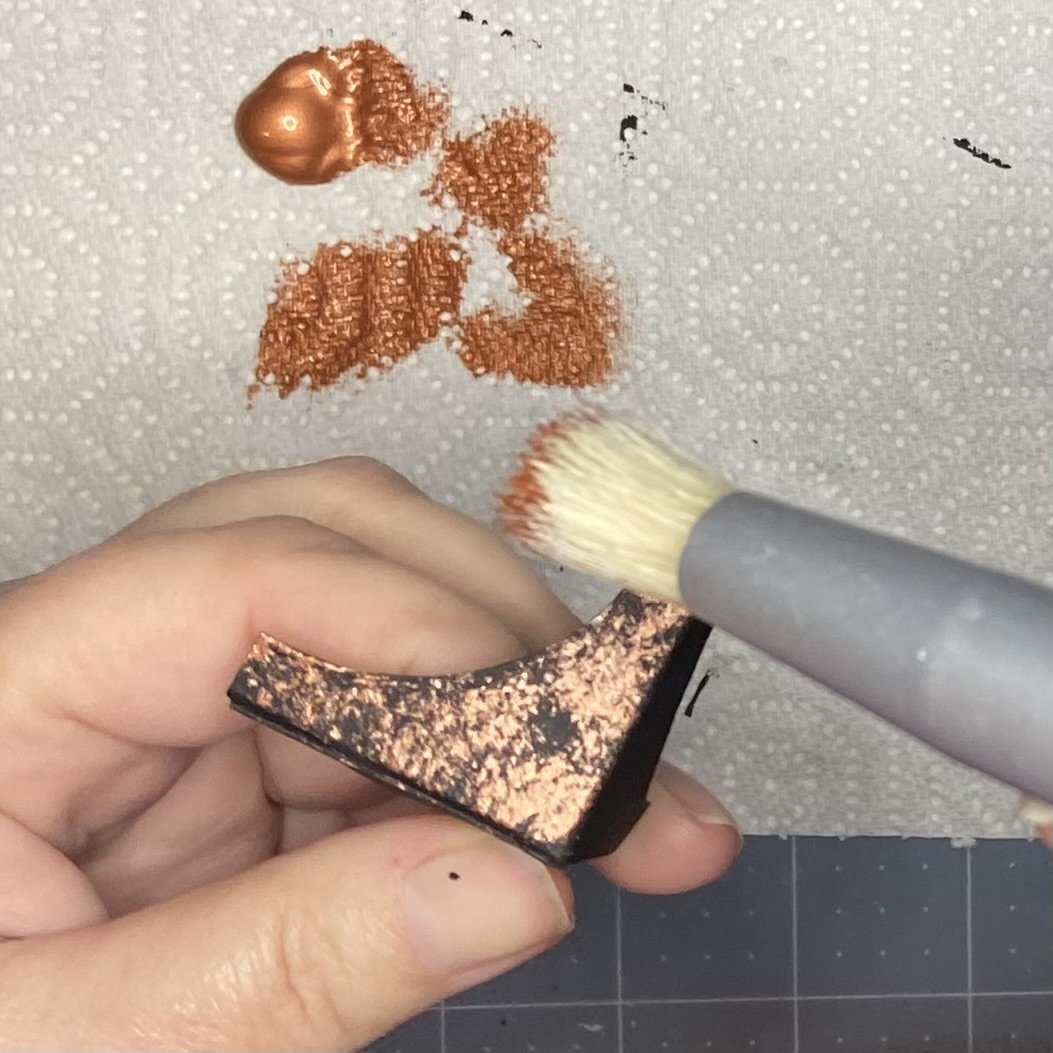
But the thing that really made me happy from that recent project was the faux-metal corners. I won’t go too much into detail on how I made them (I worked from this excellent YouTube tutorial), but when it came time to use the paints, I painted them with black gesso first, then used my stencil dauber to dab metallic copper paint onto them. And I LOVED how they turned out. I was so enchanted with how they looked that I kept hauling them out of their “staging box” (where I keep the various pieces for a given project, so that they don’t wander off into the chaos of my studio before I’m ready to use them) and just looking at them. And now that the finished piece is hanging in my living room, I walk over to it frequently to admire it…and honestly, I’m mostly admiring those metal corners. With the faux metal rivets. So happy!
It turns out, I didn’t need Marie Kondo to explain what “sparking joy” means. I’ve known all along.


