Adventures In Time Zones-Part 2
As an Amazon associate, I may earn a small commission if you navigate to Amazon from my site and buy something. This will not result in an extra cost to you.
This post will not make much sense until you’ve read Part 1, which you can find here.
Since I was busy putting off working on the smaller canvases as long as possible, I decided to next make my fake metal corners for the main canvas. Using the directions from this fabulous tutorial from Vectoria Designs, I made four corners out of thin chipboard from the stash. I’m not going to go into detail for how to build these…watch the video for that. But the essentials are: cut a square that is twice the size of the edge you want to cover; draw in your tab for glueing; draw in the curves you’re going to cut out; score along your crossways marks on the chipboard; cut out; bend and glue together; and paint as desired.


After I built the corners and let the glue dry on them, it was time to make them look like metal. To that end, I first painted them with black gesso, and then used my stencil dauber to dab metallic copper paint onto them. I think they look amazing! As I was working on the rest of the project, I kept taking these out and admiring them.


Finally, unable to put off working on the smaller canvases any longer, I started. I found bits of map for four of the canvases in my Stamperia paper pad and in my vintage maps paper pad. But I couldn’t find anything I liked for Tokyo. I finally ended up printing an image I found on Google onto photo paper. I trimmed each of the five maps 1/4” larger than the canvas on all four sides. Then I used clear gesso to adhere the map paper to the canvas, and used a rubber band to hold the edges down until it dried. Once it was dry, I inked up the edges of the maps with my brown distress ink, and in the case of the map of North America, with my VersaMagic Night Sky mini ink pad. After that was dry, I sealed the surface of each canvas with more clear gesso.


Perhaps it’s not the way a professional artist works, but I do love to lay out certain pieces as I’m working and just look at them. They delight me! I do not apologize. And I also don’t claim to be a professional artist.
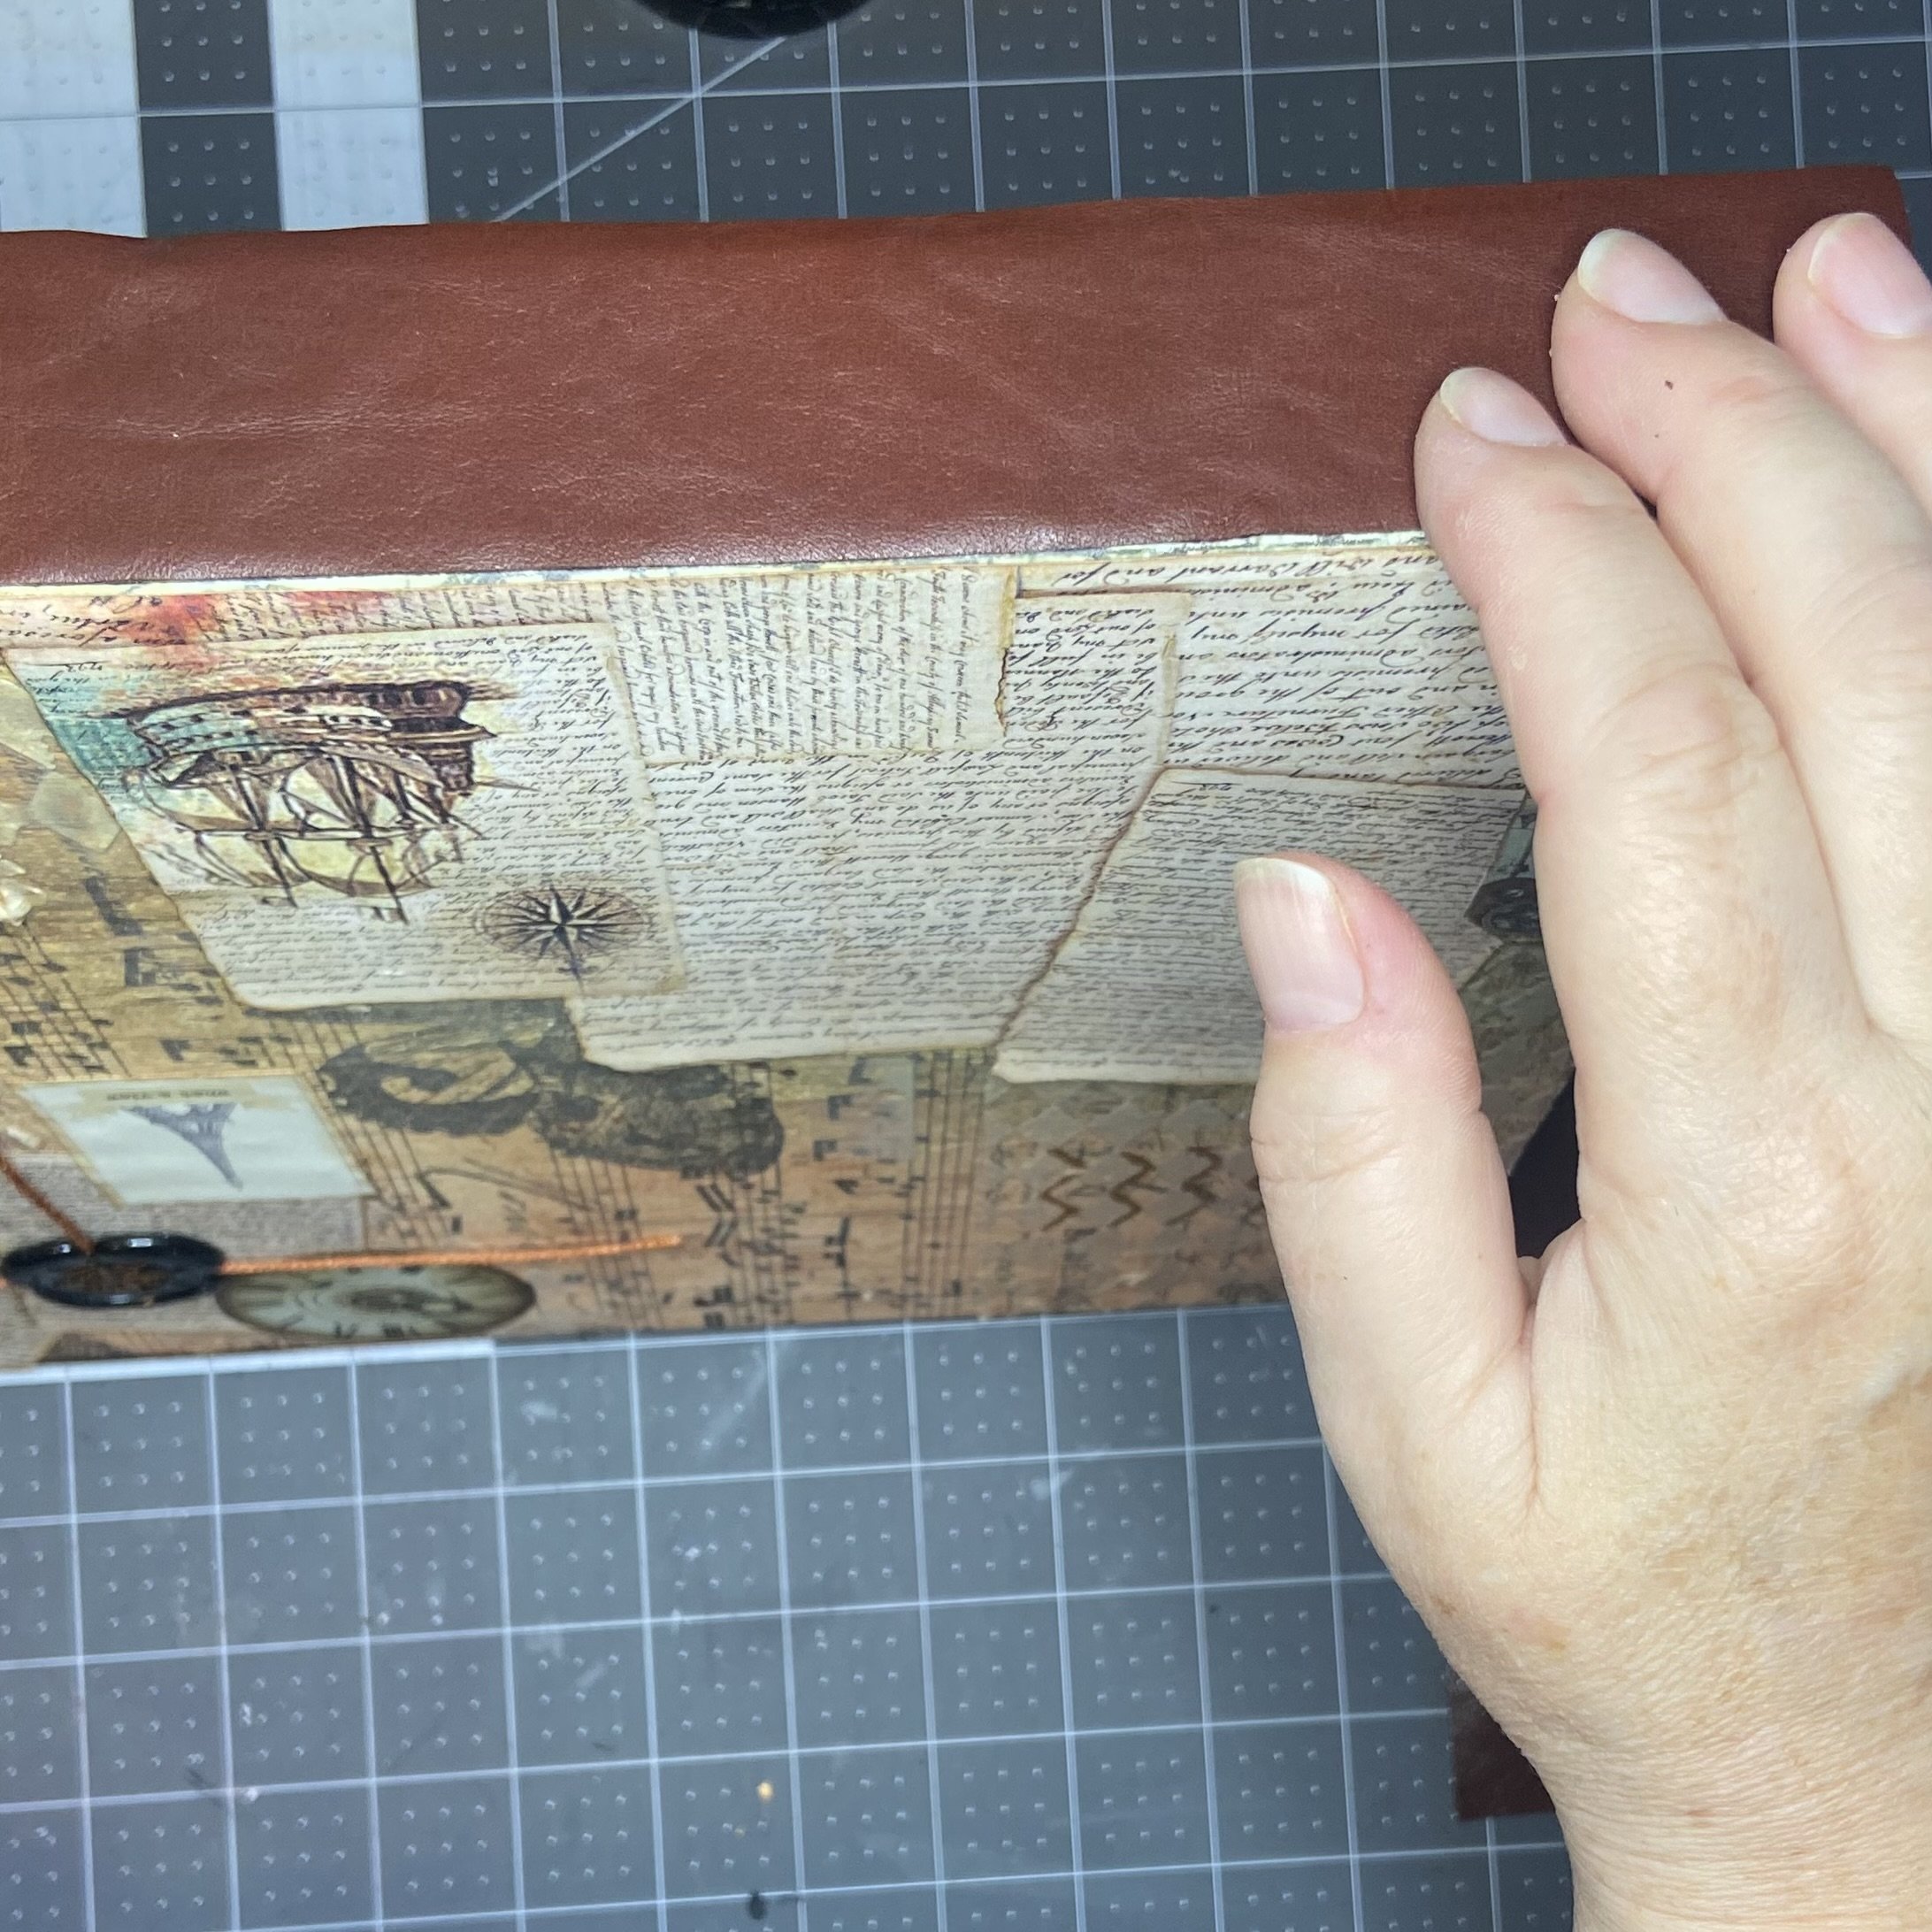
Next, I needed to wrap the smaller canvas edges in leather, which I cut from an old leather coat my mother found for me years ago in a second hand shop. With the smaller four, I cut a single long strip of leather to the width of the edge of the canvas and long enough to go all the way around. On the larger canvas, I opted to use two pieces of leather. I also cut little tabs of leather, rounding the corners, to cover the place where the ends of the leather met. I glued the long strips onto the edges first and held them in place with rubber bands until they dried, then attached the little leather tabs. Once all the leather was glued on with heavy body gel, I also glued down some of the rivets I’d made. I did have to use a tiny paint brush to remove the excess gel, as it dries shiny and would have been very visible otherwise. And on one of the canvases, I didn’t cut the leather quite wide enough, so a bit of the white canvas edge showed through. I used some liquid acrylic paint in Burnt Sienna to paint that edge so it blended in.


Once all that was done, I decided that I wanted to elevate the smaller canvases just slightly above the main background canvas, so they would give the faint impression of floating. To that end, I cut some strips of black chipboard, glued two layers together, and then glued the double layers to the backs of the smaller canvases.


Next I needed to configure the watch bands to wrap around the edge of their individual canvases and not have any excess sticking out. I decided to first make two bends in each watch band so that it would actually go around the edge and stay there (with a little help from Mr. Heavy Body Gel, of course). I have to admit, I thought I’d come up with an excessively clever method to introduce the bend. I grabbed some bamboo skewers from the kitchen and with what the ladies in my family call “the magic scissors,” I cut them into about 1.5” lengths. Then I grabbed the Apple Watch, and bent the band around the piece of skewer at the place I’d decided it needed to bend, and wrapped a rubber band around it to hold the band in place around the skewer. Really, I felt very clever. Right up until I picked up the next watch band, bent it at the right spot without use of the skewer, and rubber banded the bend in place. It made a much sharper bend. So I took the skewer bits out of the Apple Watch and just used the rubber bands.


I figured those needed to sit for awhile, so I decided to glue my ephemera to the background canvas. I used clear gesso as the adhesive, but I did come to regret that, as it didn’t stick very well, even though I spent some time holding it down with my hands and whatever else I had laying around in the studio. In spots along the edges, where it was reluctant, I used a paint brush to scoot some heavy body gel into the space and hoped for the best. I also glued down my black compass seals, and laid the smaller canvases in place atop the background canvas to figure out how much of my fake copper wire I needed to trim. Once the wire was trimmed to the correct length, I glued the ends of it down with my heavy body gel.


After all this was dry, I cut some leather strips to fit and glued them to the outer edge of the main canvas. I didn’t bother with any leather tabs to cover the joins at the corners, because I would cover those with my fake metal corners later.
After what I thought was a sufficient amount of time for the leather watch bands to remember the bends I’d introduced, I took the rubber bands off, trimmed the bands to the proper length, and then used heavy body gel to glue them down. I used my small brush to remove the excess gel, then used rubber bands (as many as needed) to hold the bands in place while the gel dried. I also glued down the time zone seals.


I left all this overnight and then the next day, I proceeded to attach some felt “feet” (okay, the package said they were felt pads for protecting furniture, but I prefer my own nomenclature) to the four corners of the back side of the background canvas so that it would sit slightly away from the wall once it was hung.
I retrieved my faux metal corners, and used heavy body gel to attach them to the corners of the large background canvas.


Next, I freed my smaller canvases from their rubber band straight jackets, and glued them down in their proper places on the large canvas, using heavy body gel. And then the last step, attaching some more fake rivets on the fake metal corners.


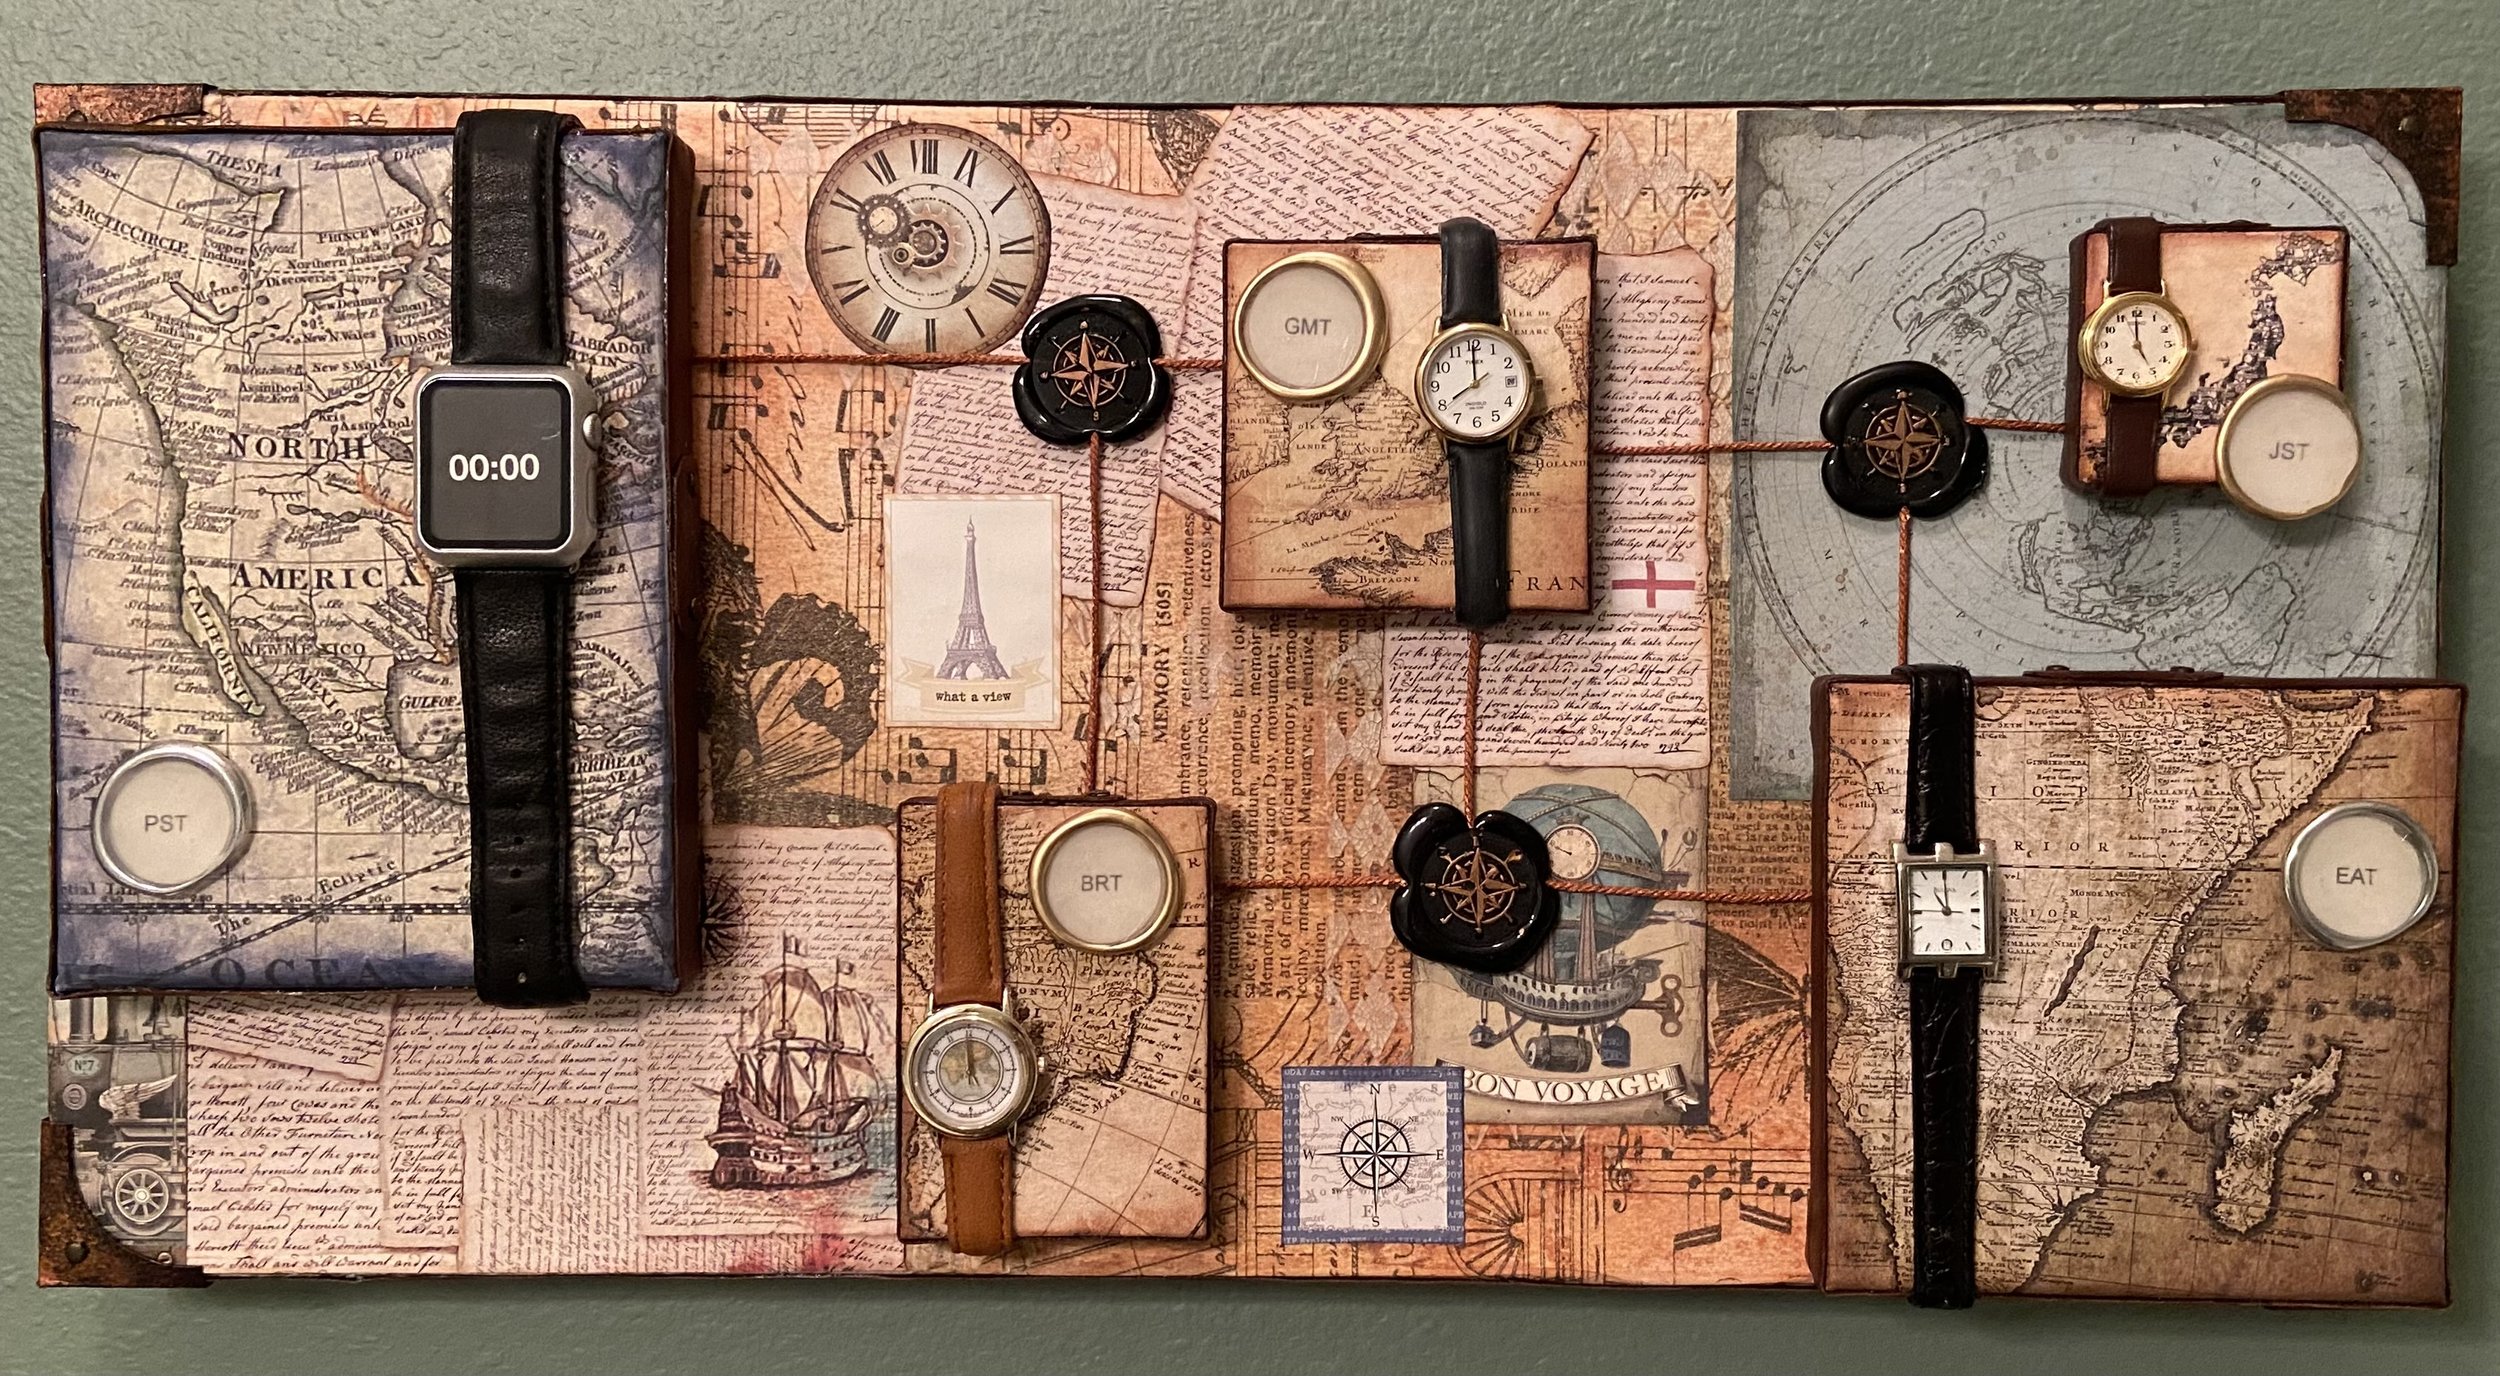
And done! I’ve decided to call this All The Time In The World. Art is more artistic if you title your piece, right? I’m sure I read that somewhere…