Adventures In Surreal Shadowboxing-Part 1
As an Amazon associate, I may earn a small commission if you navigate to Amazon from my site and buy something. This will not result in an extra cost to you.
When I put together my mixed media altered clock, I’d originally planned to use two family heirloom timepieces. But I only had room for the pocket watch, leaving my fancy wristwatch needing a home. Unlike the clock project, where I’d been inspired by some particular altered clocks on Pinterest, I was working from scratch for this piece. But I was somewhat buoyed by my success with my altered clock, and so I was confident I could figure it out. Possibly it would be more accurate to say I was overconfident.
My original (vague) idea was to construct a crumbling low brick wall/fence and a mostly-falling-down clock tower, in which the watch would be the clock-face. It would be set against a starry night sky, and have vines and such wrapped all over everything. But I couldn’t figure out exactly how to execute the wall and the clock tower, so the design evolved as I went along, becoming increasingly abstract. The reader will have to make their own judgement on what the final piece looks like.
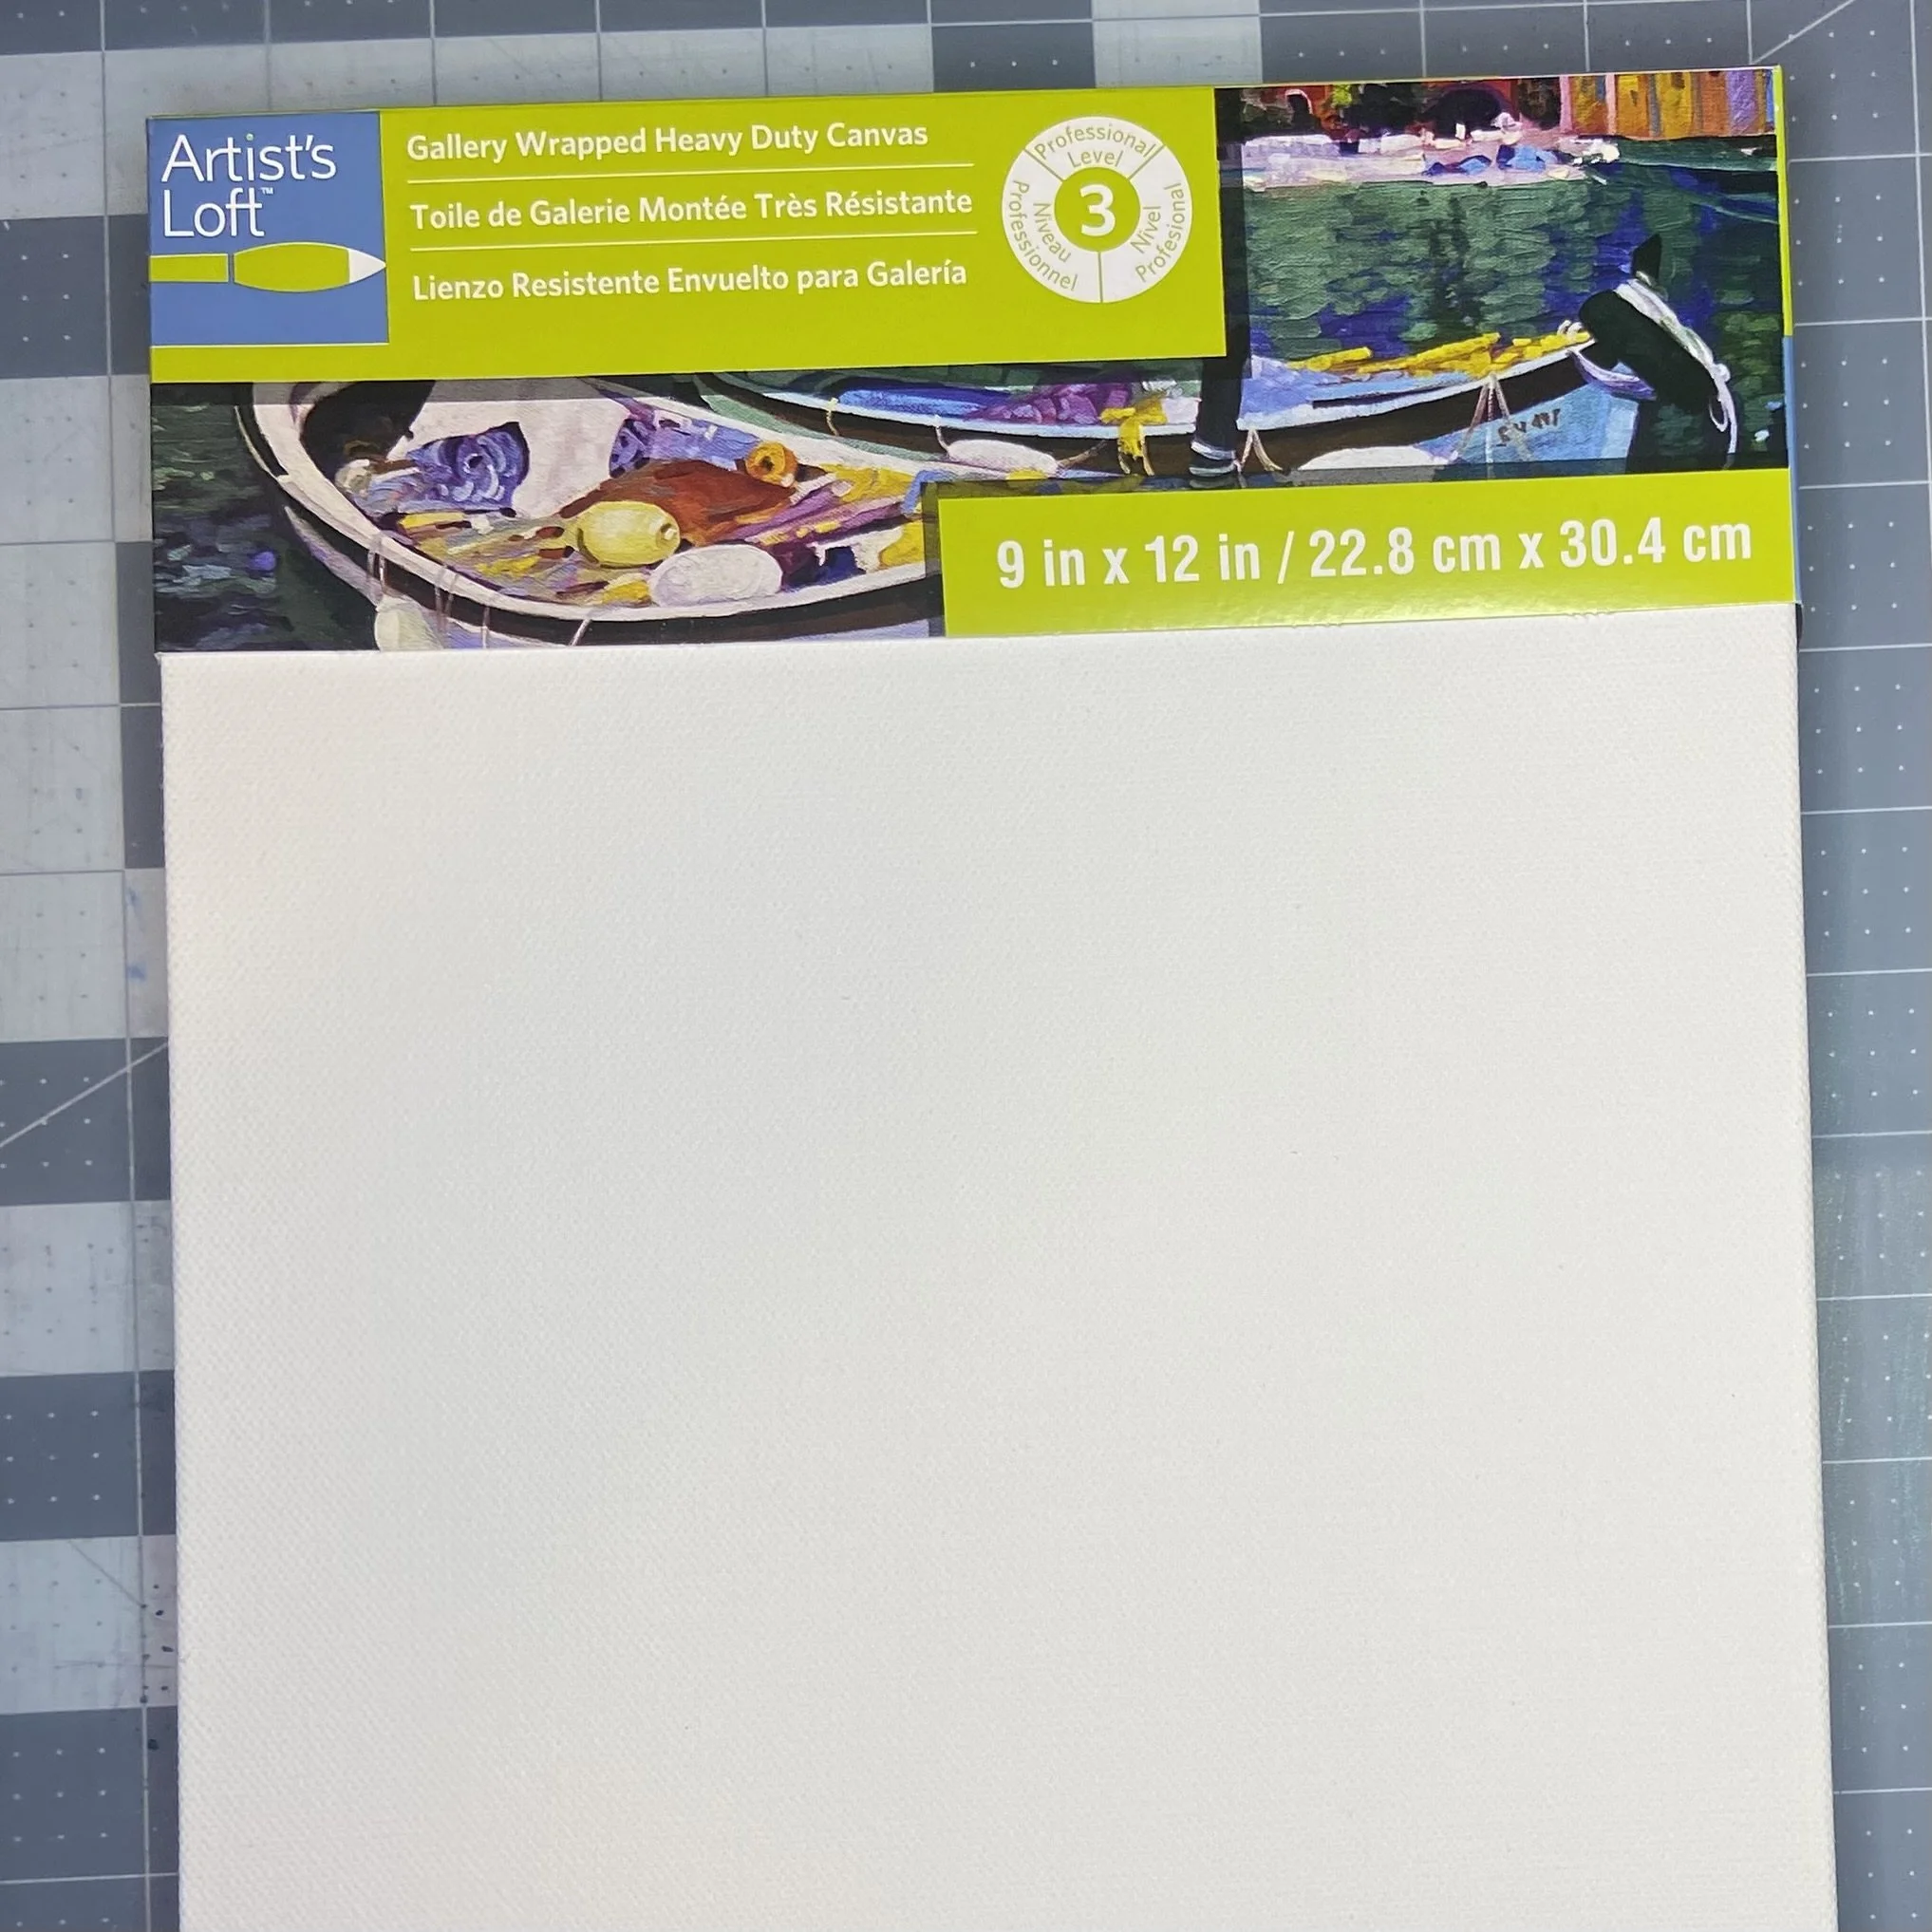
I started with a 9x12” canvas that was sufficiently deep that I could use the backside like a shadowbox. I painted it with black gesso and let it dry completely.


While that was drying, I worked on my “starry night sky.” I first experimented quite a lot with various techniques in the art journal (I won’t bore you with pictures of the resulting mess) and ended up using a piece of heavy duty water color paper, spraying it with four different colors of Lindy’s Gang sprays and then lightly misting it with water to help the colors blend. I had to do several layers of the sprays and water before I was satisfied with the final result. You can get five-packs from Amazon (I got this one and this one initially) but to really select the individual colors you want, best to go straight to the source: I used Tibetan Poppy Teal, Hydrangea Blue, Sweet Violet Purple Teal, and Open Arms Amethyst.
As my overall design evolved, I decided to make the “clock tower” more of a round, moon-in-the-sky sort of look, with mechanical bits surrounding the watch. To that end, I pulled apart a perpetual calendar puzzle which I’d bought for the nephews years ago, had them assemble for me, and then tried to paint myself. I’d been unsatisfied with how it looked when I was done messing with paints, so it had languished until I decided to pirate repurpose the pieces for this project. I ripped it all apart and chose the pieces I wanted to use, then painted them with black gesso. While I was waiting for the gesso to dry, I cut a narrow strip of leather to serve as a sort of “watch band” for the watch, which I would use to hang it in the installation. (The leather was from an old coat my mother bought for me in a thrift store awhile back.)


When the gesso was dry, I started glueing things together with heavy body gel. I first glued the layers of the watch strap together so it wouldn’t fall off the watch, then started on the gessoed puzzle pieces. Since there were so many layers and I wanted to use wax on them a little later, I decided to glue the layers in two sections, gloss them up with waxes, and only then glue them completely together. As I glued the pieces, I had to keep removing extra gel with a small paintbrush, as the gel dries shiny and I didn’t want that visible on my piece.


After the gel had dried, I applied Brushed Iron and Rich Copper waxes to the different layers until I was happy with the look, then finished glueing the assembly together.


While I was doing all this, I was also pondering how to embellish the edges of the piece. Leaving them matte black from the gesso wasn’t an option. I ended up painting the front and outer edges with liquid acrylic paint in Emerald and then additionally pushing first green paint and then Jewel Effect Paste in Sparkling Onyx and Tiger’s Eye Stones (apparently no longer available) through a leaf stencil. (I can’t remember where I got the stencil, and I managed to destroy it while making this project; I don’t want to talk about it.)


Next, I got to work on the starry night background and the tree(s) I wanted to set against it. If you can’t have a crumbling brick wall and a decrepit clock tower, at least you can have trees, right? I used a “bare tree” chipboard piece, painted it with black gesso, and then used my finger to rub some of the Brushed Iron wax on it. Then I cut my starry night paper to the right size to fit into my frame, and pushed black gesso through a “bare tree” sort of stencil onto the starry night paper to sort of give the impression of a forest of trees behind my chipboard tree. (I don’t remember where I got this stencil, and I destroyed it too during the making of this project. I still don’t want to talk about it.) The stenciled image did not come out cleanly and it didn’t really look the way I imagined (as with many facets of this project) but it was going to be mostly covered by the chipboard tree and the watch/gear piece, so I decided to roll with it.


Then I used heavy body gel to glue the starry night paper into the frame.


I wanted to have the chipboard tree sit forward from the painted tree in the background, so I applied some Stampin’ Up Dimensionals cut into tiny slivers to fit onto the back of the tree without being visible. I eventually decided that the white foam dimensionals would (might) still be visible, no matter how carefully I trimmed them, so I applied some of the Brushed Iron wax on the sides in the hope that it would help the foam blend into the tree. Then I stuck the chipboard tree down over the painted branches.


