Adventures In Terraforming-Part 1
As an Amazon associate, I may earn a small commission if you navigate to Amazon from my site and buy something. This will not result in an extra cost to you.
In addition to watching a lot of YouTube, I also like to look at Pinterest. And over the last few months, as I was browsing through Pinterest images, a project idea started to take shape in my head, helped along quite a bit by a few images I found. The general idea was of a globe with terraforming machinery embedded in the surface and clear geological activity visible. How to do it was the question, of course…I took inspiration from these three images:


Of course, I needed a globe. And I didn’t have one. I did poke around some second hand shops but did not find what I needed. So I caved and bought this one from Amazon, which had the virtue of being both inexpensive and relatively small. Of course, the first thing I had to do was peel off the plastic layer that had all the cartography on it…this was going to be New Earth, not Earth. Unfortunately, removing the printed plastic layer did not remove the thick blue ridge of the equator, which also turned out to be where the two halves of the plastic sphere were joined together. I had to take a rasp to that to flatten it out. I never did get it perfectly smooth, so it’s unfortunately still visible in the final project.


Then I used a sharpie to draw in some continents and make some X marks where I thought it might be nice to put in some mountains. After I made my general outlines, I used my modeling paste to make the continents dimensional and then built up the mountain ranges. I also slapped a couple spots into the “ocean”…islands, ya know!


After that, I wanted some volcanoes, to show that geological activity was occurring. But I didn’t think I could easily manage it with the modeling paste so I hauled out some air-dry clay that I’d bought some time ago for some other (long since forgotten) project idea, and sculpted two volcanoes onto the surface of my globe. In addition to using my fingers (and leaving fingerprints in the volcanoes, more’s the pity), I dug out an old manicuring tool and used that to help me manipulate the clay. I knew the volcanoes wouldn’t stick to the globe for long, but I wanted the underside of both pieces to conform properly to the curve of the globe. And then I left them to dry for a couple days. Of course, as soon as they dried even slightly, they fell off the globe onto my work surface. But they were undamaged, so no harm, no foul.


Once the volcanoes were completely dry, I used my heavy body gel to glue them to the globe’s surface, one on either side of the plastic arm that supports the globe. Then I painted everything with black gesso and left it to dry.


There was lots of “ocean” space, so rather than leave that black, I tried to figure out how to add a little color but still leave it quite dark. I played around in the art journal with a liquid acrylic paint over black gesso and also two different blue colors of my Lindy’s Gang sprays. I ended up deciding to use the Lindy’s Gang spray in Hydrangea Blue but rather than try to spray the globe without spraying everything in my studio, I just used a makeup sponge to dab the color on.


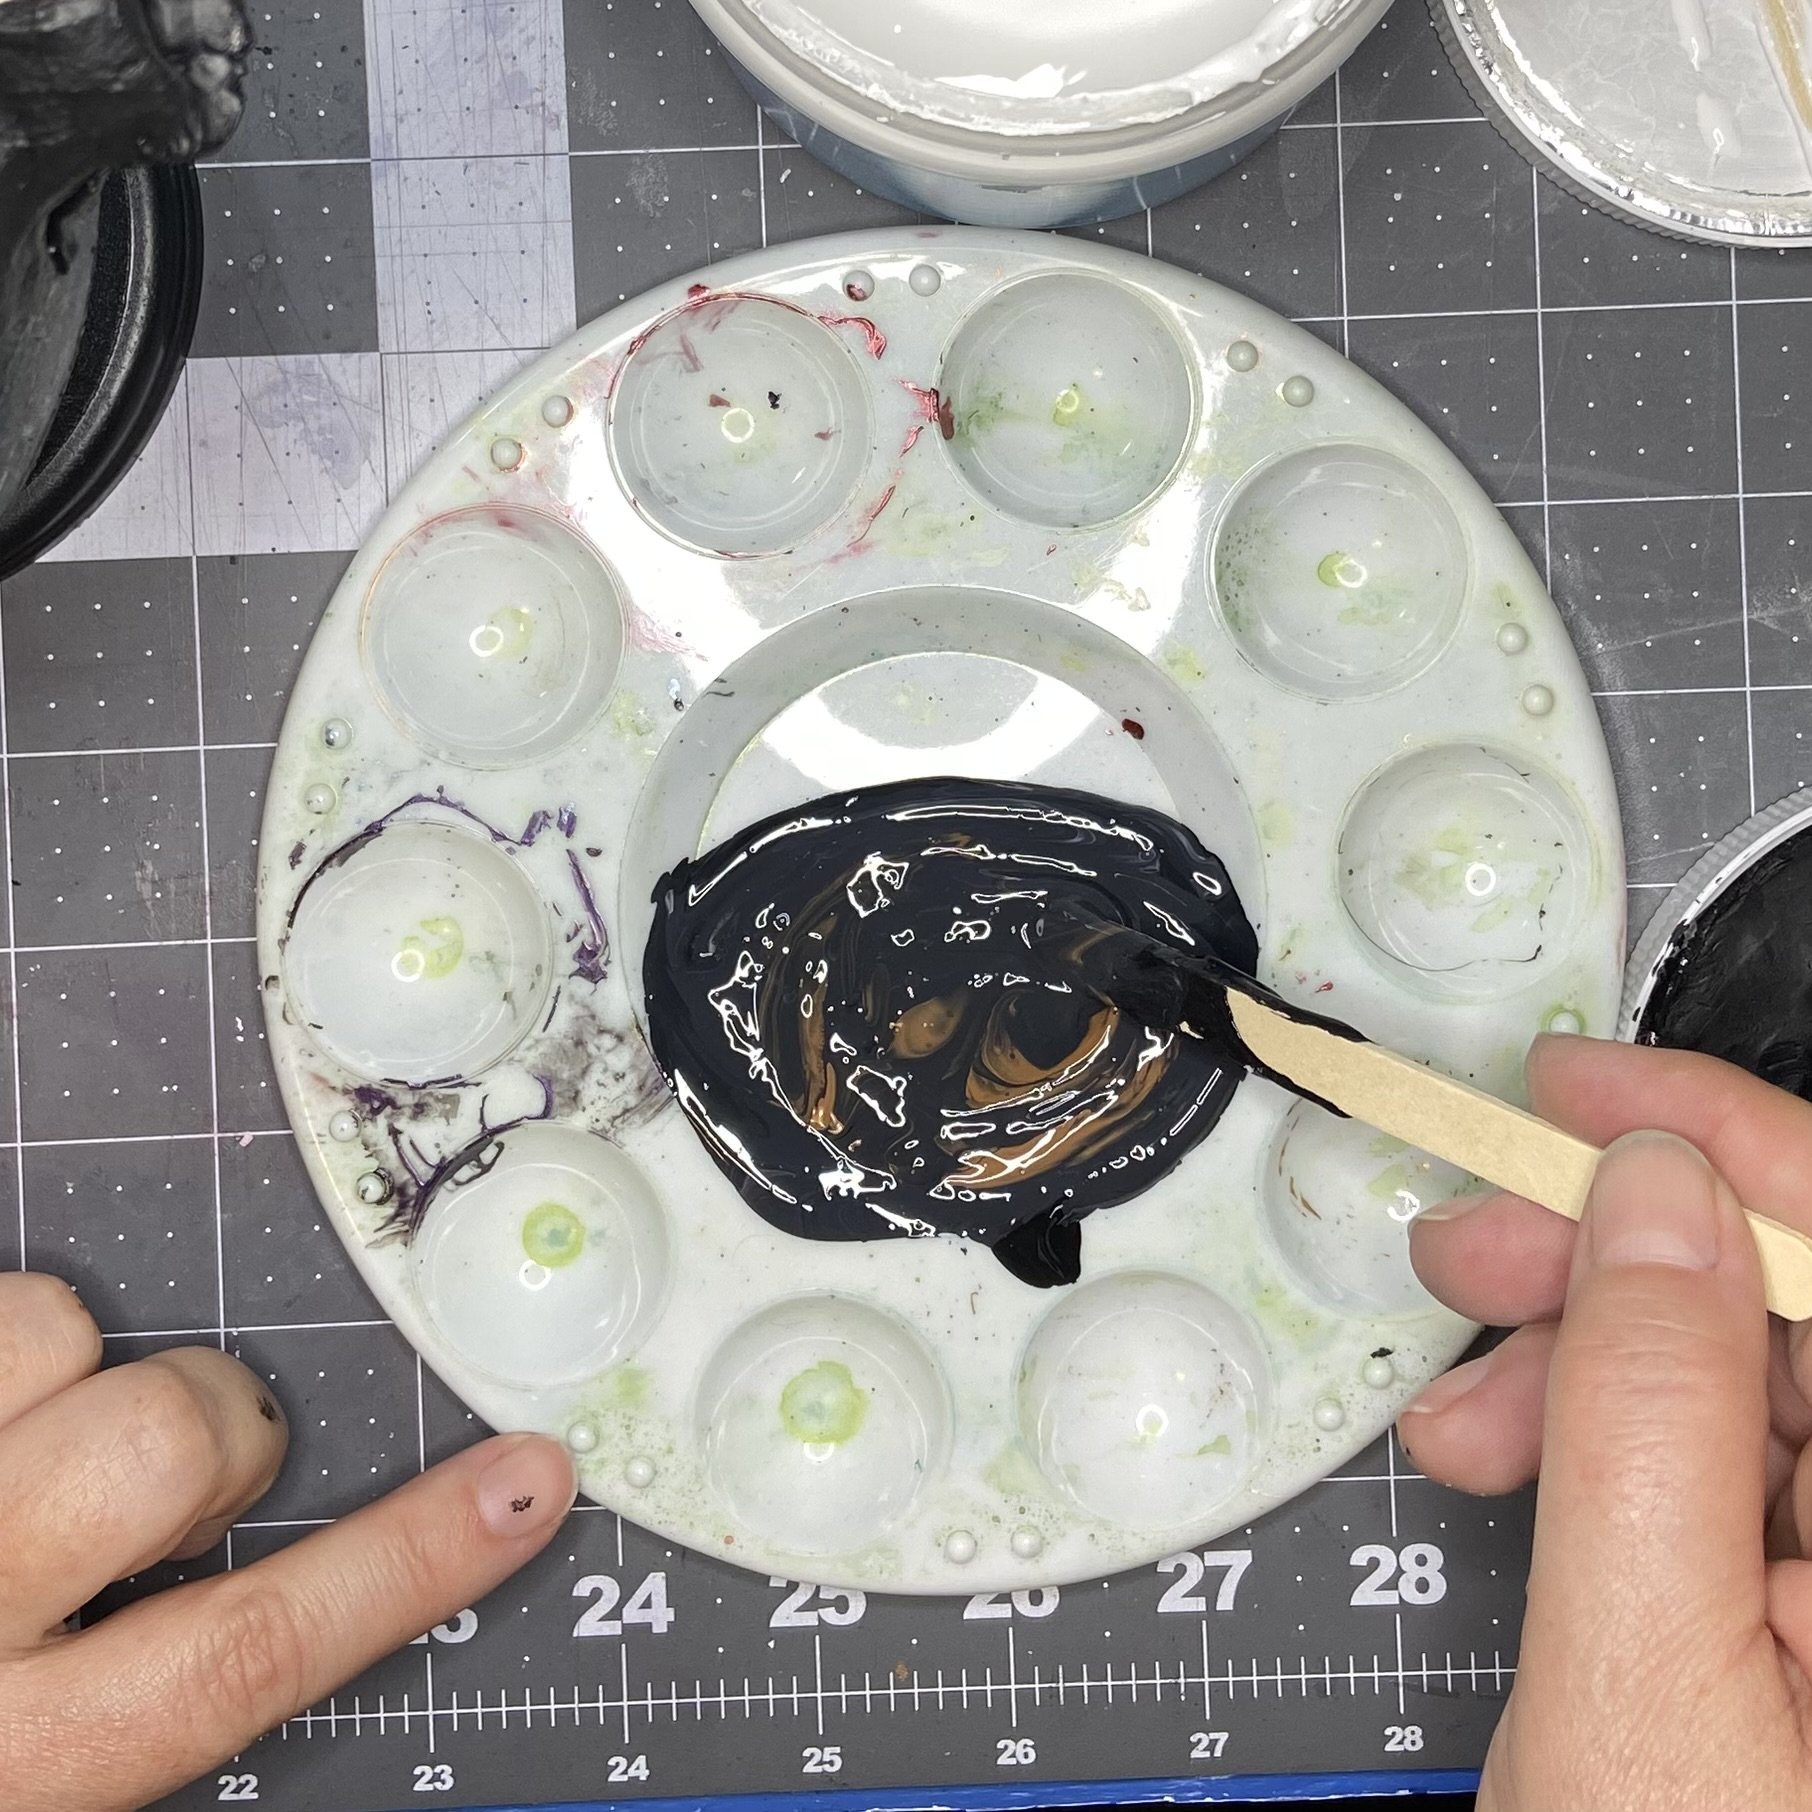
After that, I decided to try my hand at making the continents and volcanoes look a little more dimensional so to that end, I mixed together some black gesso, white gesso, and brown acrylic paint till I got a sort of warmish dark gray, and painted all the land masses with that; then I added more white gesso, did a second layer of highlighting, added more white gesso, and brushed over the tops of the “mountains.” I’m not completely happy with how this turned out, but I don’t really know enough about painting to figure out how to make it look better. As it happens, I still think the land masses look better with my somewhat inept painting than if I’d left them flat black.


Now I needed to figure out how to build my “machinery” for the world engine. I really didn’t know how to build this, or even what I wanted it to look like. So I went to Home Depot for inspiration. I started by wandering the electrical aisle and quickly found two pieces that I thought would work. I have no idea what they’re for... When I got home, I started adjusting the parts of them that moved and trying to figure out how I could glue them together to have them look like…something. But…they didn’t look like anything, so I figured I needed more pieces.
Next stop, a local auto parts store. I wandered the aisles methodically, looking for anything that might fit with the pieces I already had. Naturally, a very nice employee approached and tried to help me. When he asked if he could help me find anything, I replied, “I don’t think so. I’m here for an art project, not for my car.” I don’t know why he looked at me so oddly before walking away…At any rate, I decided on two spark plugs in the smallest size I could find, and a little box of four metal stem valve caps, which looked something like this:


Now I had something! I’d like to give a logical explanation of my “process” but honestly, I just messed with the pieces like they were part of a three-dimensional jigsaw puzzle until I found a way to put them together. For the electrical pieces that looked like castle turrets (sort of), I wanted to jam the little metal caps in the opening on the top but the caps were slightly smaller than the opening and just fell through. Not to worry…I had plenty of clay left over, so I stuffed some of the air-dry clay into the turrets and then glued the caps in on top of the clay. I also glued the spark plugs into the open ends of the other electrical pieces (I’m sorry to be so vague, but I really have no idea what they are!) and then joined the two metal pieces end to end. And since I had two of the little metal caps left over, I glued those onto the screw heads that were still visible.


Because there was not much surface area to glue the metal pieces together and because they were heavy, I knew they wouldn’t hold with just glue. So after I glued the pieces together in my chosen configuration, I made two little flat “platforms” of clay and stuck the metal pieces into them. After trimming away the excess clay, I let everything dry for a couple days. After it was dry, of course, the metal would not stick to the clay but I used heavy body gel to glue my “machines” to their clay bases.
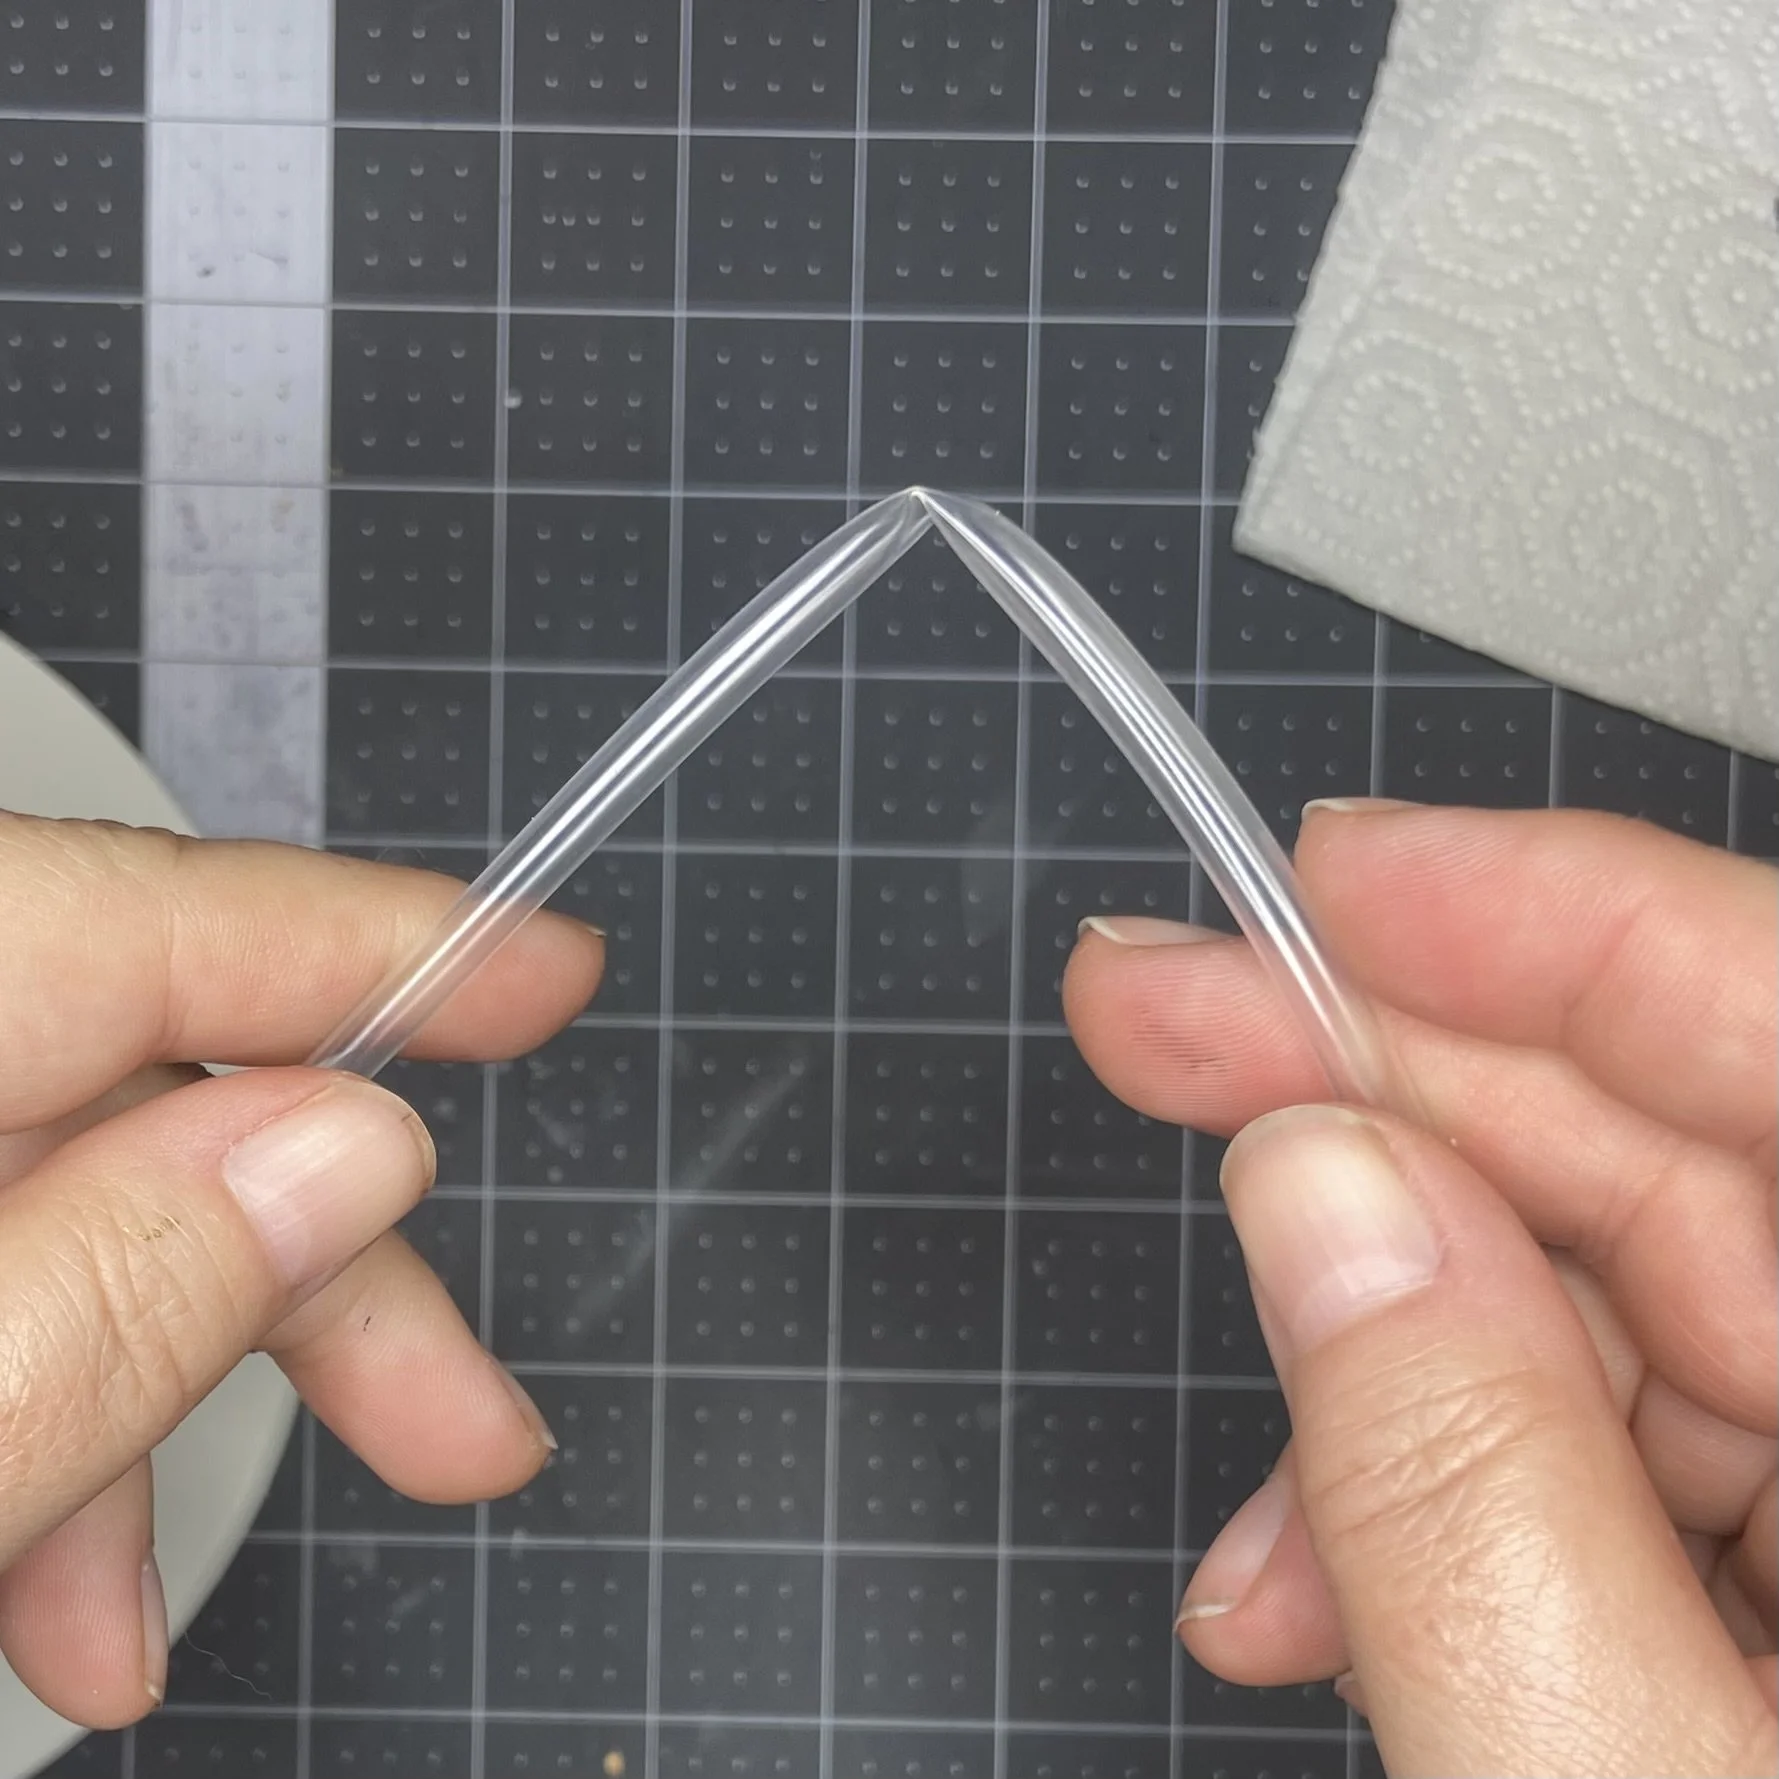
While waiting for all of that to dry, I tried to figure out how to make the “piping” I’d imagined running along either side of the globe’s plastic arm as part of the machinery. I still had a lot of the thin plastic tubing left over from my shoelace project and I thought if I ran a piece of wire through the center of the tubing, that I could get it to hold its shape as I bent it around corners. But alas, this tubing was far too thin-walled and simply crumpled and creased when I tried to bend it past about 80°. While I was busy being annoyed by this failure, I remembered that I had a an old packet of “bendy straws” in my pantry. And that’s what ended up working. I used the bendy necks of the straws for the part of the pipes that needed to bend 90°. And then my plastic tubing worked for the rest. It was already in the perfect curve as it came off its roll. I measured along the plastic arm of the globe, cut the plastic to length, then glued on the bendy straw ends.