Adventures In Time Zones-Part 1
As an Amazon associate, I may earn a small commission if you navigate to Amazon from my site and buy something. This will not result in an extra cost to you.
I love maps. Not that anyone uses a paper map anymore, in this age of GPS and smart phones. I think I inherited my love of maps from my father. He worked in Army intelligence for a few years, translating aerial reconnaissance photography into usable maps. He wouldn’t say much more about it, of course, but from time to time, he would haul out a stack of beautiful old paper maps and spread them out lovingly for both of us to admire.
I also like time pieces. Clocks and watches and such. I have two watches, but I haven’t worn them since I got my Apple Watch. Don’t get me wrong, I love my Apple Watch. It’s sleek and clever and tells the time quite adequately in addition to doing a whole bunch of other things. I won’t give it up. But I am a little sad to not wear my regular watches anymore. My mother is in the same boat, but she had three watches, two of which she gifted to me for whatever I wanted to use them for. The third watch she kept for sentimental reasons even though, like me, she’s attached to her Apple Watch and is unlikely to ever wear a regular watch again.
So I had four watches to play with, and when I recently had to upgrade my Apple Watch because the old one wasn’t working right anymore, I then had a fifth watch to play with, as my original Apple Watch was so old that I couldn’t trade it in, only recycle it. Well, I can recycle a watch as well as Apple can…
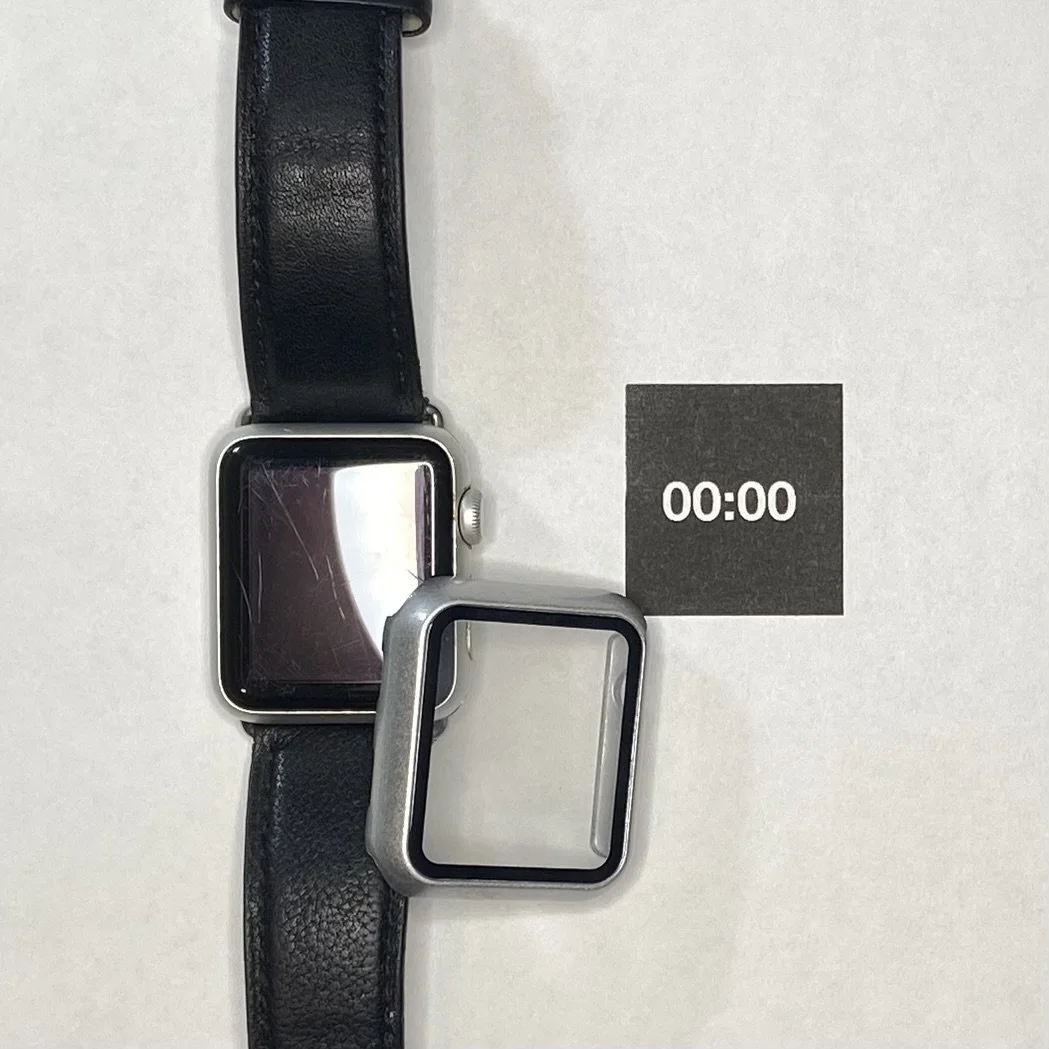
Five watches…why not make an art piece out of them? Maybe with some bits of map in there too? Of course, there was the small problem that while the four regular watches showed the time on their faces like they always do, my old Apple Watch was completely dead and dark and showed nothing. First thing to do was make up a fake display for it. I had some old screen protectors for it, so I printed up a black square with white lettering on it, showing the time as midnight. I cut out the black square, stuck it onto the face of the Apple Watch, and then snapped the cover protector over that. It looks okay. It would have looked slightly more convincing if I’d used glossy photo paper to print my fake watch face, but I didn't have any and I wasn’t willing to buy a package of the stuff just for this one thing. While I was at it, I set the time on the other four watches to be correct for their respective time zones.


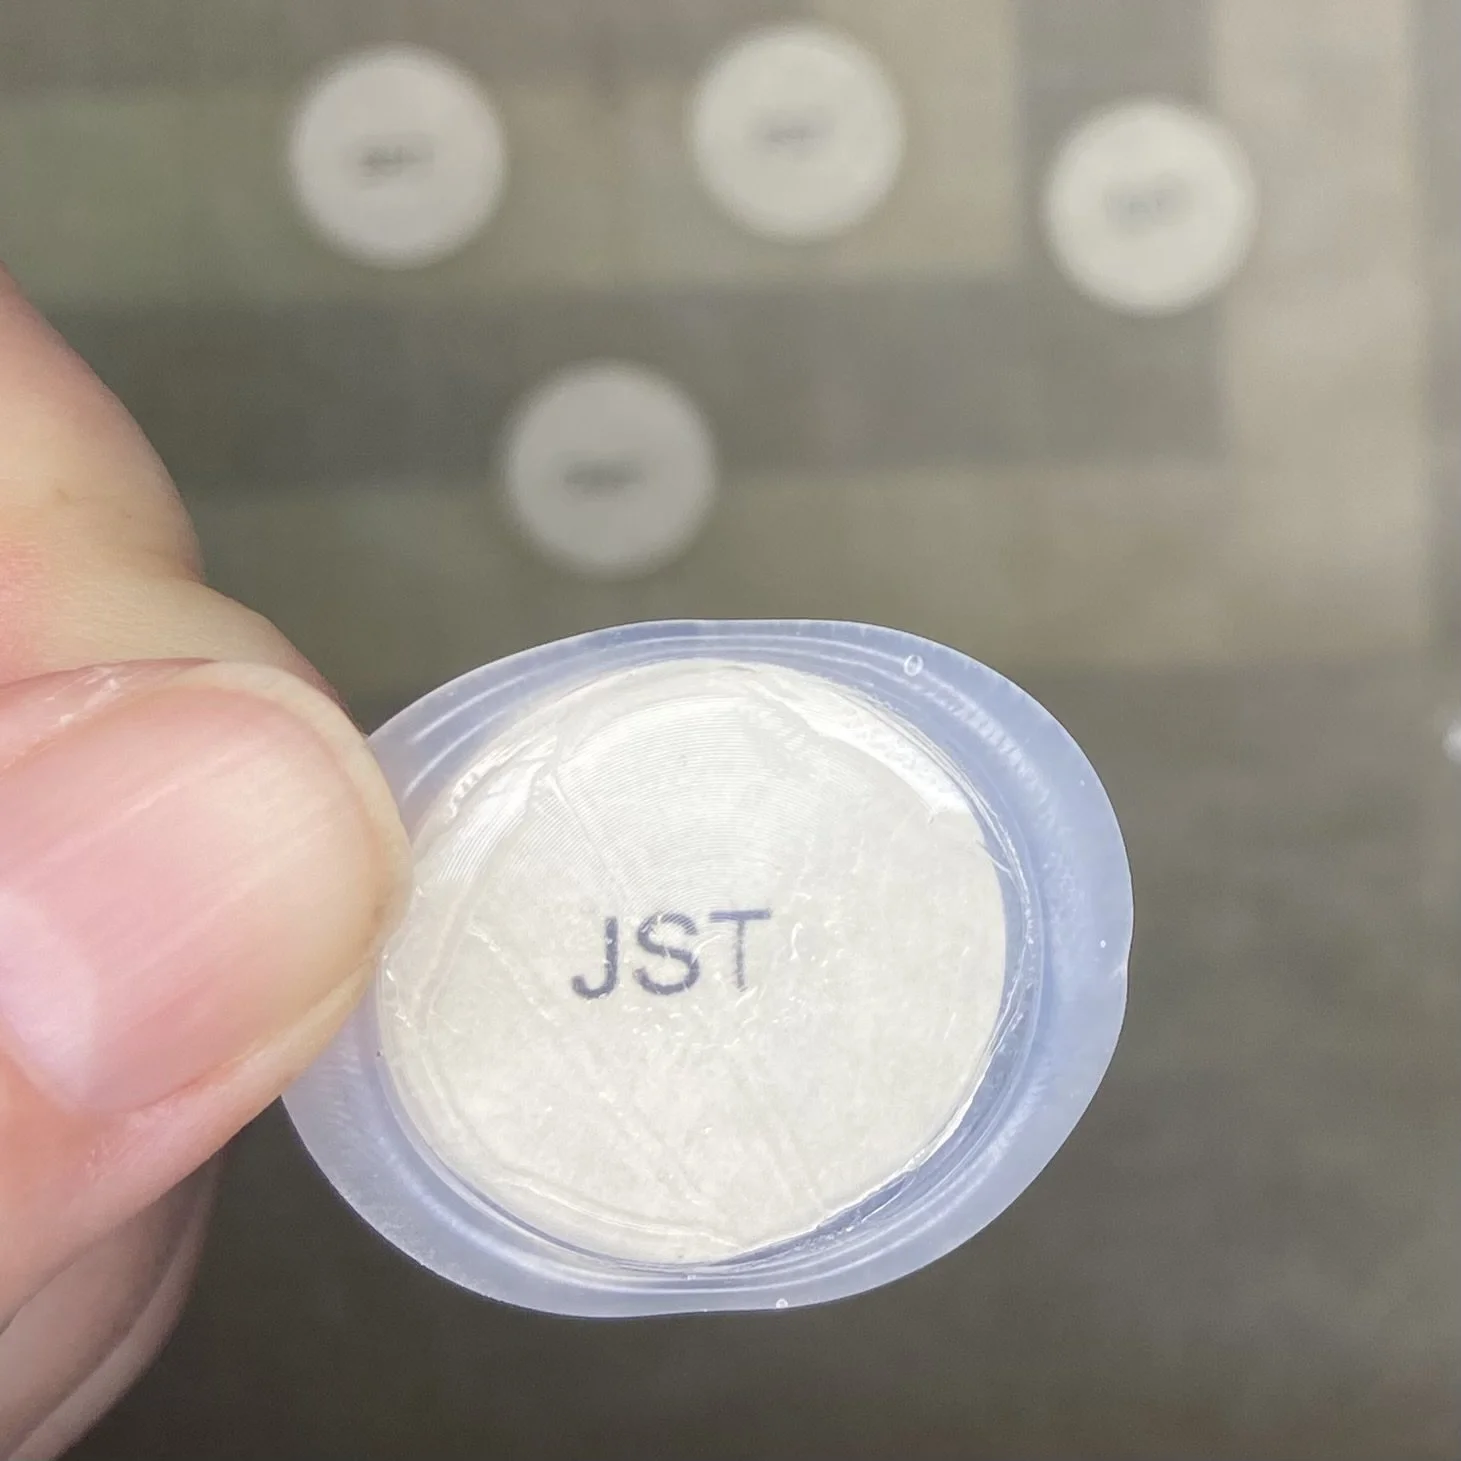
At this point, my general idea was to have the five watches represent five time zones for five different locations. My final decision on the locations was San Francisco (PST), Rio de Janeiro (BRT), London (GMT), Tokyo (JST), and Madagascar (EAT). I decided to use smaller canvases for each of the five watches and place all of them on a larger canvas.
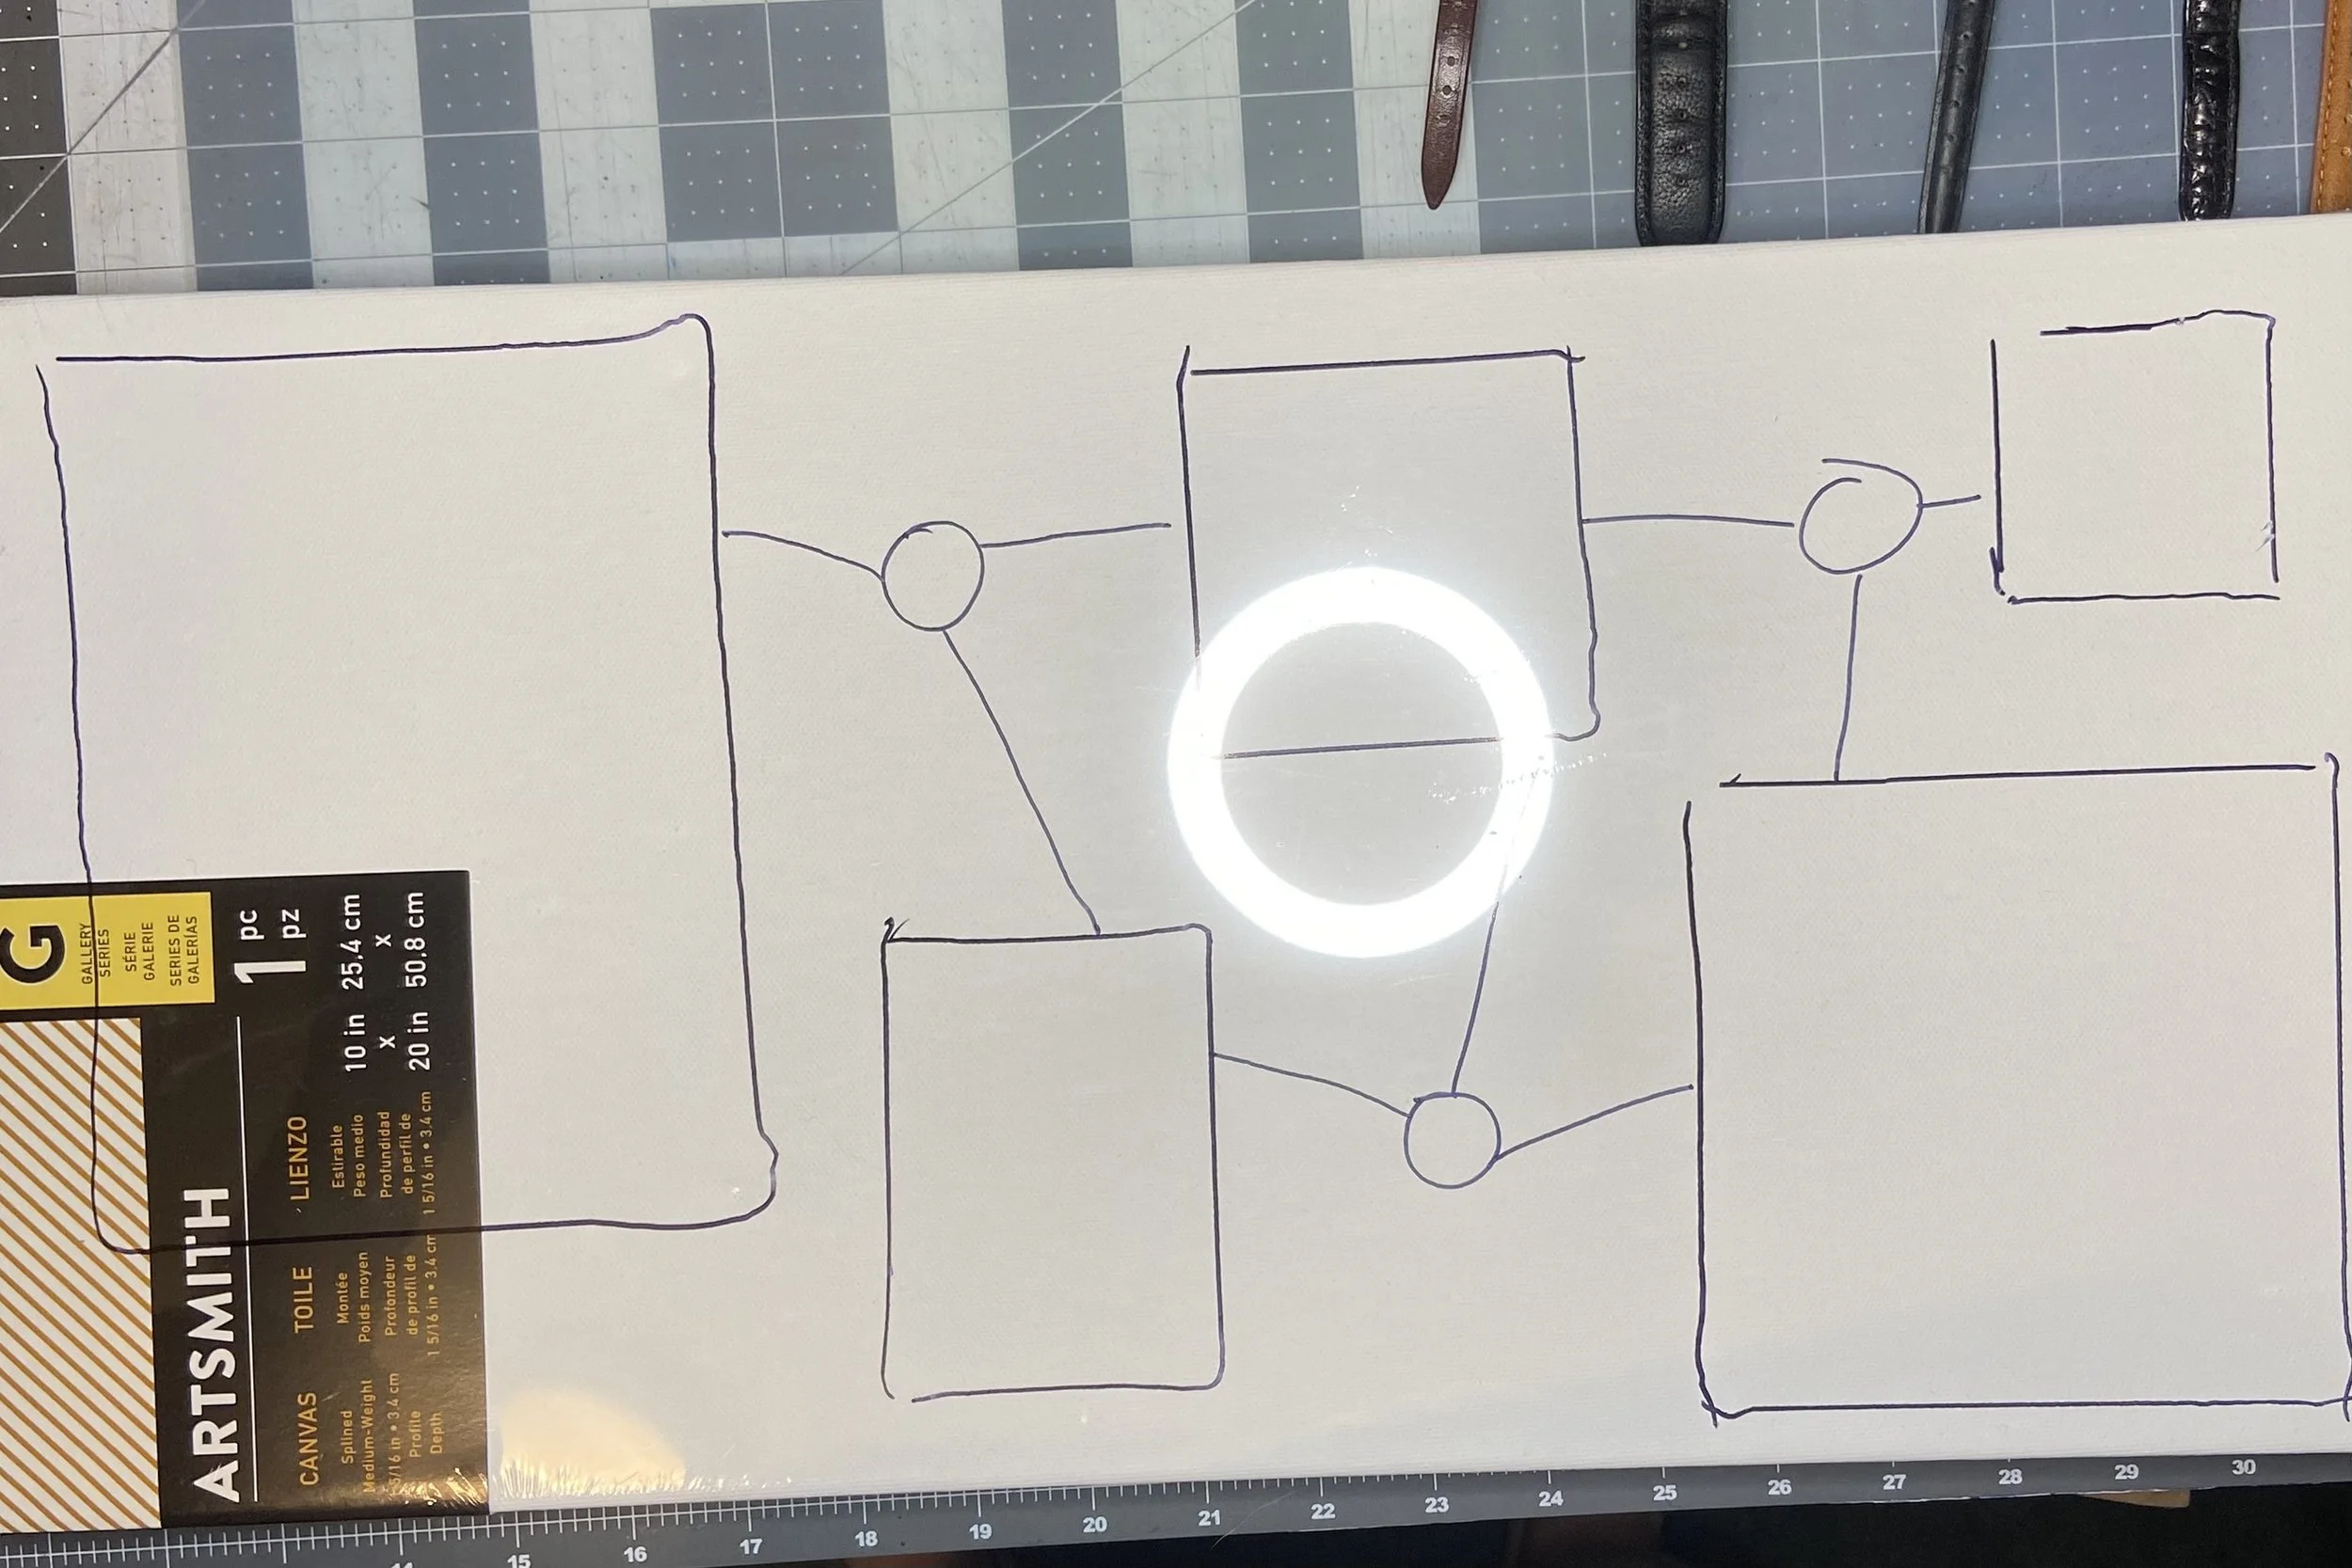
To that end, I did end up buying a 10x20” canvas, as I didn’t have anything that large in the stash. I believe the five smaller canvases came from my stash. Before I unwrapped any of the canvases, I laid the smaller out on the larger and traced around them with a sharpie, then took a picture, so that I could later recall the layout. At this point, I had still been thinking of Sydney for one of my time zones, but that canvas eventually ended up being Madagascar instead. I did a little more doodling with the Sharpie to decide where to place the seals I was going to make.
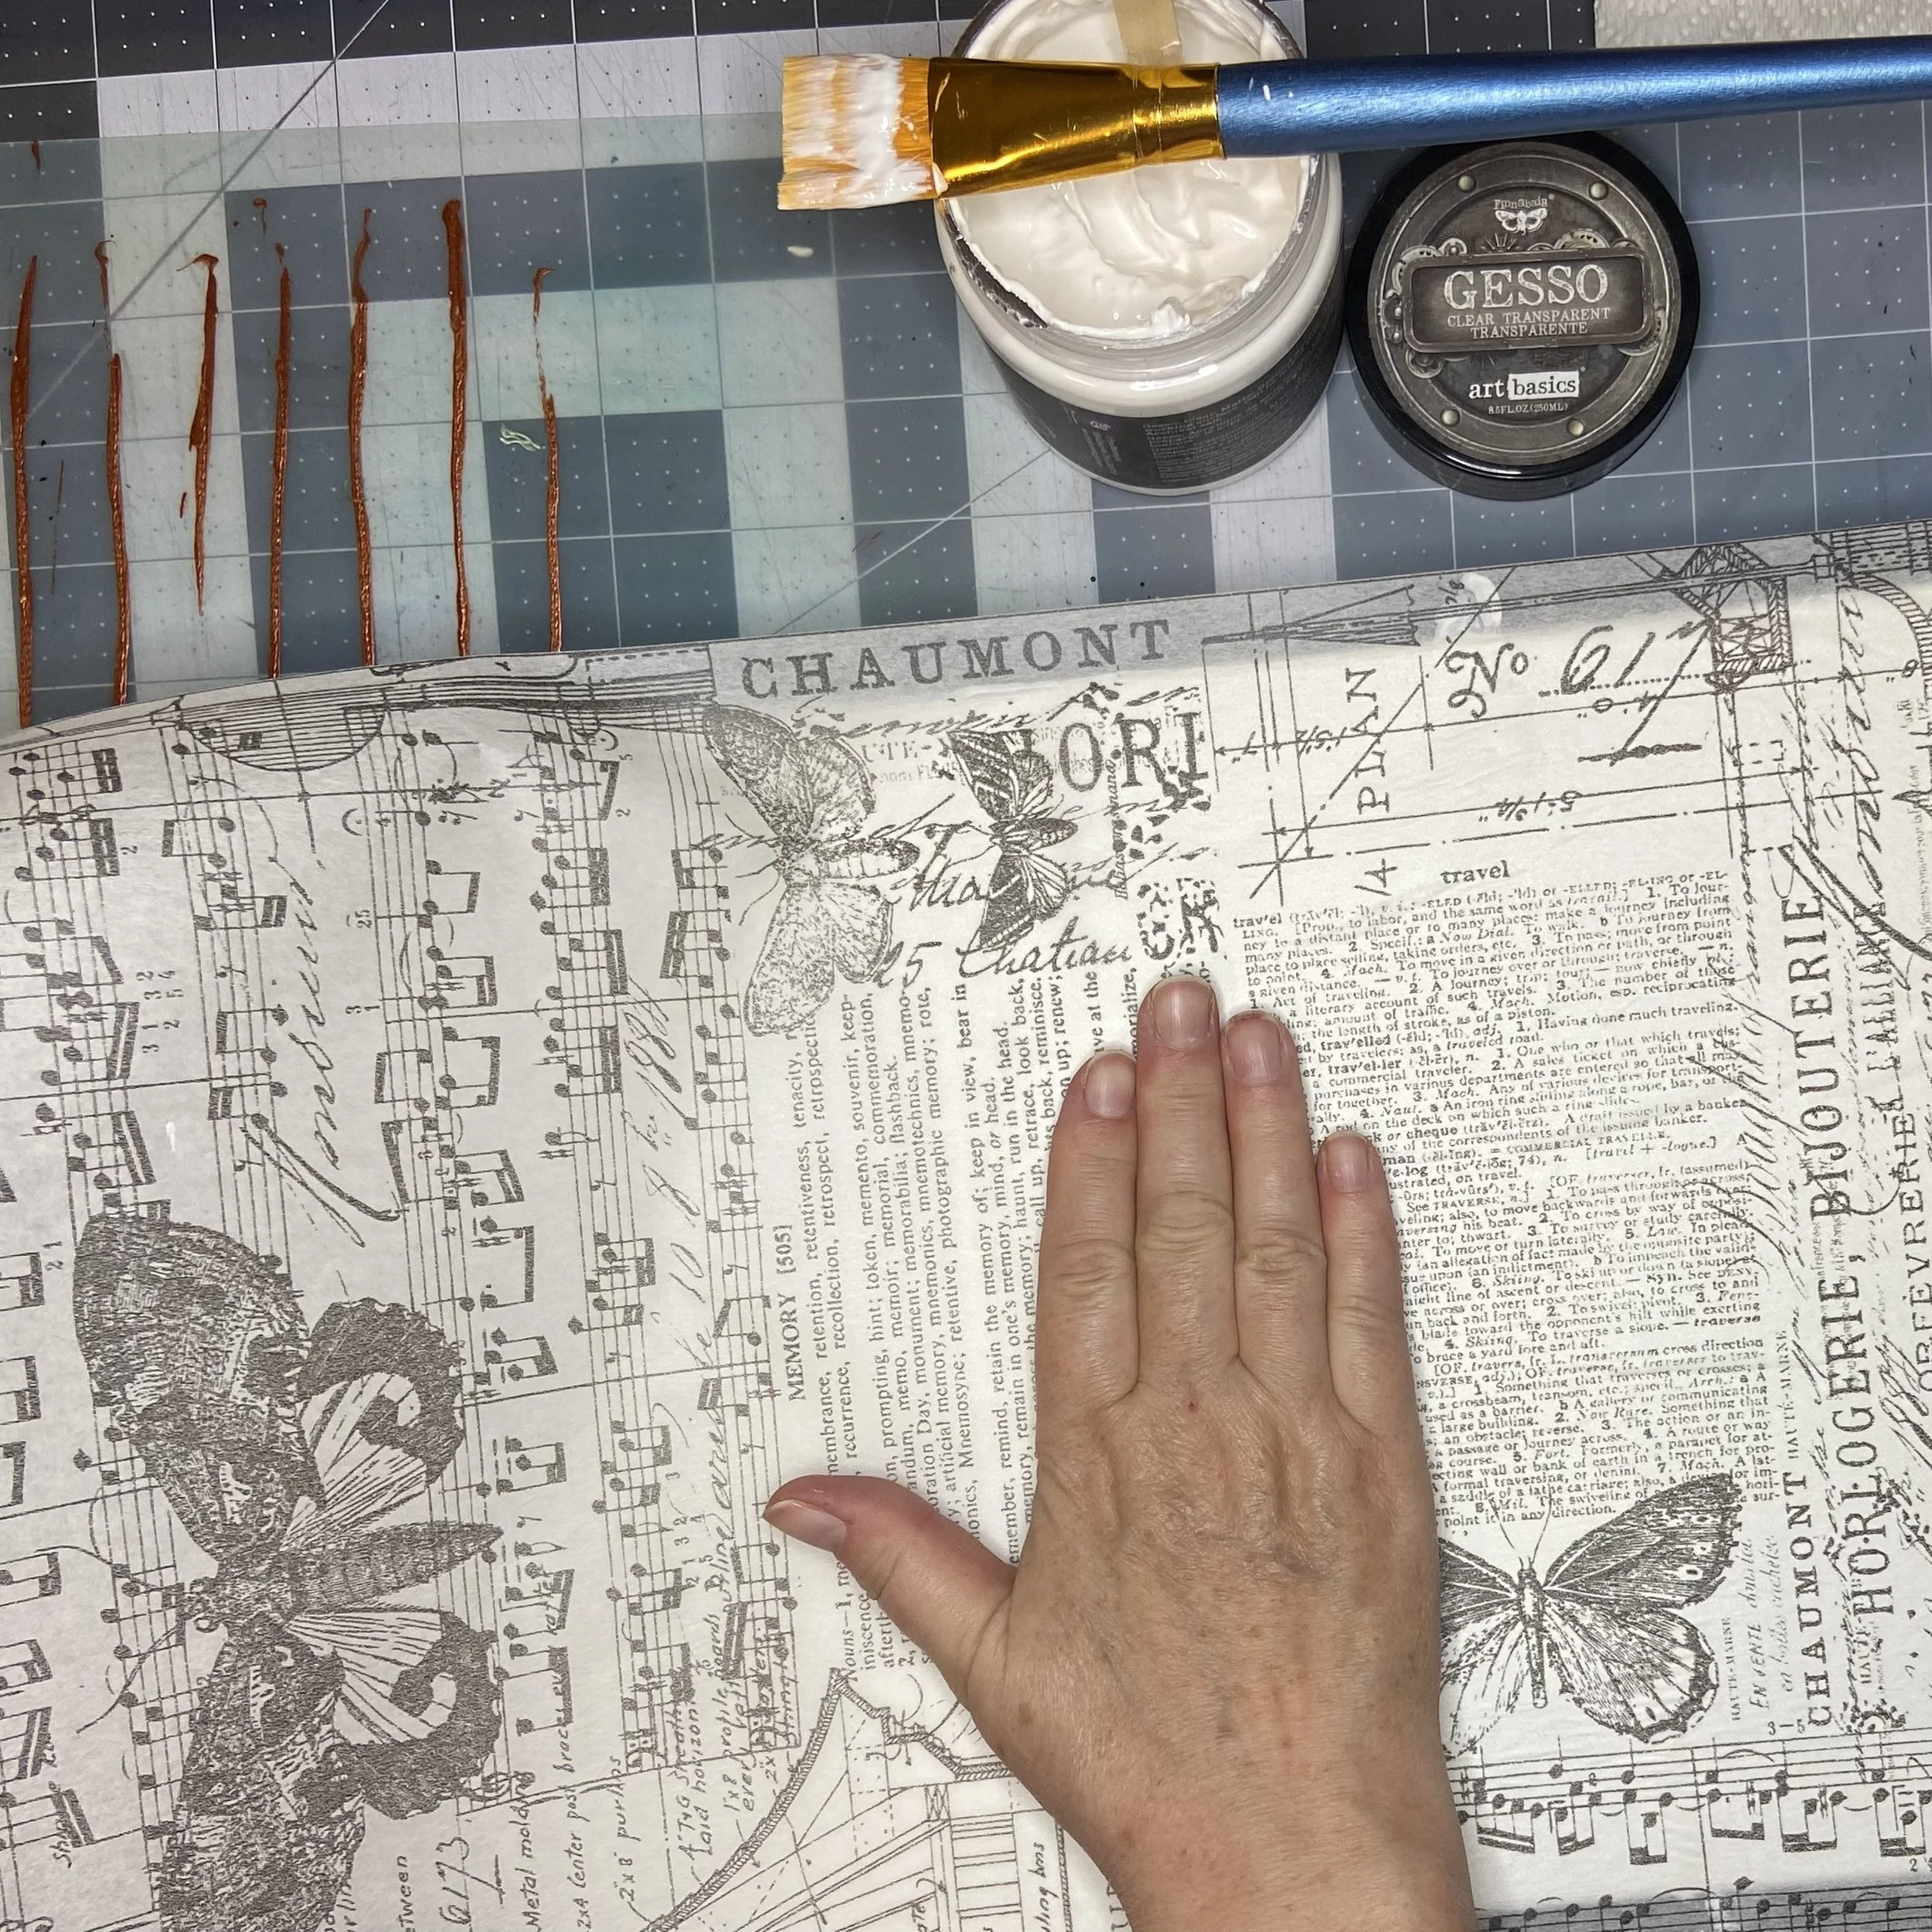
And then on to working on the background for the large canvas. I started with a roll of collage tissue paper that I’ve had in the stash forever and some clear gesso to glue it down.

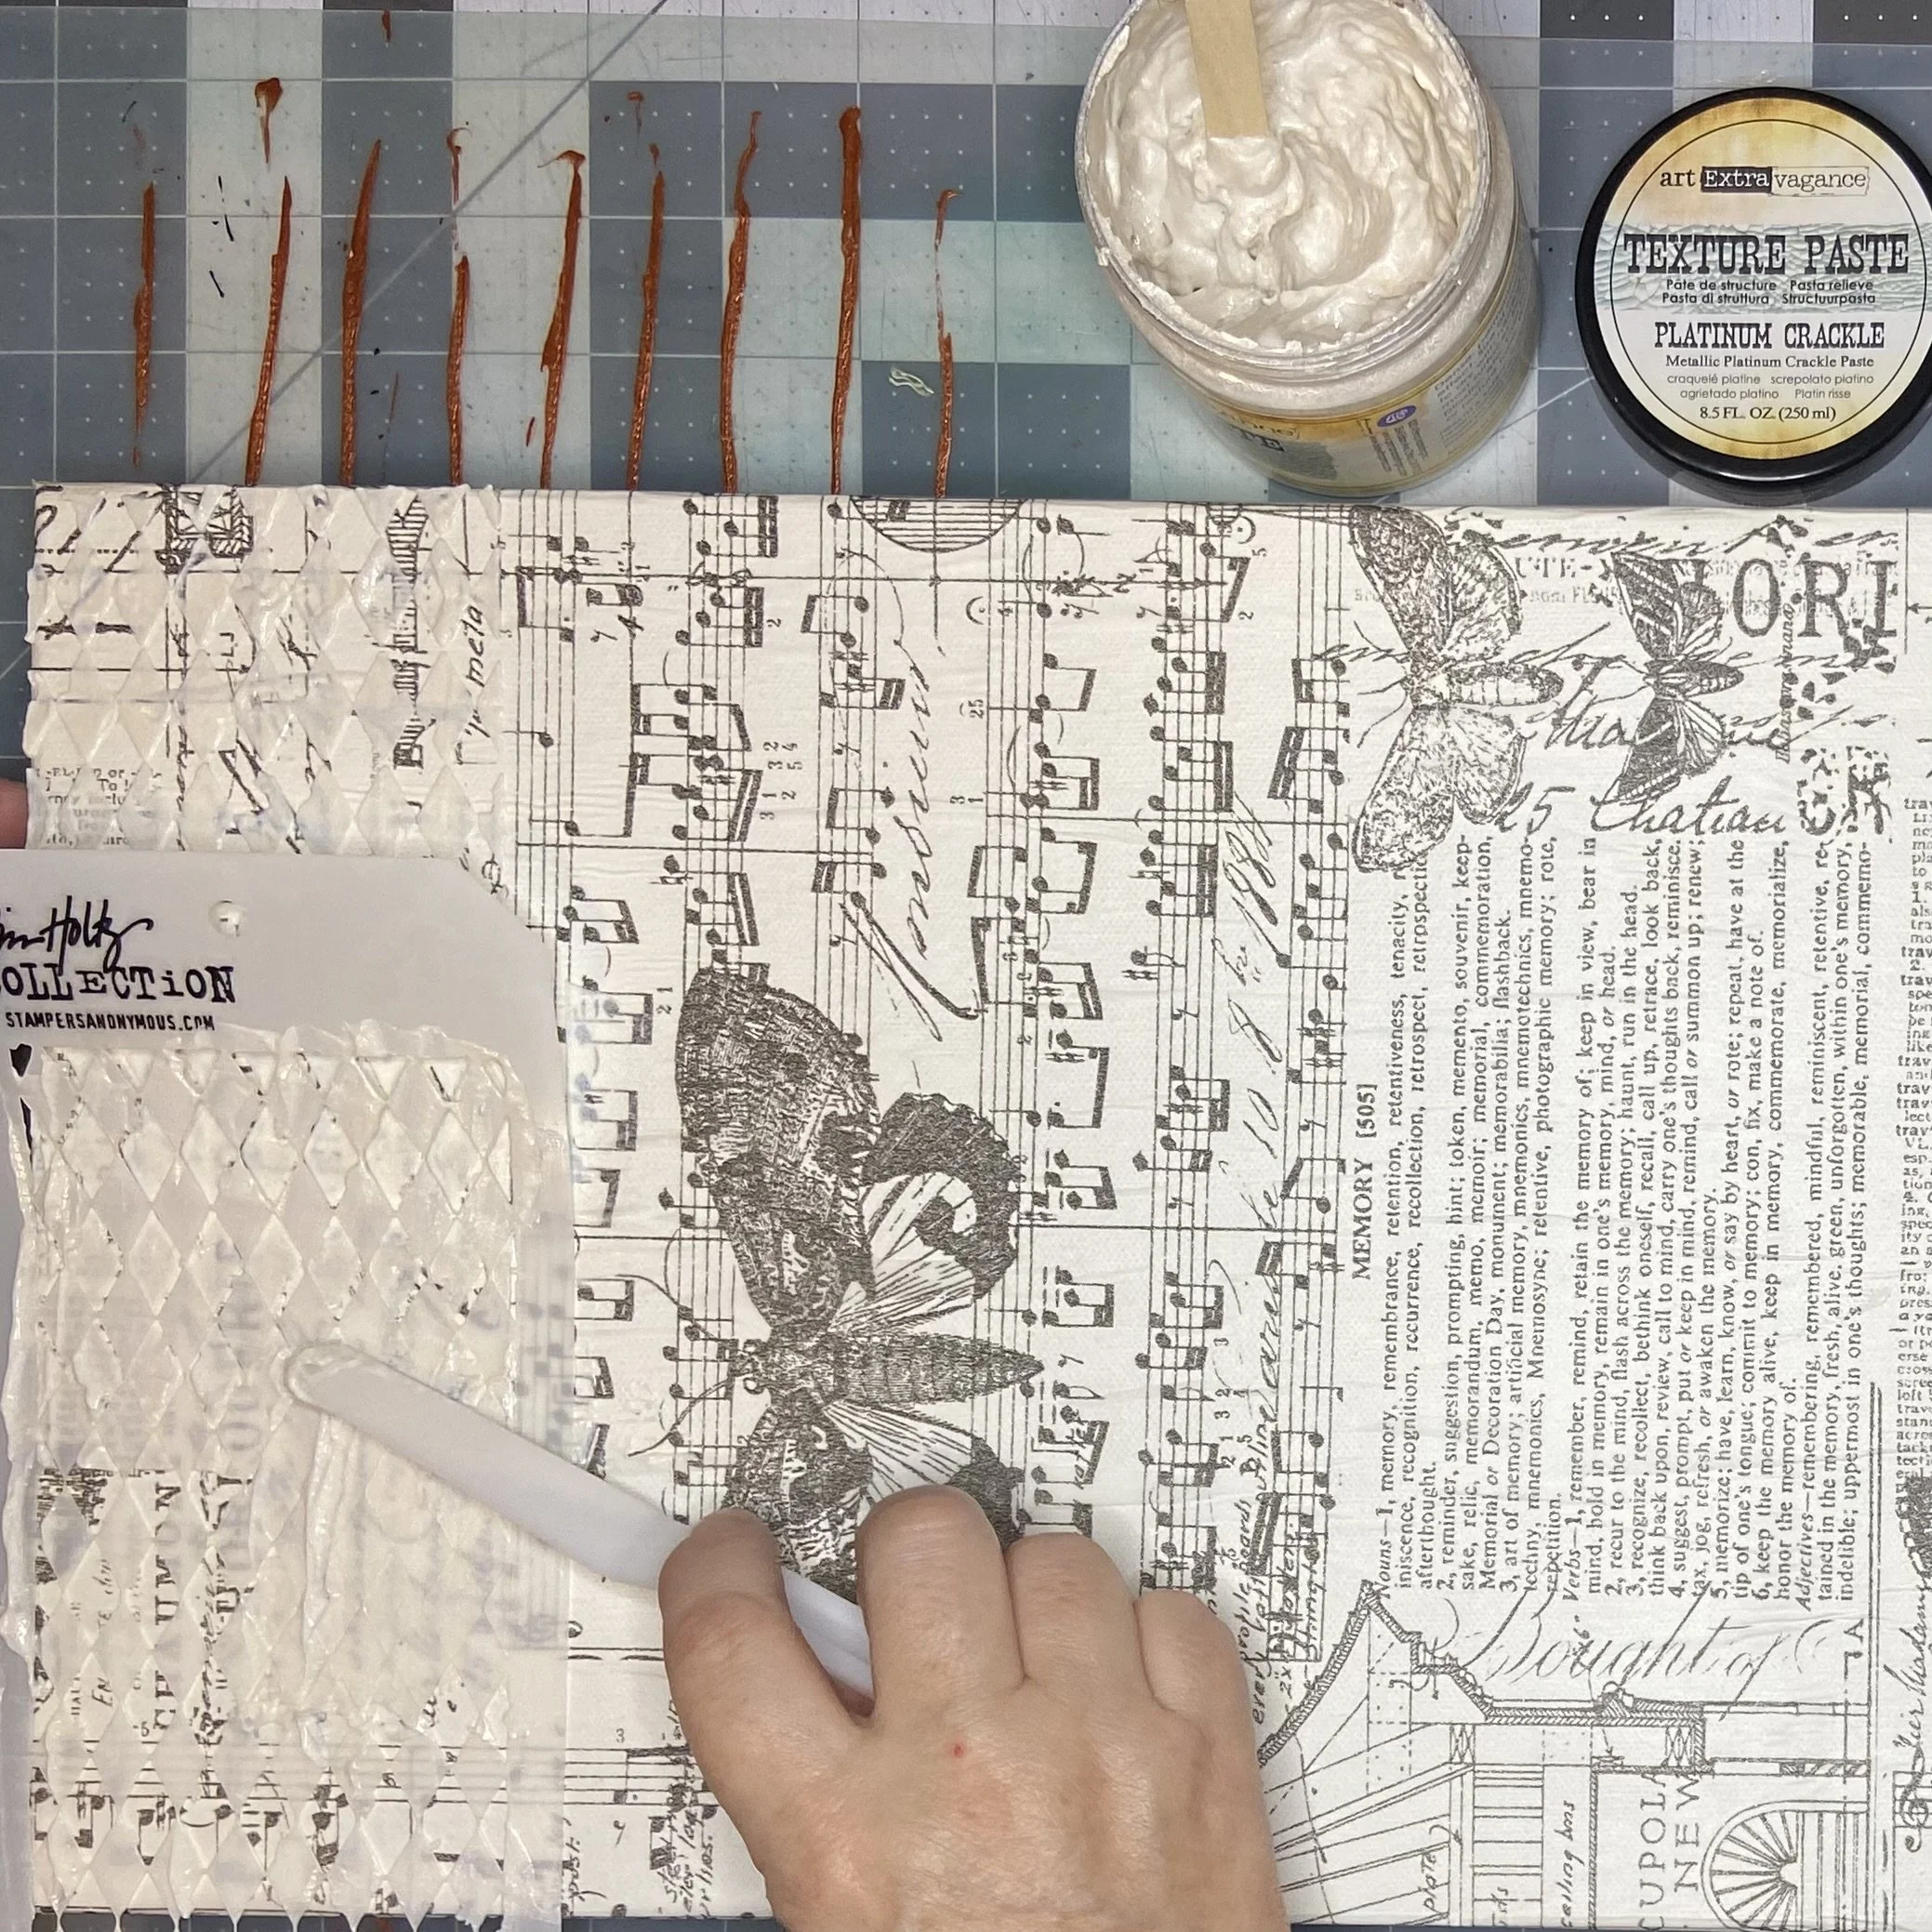
After the gesso dried, I pushed some crackle paste through a stencil in random spots over the tissue paper and let it dry.
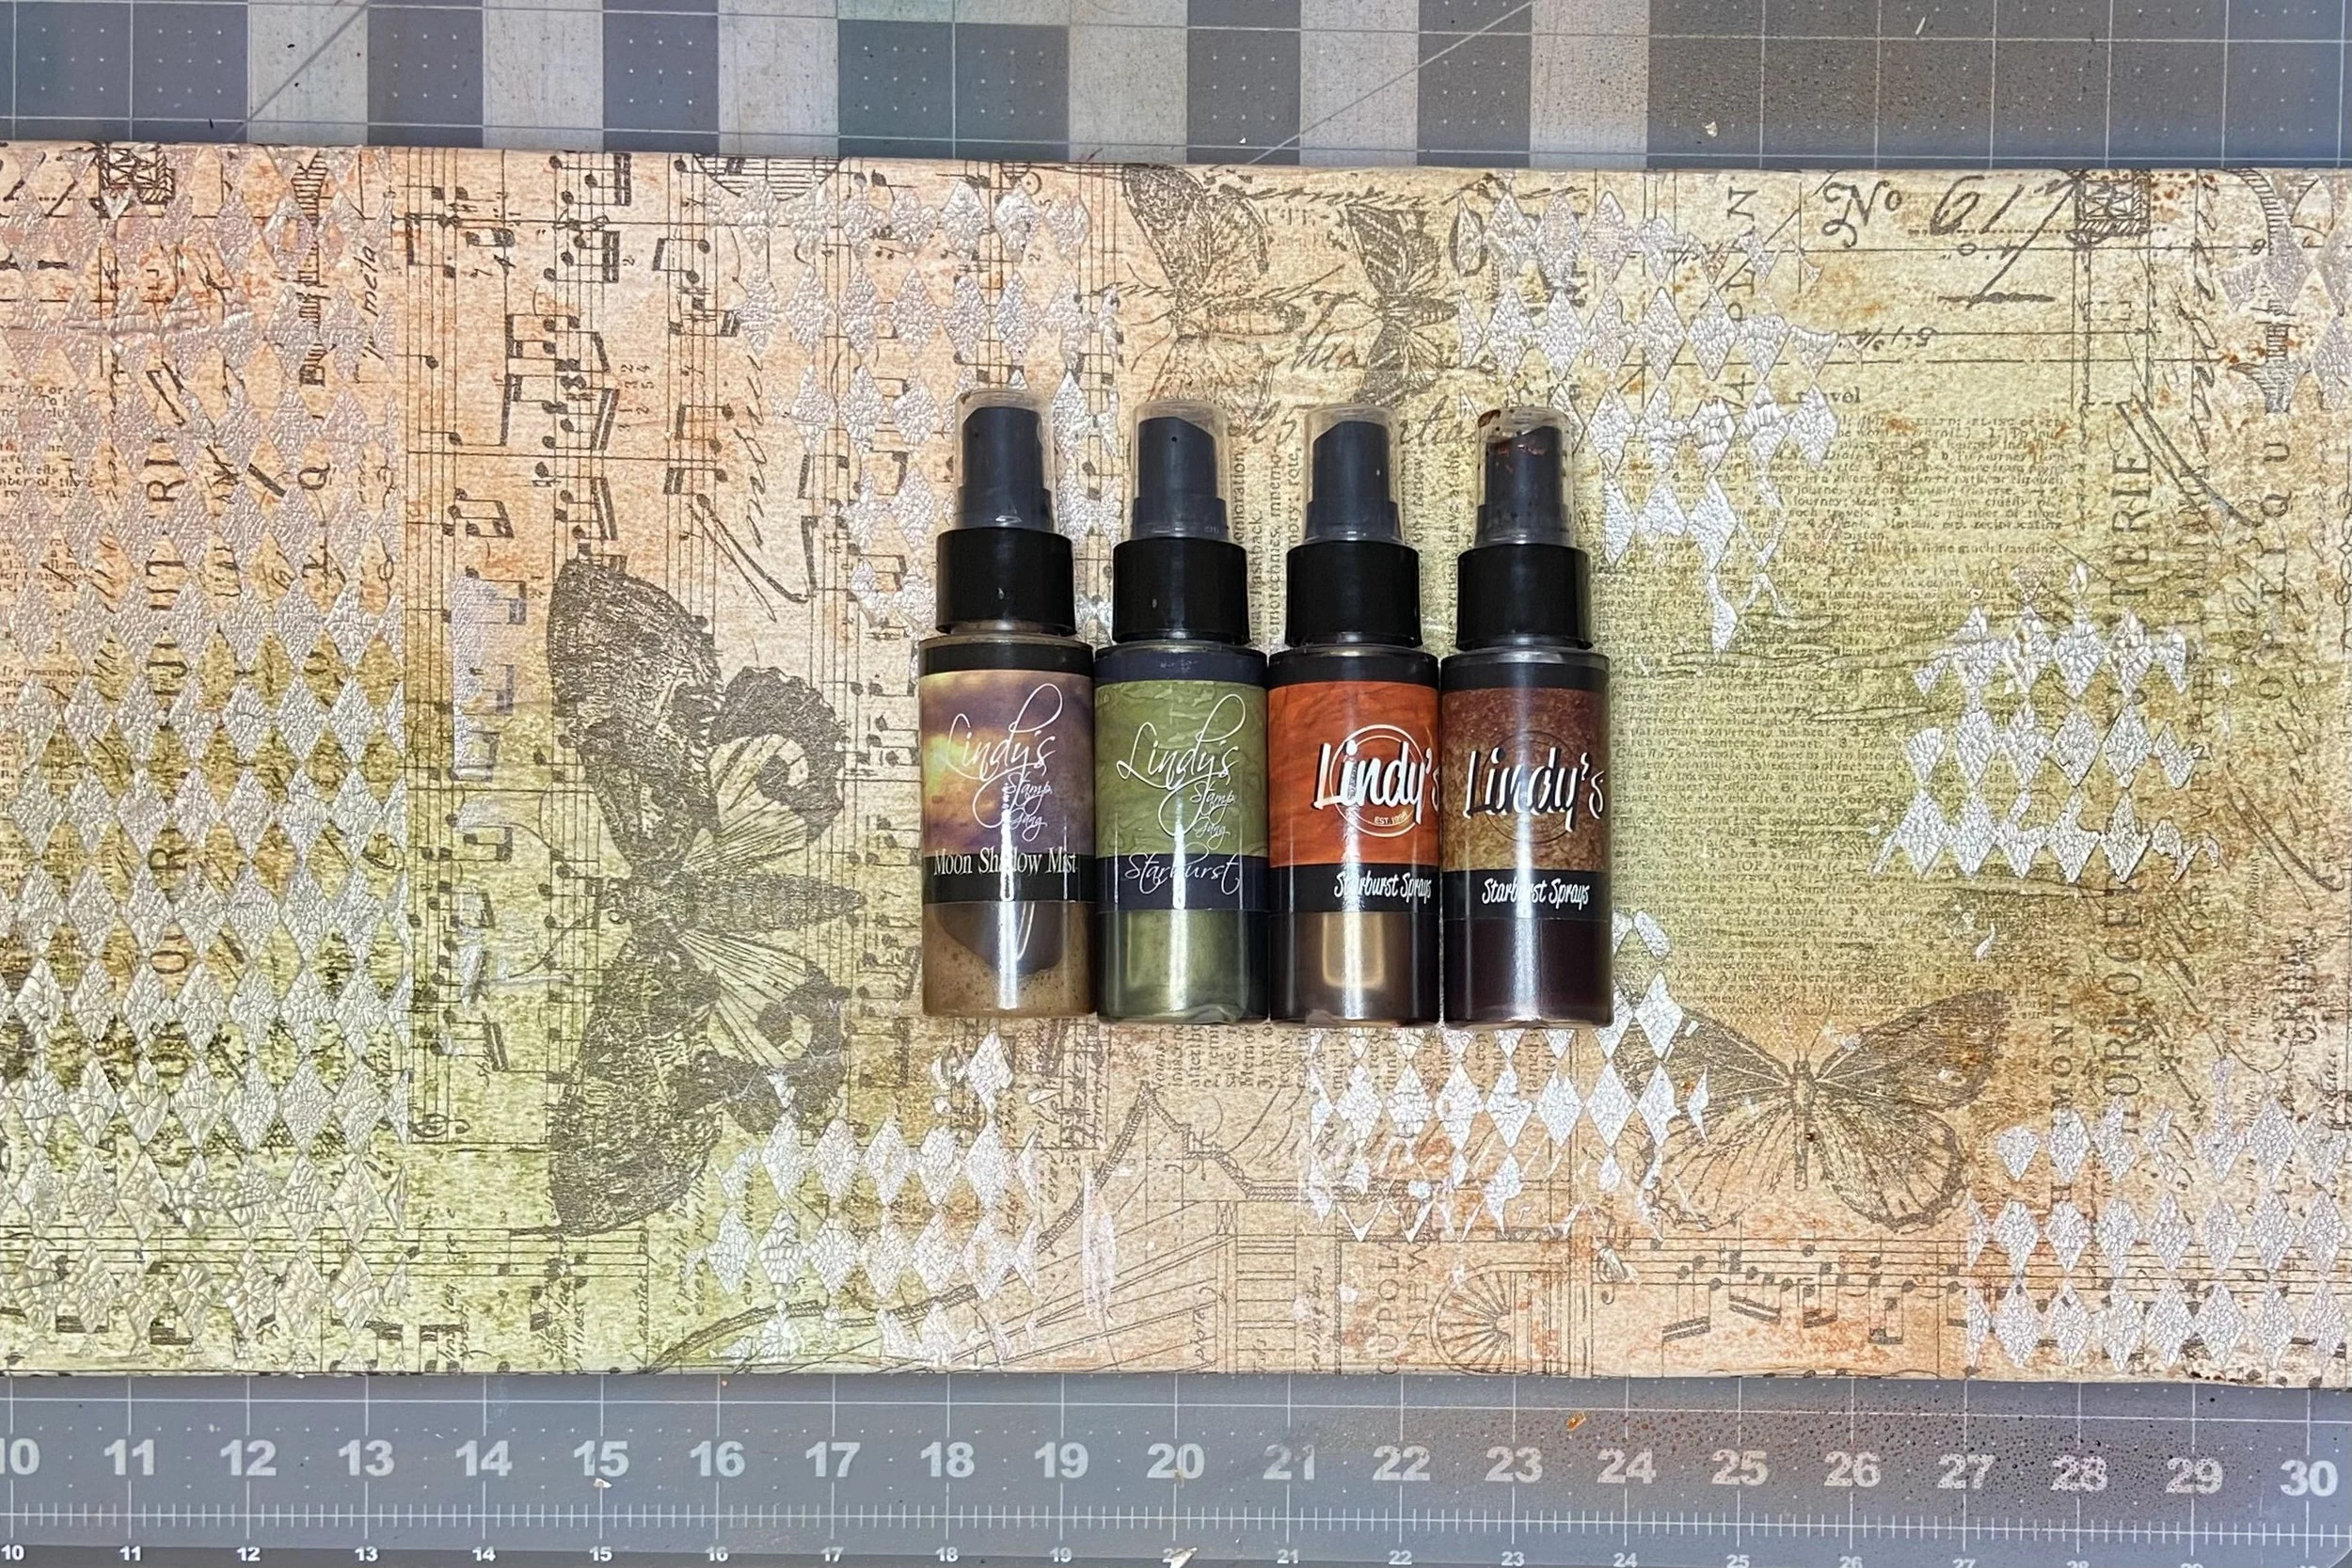
Once the crackle paste was dry (and cracking!), I used four of my Lindy’s Gang sprays, spraying a section and then dabbing away most of the liquid with a paper towel, then switching to another color and another part of the canvas and doing it again. The colors I used were: Red Hot Poker Orange; Green With Envy Green; Cattail Copper Brown; and Buccaneer Bronze.
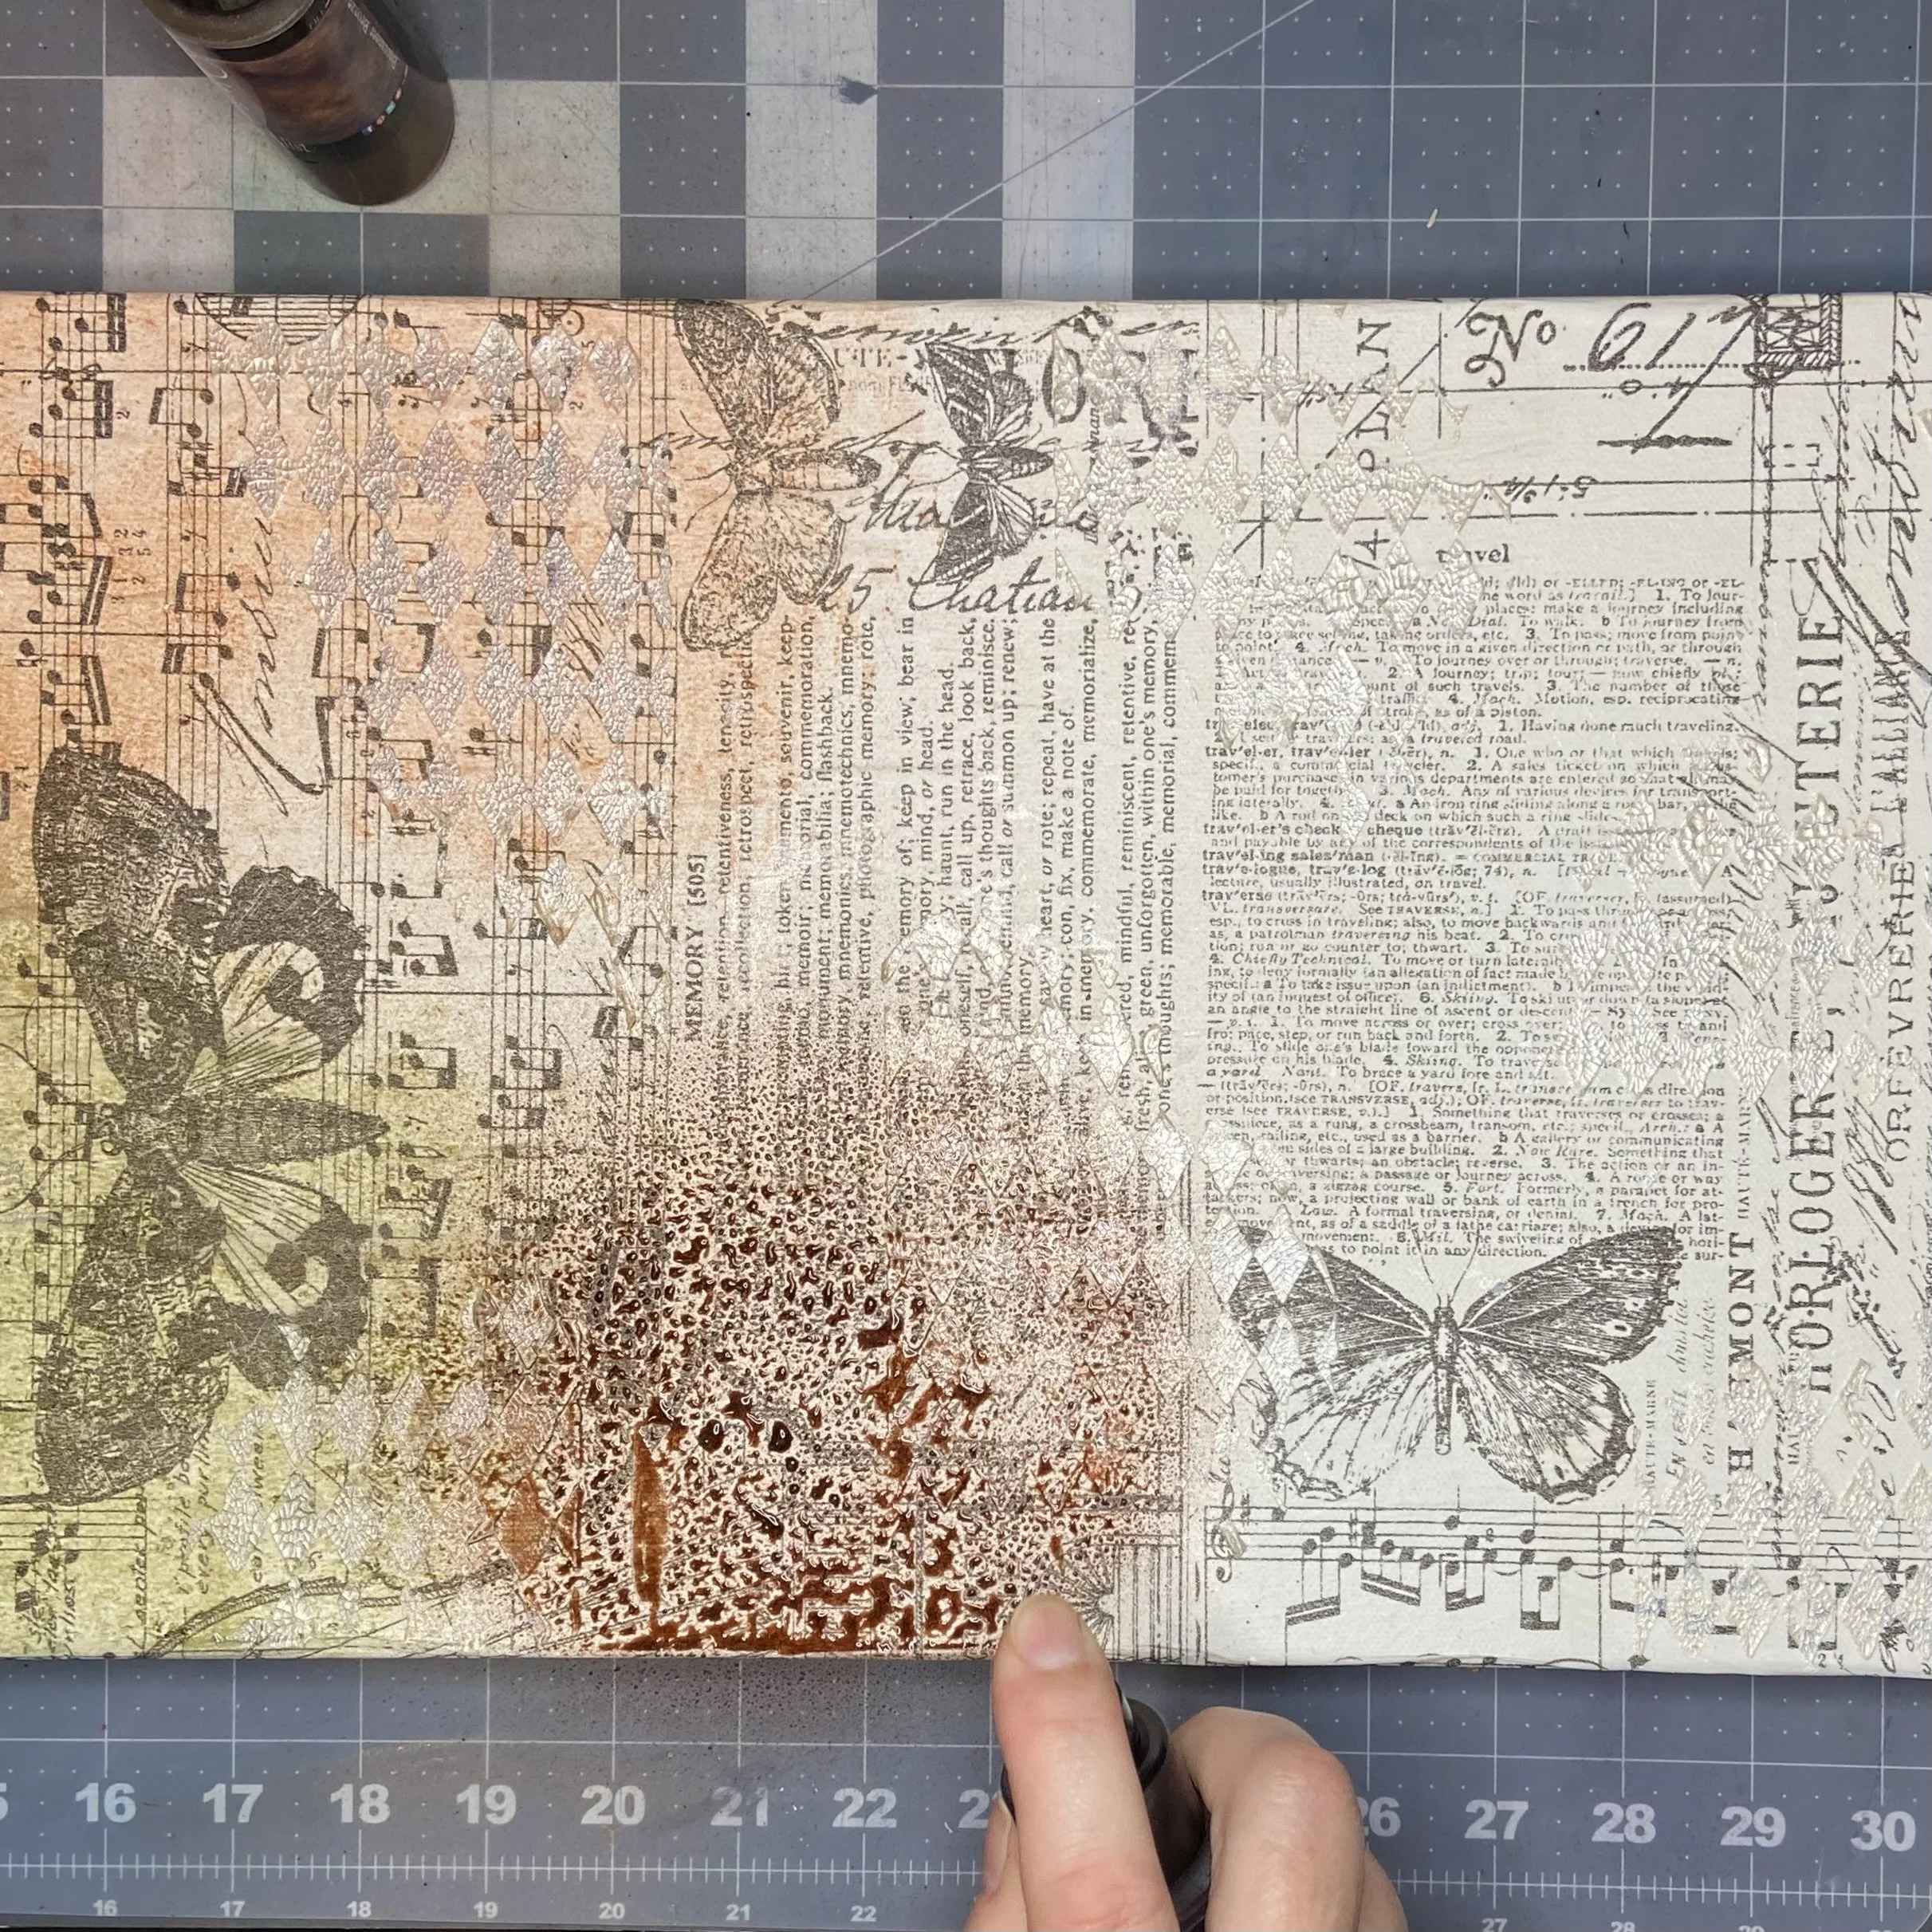
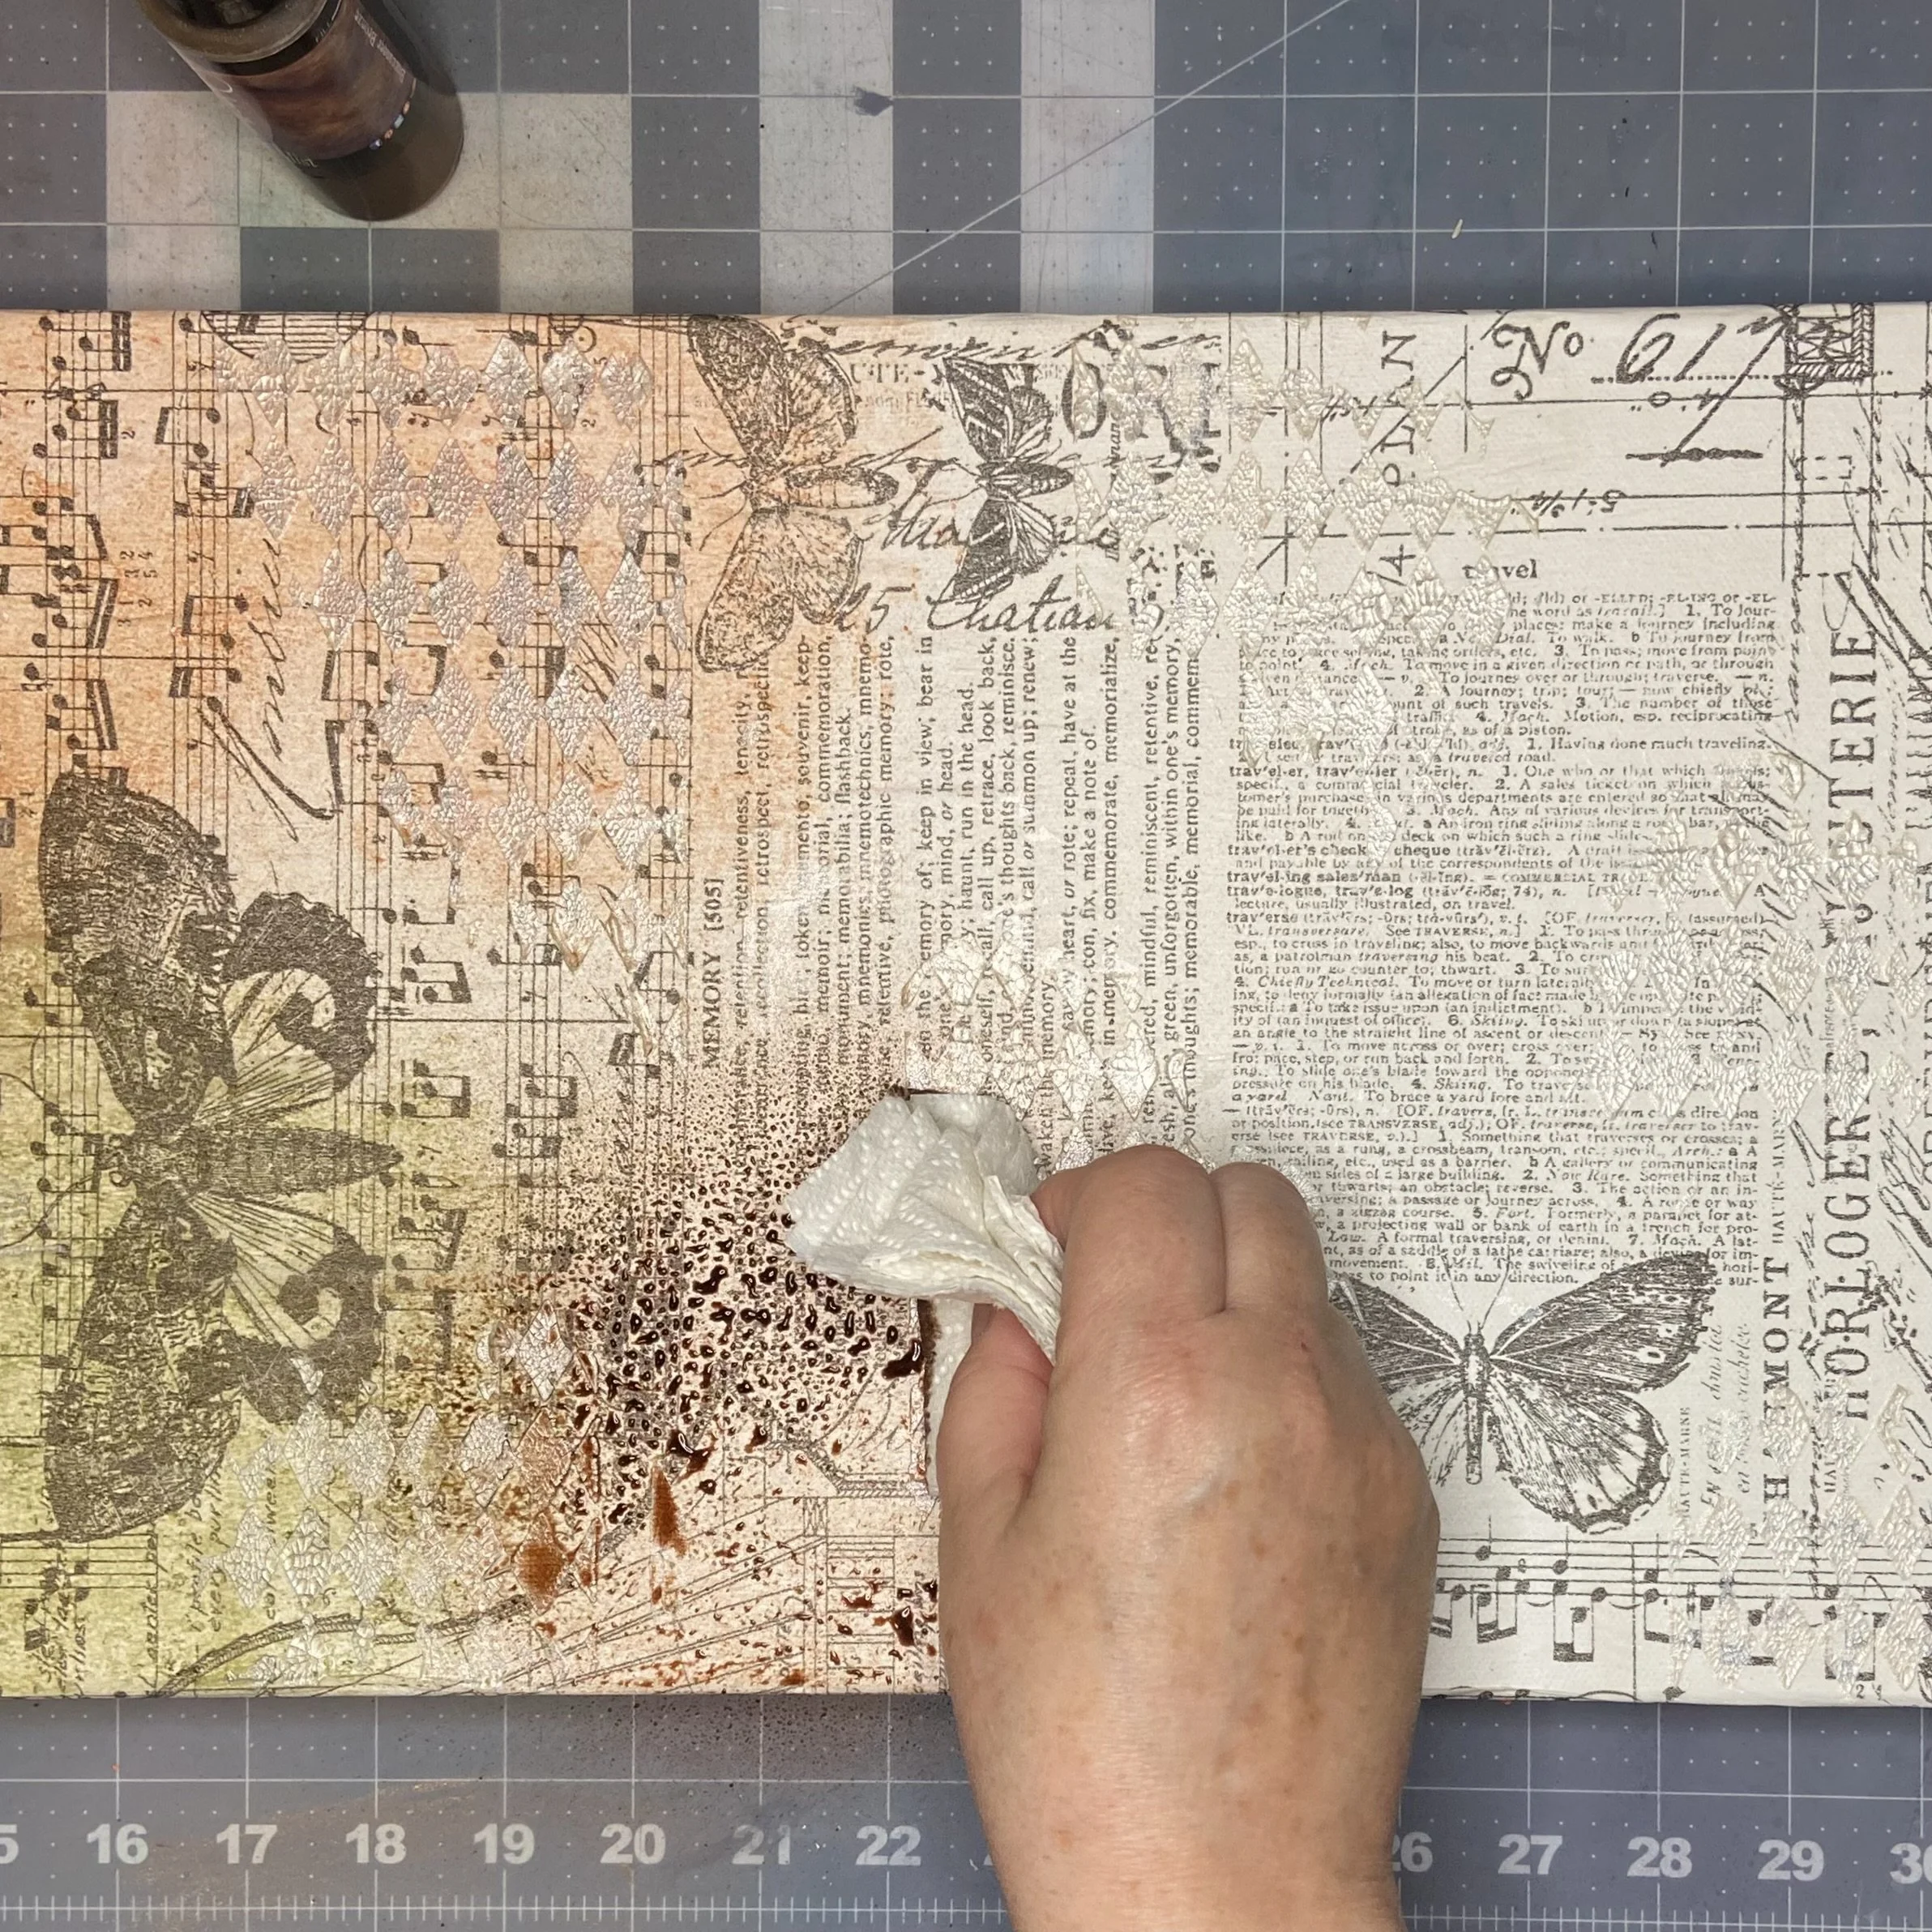
Once that was dry, I noticed that some of the bits of crackle finish were crackling right off the canvas, so I used a layer of clear gesso to seal the canvas. The finished background was genuinely gorgeous, I thought. Such a pity that most of it wouldn’t be visible on the finished piece…
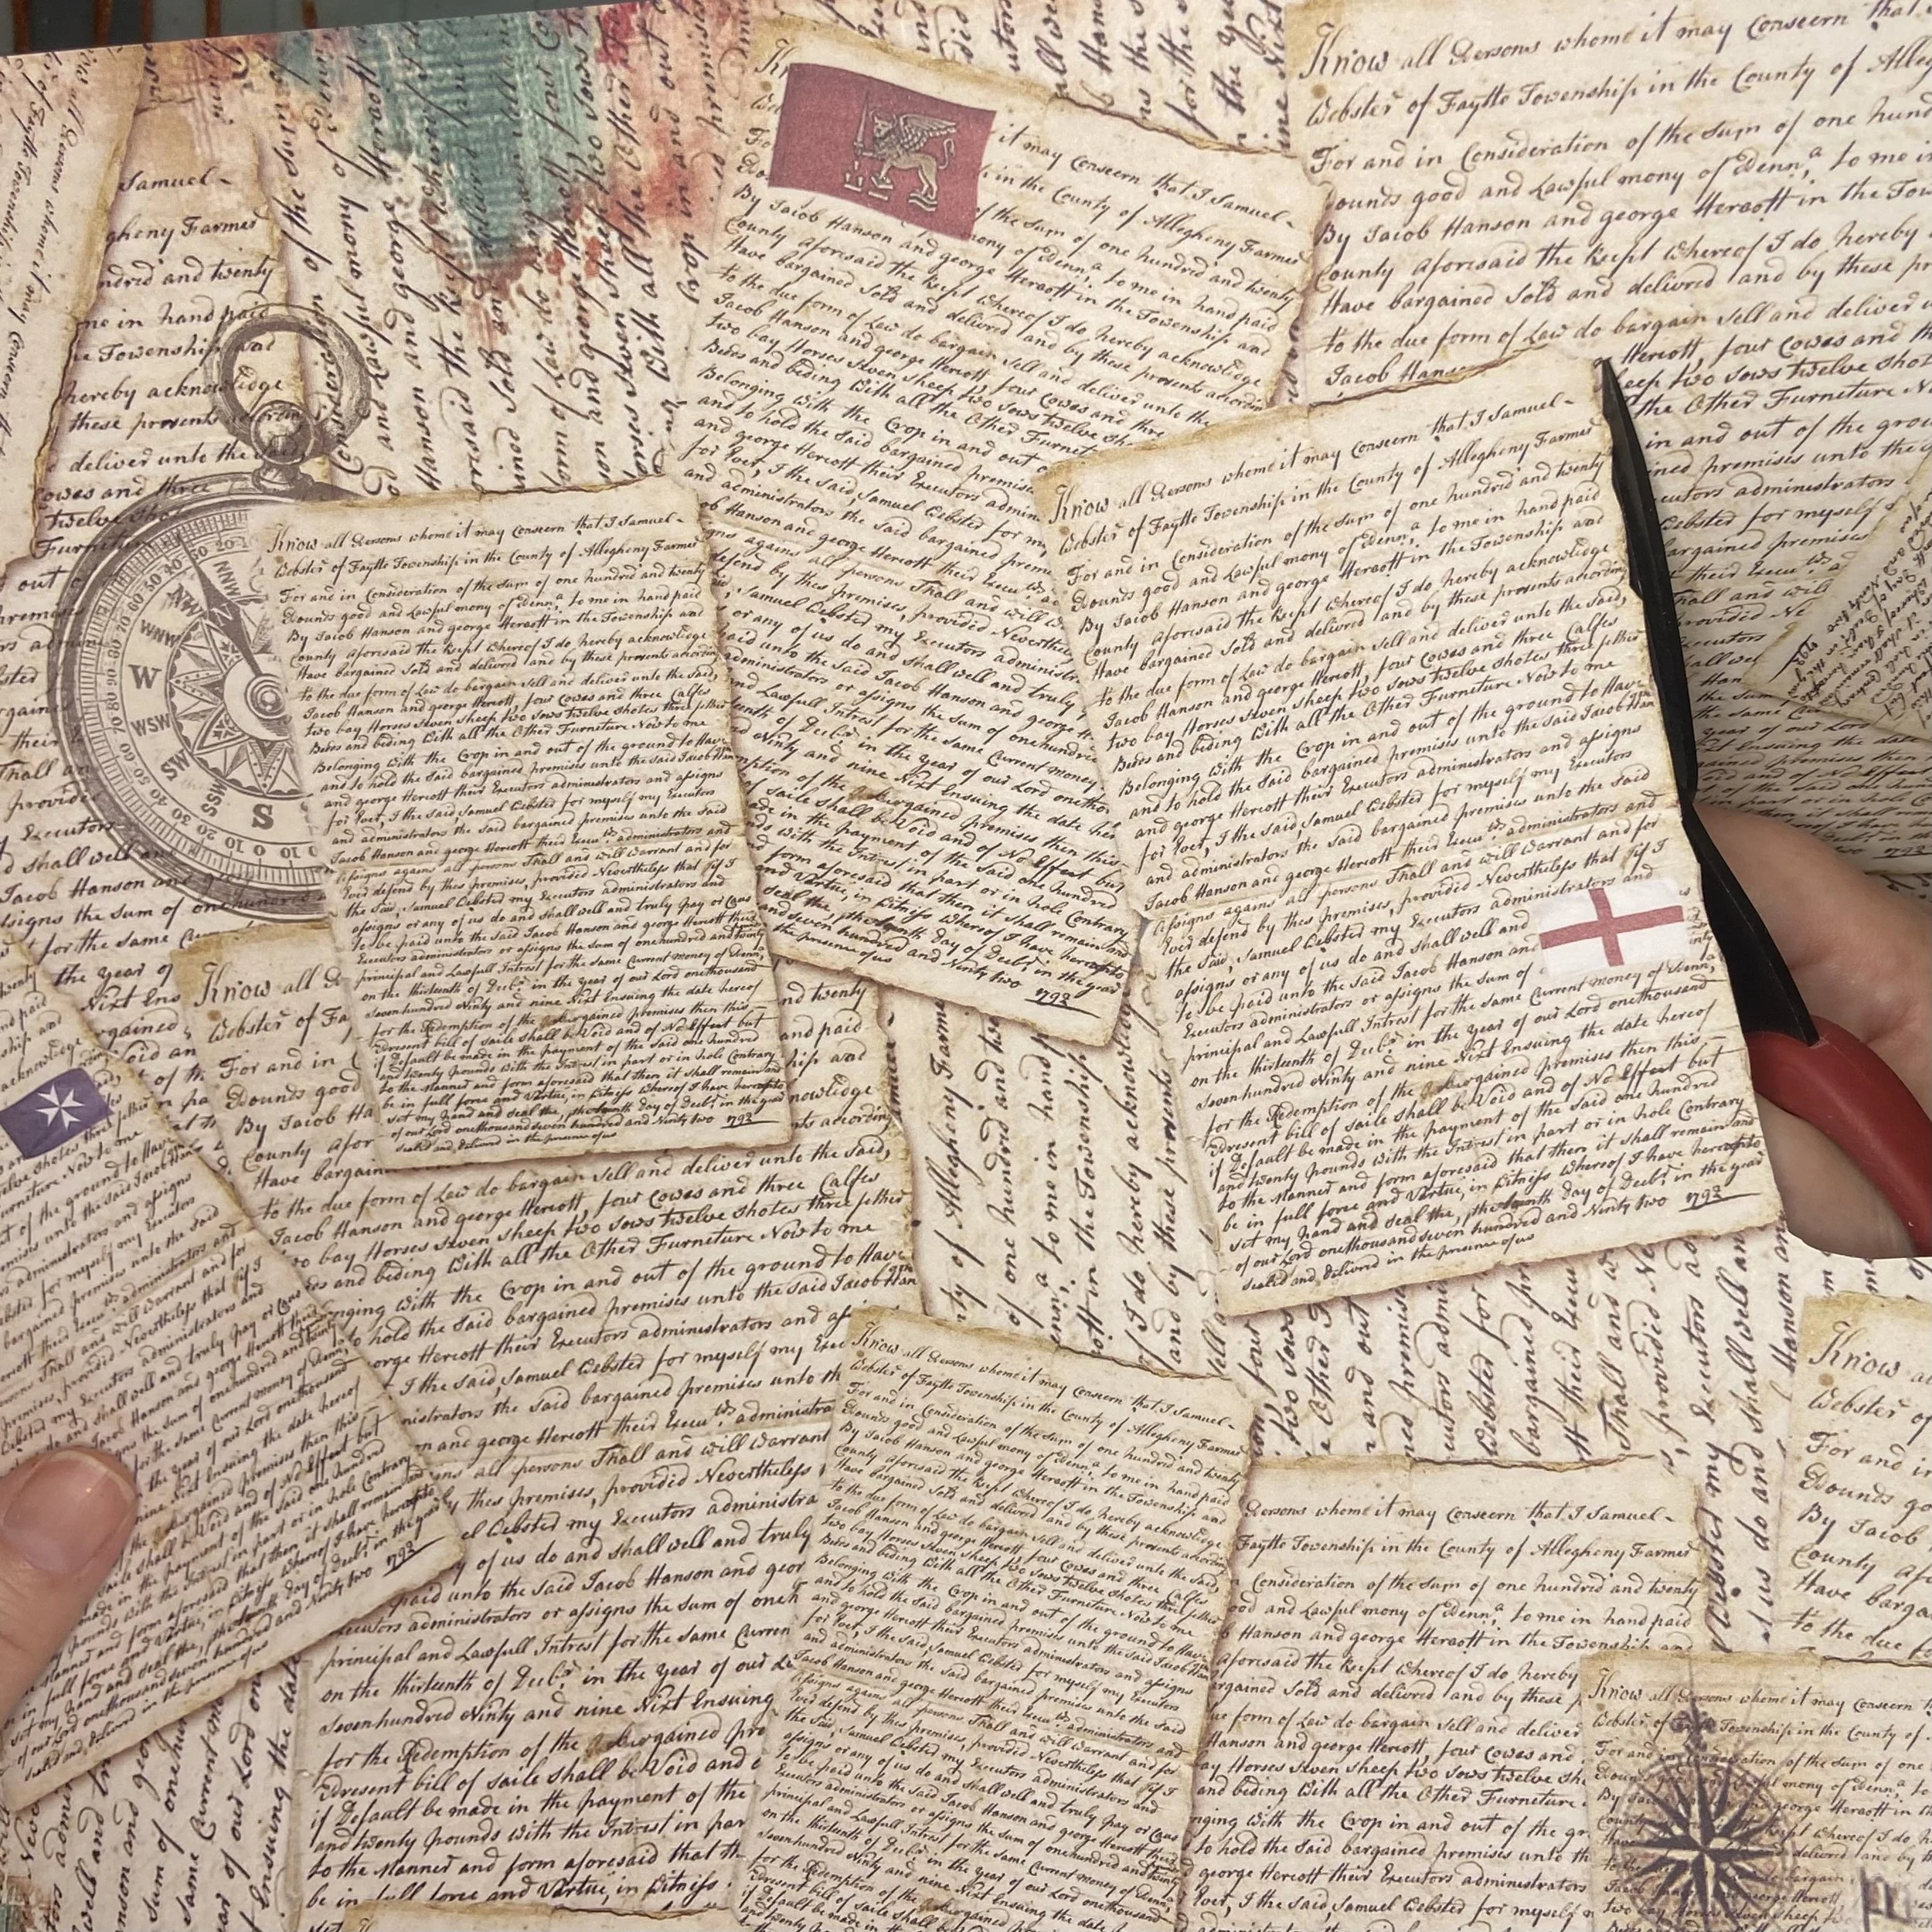
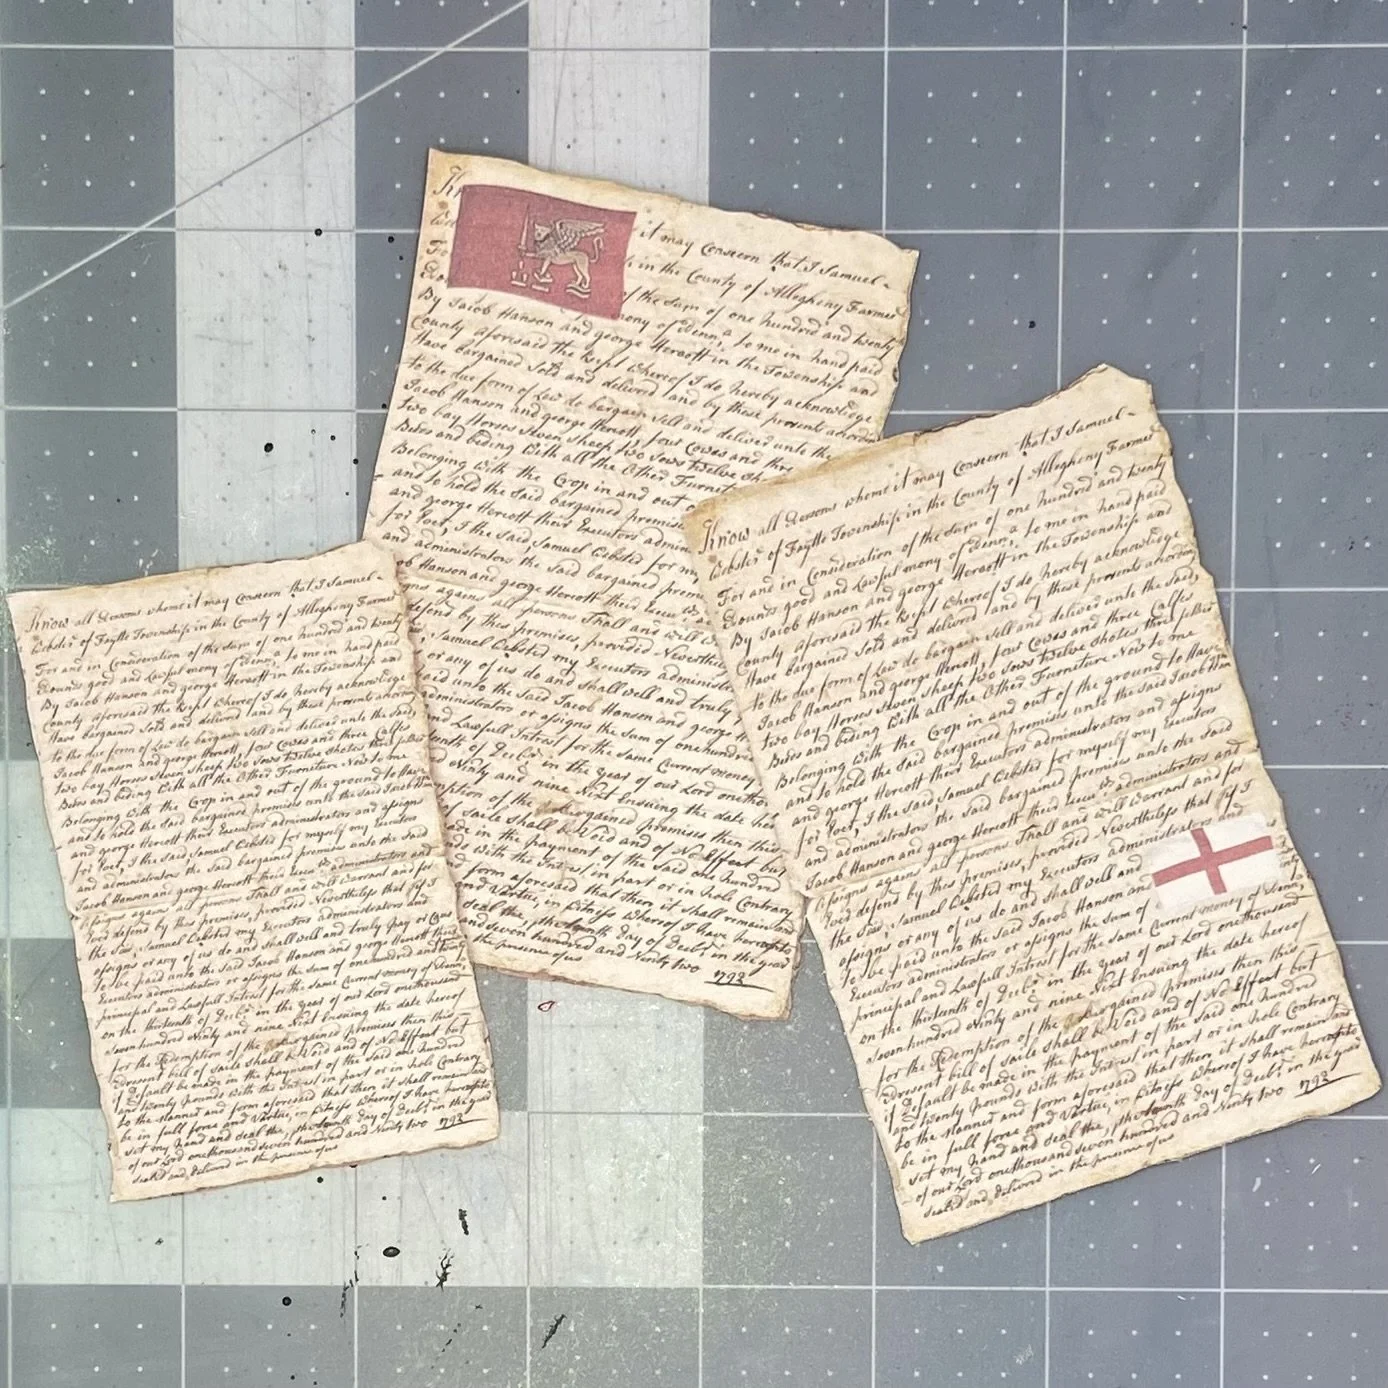
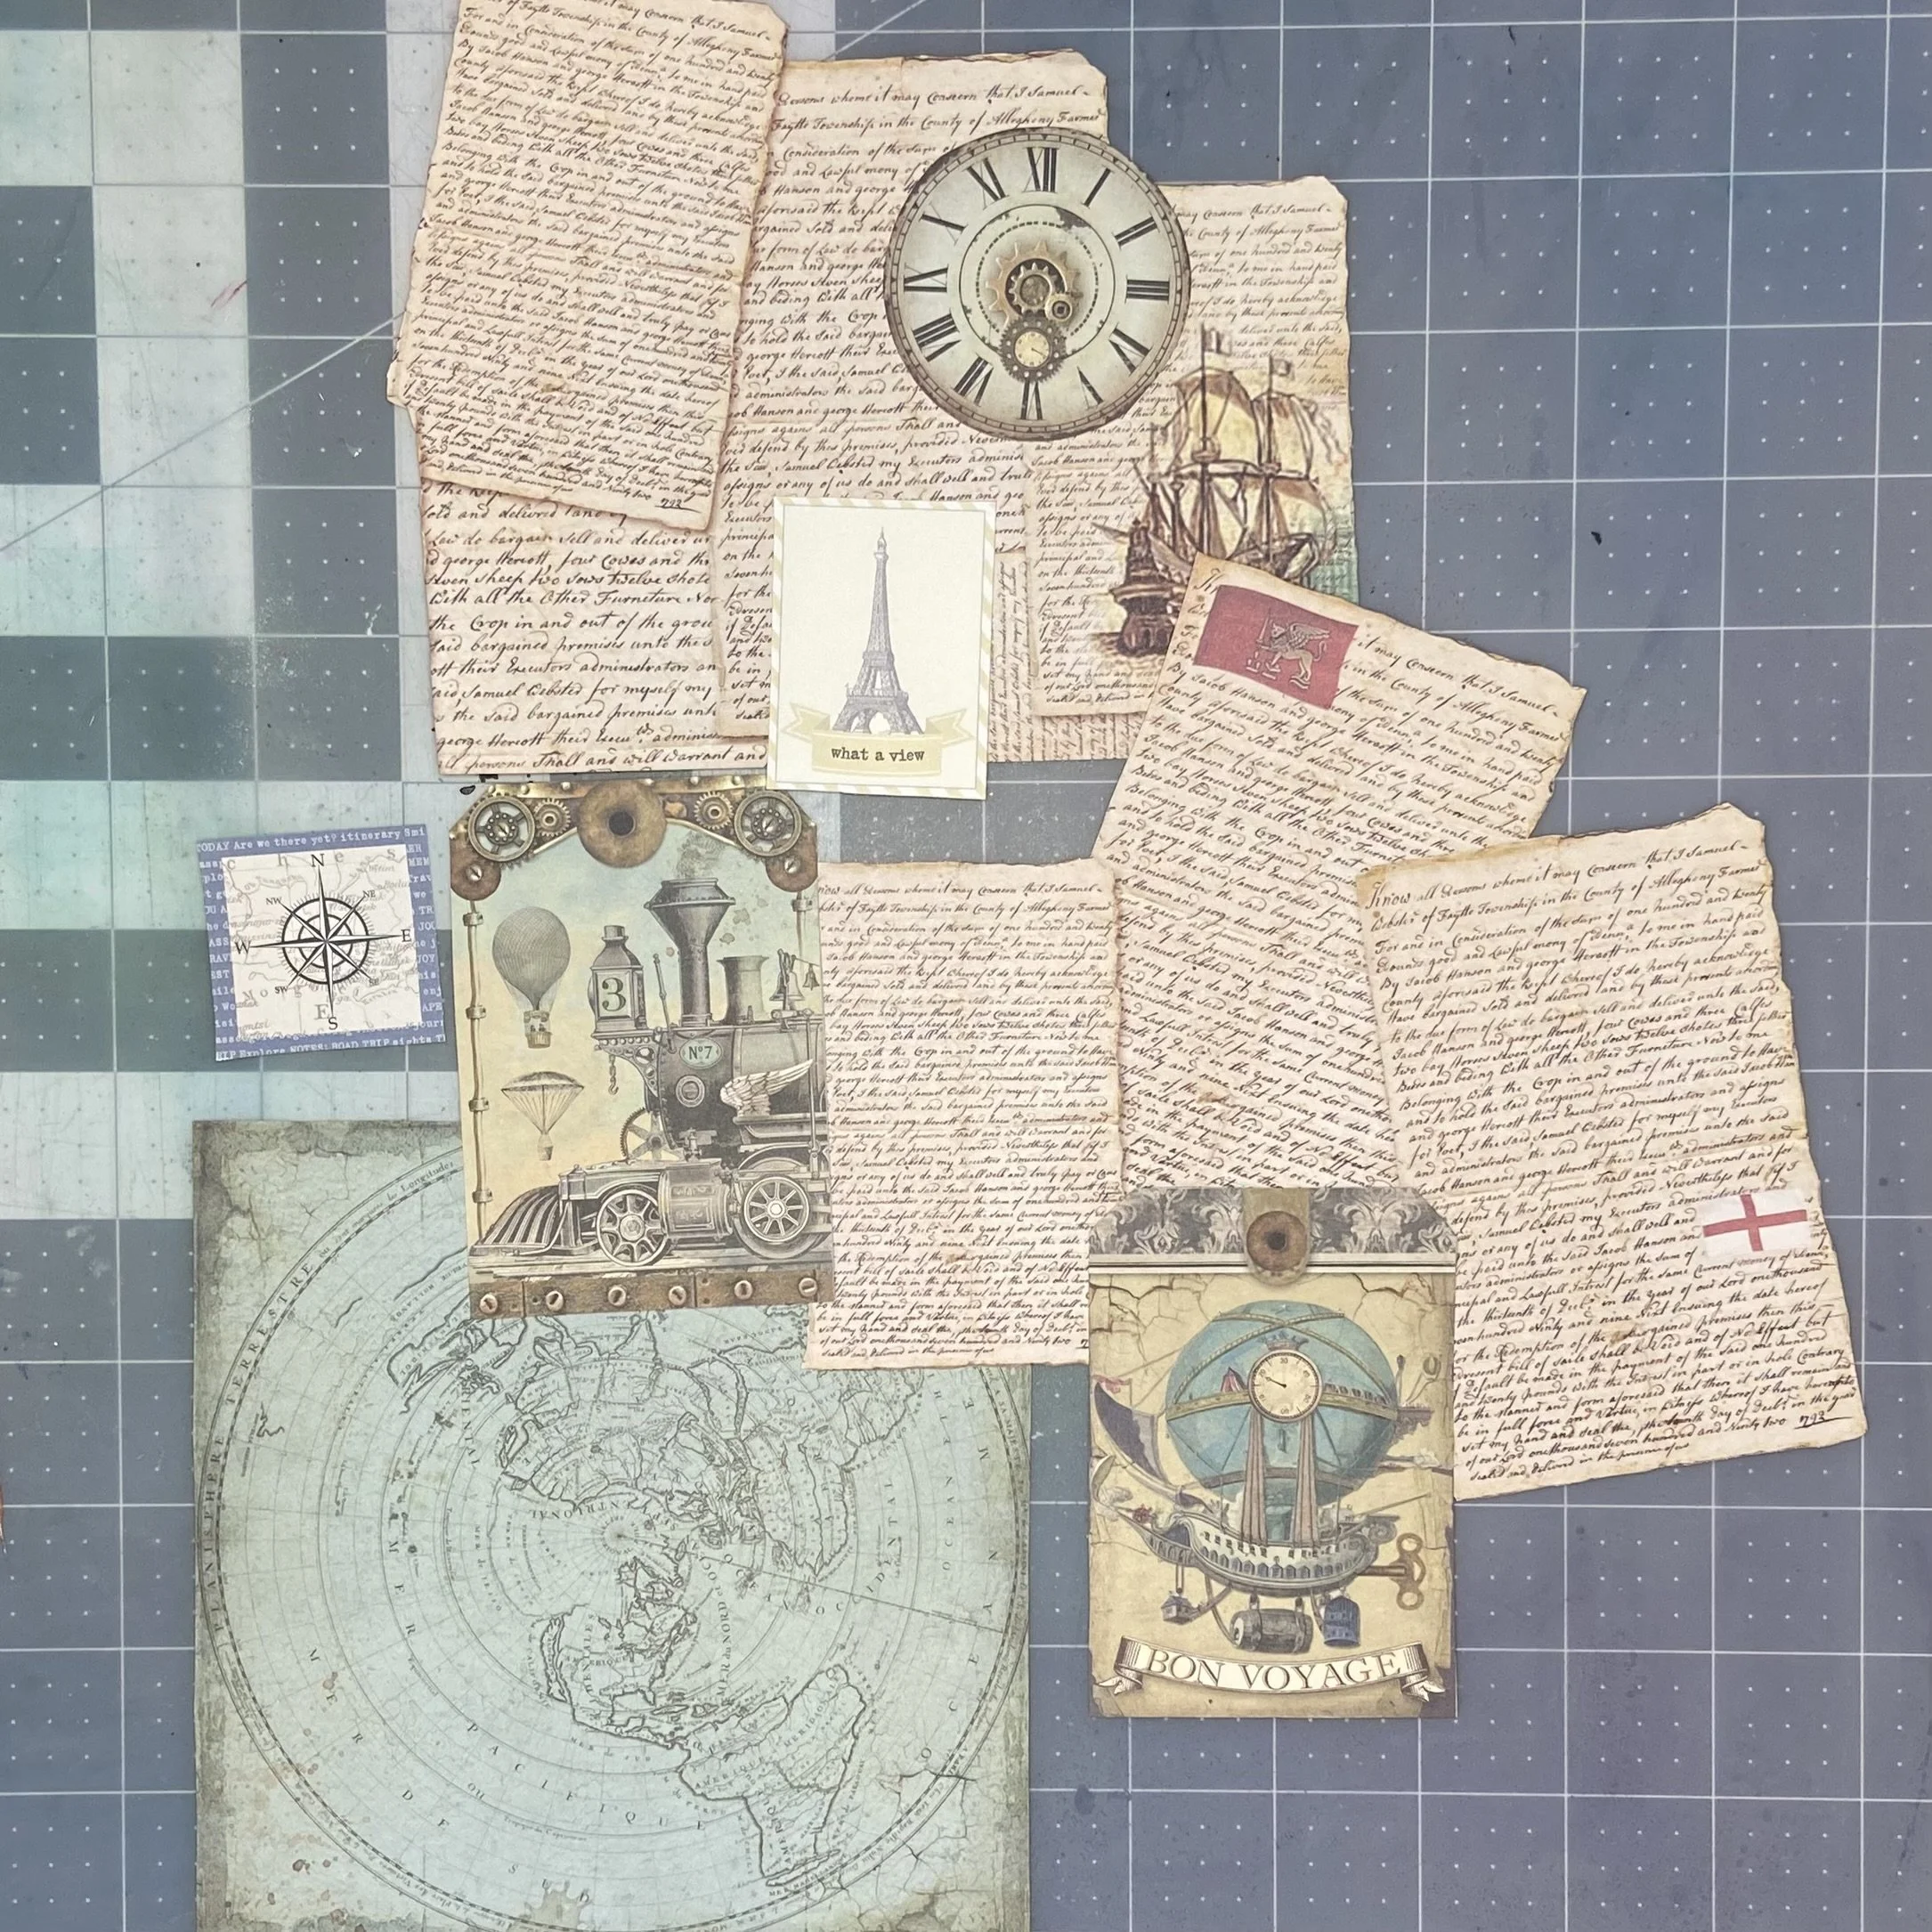
Next step was a layer of ephemera, so I pulled out a gorgeous Stamperia Voyages Fantastiques paper pack, along with some stray stuff I found in the stash, and cut out a bunch of bits and bobs to layer over my background canvas. After the pieces were cut, I inked up the edges with my brown distress ink and in the case of the teal colored map, with my VersaMagic Oasis Green mini stamp pad.

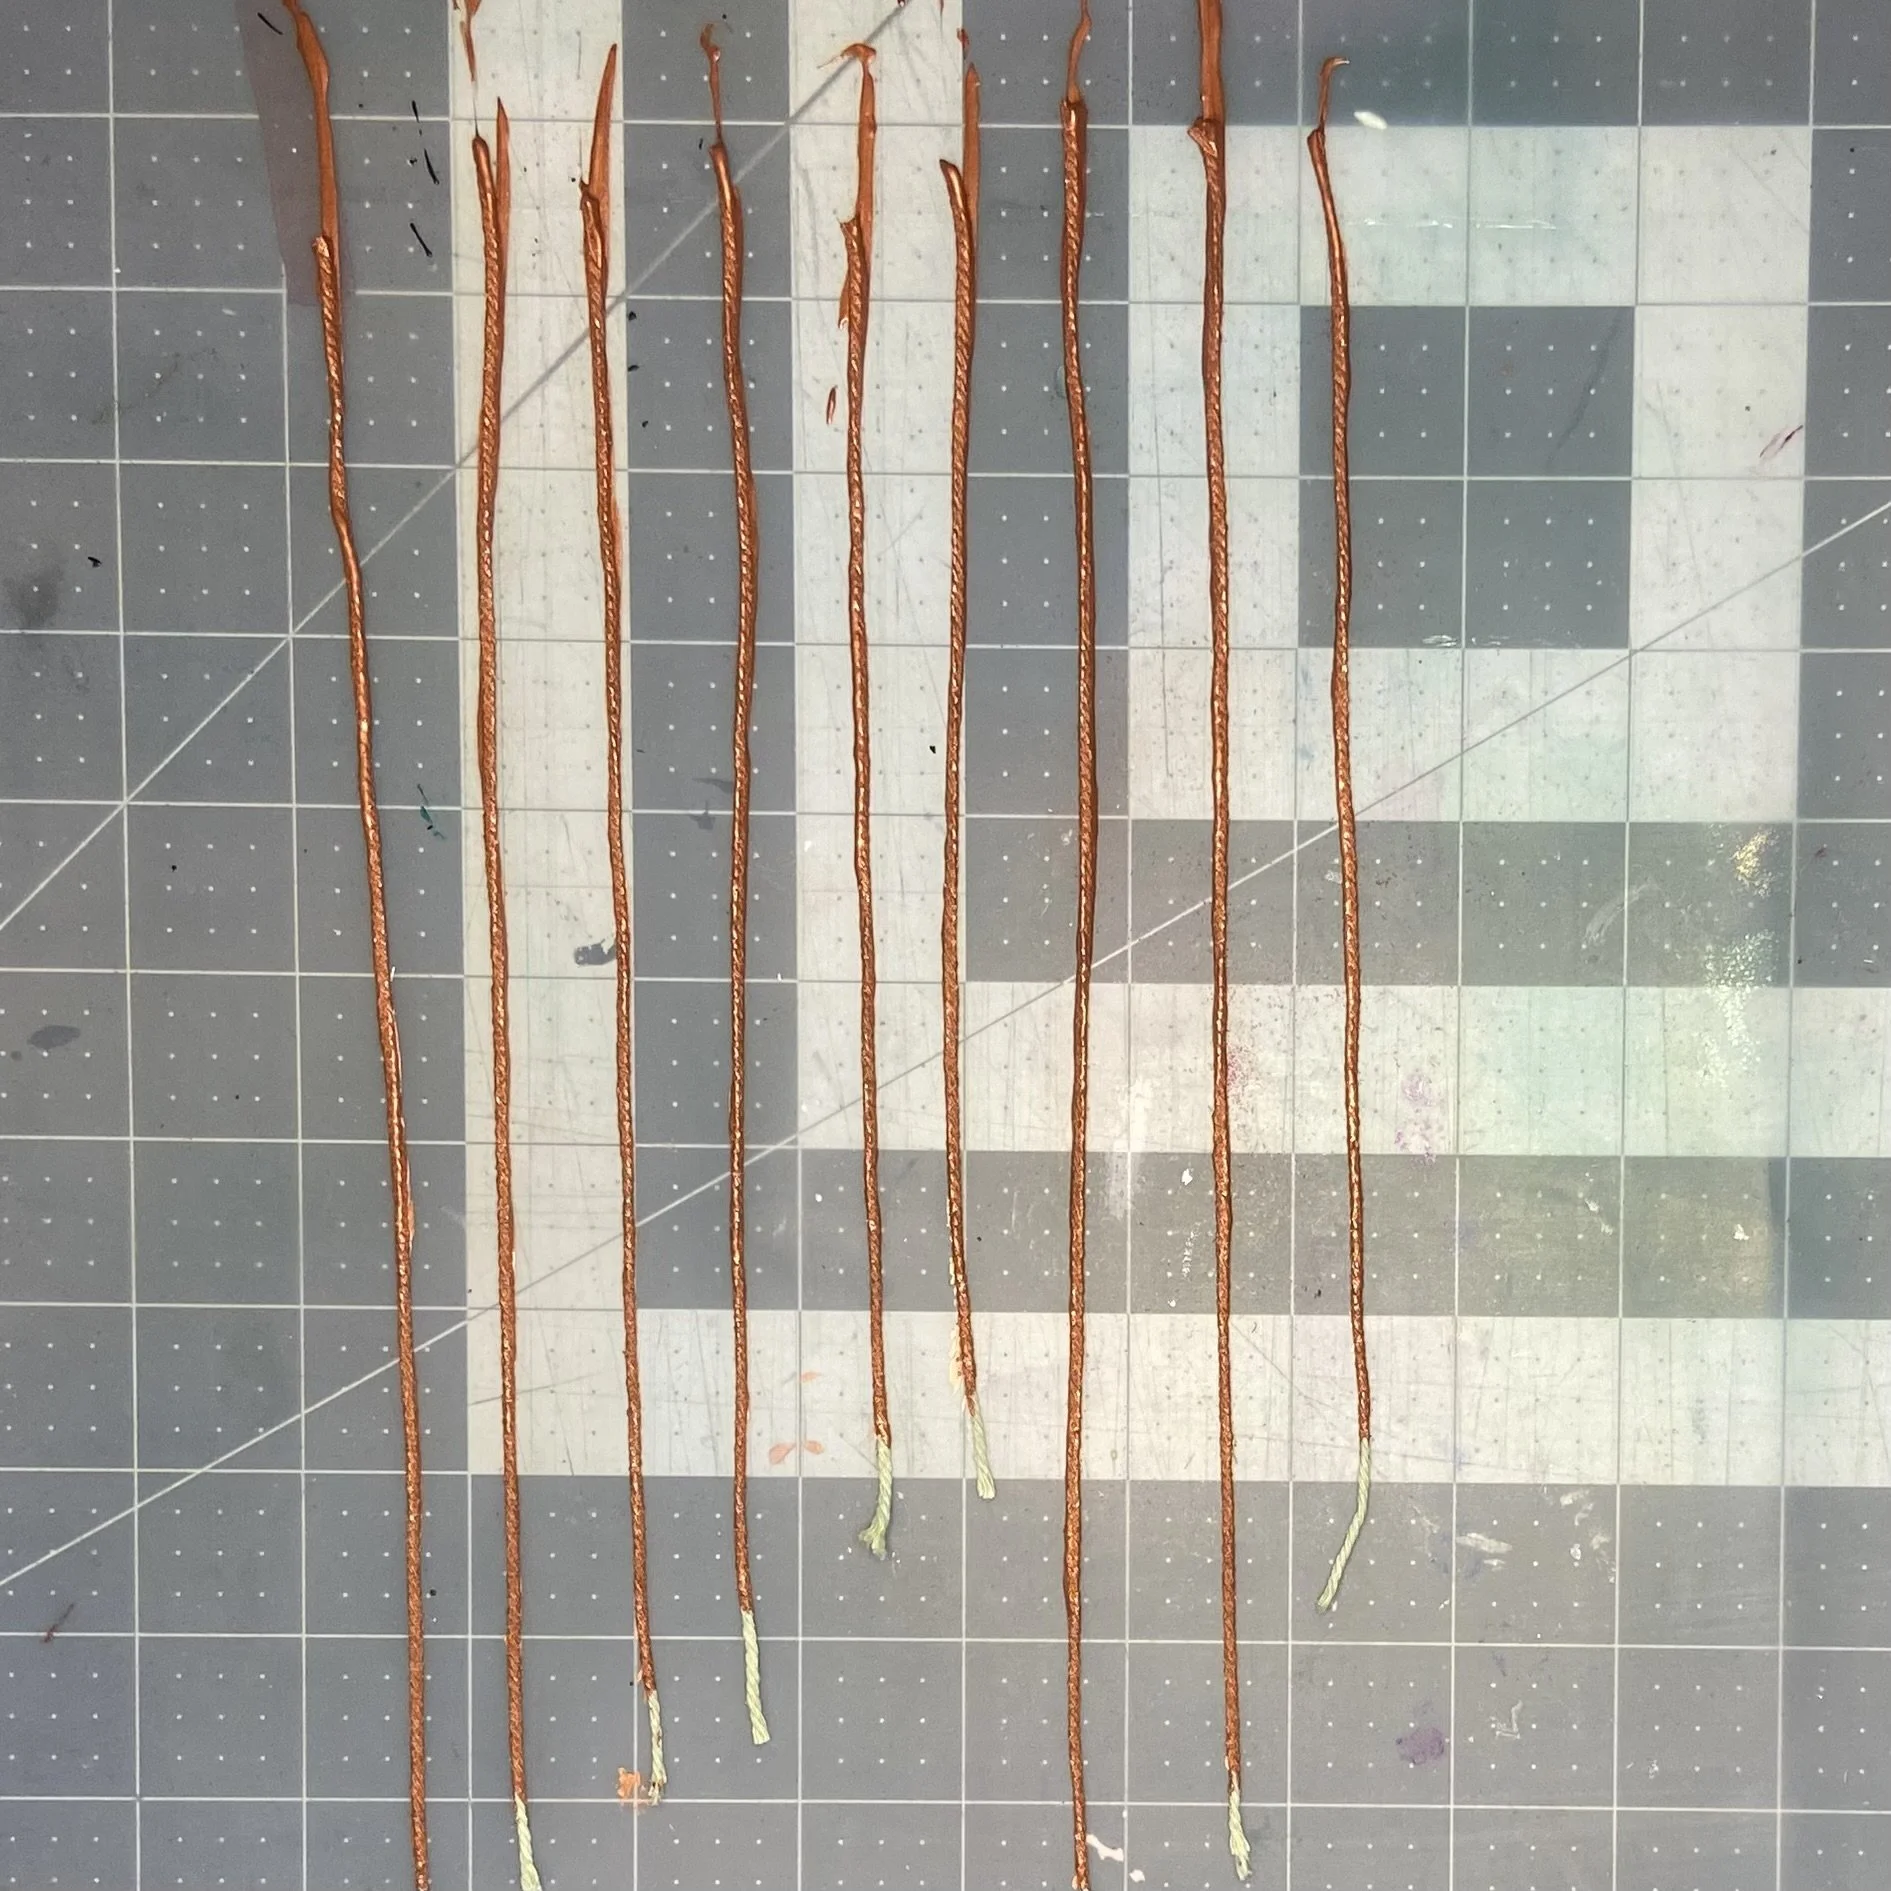
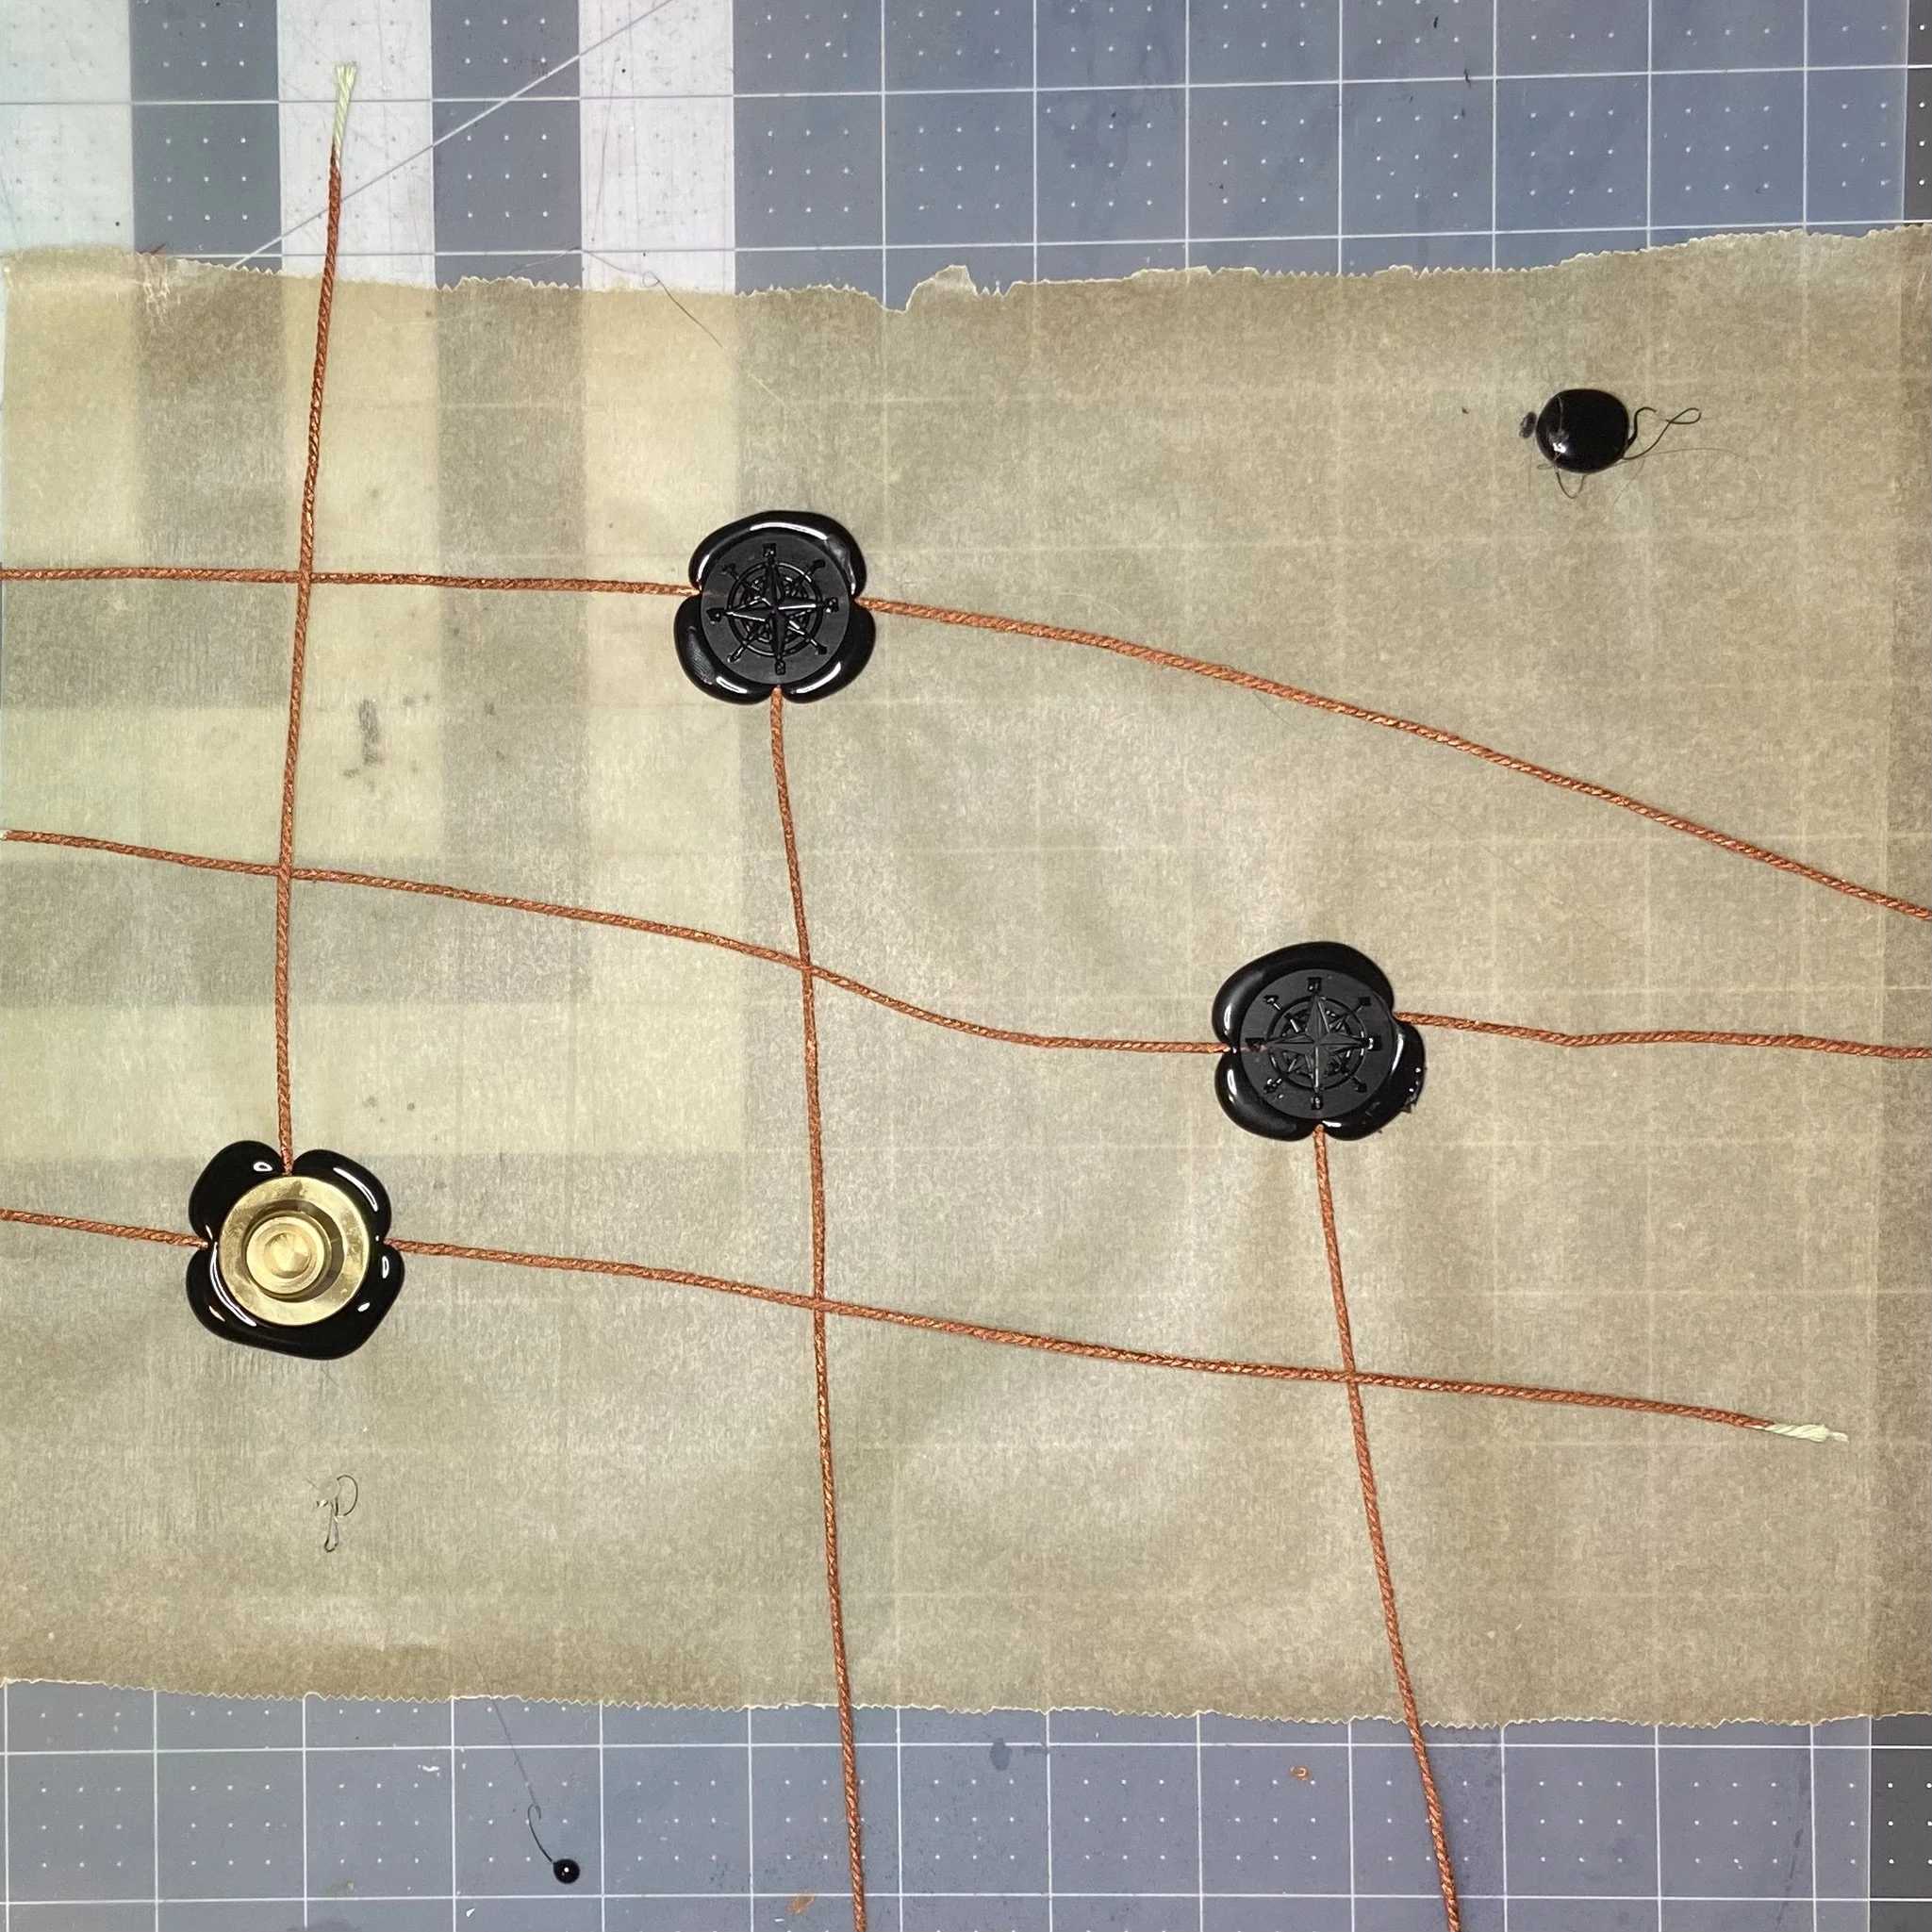
For my final bit of ephemera, I decided to make some faux wax seals with black hot glue, using a compass seal stamp. I’m not going to go into too much detail about how I did this, given that I’ve recently done a post on this technique. But I also wanted “copper wire” extending from the seals to link the seals to the finished smaller canvases. The “wire” had to be made first, as it would go under the black hot glue.
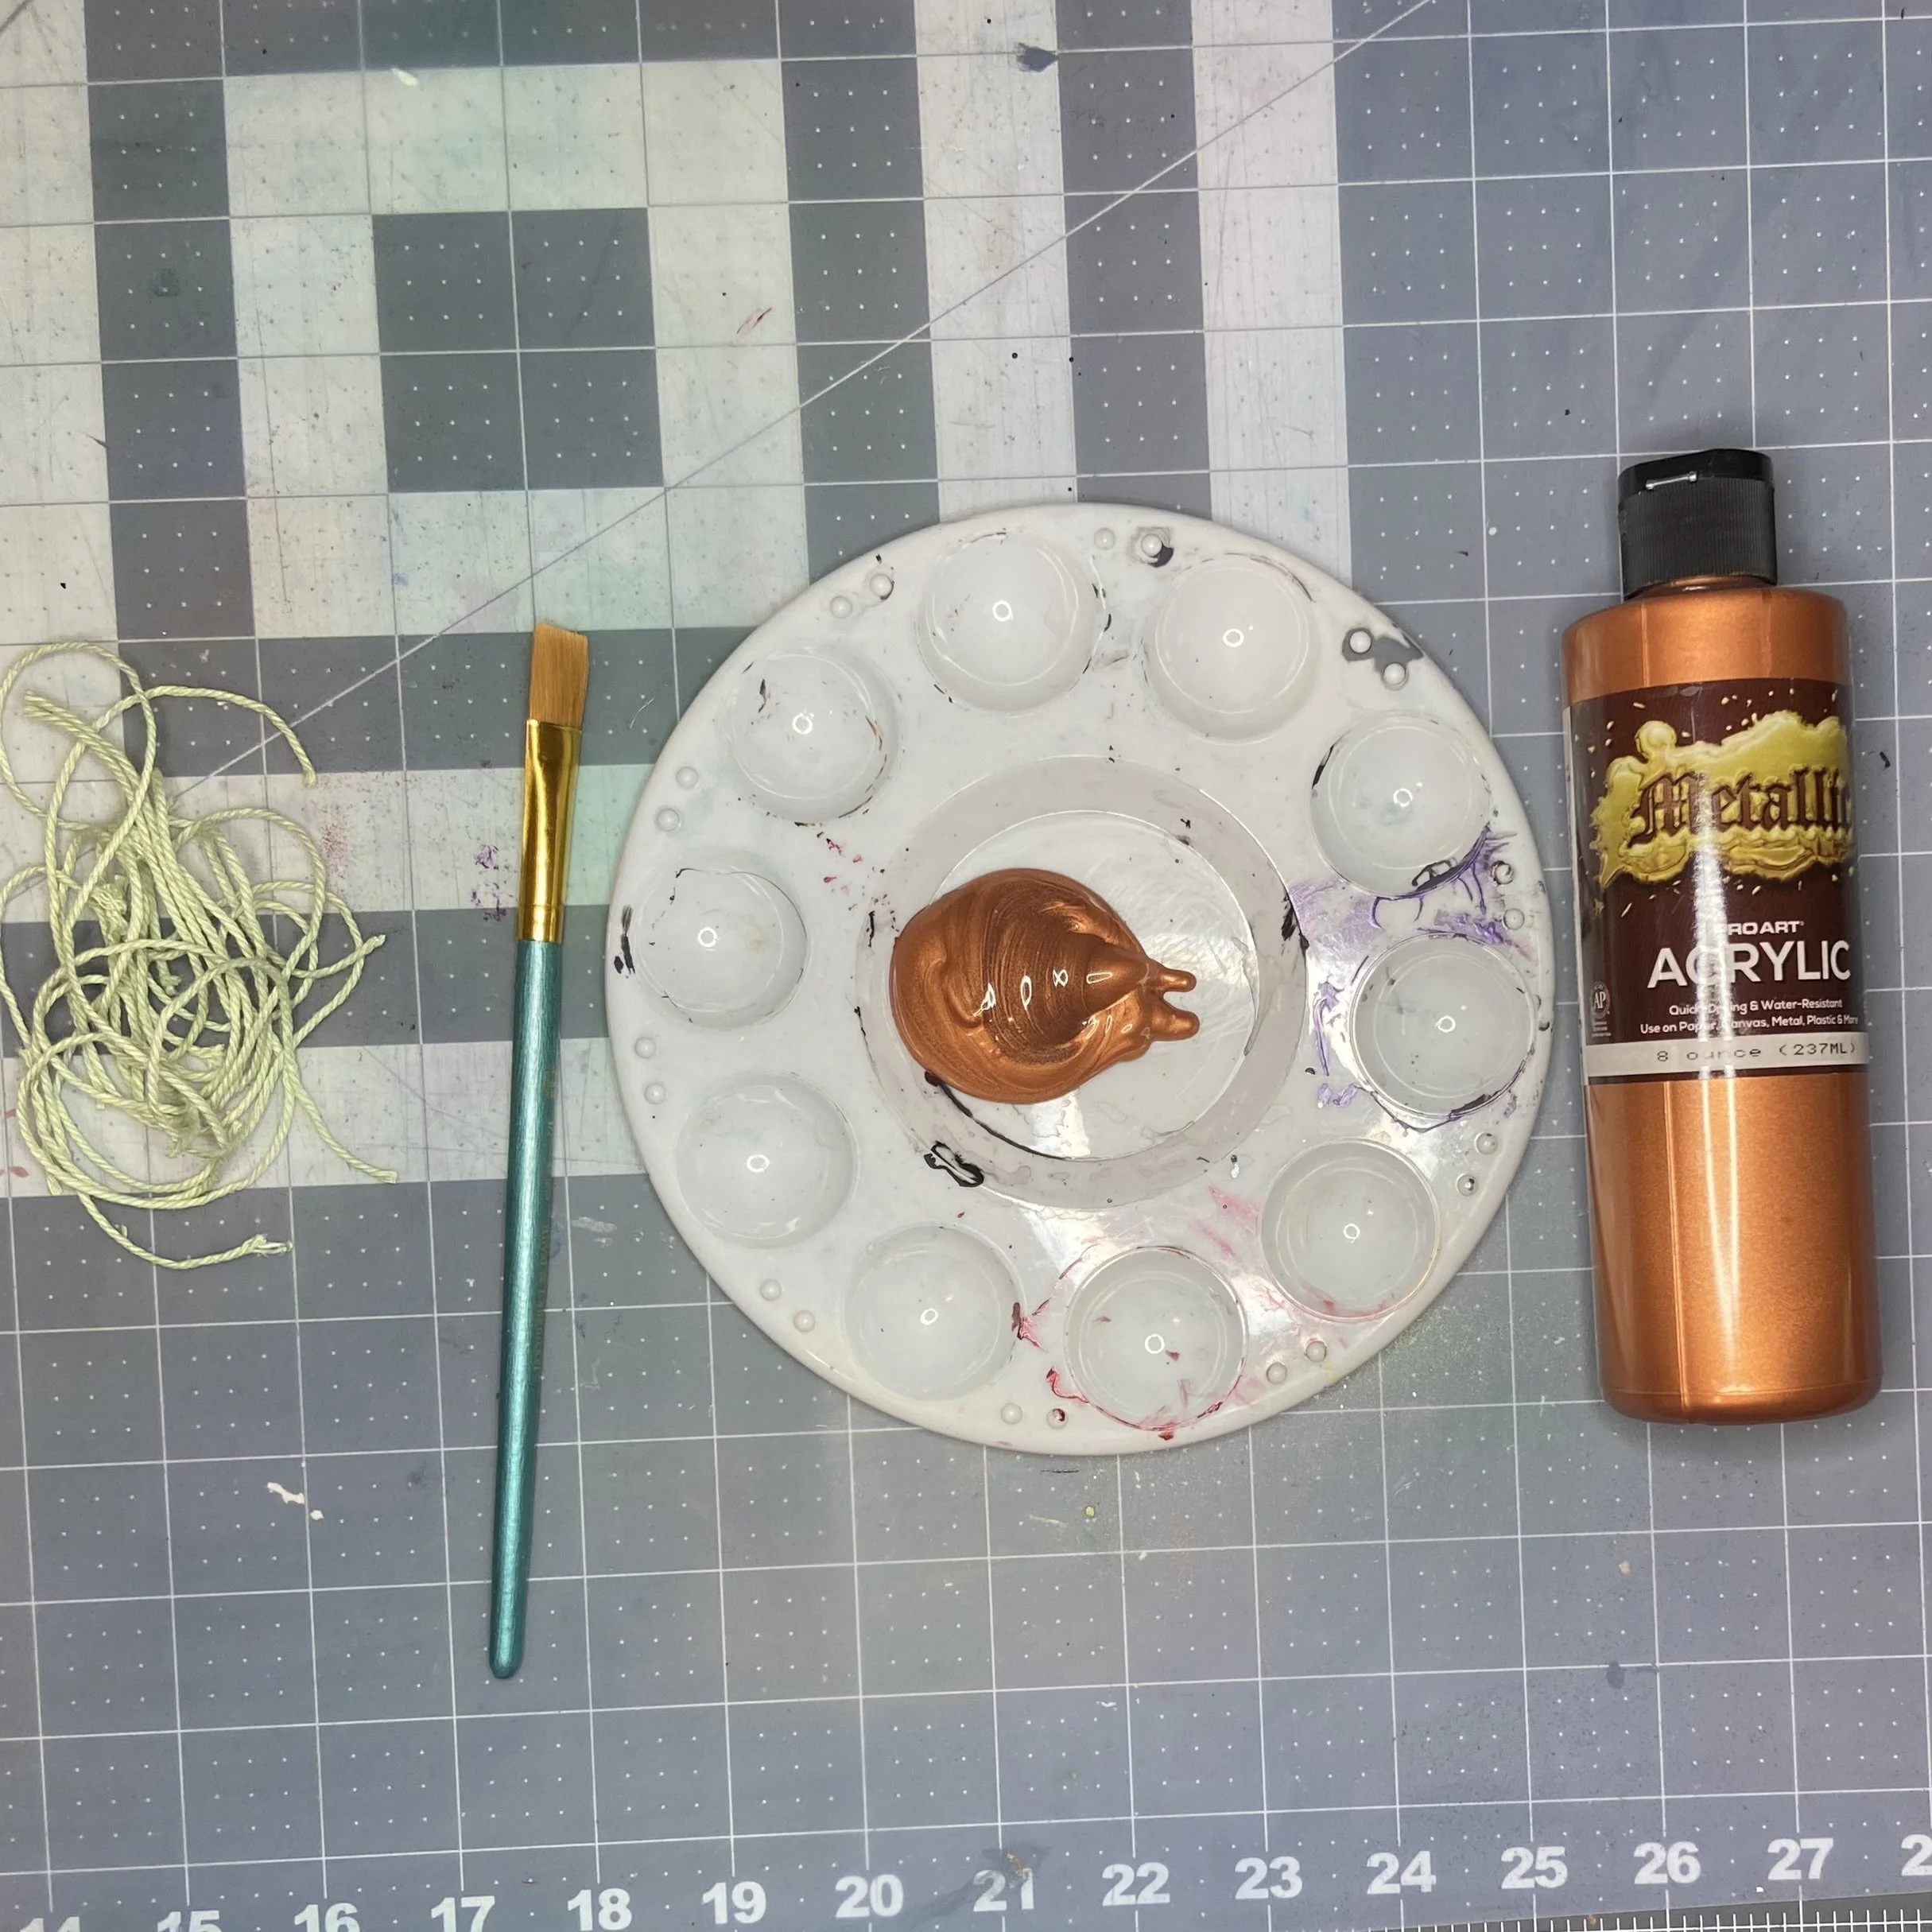
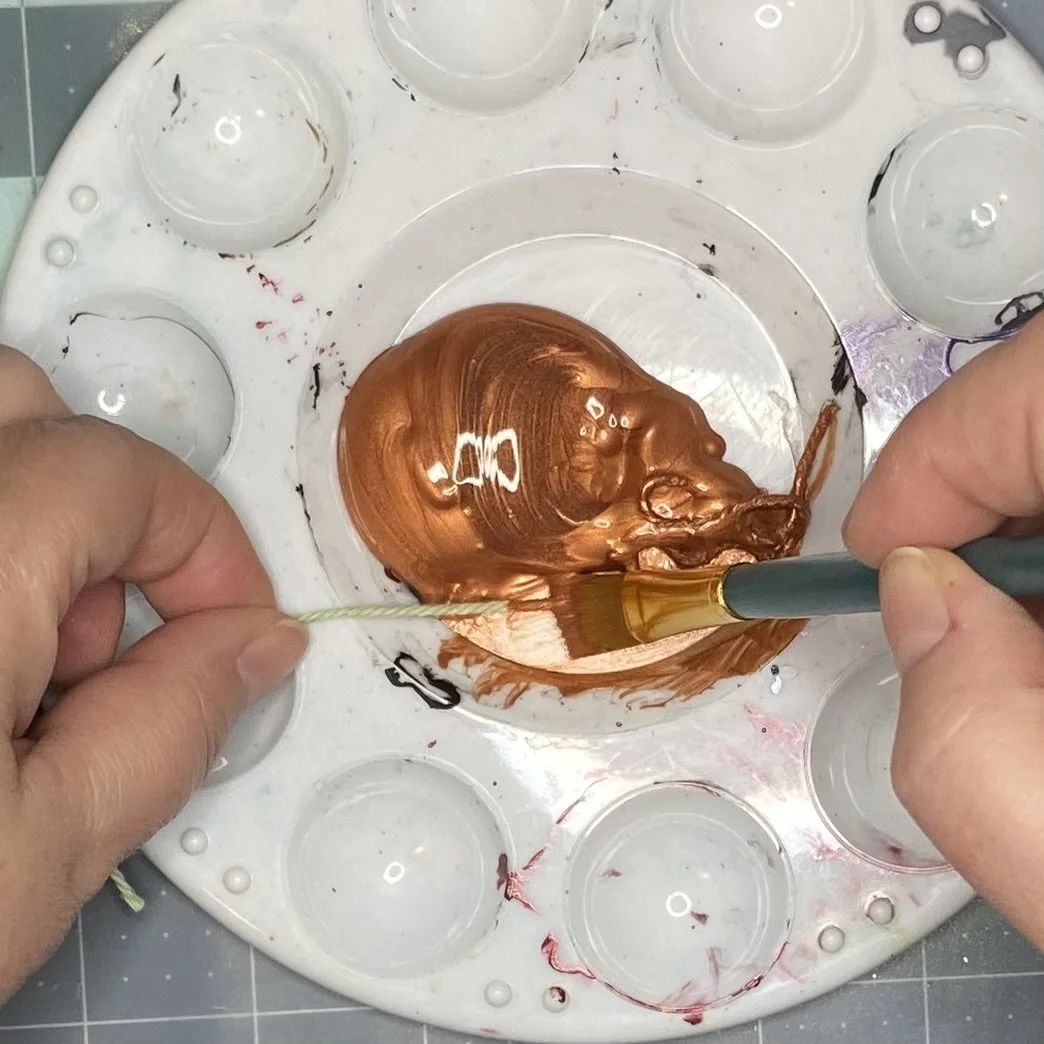
For the wire, I dug out some string I had in the stash and dragged it through some metallic copper paint, scraped the excess paint off as best I could with a paint brush, and then laid each section of painted string out straight on my silicon mat to dry.
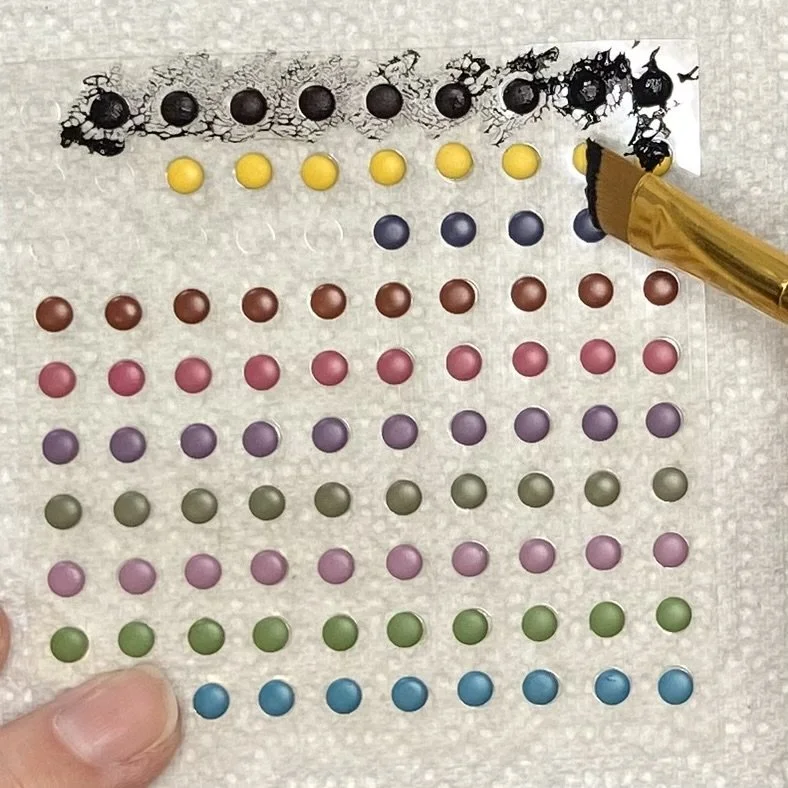
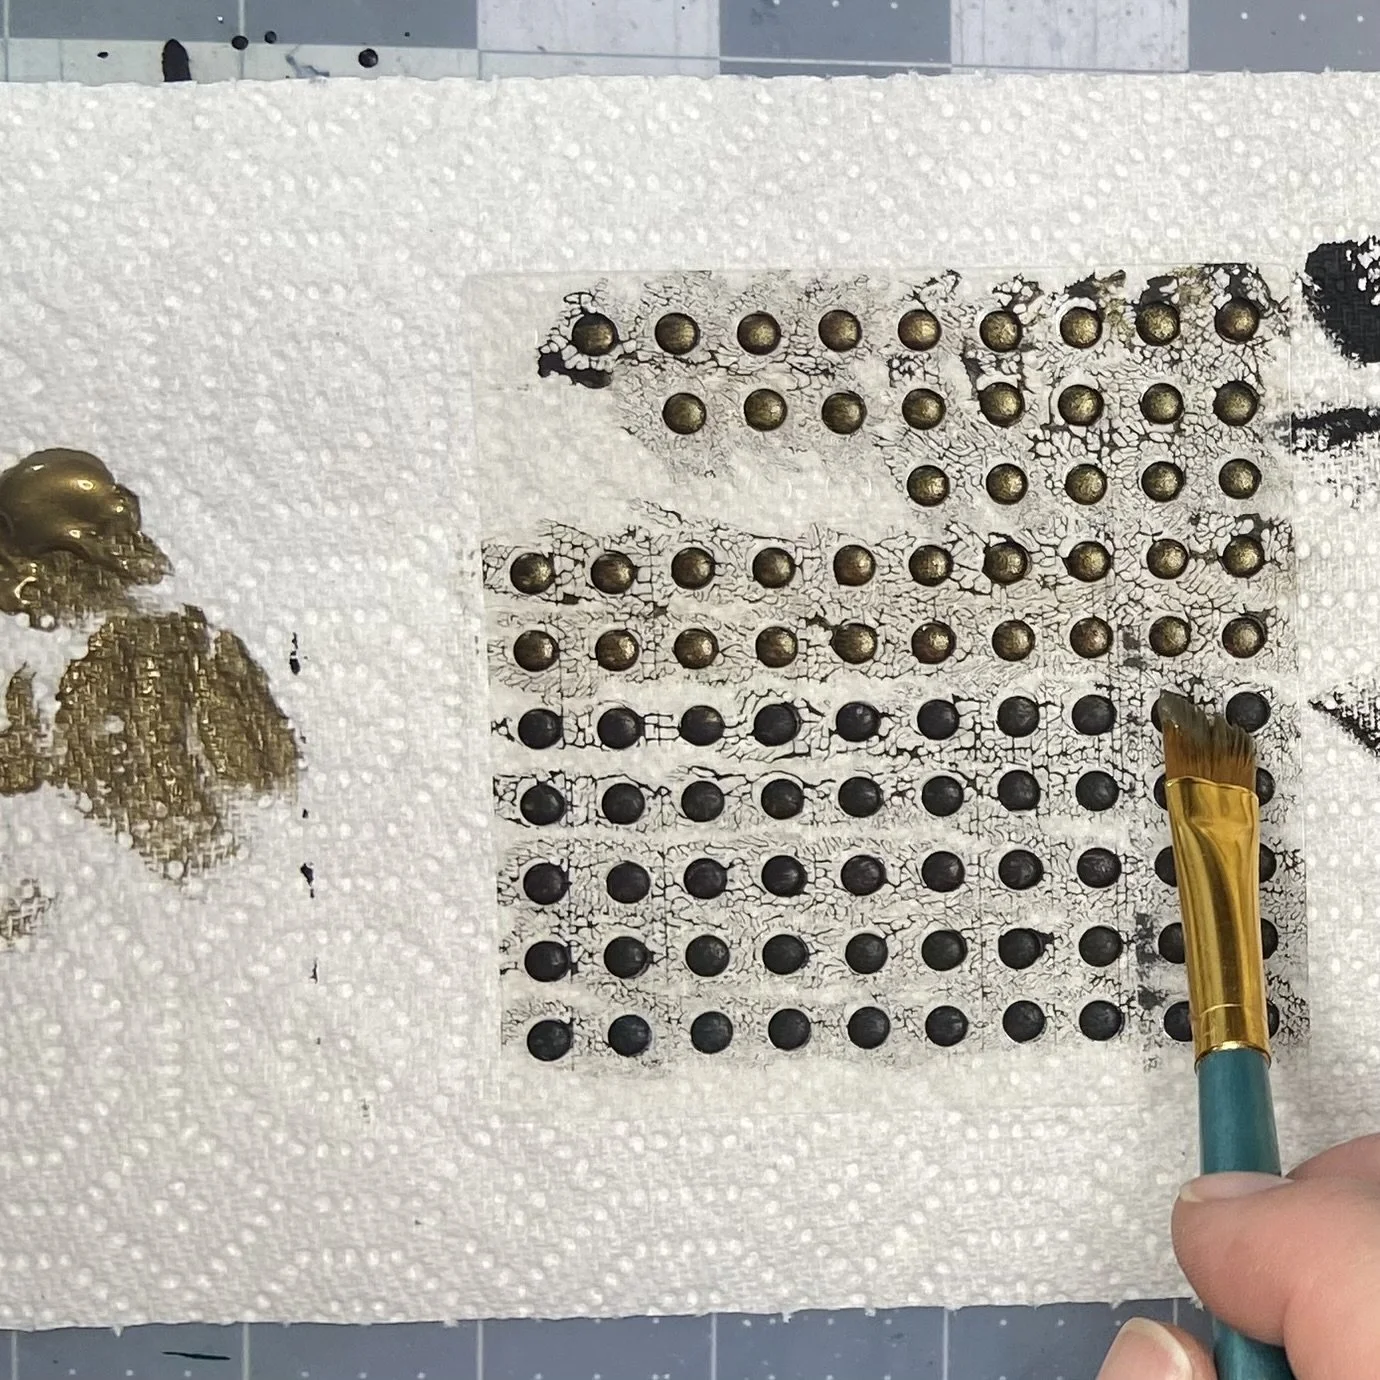
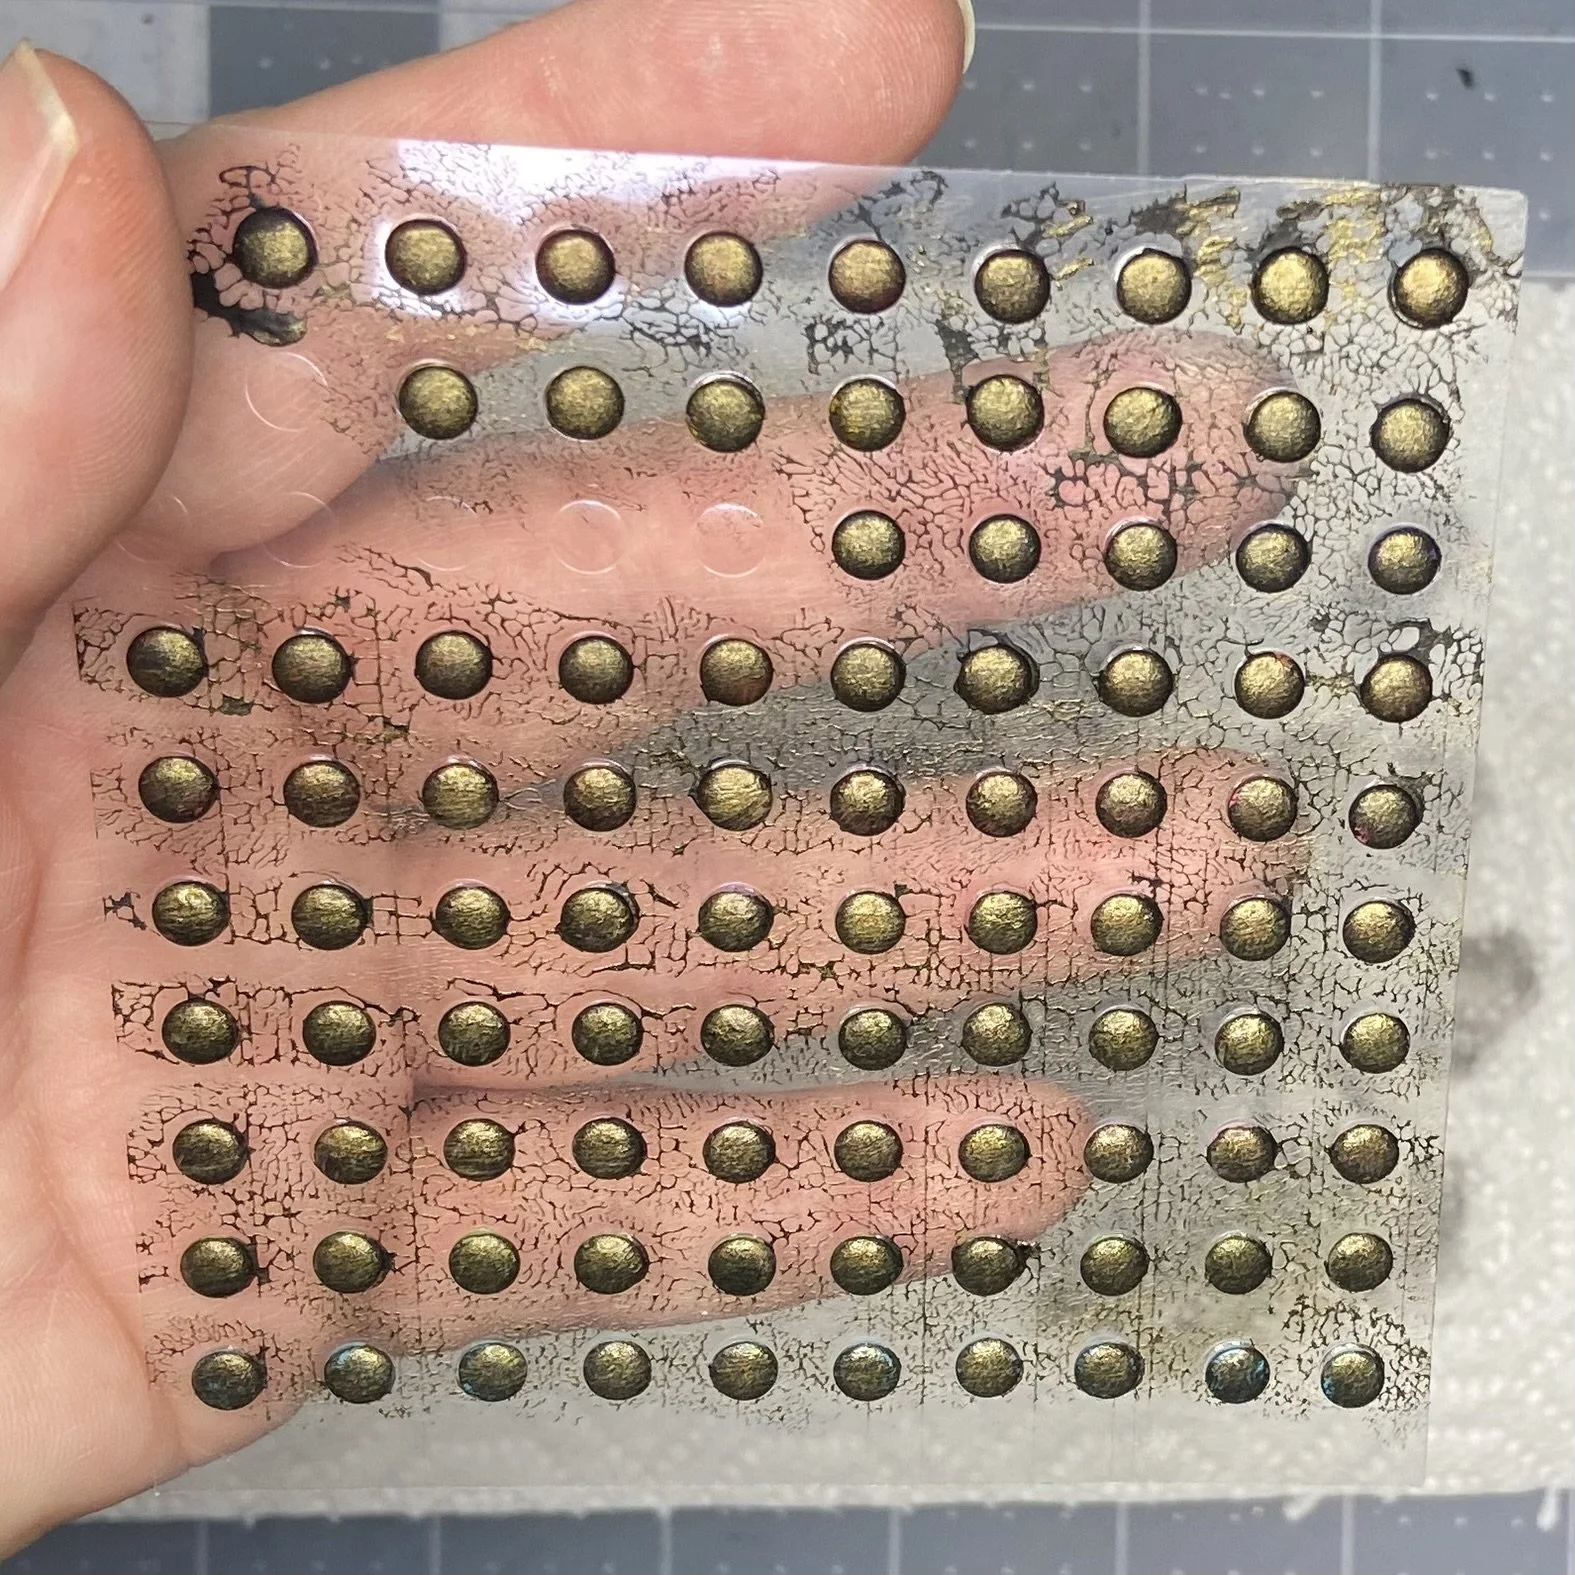
While I was waiting for that to dry, I decided to make some more faux rivets, as I didn’t have enough left over from my Tempus Fugit piece for this project. This involved using black gesso on some Stampin’ Up Candy Dots (sadly no longer available), and then dry brushing them with metallic bronze paint. I made enough to last me for a few more projects.
Once the paint was dry on my fake copper wire, I went ahead with my seals. I arranged the wire in its final desired configuration, dispensed a puddle of black hot glue at the center point, and then pressed my compass seal stamp over the top of it. Once the seal was cool, I used a copper paint pen to highlight the details on the seal.

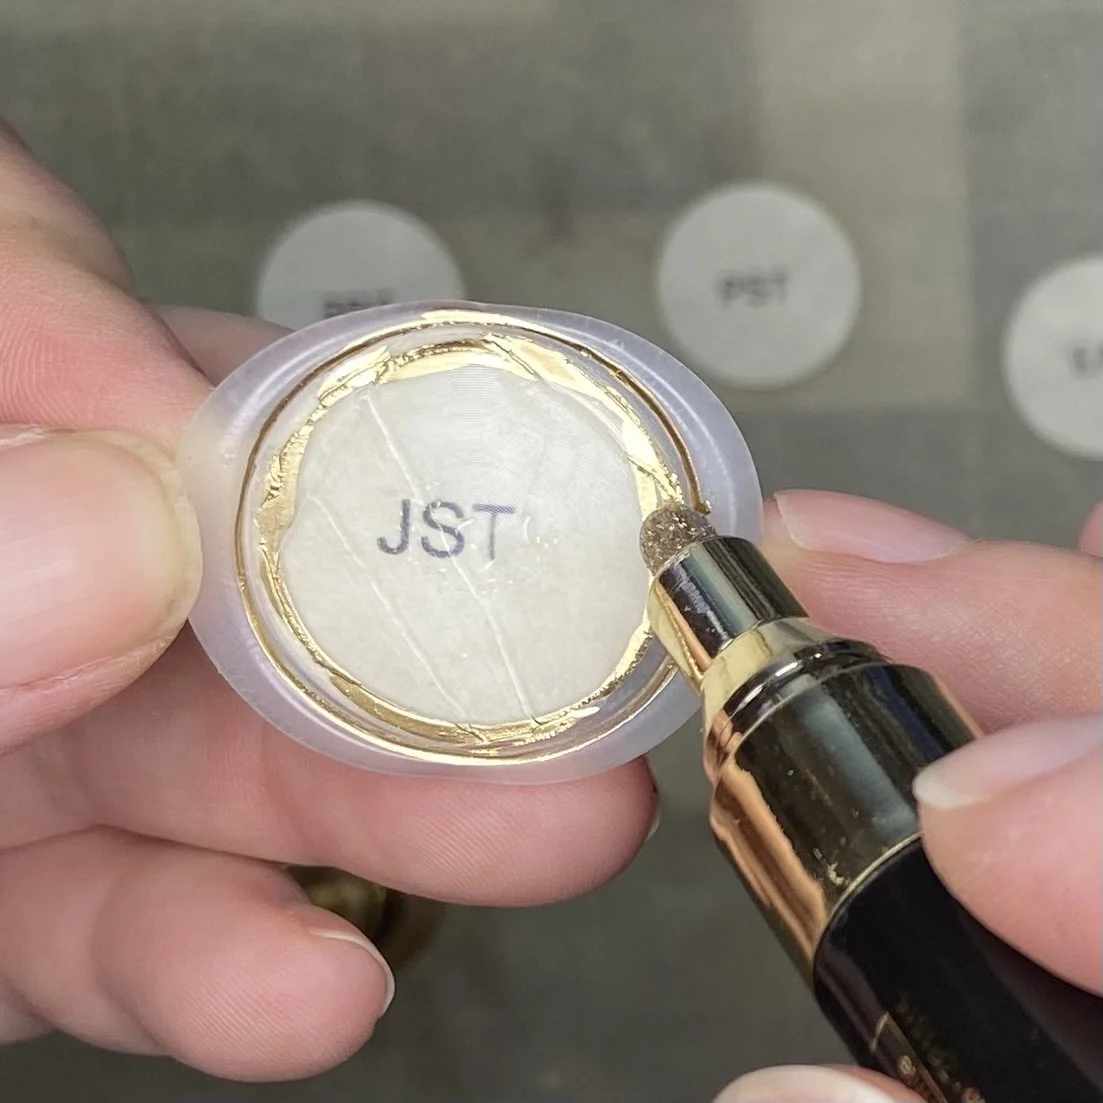
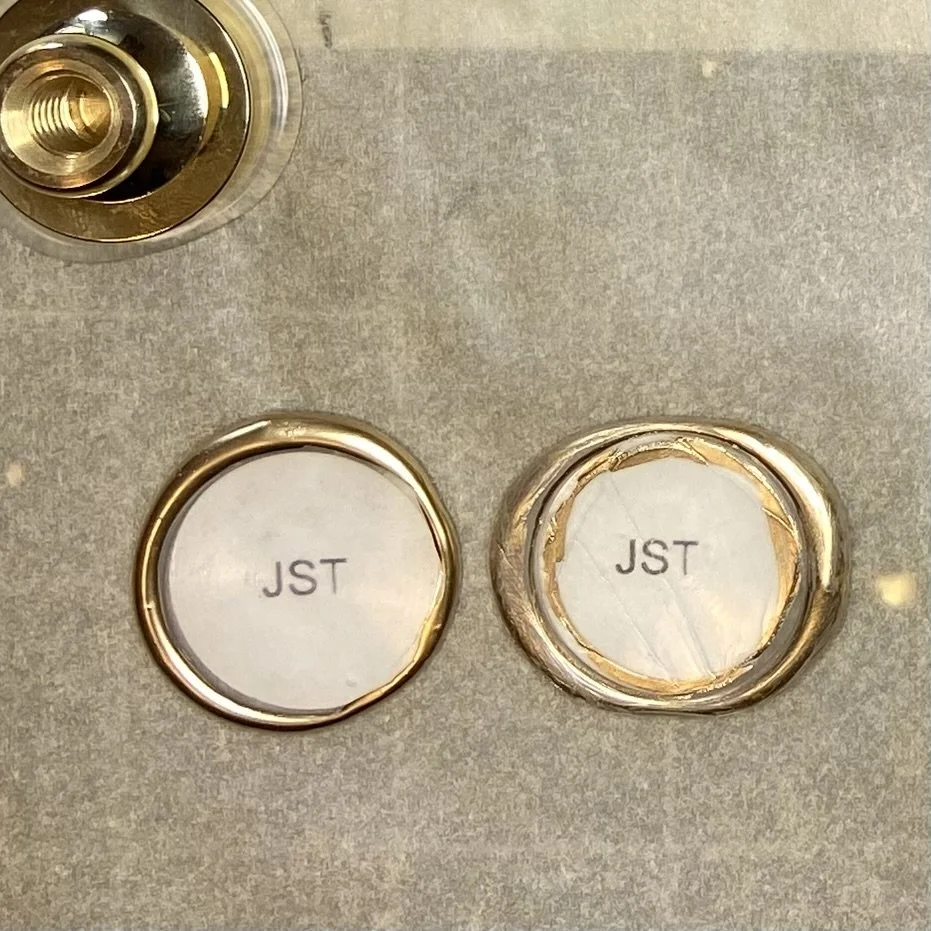
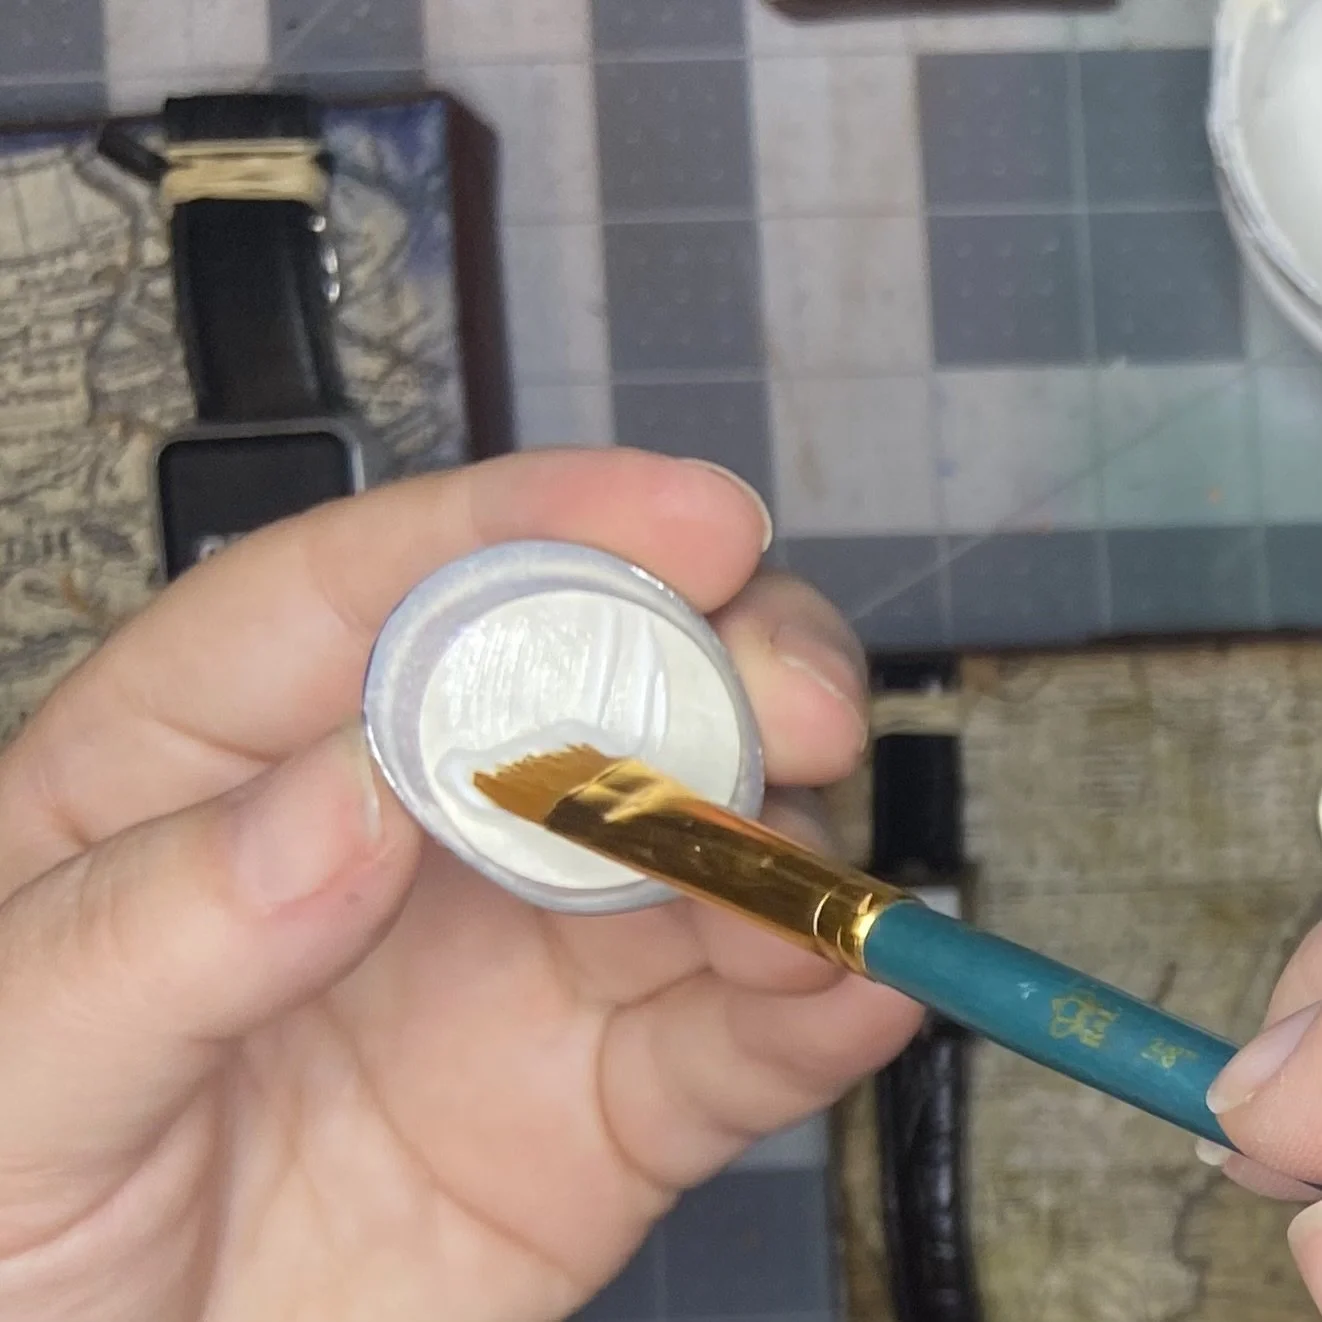
While I was making seals, I decided to go ahead with the seals that would show the time zones. I used clear hot glue for these and a blank stamp over a 1” circle of parchment paper with the time zone printed on it. Once these were cool, I used paint pens in gold and silver (color chosen to match the watch that would be displayed with it) to color the outer edge of the seal. I had to make these seals twice, because the first time, I tried to color too much of the seal and it looked very sloppy. I also decided to seal the backside of the parchment paper with clear gesso so that later when I glued them down, the glue would not seep through to discolor the paper.