Adventures In Timekeeping-Part 1
As an Amazon associate, I may earn a small commission if you navigate to Amazon from my site and buy something. This will not result in an extra cost to you.
I might have mentioned this before, but I watch a lot of YouTube. A LOT. And one of the largest playlists in my personal YouTube library is for mixed media art. I am particularly fond of the steampunk aesthetic…gears and rust and pipes and valves and mechanical parts that may or may not perform any function. Below are a few examples of the sort of thing I like to look at and aspire to create myself. In fact, that green and purple creation on the right is mine. My first real attempt at mixed media, I would describe it as “kinda pretty but uninteresting.” My sister-in-law (who has a charitable heart) described it as “beautiful” when I gifted it to her. And that’s why she’s my favorite.
A few years ago, I became particularly interested in altered clocks. Pinterest was most accommodating (enabling?) and my altered clock board rapidly filled with clocks that were interesting and beautiful. But the clock that really captured my imagination was this one:
The interior installation is “meh” at best…but the outside! It was glorious. I found a few different photos of the same clock clearly taken at the same location, and after (quite) a lot of searching, I found that the maker posted very briefly about it here in a longer blog post. I was still pondering this vision when I came across this picture of two watches together, which also intrigued me.
I was in possession of a pocket watch from my father’s grandfather, a very unusual wristwatch from my mother’s uncle, and a junky old-school alarm clock which I found at a thrift store. I thought perhaps I could put the watches inside the clock and decorate it in a steampunk style. I held onto these ideas and these timepieces for the better part of four years before I felt brave enough to make an attempt. I will admit…the blog makes me braver. Just telling myself, “I have to do it for the blog!” is amazingly motivating.
To start, I played around a little in my art journal to experiment with some different design ideas. I use the phrase “art journal” loosely. Below left is what (someone else’s) real art journal might look like…you know, with some actual art in it. Below right are the experimental pages in what I’m calling my art journal.
I eventually had to quit messing around in the journal and actually begin the process. So I took the alarm clock apart, discarded the interior mechanical bits entirely, removed the glass and its seal, and painted all the parts with black gesso.
I must confess that I had only a vague idea of what I wanted to do from this point on, so there was some messing around, some messing up, and a lot of winging it. Ahem…onward. I reassembled the clock (minus the glass and seal) and decided to add a little texture to the interior. I used some navy blue corrugated paper I had lying about and glued it to the inside, before rubbing it with a little Art Alchemy Wax in Aged Brass. I glued down the first piece with the ribs parallel to the clock in error, but then glued the rest of the pieces in with the ribs perpendicular to the clock. This mistake did actually work in my favor later, as it turned out.
Turning to the outside of the clock, I used a palette knife to apply Art Extravagance Jewel Effect Paste in Tiger’s Eye Stones, with some Sparkling Onyx tapped on afterward to mute the brightness. Then I used the Aged Brass Wax on the front edge of the clock.
For the leather wrap around the exterior of the clock, I used thin pieces of leather recycled from an old leather coat my mother found for me at a thrift shop years ago. I measured the outside circumference of the clock and did my best to calculate what size to cut the leather pieces. Having cut the leather pieces, I also needed to make “rivets” to (pretend to) hold them onto the clock. For that, I used some Stampin’ Up Candy Dots (they apparently don’t carry those anymore, but these could work), painted them with black gesso, and then used my finger to brush the Aged Brass Wax over them, hopefully making them look both metallic and worn.
Using Art Basics Heavy Body Gel I then applied the leather pieces all around the circumference of the clock except at the top area between the two alarm bells. I needed to leave that section uncovered for now so that later, I could feed some wire through the top. I also used the Heavy Body Gel to attach a “rivet” at each corner of each individual piece of leather. I had to use a tiny little paintbrush to wipe away the gel that oozed out from under the rivets…if you leave that stuff on your project, it dries shiny.
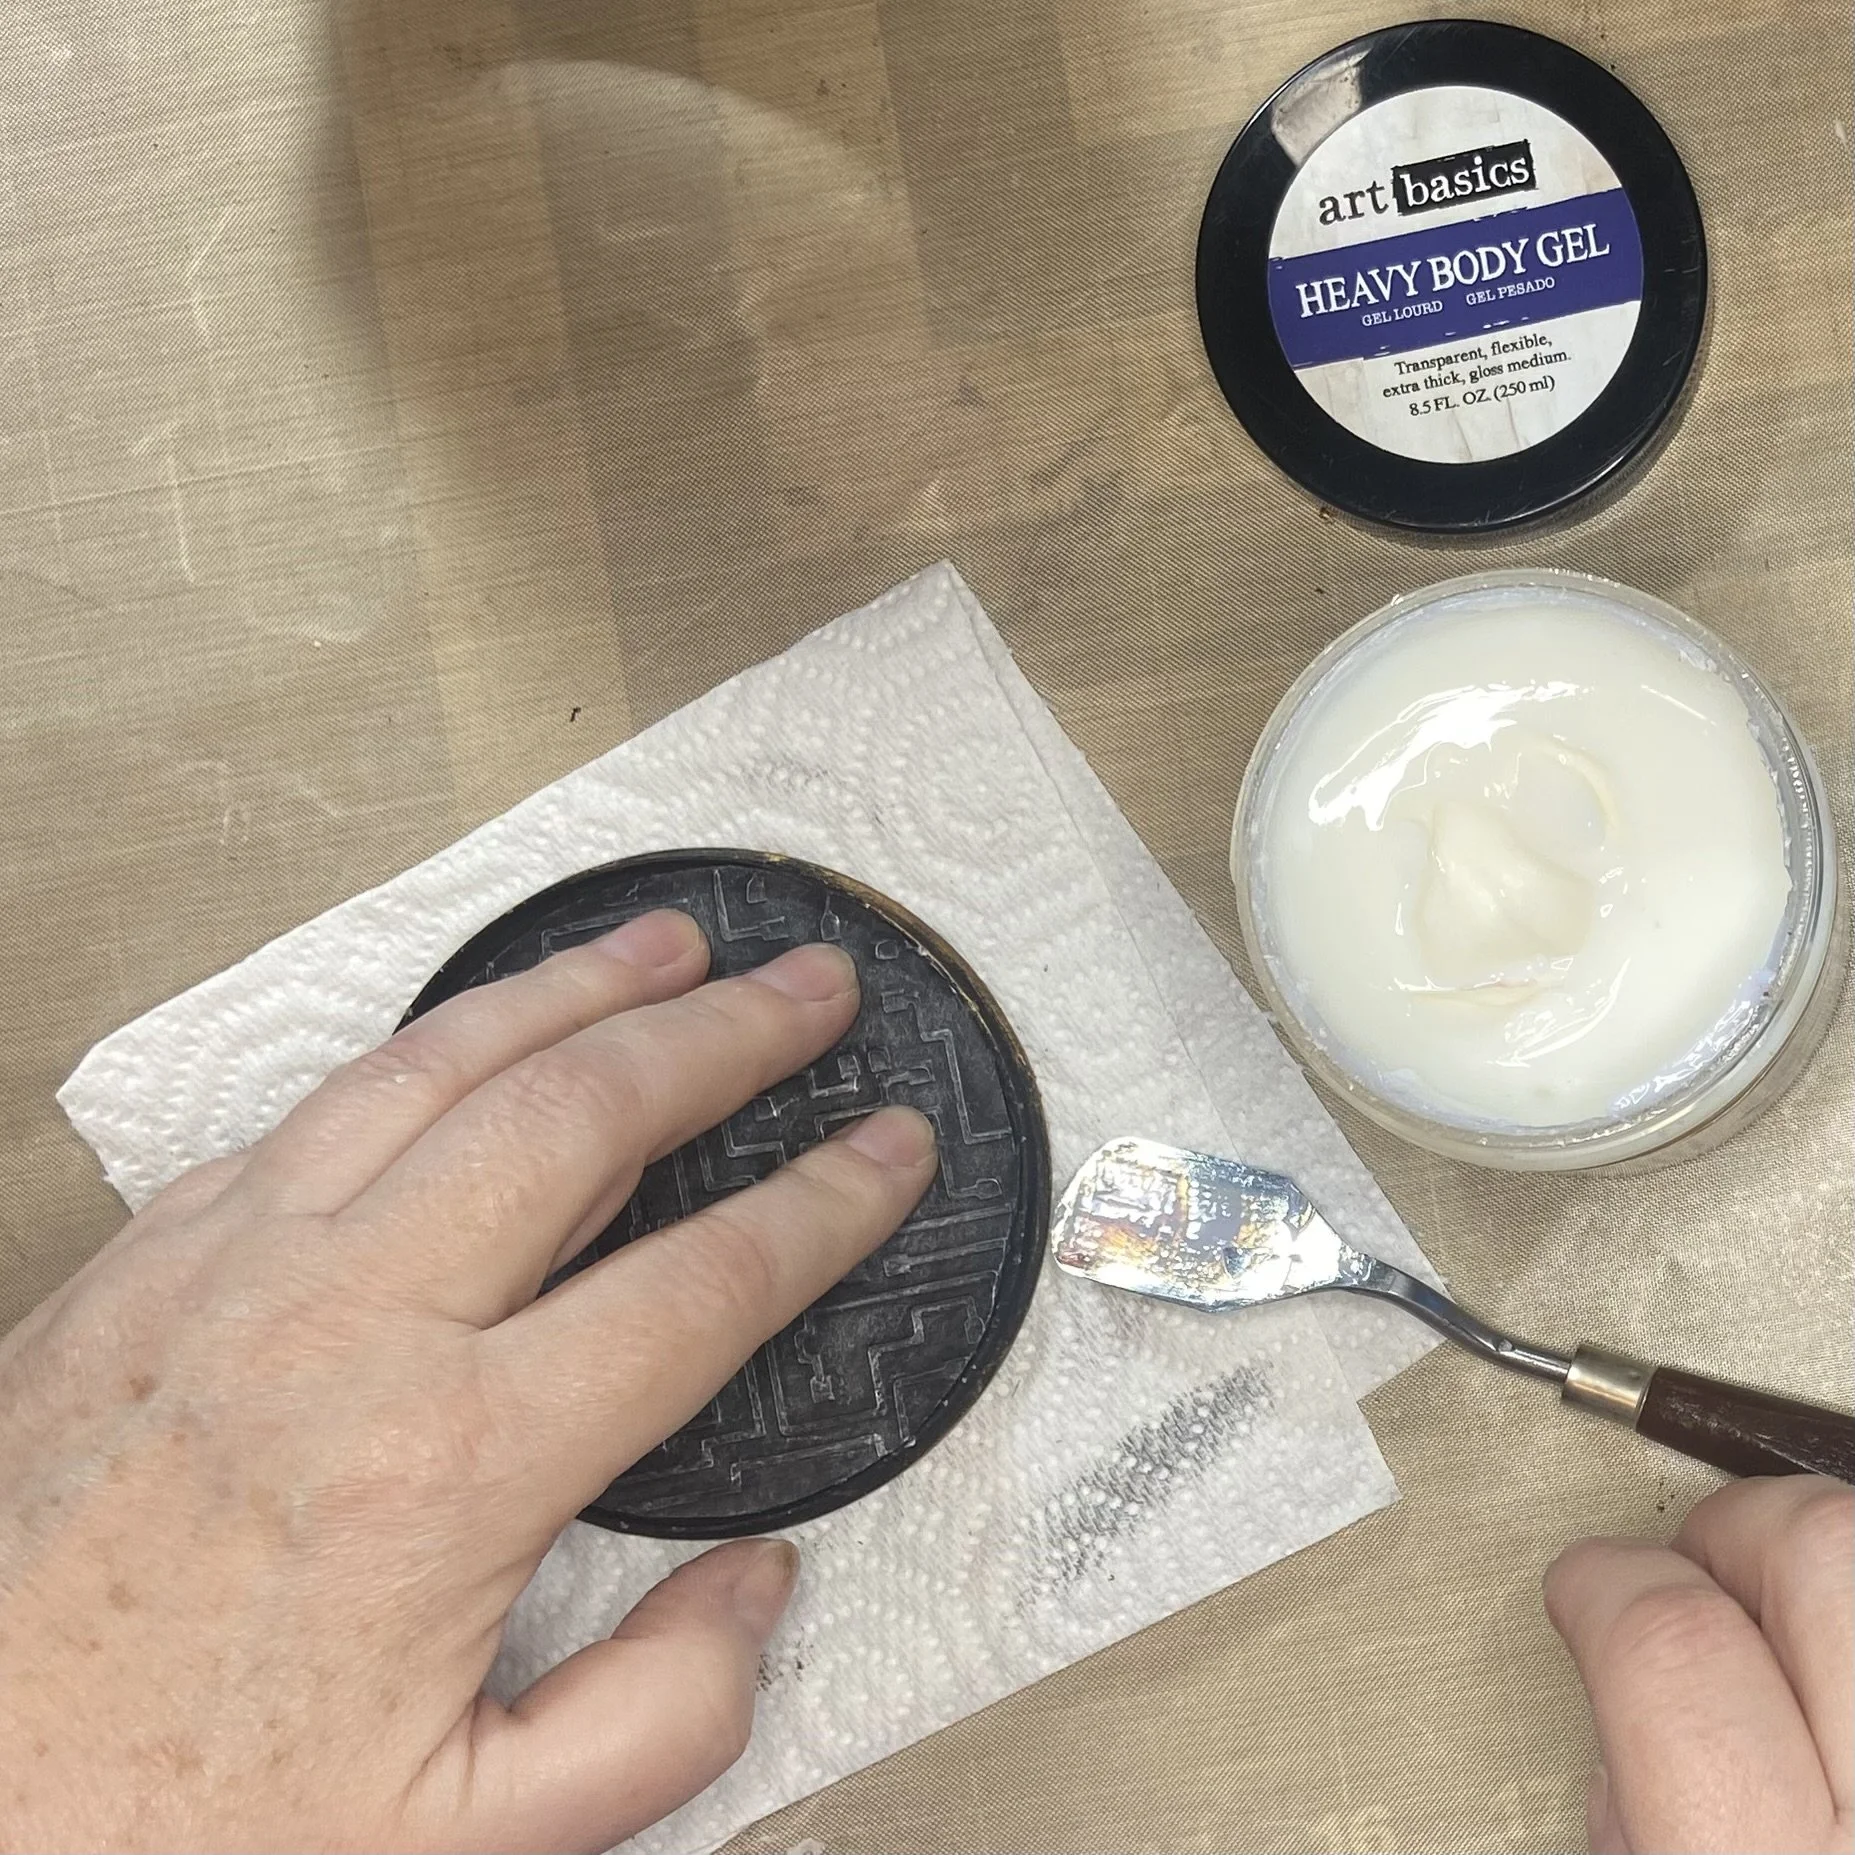
Next, I worked on the back of the clock. Both the inside and outside of the back would (might) be visible, so both needed to be embellished in some way. For the interior, I opted to cut a piece of black chipboard to fit inside the rim, pushed some Art Basics Modeling Paste through a circuit stencil, and then coated the whole thing with black gesso. After that dried, I used the Art Alchemy Wax in Brushed Iron to make the pattern pop and then glued the disc to the inside of the clock back with Heavy Body Gel. This also had the benefit of closing up the holes in the metal back of the clock (left by the various knobs and switches from the original clock parts).


