Adventures In Timekeeping-Part 2
As an Amazon associate, I may earn a small commission if you navigate to Amazon from my site and buy something. This will not result in an extra cost to you.
If you haven’t read part one, this post won’t make much sense. You can read part one of this post here.
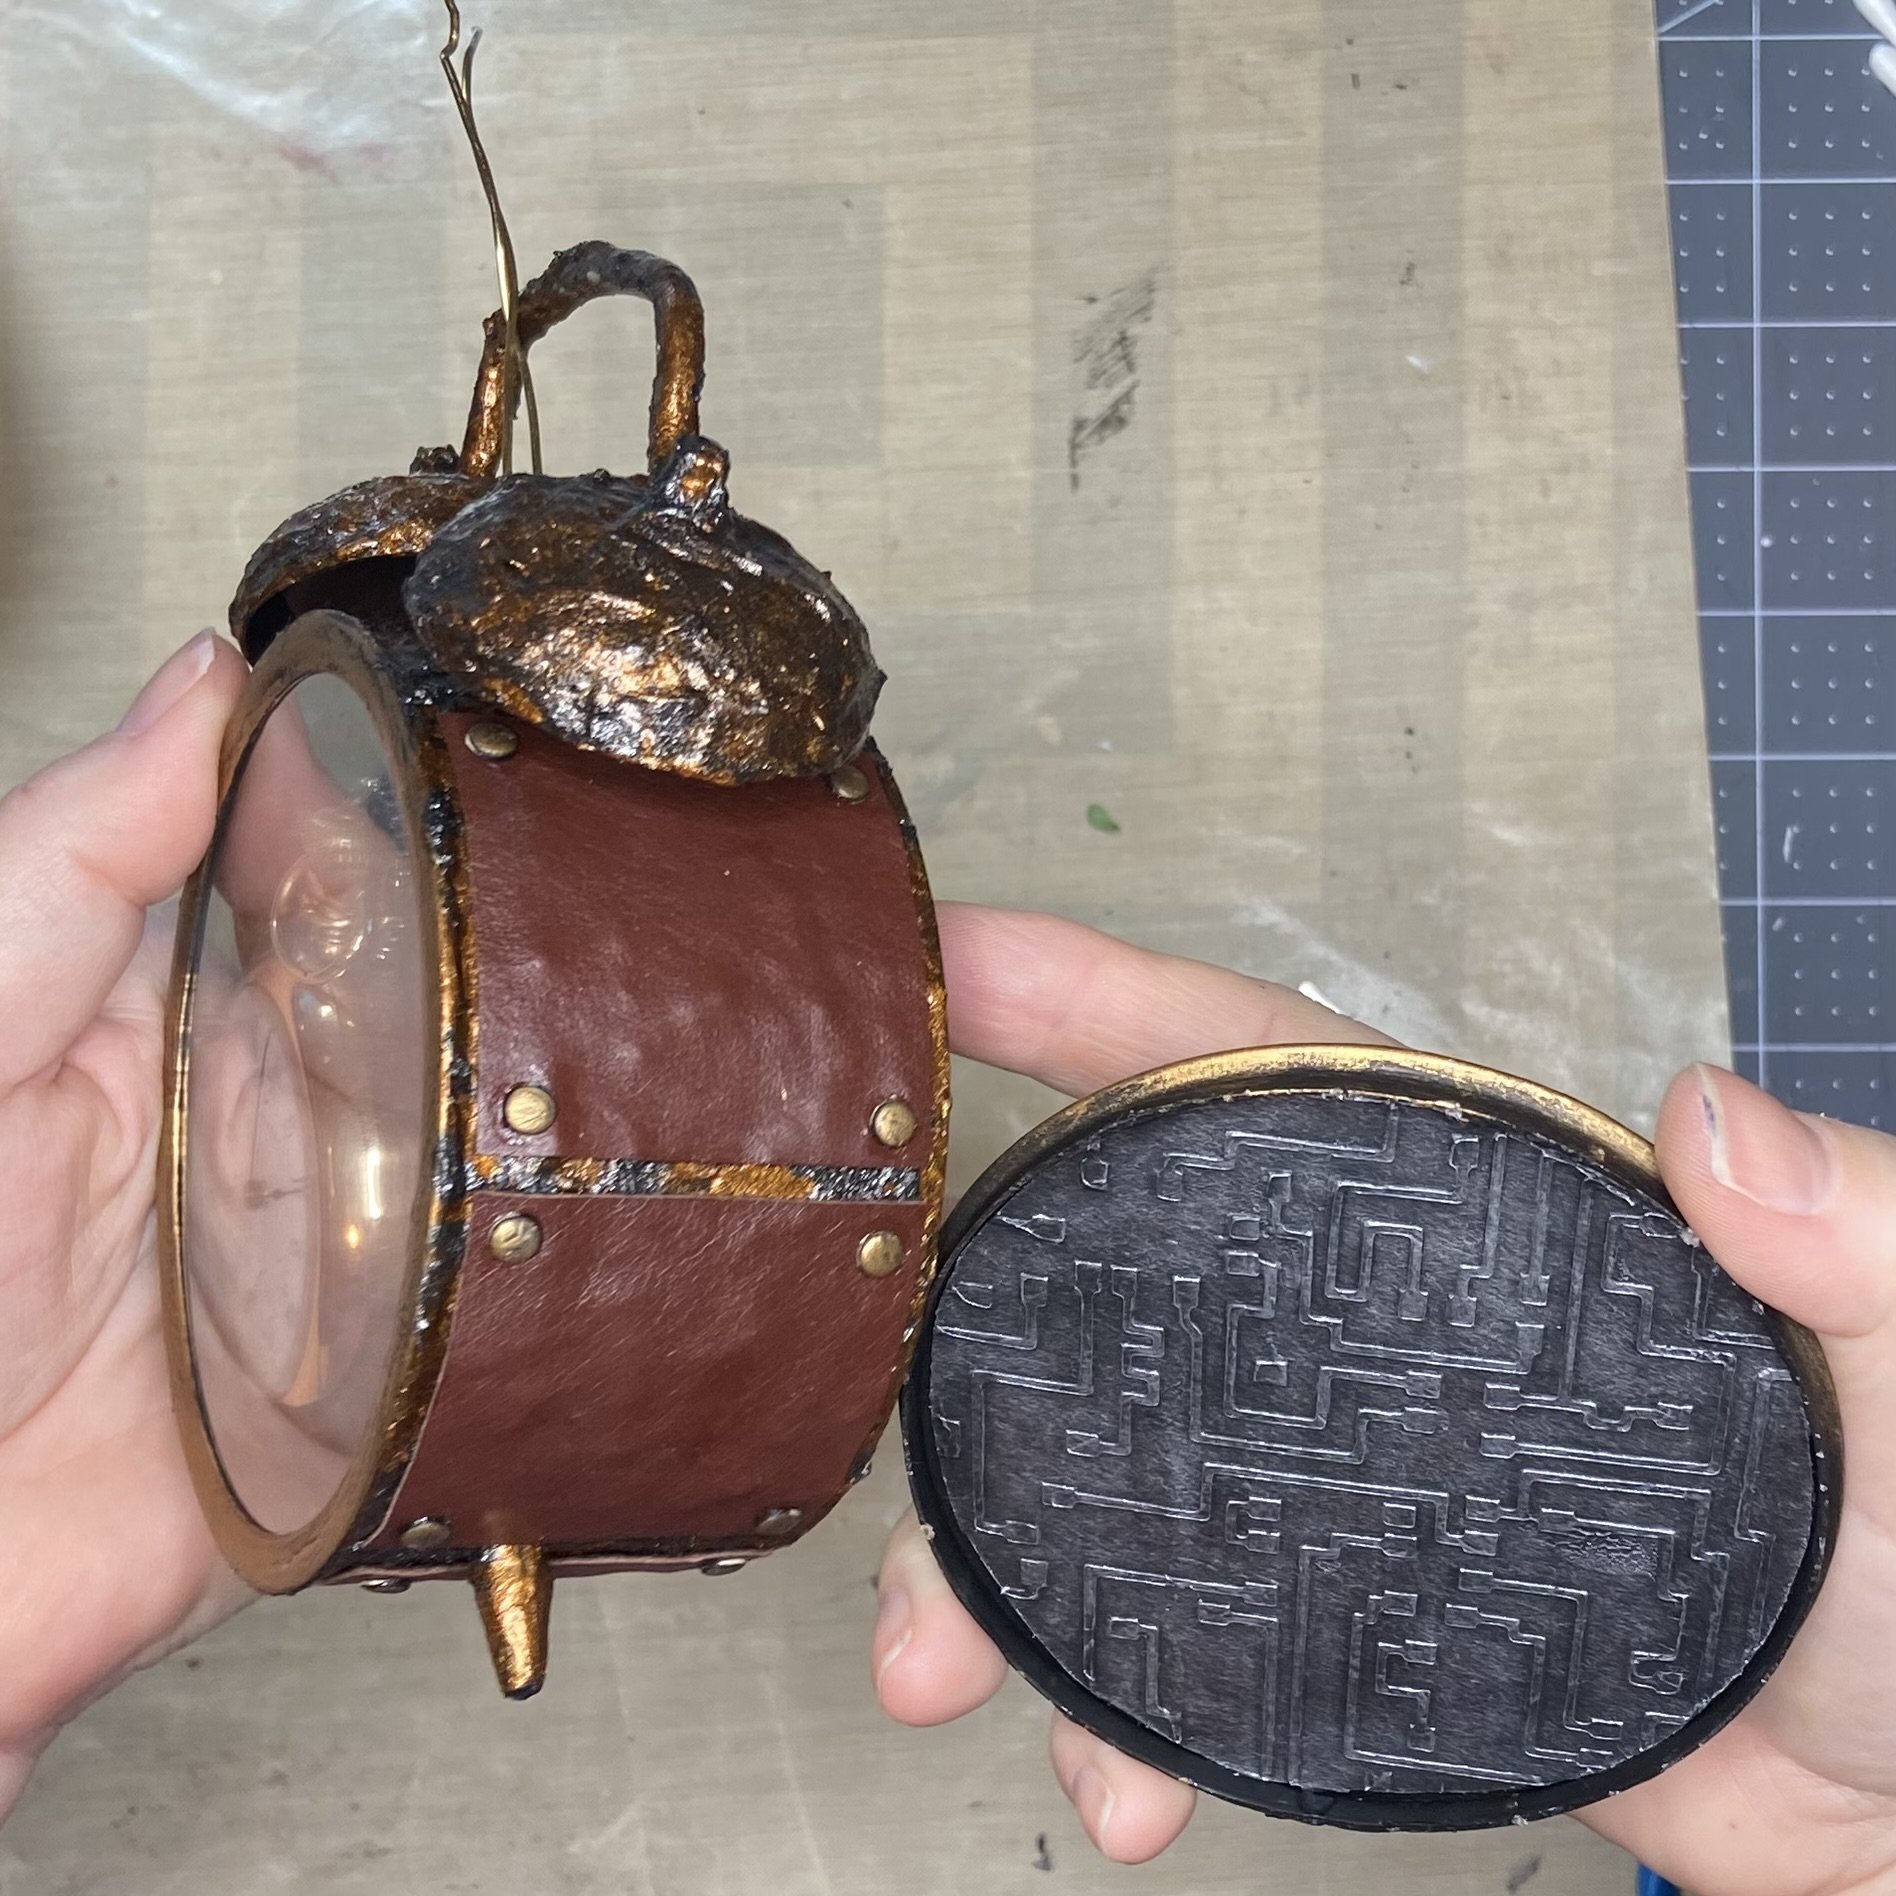
Next, I needed to work on the outside of the clock back. There was a lot of winging it here. I first thought about just stenciling on some textured patterns and then brushing them with one of the waxes. To that end, I applied the Modeling Paste through another stencil, painting everything with black gesso, and then brushing both the Aged Brass and the Brushed Iron waxes over the back to give some color and also make the raised design visible. I didn’t do a very good job of photographing this part of the ordeal project, so apologies. I clearly needed my Official Blog Photographer (mother) standing next to me to document the process. Alas, she lives about four hours away and declined to drive to my house just for photographer duties.


Having managed a design on the back of the clock, I decided it was utterly underwhelming, so I looked through some of my chipboard, finding a clock face and hands. I got the one I used from dustyattic.com.au years ago, but I can’t find it on their site anymore to link it. In retrospect, I rather wish I’d used something a little busier, like a clock face with gears (something like this, maybe); I have something like this somewhere in my chipboard stash, so at some later date, I might pry up the clock face that I did use and replace it with something I like better. Or I might cover the back of the clock with leather and then put a clock face over that. Now that’s an idea. Wish I’d thought of that while I was working on the project rather than just as I was writing this post…but I didn’t. What I did do was paint my simple clock face and hands with black gesso and then brush them with Aged Brass Wax. Then I glued them to the back of the clock with Heavy Body Gel.


With the structure all embellished, I thought this might be the time to put the glass back into the clock. But I’d outsmarted myself. When I reassembled the clock pieces and screwed them back into place, I then painted over all the nuts and bolts and washers. Those weren’t coming off without help from the jaws of life and maybe a blowtorch. And as you might imagine, the glass would not fit past those interior bolts to nestle in the front rim. After venting my frustration with some strong language (“Son of a biscuit!”), I gave myself a time out to think about my options. Taking apart the clock was right out. I thought about glueing the glass on the exterior front of the clock but decided that would look chintzy and also be a cutting hazard as the raw edge of the glass would be exposed.
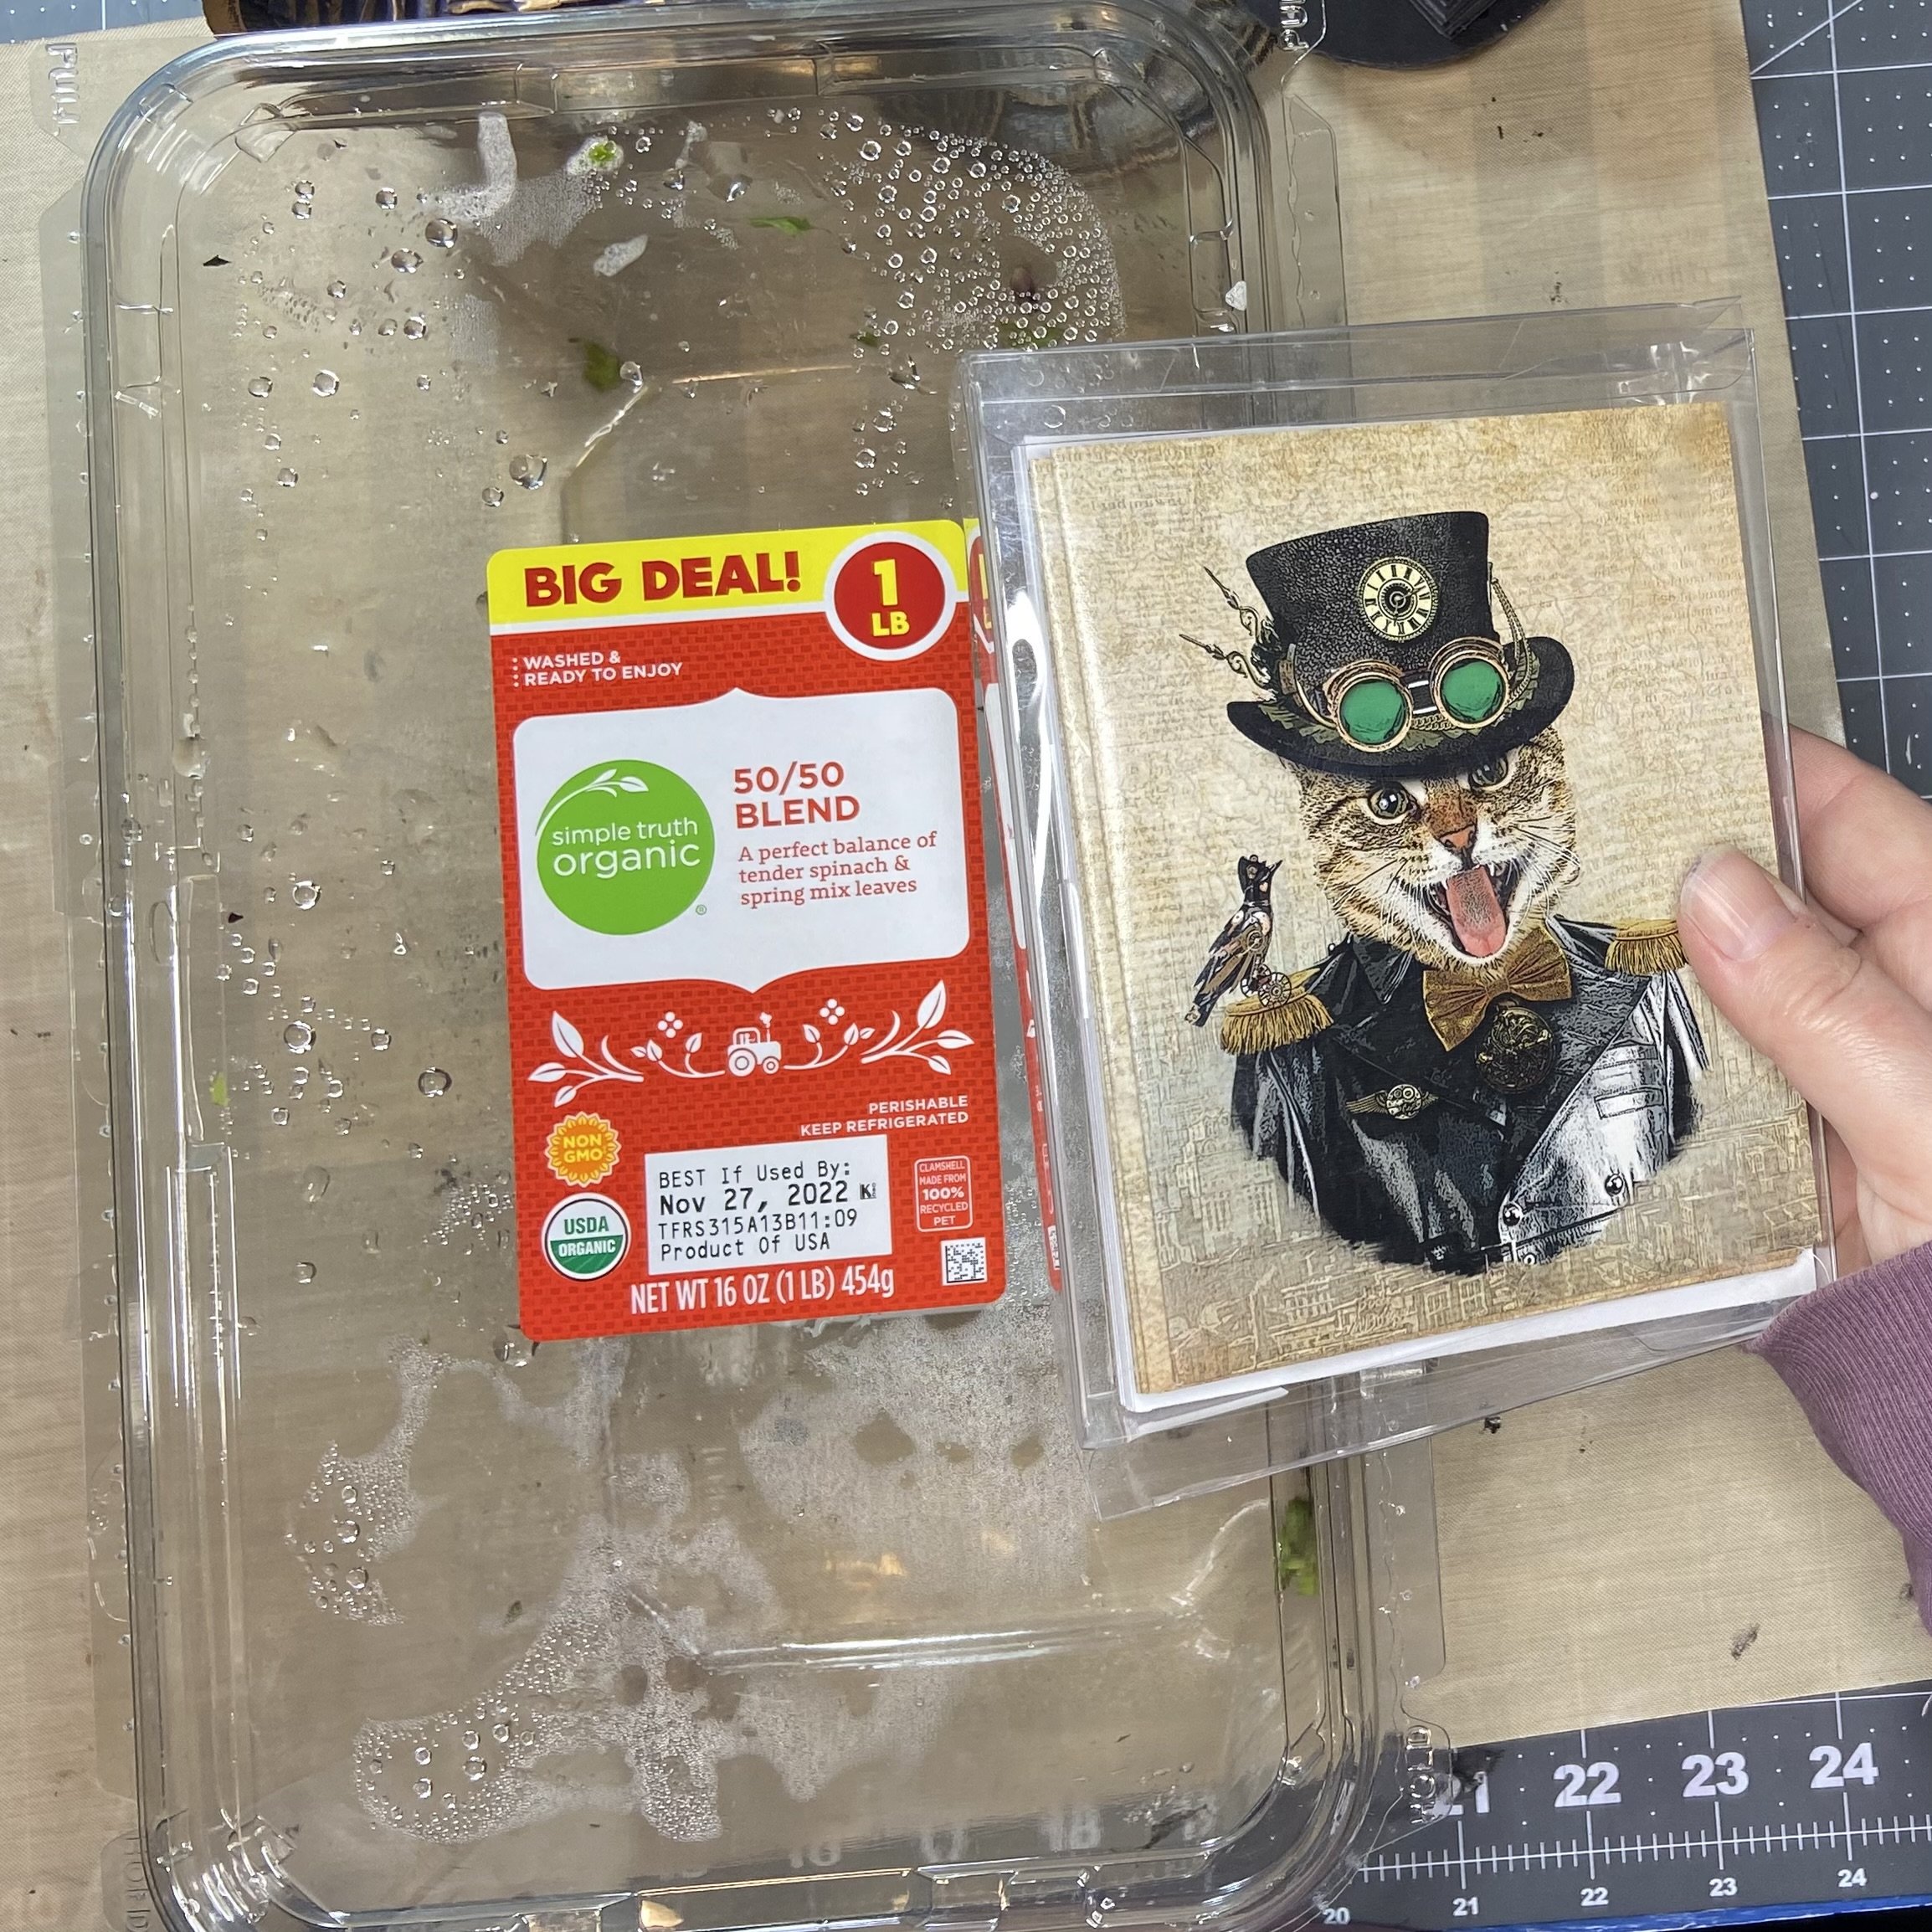
An empty greens tub and a plastic box holding a pack of greeting cards.
Then I considered just leaving the clock open; many of the altered clocks I looked at were open to the interior. But given the fact that I hate to dust, I thought that the inside of the clock would look dirty and gross fairly quickly. So…what could I substitute for glass? I’d need something that was clear and substantial like glass but had enough flexibility that I could navigate it past the interior obstacles. I considered ordering some craft plastic but then realized that I had a couple possibilities already in my house. The plastic in the greens tub was a little too uneven and pitted to substitute for glass. But the plastic box holding my fabulous steampunk cats greeting cards was perfect. I used the glass as a template to cut out a piece of the plastic, and glued it in place with Elmer’s glue.


Finally, on to the insert that would hold my antique watches. I started with a circle of black chipboard a little smaller than the interior of the clock (I used the interior circumference of the glass seal to get the right size). I pressed Modeling Paste through a stencil (13 @rts/Technical, sadly no longer available), painted it with black gesso, and brushed it with both Aged Brass and Brushed Iron wax.


Then I needed to figure out my arrangement of watches and other incidentals on the insert. I quickly decided that there wasn’t room to put both the pocket watch and the wrist watch in, so I set the wrist watch aside. I drew a circle the size of my insert on a piece of paper and used that to test some layouts. I used some gears and a small clock face that I had in the stash. Once I decided on my layout, I took a picture so I wouldn’t forget the configuration and set everything aside. At this point, I also took a piece of gold-colored aluminum wire and wrapped it around the stem of the pocket watch so that I could properly secure it inside the clock later.


Then it was time to glue everything down. Using Heavy Body Gel, I glued the layers of gears down, and then set the pocket watch in place. I was careful not to get any glue or paint on the watch itself. I used an awl to poke two holes in the appropriate place on the insert between gears, and fed the two ends of the wire through, twisting it in back to hold the watch in place.


I then tried fitting the installation inside the clock. And it nestled perfectly in front of the nuts holding the clock feet in place and in one of the grooves of the corrugated paper I’d accidentally glued in the wrong orientation earlier. Serendipity! However, since the installation was sitting free on the bottom of the clock and only held upright by the wires I’d fed up through the hole in the top of the clock, it was wobbly and wouldn’t stand up straight. So I cut some pieces of black chipboard and glued them together in a stack which I then glued to the back of the installation. My goal was to have the back of the clock, once inserted into place, rest against the chipboard prop I’d made. And it worked beautifully.


Once the installation was settled inside the clock, it was time to secure the wires sticking out the top. I wrapped them around the posts of the alarm bells (mostly invisibly) and then glued down the last piece of leather, covering up the wires, the hole, and the top of the clock between the alarm bells. And of course, I added the last four “rivets” to finish off the look, although they aren’t that visible as they sit under the bells.


It’s done! I love it. It’s not perfect, and even now, I’m thinking of ways I could have done things differently. But it’s done and glued and painted and “riveted,” and I’m going to enjoy it as it is.


