Adventures In The Wardrobe-Part 1
As an Amazon associate, I may earn a small commission if you navigate to Amazon from my site and buy something. This will not result in an extra cost to you.

I’ve often thought that if a reader can be introduced to certain amazing children’s stories as a child, they experience it in a deep way that is not possible if they wait until they are adults before reading the story for the first time. Case in point: C.S. Lewis’ famous book The Lion, the Witch, and the Wardrobe.
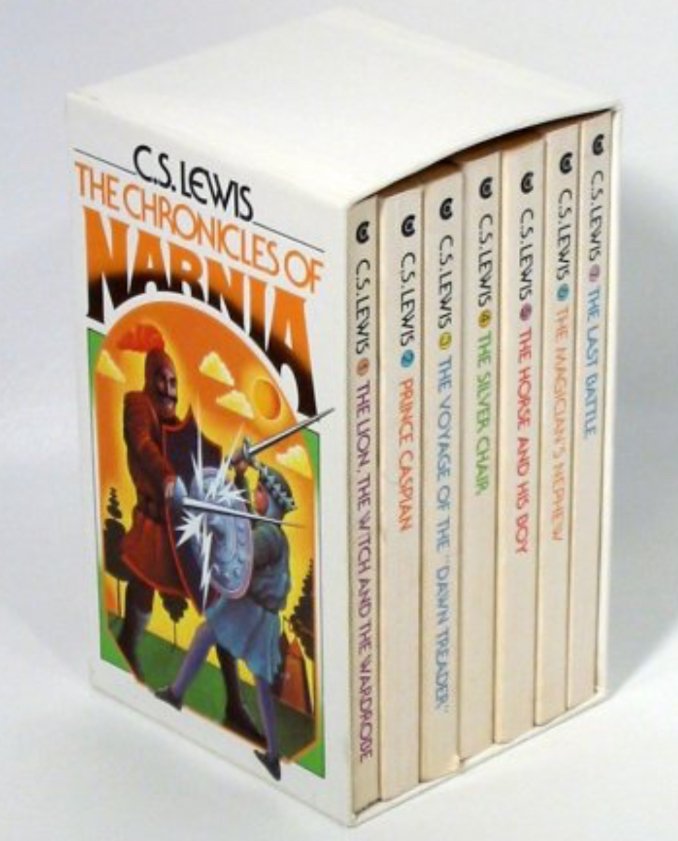
I first came across this book as a child of six, when it was read aloud to us a chapter at a time during story hour in school. (Ahhhh, story hour…I miss you so!) Even though I consider that I have only an average imagination, the world entirely captivated me. I devoured the entire series. Repeatedly. When I was old enough to start buying my own books, I bought myself a boxed set of paperbacks containing all seven of the Narnia books. I checked the backs of closets (America being remarkably short of actual wardrobes) for secret entrances into strange and welcoming worlds. I drew maps (really, genuinely awful maps, as it was clear from a young age that cartography was not my calling) of every bit of geography I knew and then drew in Narnia to the north of everything. (“Narnia and the north!” from A Horse and His Boy). As an adult, I bought all the audio versions of the books (each done by a famous British actor…really excellent and worth the money).
When the Disney Narnia movies came out, I went to them. Again, repeatedly. Regardless of any criticism of the movies, my personal experience with each was that every time the theatre went dark and the movie began, I was transported to Narnia. And when the lights came up again, I had to take a moment to readjust to the real world. After watching these movies, I again felt the urge to check the backs of closets. I didn’t, because I’m an adult now. But I wanted to…

This map hangs in my home, as part of my personal nerd-gallery
I don’t believe, if I had waited until adulthood to discover Narnia, that I would have experienced such a powerful draw to the books and the world. I think it was necessary to experience Narnia as a child for that beautiful magic to occur.
In contrast, the Harry Potter books were not published until I was well into adulthood. I had no chance to experience them as a child. And while I love the books well, the wizarding world has never captured me the way Narnia did. You could of course argue that perhaps I was personally just drawn more to one than to the other, or that Lewis’ books are superior to Rowling’s. I am uninterested in those arguments. I just feel in my bones that I would have appreciated Harry Potter more deeply if it had been possible to meet those books as a child. But as Rowling selfishly waited until the 1990s to write them, I had no choice but to wait until adulthood.
All of which brings me around to my desire to preserve my beloved paperback Narnia collection, which was printed as cheaply as most paperbacks and was looking a little worn. Since I love to watch YouTube videos on bookbinding (yes, I watch a lot of YouTube, but I learn a lot of things that way, so don’t judge me), I thought I could probably bind my paperbacks into hardback covers. After pondering the method for (quite) awhile, I started.
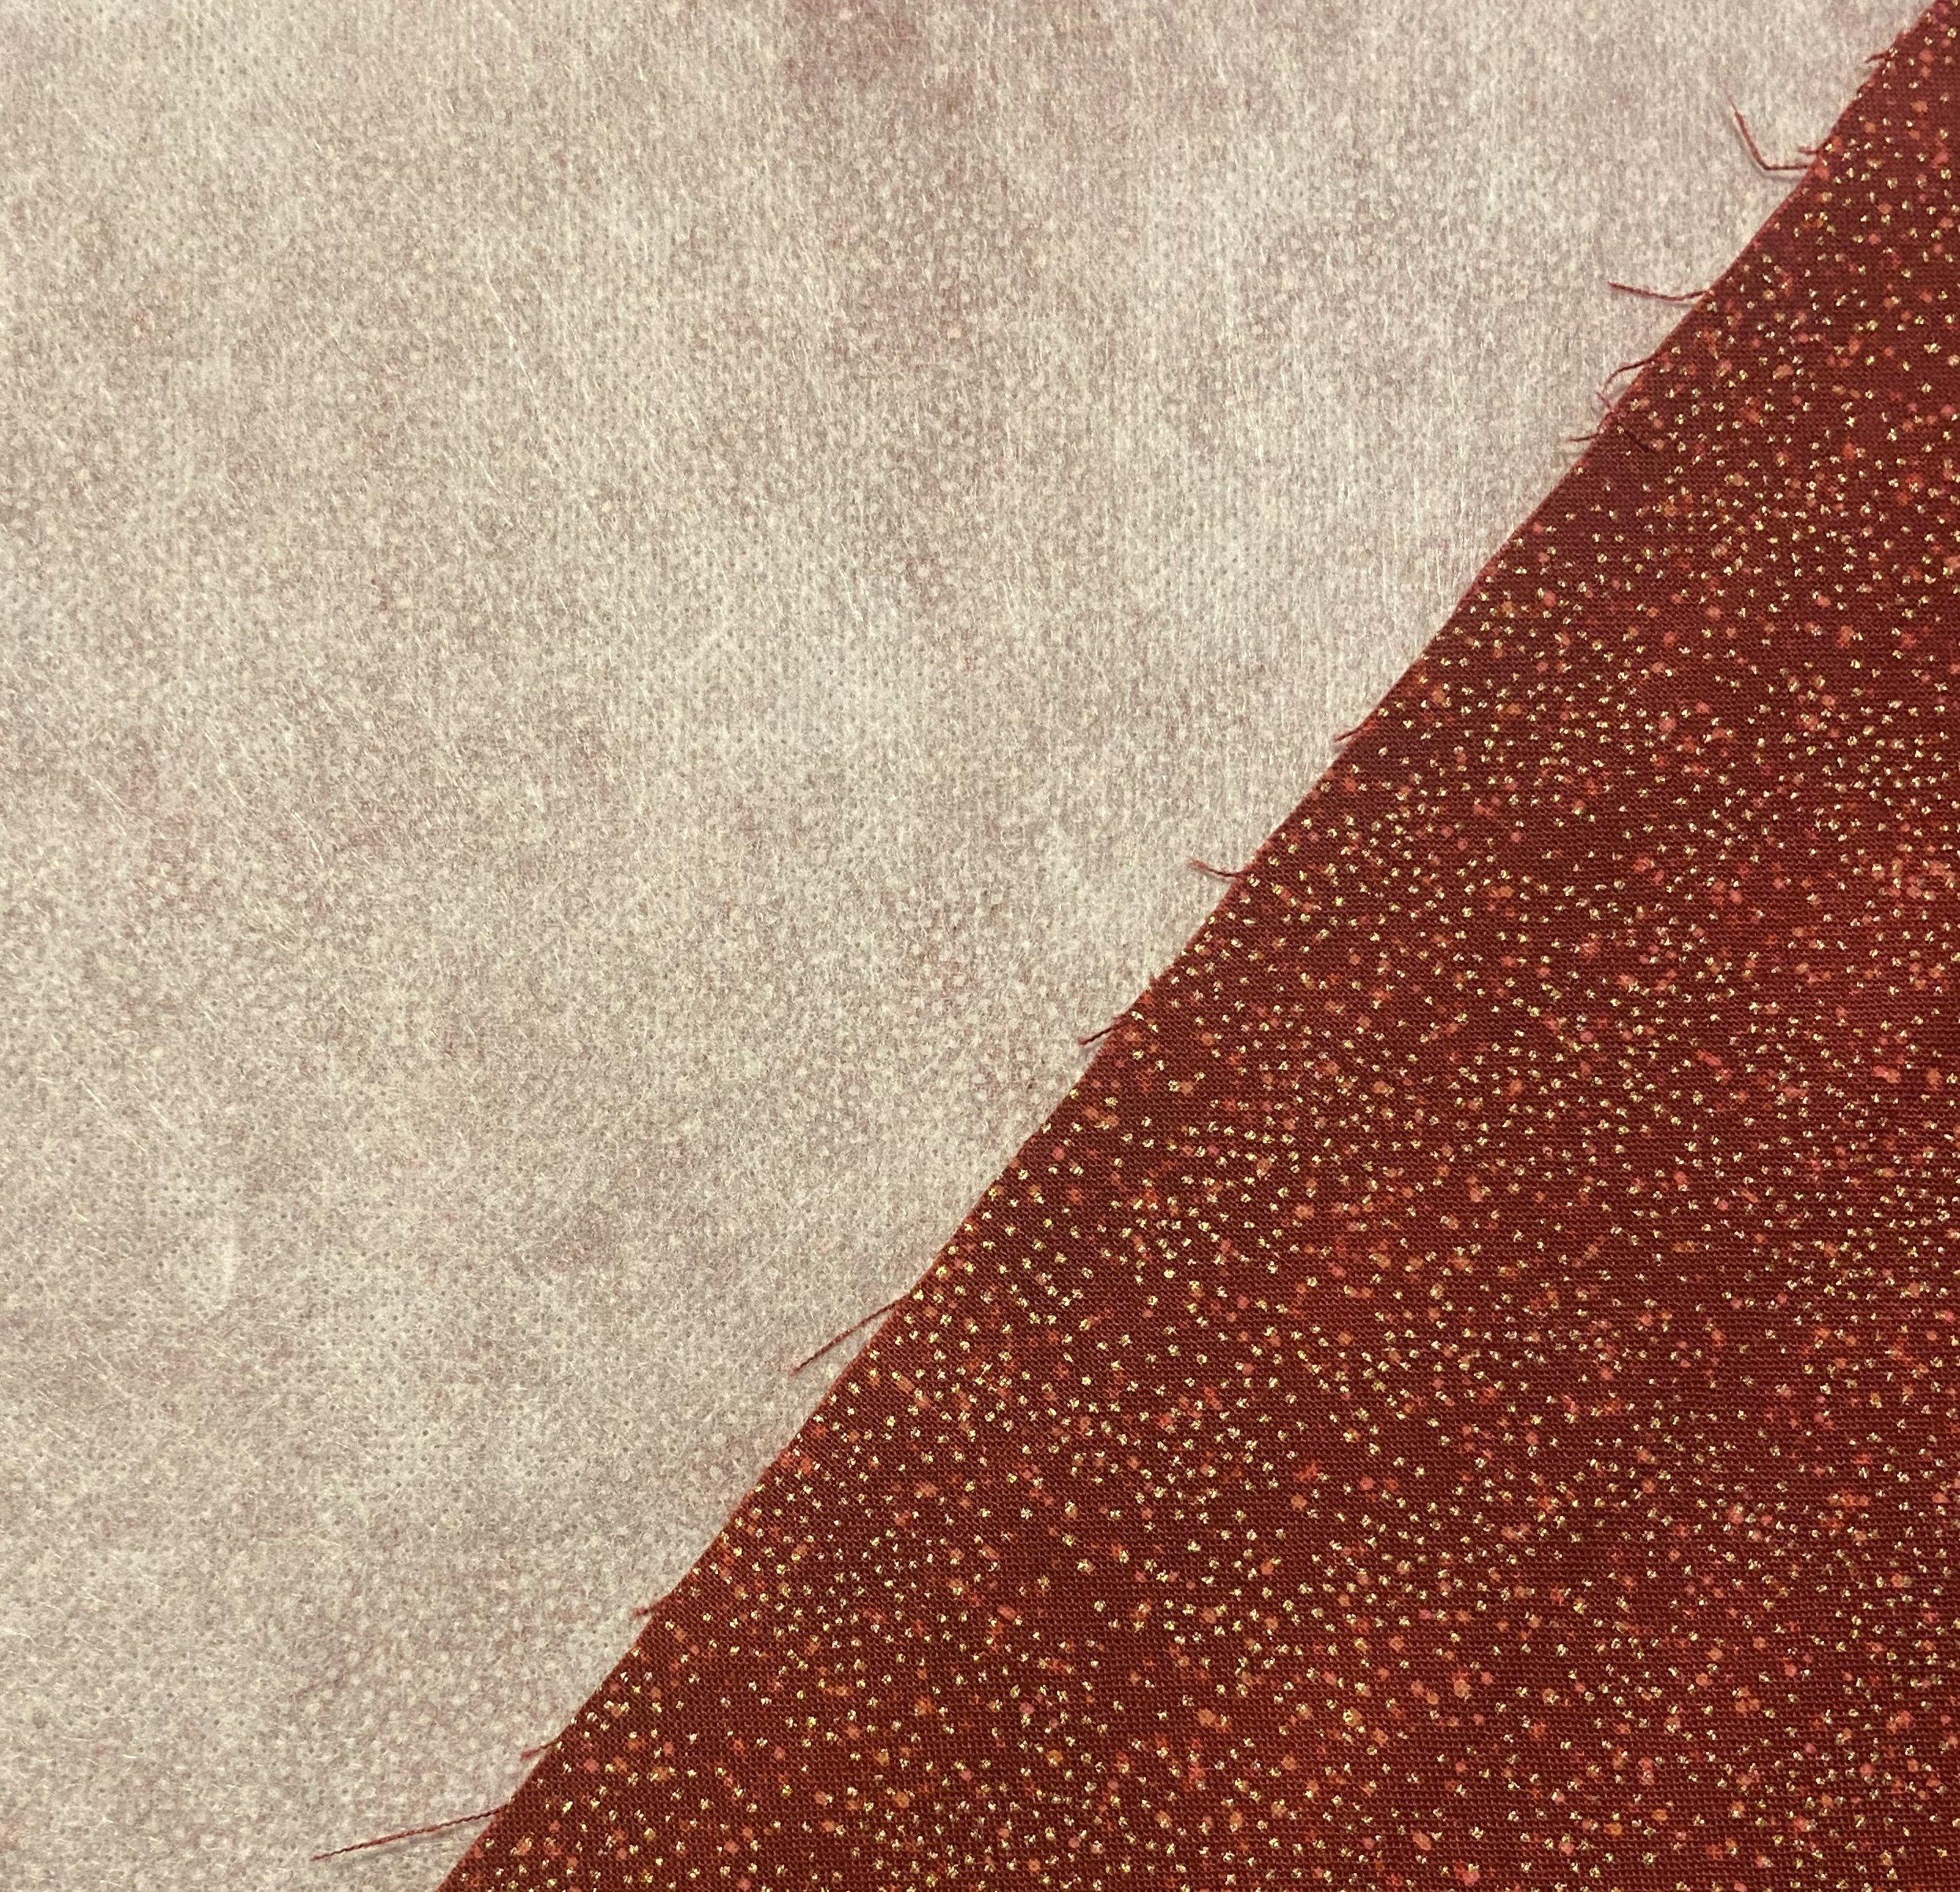
First, choose the fabric. I chose a half-yard of quilting cotton that I already had in my fabric stash. But since you are supposed to use “book cloth” to cover books, and not just plain fabric, I needed to alter it in some way. I ended up choosing the easiest option I’d garnered from YouTube on making one’s own book cloth, and simply ironed fusible interfacing onto to the back of the fabric. It seemed alright at the beginning of the project, although I did come to regret taking the easiest option. If I ever again decide to make my own book cloth, I will try SeaLemon’s instructions.
Next, remove the covers of the books. Carefully! If you are not careful, you will tear the first and last pages of the books. Once those were off, I needed to use a sharp knife to trim away excess glue. Again, carefully. The pages of these 40-year-old paperbacks are thin and fragile.


I had also decided that I wanted to put titles on the spines of the books (since they were all going to be covered in identical fabric, it seemed sensible to make it easier to tell the books apart). For that, I opted to go with Avery Printable Heat Transfer Paper For Dark Fabrics (I got mine here). I spent a little time formatting and printing out my title/author labels for the spine and then set those aside until I needed them.
And I wanted to put illustrations from inside the books on the covers of the books. Rather than flatten my poor old paperbacks into my scanner to get the illustrations, I opted to check out the e-book versions from my library, went to the appropriate illustrations, and did a screen-capture, which I printed out on photo paper in the appropriate size. I cut out two of each illustration, one to use as a template and one to actually attach to the book.
I wanted my pictures inset slightly on the covers, so that they would look a little more professional and also be slightly more protected than if they were simply glued to the surface. After watching some more YouTube, I came up with the idea of glueing a thin layer of cardboard to the front book covers (before the fabric was added), and cutting an area out of the cardboard matching the size of the picture I would inset.
Now, on to the book covers. Rather than buy book board (you can get it on Amazon, as well as other places), I opted to use regular mat board (like you’d use to frame a picture) as I have quite a lot of that in various sizes of scrap. Referencing my favorite book-binding YouTuber SeaLemon, I measured the books and cut a front, back, and spine for each out of the mat board. I was surprised to discover that not every book was exactly the same dimension. Glad I measured each one individually, instead of just measuring one to cut board for all the the books. Then I used the cover mat boards as templates, and cut one piece of the thin cardboard for each cover.


Swiping another brilliant idea from some YouTuber I cannot now recall, I marked both the cardboard and the illustration to make it easier to center the illustration on the cover. The method is simple: draw lines from corner to corner, so you know where the center is. Then use a square to draw a vertical line down the middle that intersects with the center point. Then it is easy to center your illustration over the cardboard and slide it up or down until you like the placement. Then draw an outline around the illustration and cut the marked area out of the cardboard. I opted to make the cut area slightly larger (maybe 1/16”) than my actual illustration, to allow space for the fabric that was going to come down over the edges into my little inset. In retrospect, I wish I’d cut a slightly larger area, maybe 1/8” outside my lines. Live and learn. And then, using PVA glue (I got mine here), I glued each cardboard piece onto its matching book cover, put all the covers under a heavy book, and let them dry for a day.


