Adventures In Cushy Chairs
As an Amazon associate, I may earn a small commission if you navigate to Amazon from my site and buy something. This will not result in an extra cost to you.

My favorite brother has a very nice dining room table. It’s beautiful. But it came with benches for the long sides instead of chairs, and at the ends, some imposing captain’s chairs. My sister-in-law long ago replaced those awful benches with cushioned chairs, bless her. But the captain’s chairs remain, and they are uncomfortable. They need cushions, of course, but they are not a standard size and shape, so buying cushions for the job isn’t a viable option.
I recently experienced the discomfort of those chairs for myself and determined that they needed cushions. After some research (YouTube browsing) and a visit to JoAnn’s to take advantage of to commiserate with the staff about their imminent store closure, I ended up buying a few yards of light weight cotton upholstery cloth and a couple 1” thick high density foam cushion forms. I also bought a bunch of what was labeled “trim” and came in black and…black. I thought it might work well for the cushion ties. I was extremely wrong about that, but I’ll get to that in a bit.
I measured the chairs, and then decided that I’d need to use the whole cushion form, which was 15” x 17”. I planned to make two cushions, each with two different covers that could be removed for washing. On the sides where there would be seams, I allowed for 1.5” wider than the cushion form. And on the ends where the the fabric would just wrap around and then overlap, I put the cushion form in place and wrapped the fabric around it, so I’d know how much to cut off.


I chopped off the excess, and then went to the ironing board, turned the raw edge over 1”, and pressed. This handy little hot-press measuring tool is perfect for this sort of job. Then I turned over and pressed another inch. The other end was a selvedge edge, so it didn’t require any finishing. Then I took my little hem off to the sewing machine, popped on my “stitch in the ditch” presser foot, moved the needle position to just a smidge off center, and sewed a perfectly straight seam very close to the edge. That presser foot is really very handy…


Then I placed the foam back in the center of the fabric and overlapped the long ends, pinning those ends in place, and then carefully working the foam free. I did this with right sides out, since I was going to be doing French seams.


Once the foam was free, I pinned the sides. Side note: I still love my magnetic pincushion…well, I mean magnetic in the sense that it sticks to my sewing machine with magnets. I grab the pincushion and bring it to my work surface to do whatever pinning I need to do. Then I take it back to the sewing machine and stick it to the circle of magnets I have glued there. Then when I’m sewing and removing pins, the nifty pincushion is right there where I need it. So handy!


Ahem—back to the job at hand. I sewed the side seams at 1/4” and then trimmed off about 1/8”.


It was at this point that I started to make some bad decisions. Specifically, the initial decision to use the black rayon trim for the ties, and then all the subsequent bad decisions that followed. Since the rayon webbing was thin and folded in half, I first decided to zig-zag down the middle with my sewing machine so that it would stiffen up slightly and also remain folded in half. Then I cut the lengths I needed and basted them to one of the seams. It took two lengths of trim for each corner, four for each cushion cover.


Then I turned the work inside out, pinned the seam in place, and sewed at 1/4” again. This encased the first seam, so I’d have no raw edges inside or outside the cushion. And it secured the black rayon ties in place with a seam in addition to the original basting stitches.


I turned the cover right side out and everything looked okay. I only needed to finish the ends of the rayon trim so that they wouldn’t ravel. My initial plan had been to apply a little fire, melt the edges, et voila! No raveling. Now, I don’t have any pictorial documentation of the flaming mess that followed because I was FaceTiming with my mother, who was willing to bear witness to the procedure. And to call 911 if I set myself ablaze.
First, I tried to use the electric lighter my mother gave me for Christmas (and which uses exciting words like “plasma” in the description of its function). The rayon did catch fire and I blew it out and checked the edge. Not melted, still raveling. Well, heck. I know this was silly, but I wondered if perhaps it hadn’t melted because I’d used the weird lighter. This is nonsense, since the thing had actually caught fire, but I was caught up in the whole mess and wasn’t being very (at all) logical. And unfortunately, my dear mother did not stop me from being an idiot (presumably because watching me be stupid is entertaining). I lit a candle and then used that actual flame to try to melt the rayon. Same result: it caught fire, I put out the fire, and the rayon was a little shorter than it had been but still unmelted. My mother couldn’t take it anymore (not sure if she was stressed about my potential death by fire or just losing the battle not to laugh at her ridiculous daughter) and hung up at this point. She did say goodnight first…she’s not a barbarian. I waited until she hung up before I said some bad words. I’m also not a (complete) barbarian.
I decided to try just zig-zagging over the end, but as I sewed, the end of the rayon just unraveled underneath the needle and soon I was sewing on nothing. I cut off the messy bit and tried folding the end over on itself and sewing that down, but essentially the same thing happened. I cut off the messy bit. This was the same poor strip of rayon mesh that I’d shortened with fire (twice) before I cut more of it off. It was by now noticeably shorter than the other attached strips.
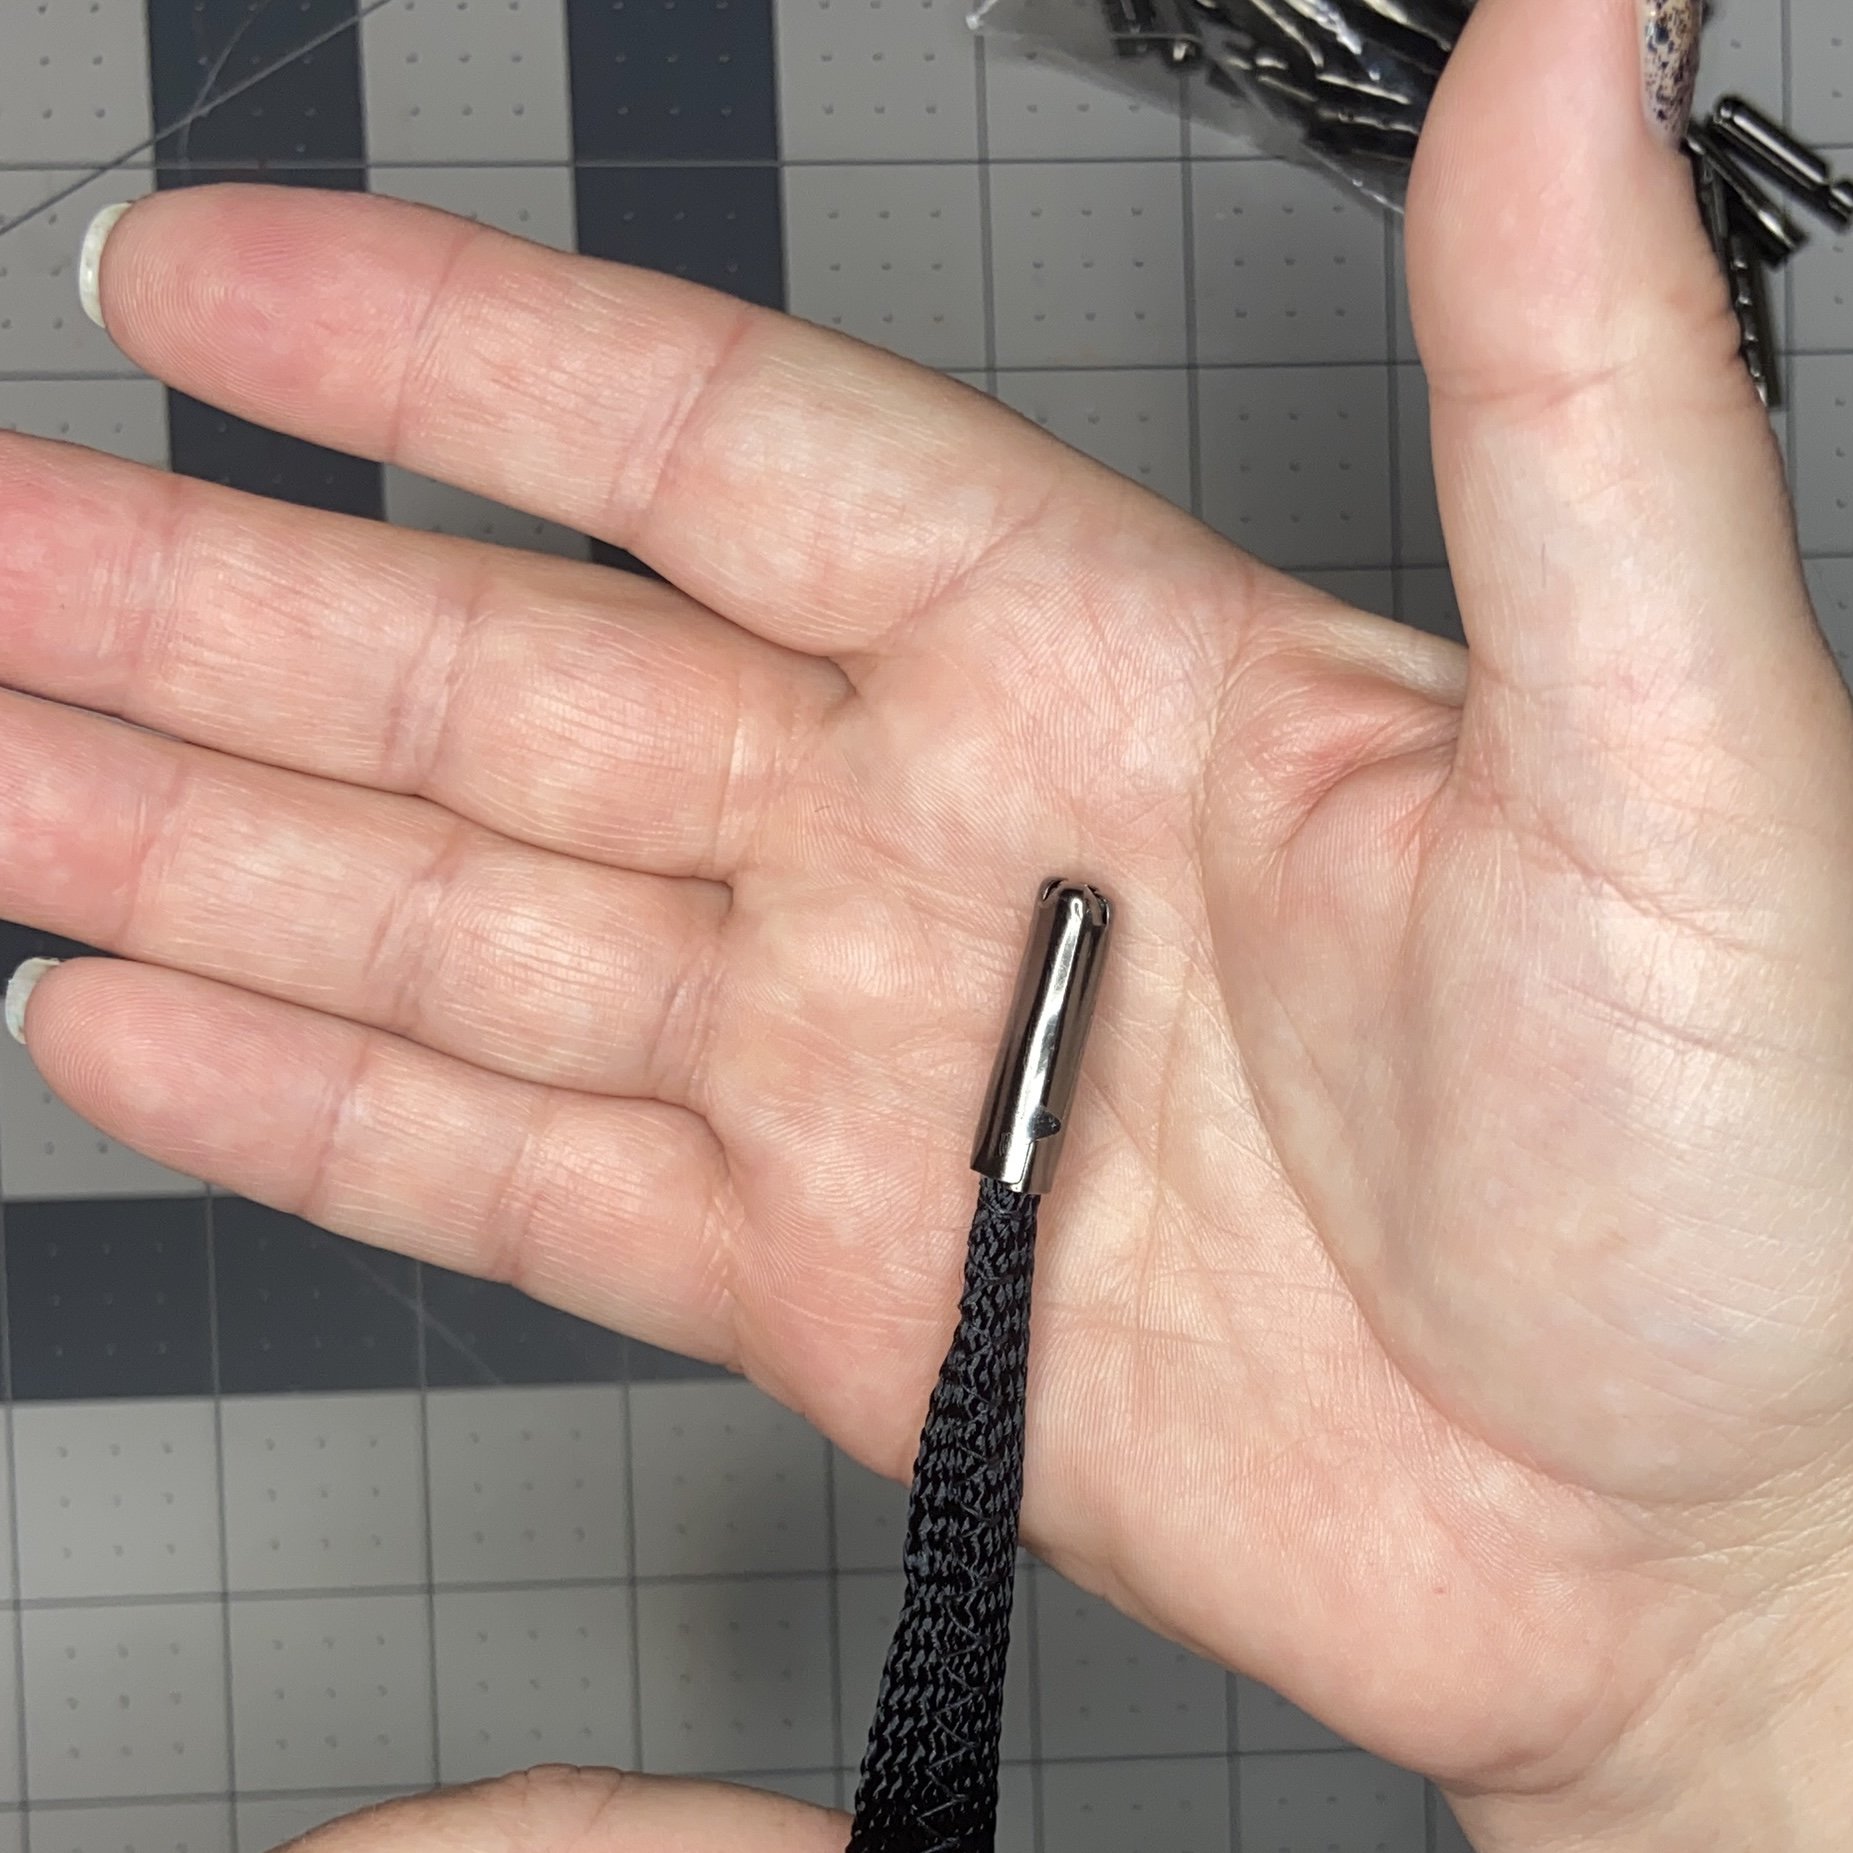
After a little think, I remembered the aglets I’d bought for my shoelace project and thought to enclose the ends of the ties with those. The aglets are small and the rayon mesh wanted to spread out, so that wasn’t working well. I finally thought to tighten up the end by wrapping it in double sided tape before sticking on an aglet. One aglet didn’t quite cover it, so I enclosed the other side with another aglet and tightened everything down with my pliers. I can’t say it looked great, but it did seem secure. I gave all the other ties the same treatment. As I write this post, it occurs to me that actual shoelaces would have worked very nicely for the ties…and been a LOT less work.


With one set of (slightly less than satisfactory) cushion covers finished, I started the second set with different fabric and with a different method for making the ties. I cut 2” wide strips of the fabric, pressed them like double-fold bias tape, and stitched along the edge, enclosing one end (the other end would be in the seam and not visible).


As with the first set of covers, I basted the ties in place along the stitch line after I had sewn and trimmed the first seam.


I finished the covers the same way I’d finished the first covers (only without the use of fire or bad language). Sticking the foam cushions into the covers wasn’t difficult…I just needed to be patient and work the foam into the opening and down into the corners. Once it was as good as I could get it, the cushion still bowed up a little in the middle. I placed my hands in the middle, pressed firmly, and moved my hands out toward the edges. After I’d done this a few times, the cushion was flat.
And done! I gave the captain’s chair another try and it’s much less uncomfortable with the addition of a cushion.
