Adventures In Pretty Pretties
As an Amazon associate, I may earn a small commission if you navigate to Amazon from my site and buy something. This will not result in an extra cost to you.
I mentioned in a recent post how much I’ve been enjoying using Color Street nail polish strips, but I don’t think I managed to sufficiently convey my deep delight in this product, so I’m trying again.


I’ve never bothered much with manicures because I’m the sort of person who manages to have chipped nail polish within the first day, which I think we can all agree is not a good look. I’ve also struggled with splitting and breaking nails, which means my nails are often not all the same length and seldom look nice.
But all that has changed! I was introduced to Color Street by an acquaintance whose lovely and decorative nails I’d admire every time I saw her. She pointed me at this company, and also in the direction of her cousin, who is a beauty consultant for the company. Since Color Street is a multi-level marketing setup, this means that someone collects a small commission on each sale, in my case, my friend’s cousin. So if you do end up buying from Color Street, I’d be delighted if you gave your business to my stylist, Heather Musser.
I bought my first nail strips and was immediately hooked. They looked so nice! I wish I’d taken a picture of that first manicure, because it was so gorgeous and because that color has been discontinued so I can’t get it anymore, darn it. You can catch glimpses of my lovely frosty blue nails in my Nookish Wormholes post as I assemble that book nook.
But an unexpected side benefit to keeping my nails covered and protected with this polish is that there is now no splitting or breaking. Since I started using Color Street in mid-January, I’ve only broken one nail. And that was on a day when I’d taken the polish off and my nails were bare (unprotected, unarmored!). When I take off the polish, I do occasionally find a little tear on the side of a nail, but putting on a new layer of polish holds it firmly in place and I just let it grow out, easy peasy.

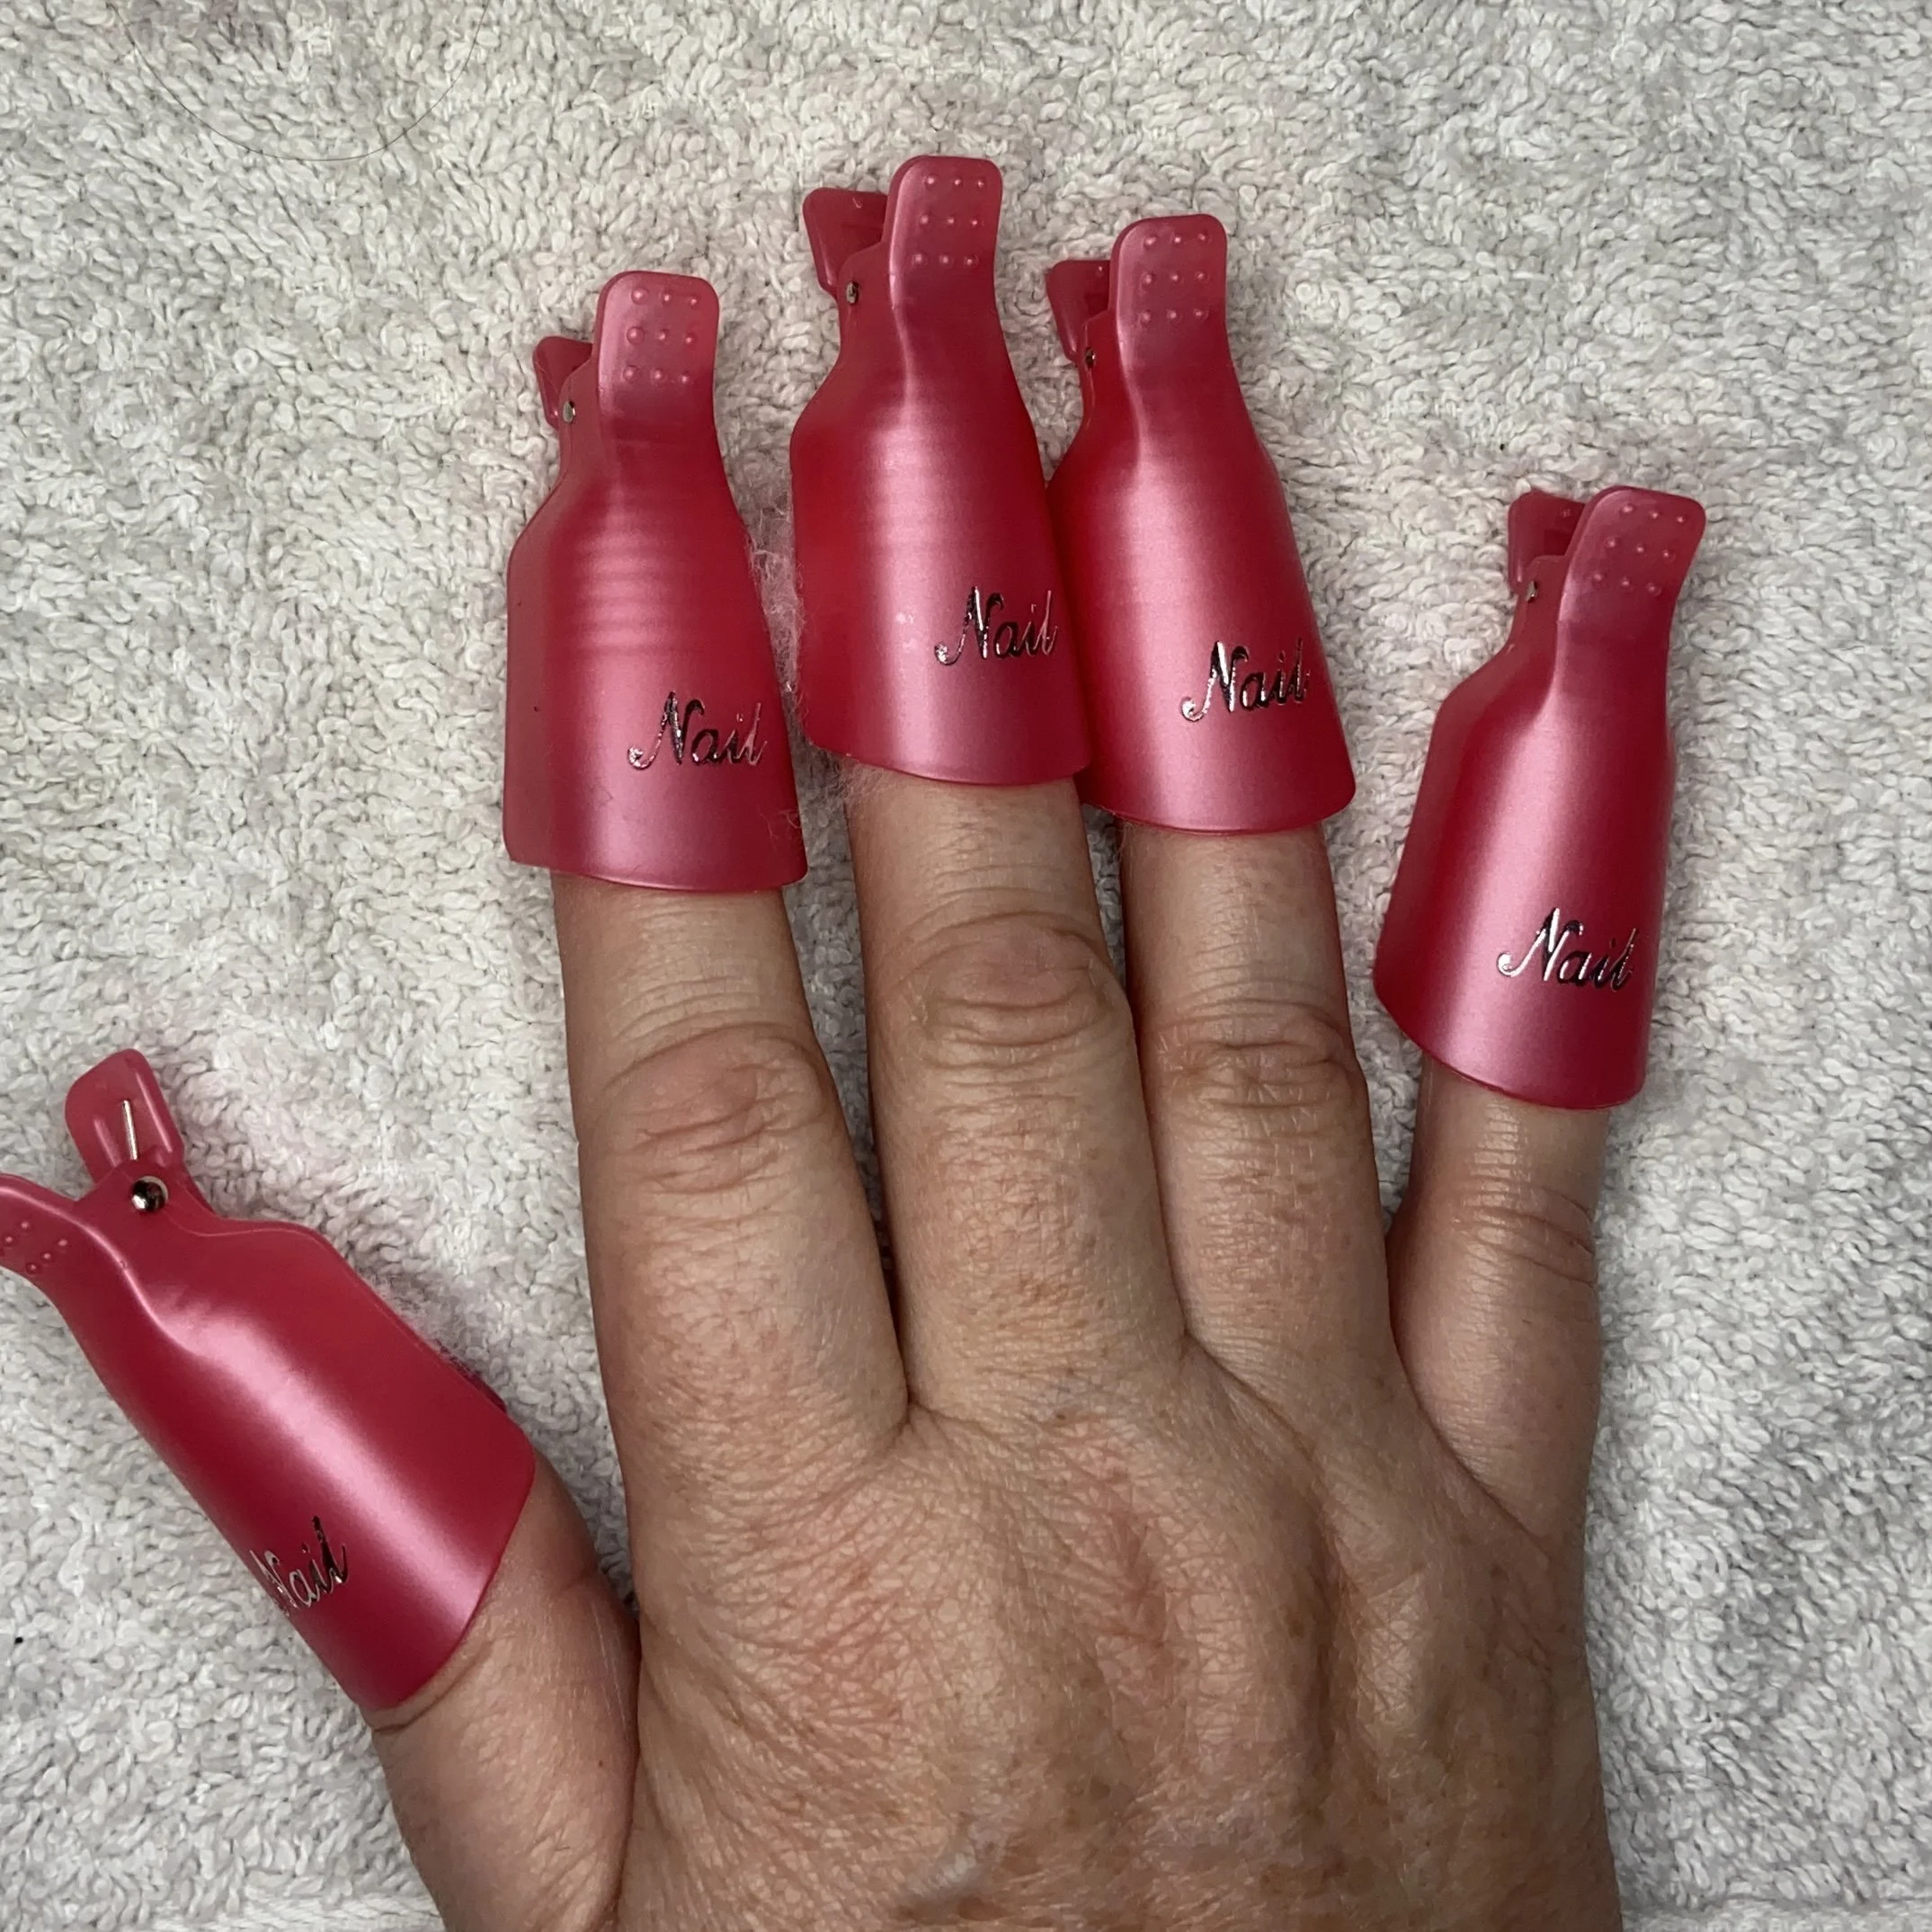
I thought for today’s post, I might walk through the routine that is keeping my nails so pretty. First, taking off the old polish. I do my nails once a week, although I’m sure the manicure would last longer if I wanted to wait. I use these nail clips and this polish remover along with some cotton balls and cotton pads. I get everything I’ll need for the whole procedure laid out (mise en place!) over an old stained towel before I begin.
Then I start by tearing a cotton ball into five pieces, soaking each piece in remover, laying it over the nail, and then clamping the clip over the top.


I let it sit for five minutes, then put a bit of remover on a cotton pad and use the cotton pad over the piece of cotton ball to rub off the polish. Used this way, even the most stubborn glitter polish comes off easily. The piece of cotton ball is then discarded and the cotton pad used on the next nail/cotton ball.


Remove length first…
Once all the polish is removed, I wash my hands in soap and water to get rid of any polish remover residue. Then I work on filing my nails into shape. Since my nails haven’t been breaking, I’ve been having to take off length every time I do a manicure. So using my glass nail file, I file the tip of the nail straight across until I have the length I want, and then I file in the oval shape I like.
Next, I work on removing cuticle. This YouTube video gives a very short explanation of the difference between actual cuticle (dead, removable tissue) and the proximal nail fold, which is living skin and should be gently pushed back rather than cut. I use this cuticle remover and this fabulous tool in conjunction to remove that dead cuticle on the nail plate. This must be removed because nail polish of any kind won’t properly stick to it. I start by applying a little of the liquid remover to the base of each nail and letting it sit for about a minute. Then I use the flat end of my metal tool to gently scrape away the stuck dead skin. It’s not easy to see unless you’ve left it for a long time and it’s really built up. But once you start scraping, you will see it build up on the end of your tool. When you’re finished, wash your hands again. You don’t want to leave that cuticle remover on your nails.
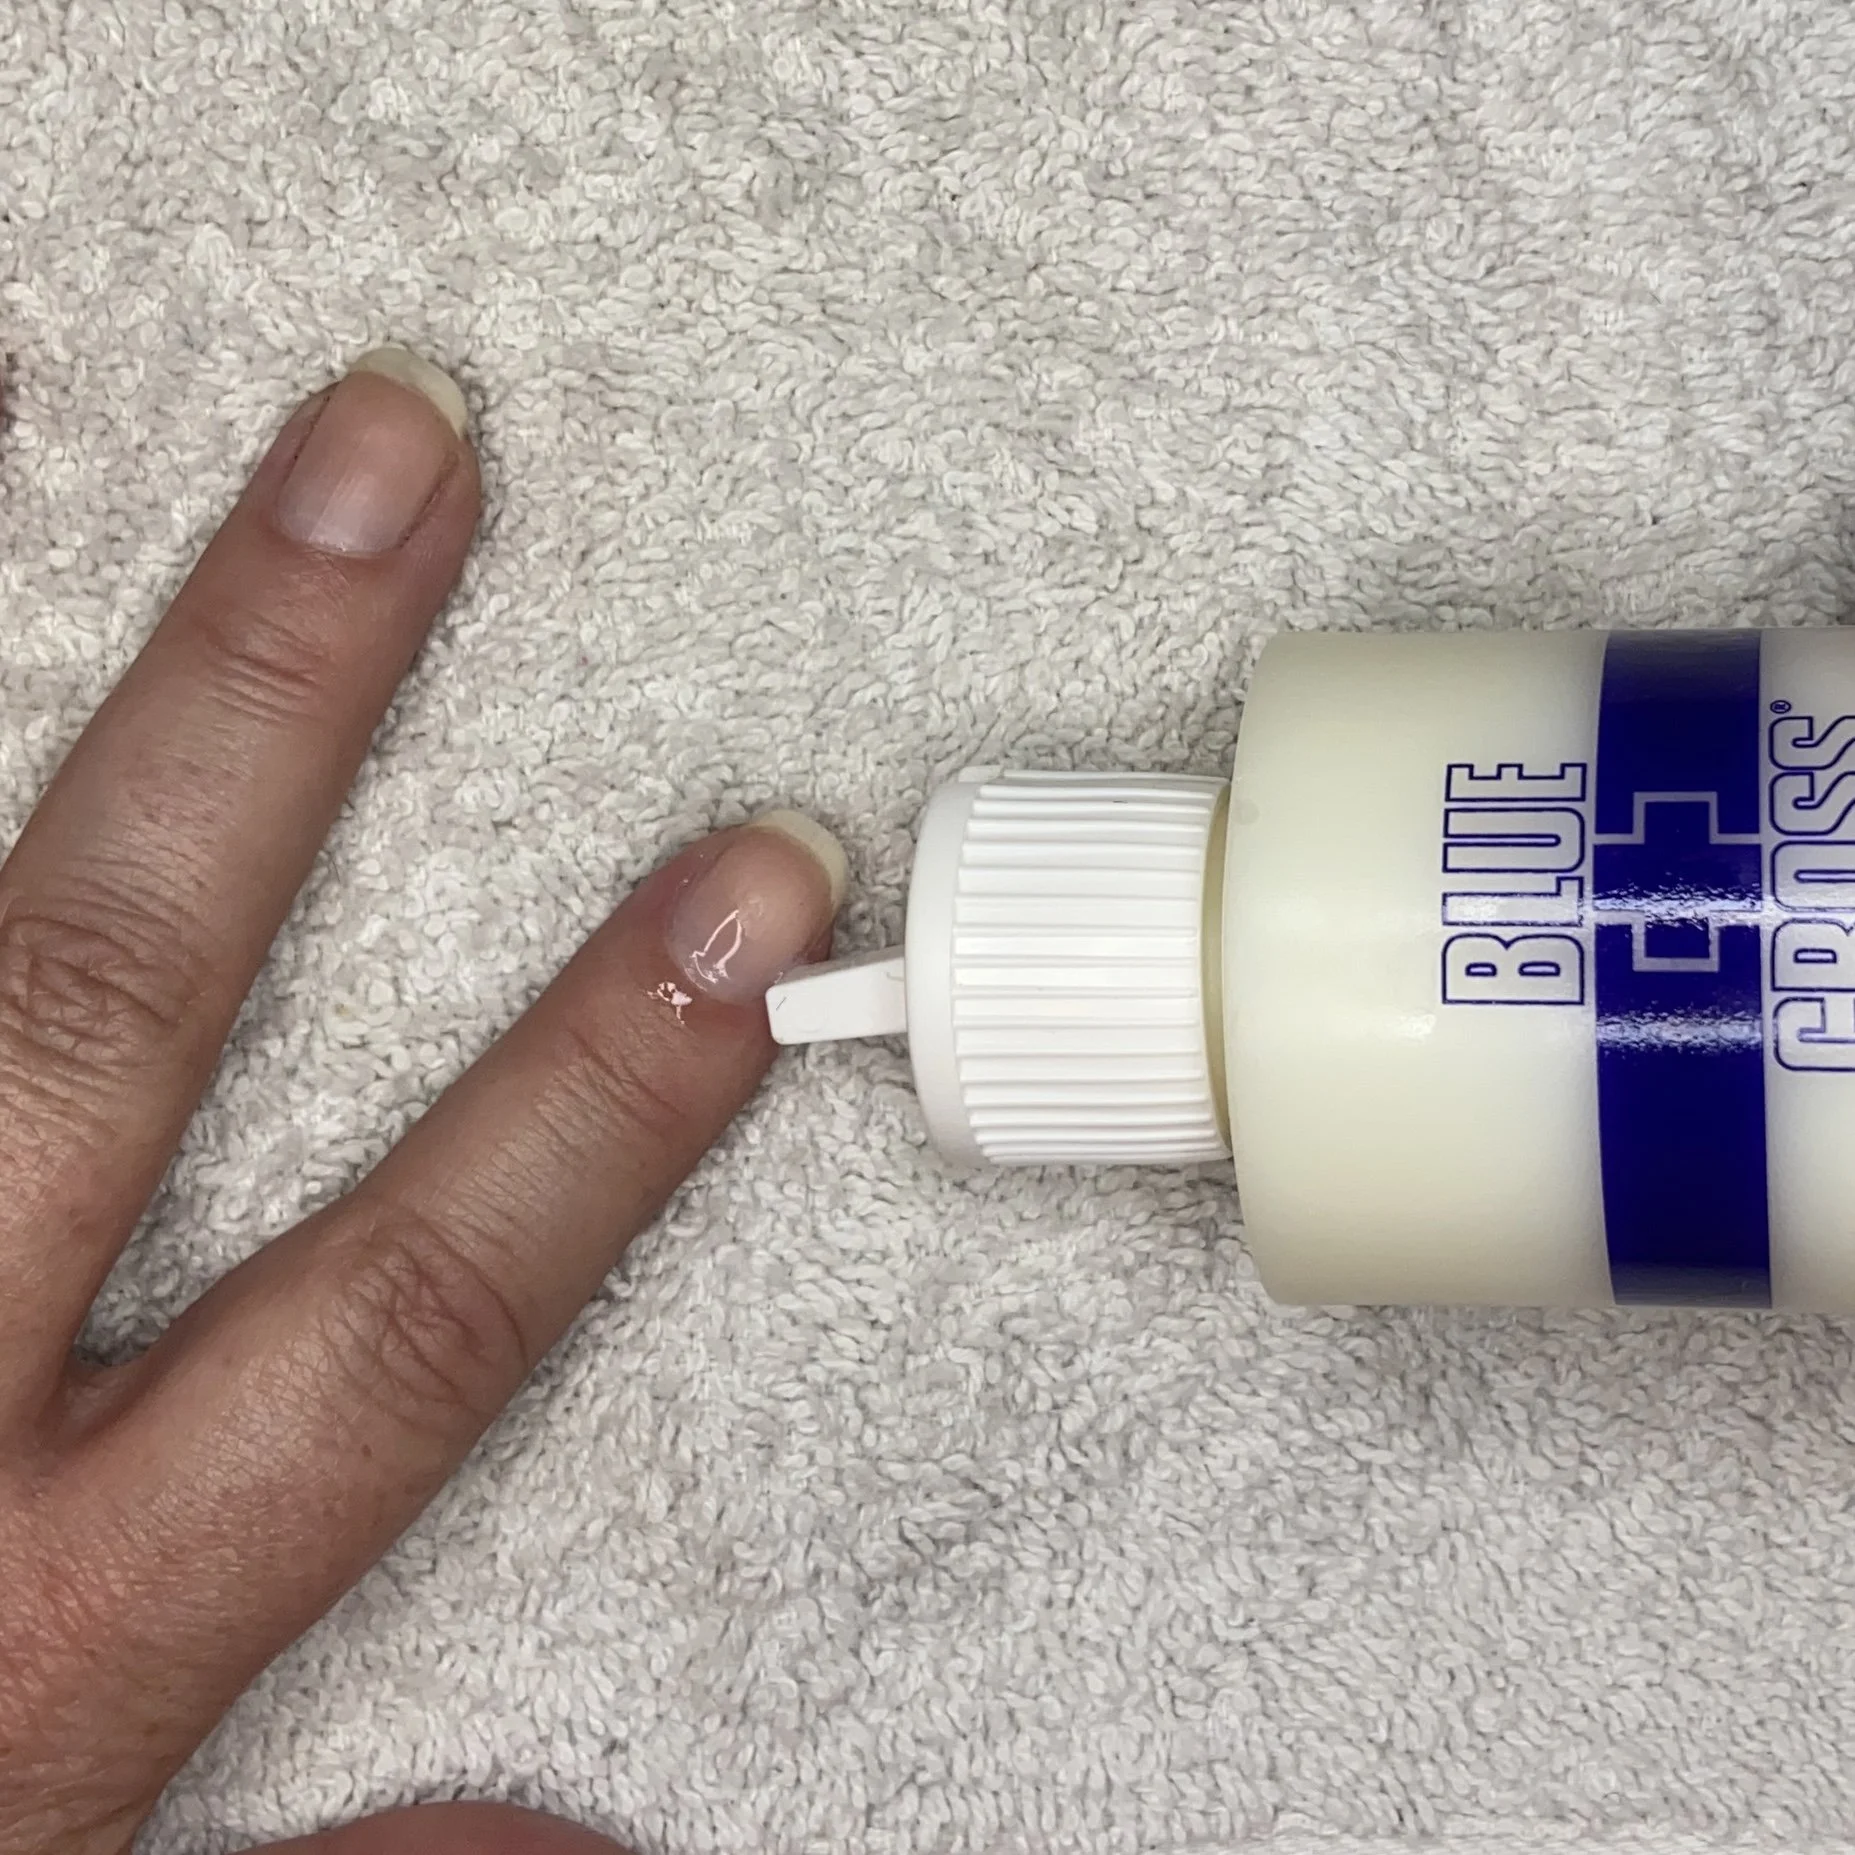

Next, I put my DeLore nail oil over and around each nail, massage it in a little bit with my fingers, and then use this fabulous soft-tipped cuticle pusher to push back the proximal nail fold. If you push this back every day, then it will stay smooth and flat to your nail. If you just let it grow along with your nail, then when you finally go to push it back, you’ll have a big ugly flap of skin at the base of your nail, which will dry out and get hard. Lots of people trim this bit that sticks up, but I’m not a fan of that for various reasons. But I’ll leave that debate to the professionals. At this point, I let my nails rest for a few hours, and absorb that oil. If I have the time and inclination, I might put a second coat of the oil on my nails.


Before I begin this section, I’d like to link this video, which shows what I am about to describe.
When I’m ready to put on the new Color Street polish, I start by cleaning my nails very well. I use dish soap and warm water to clean my hands, with special attention around the nails. And then I use an alcohol wipe to carefully wipe down the entire nail plate of each nail. Every set of Color Street nail strips does come with one of these little wipes, but since I use one for each hand, I supplement from my own supply.

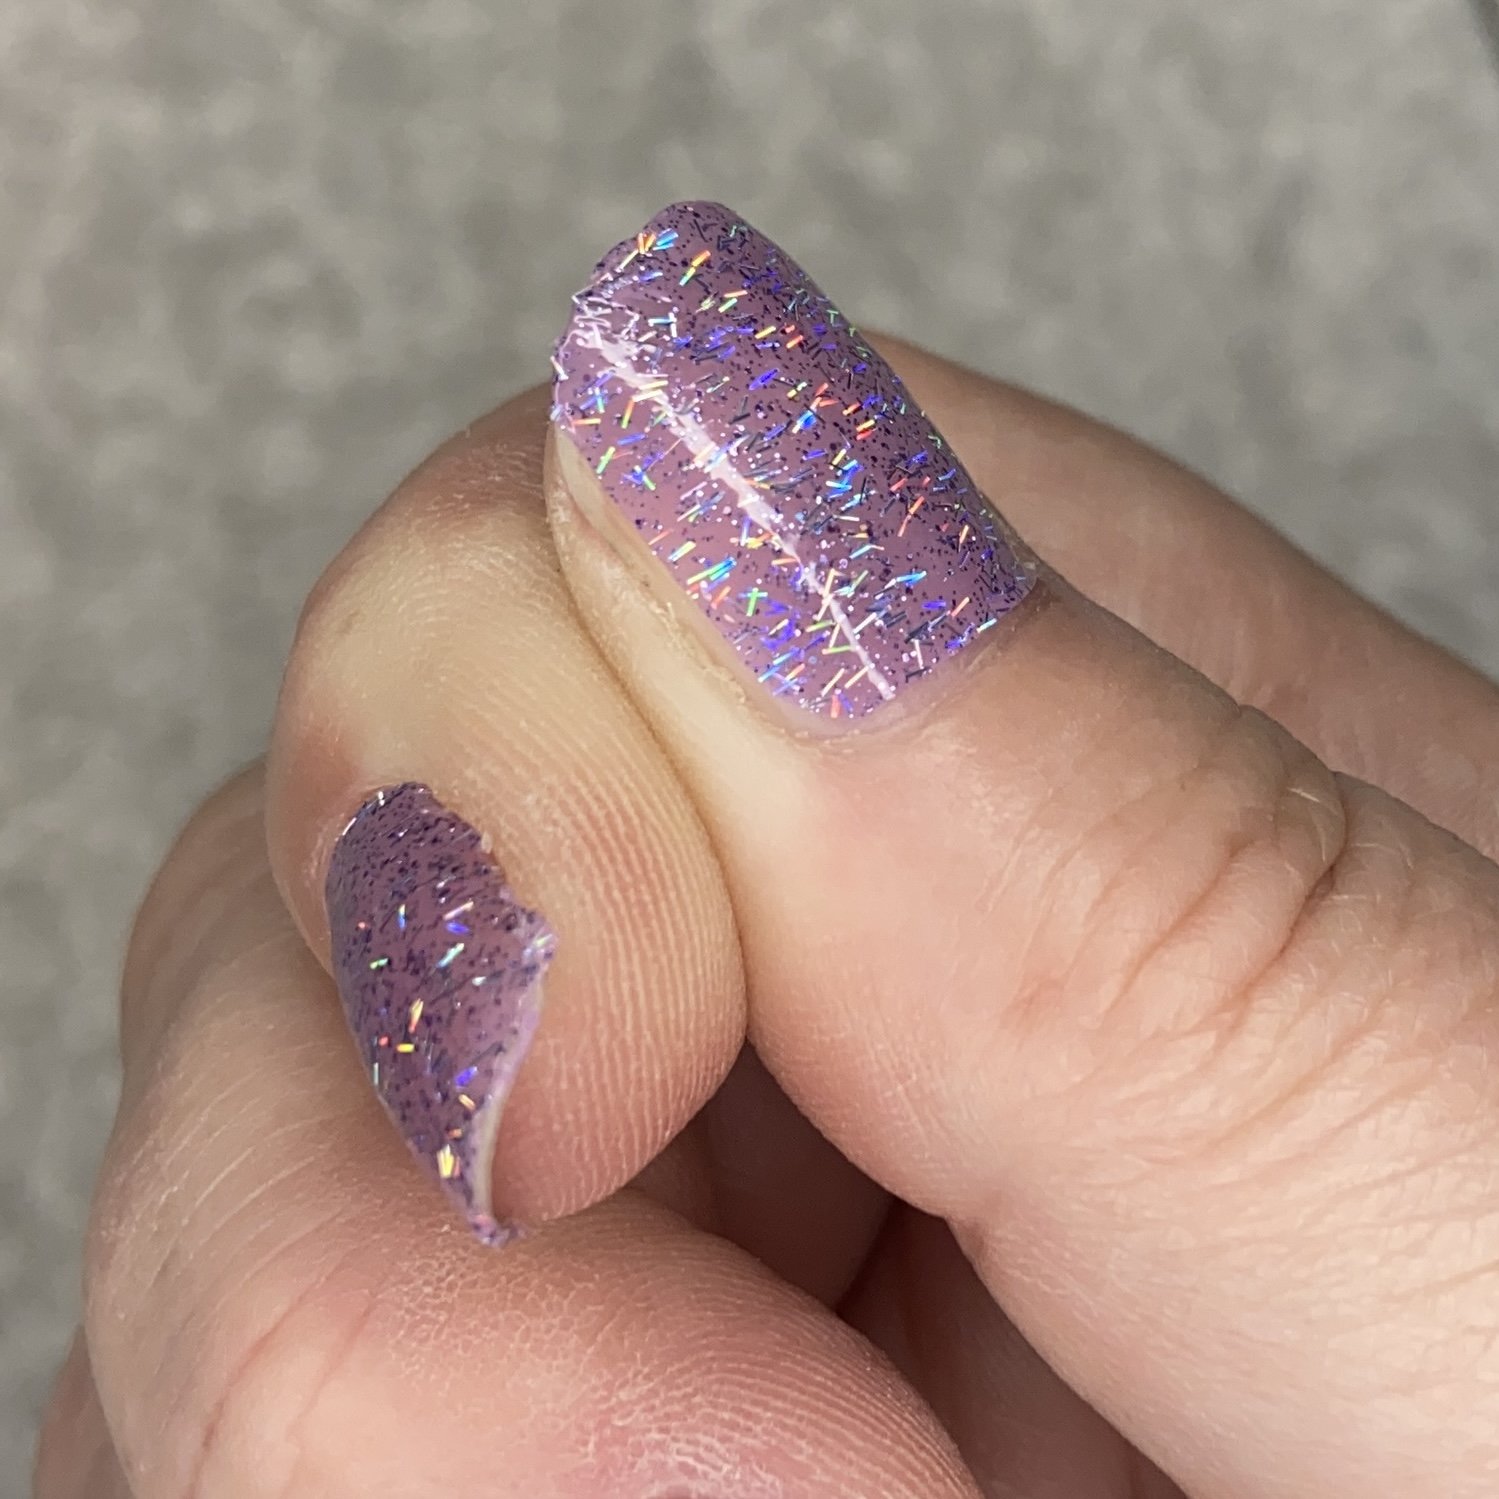
Then I go ahead and cut open my nail strip package. In addition to the alcohol prep pad, each package has 16 individual strips of various shapes and a little nail file. This particular kit is in the color Cosmic Candy, which is a pale, semi-translucent purple with little slivers of multi-colored glitter. It’s very pretty.
You will need to figure out which strips best fit your nails. I have done this a few times, so I already know. The strips are double-ended, so you could (theoretically) use half a strip for one nail and the other half for the same nail on the other hand. If you are using one strip for two nails because you’d like to conserve unused strips for another manicure later, you’d have to immediately seal up the left-over strips, and the company does not guarantee that they will work properly if they are not used immediately after being opened. I do not do this. I choose one strip for each nail, and set the extras aside. If I make a mistake and damage a strip, I have a few spares. But when the manicure is done, I discard anything I haven’t used.
When you look at an individual nail strip, you will see that the polish is sandwiched between a paper backing, and a transparent plastic strip. The most common method to apply the strips is to first peel off the plastic cover, and then peel the strip off the paper backing and apply it to the nail. My personal method is to pull off the paper backing, and reposition the nail strip onto the paper but perpendicular to its original position. This allows me to hold onto the paper and have better control over the strip. I do not remove the plastic layer until I’ve positioned the strip where I want it on my nail. At that point, since I only have one hand to work with, I have to do a rather comical hand-teeth removal technique, but I make it work.


Next, starting at the bottom, I smooth the nail strip over my nail and press it down firmly. If I have a little extra hanging onto the skin on the side of my nail, I use my thumb nail to sort of score along the extra bit and then it just peels away. It’s for this reason that you’ll want to polish your thumbs last…you’ll be using them for all your other nails. Once the polish is well-smoothed down, I gather the extra beyond the nail tip and pinch it off, leaving just a little bit hanging over the edge. It will be filed off later, but it’s good to leave a little extra there at this point to accommodate any shrinkage. And finally, I use my soft cuticle pusher over the whole nail, rubbing firmly to make sure that polish strip is as well adhered as I can make it.


If the nail strip is slightly too narrow for your nail, you can adhere the center of the strip and then tug gently on the sides to stretch it just a little. Be gentle! And if you (like me) are sometimes insufficiently gentle, well…there are spare nail strips! When I get to my thumbs, I have to trim the shape a little to fit along the base of my nail. And if I have any overhang onto the skin along the sides, I use my Tweezerman tool to score along the line of polish I want to remove. When the nails are all done, leave them alone! For at least 15 minutes, I sit without using my hands or touching the polish. These nail strips need to finish curing. They are vulnerable to damage until the curing is complete. After 15 minutes, I use the little nail file that came with the set of nail strips to file downward along the edge of the nail. This cuts off any excess that is still wrapped around the edge of the nail.


I don’t always get the nail strip aligned perfectly. Sometimes they are slightly too close to the base and they bunch up slightly against the proximal nail fold. Oh well. And sometimes, I don’t get them stretched quite far enough to cover both sides of the nail. Oh well. I have to say, the nail application gets a little easier each time I do it. I’m getting better…
Once I’ve let my nail strips cure for at least 15 minutes, I apply a topcoat. I like OPI for this but any clear topcoat should work just fine. I let the topcoat cure for at least 15 minutes. Really, all this sitting around curing time is an excellent opportunity to catch up on your latest TV series. After the top coat has cured, I apply the DeLore nail oil over everything. This helps remove any remaining tackiness from the polish. If you do this close to bedtime, then you won’t be tempted to run around knitting or doing dishes (or typing up blog posts) instead of letting your nails be for a few hours. I will add that I apply another layer of top coat (after wiping my nails with an alcohol pad) a few days after I’ve done the manicure…this really helps the polish last until you’re ready to change it and it smooths over any minor chips you might have already created.


I do have a small confession…while I was doing my manicure in my studio (so I could use my ring light without moving it), I managed to knock over the open bottle of my polish remover, spilling it over my gridded cutting mat and also the case of my glass nail file. I’m here to report that the remover removes the polish (grid marks) from the cutting mat and also the polish (paint) on the outside of the case. I have a permanent stain now which I cannot remove. So I bought a little pump dispenser off Amazon, like the professionals use. No more spills for me!


Daily nail care does not stop just because I have polish on my nails. I apply the nail oil faithfully on the skin around my nails every day. And I use my rubber cuticle pusher to coax back the proximal nail fold at the same time. If I do this every day, then I don’t have stretched and ugly skin climbing up my nail. For the manicure for this blog post, I applied a top coat every three days. This is what it looks after ten days. If you look closely at the tips, you can see a tiny bit of wear but you really have to look for it. And at the base of the nail, you can see that it’s grown out a fair bit…the DeLore nail oil does make my nails grow faster.
One final question…does anyone know what metal this tool is made of? I’ve never heard of Stainless India…
